.png)
Each component in AssetIT is tracked with its available quantity. When you check out a component, the system automatically reduces the amount until the stock is depleted.
How to Check Out a Component
-
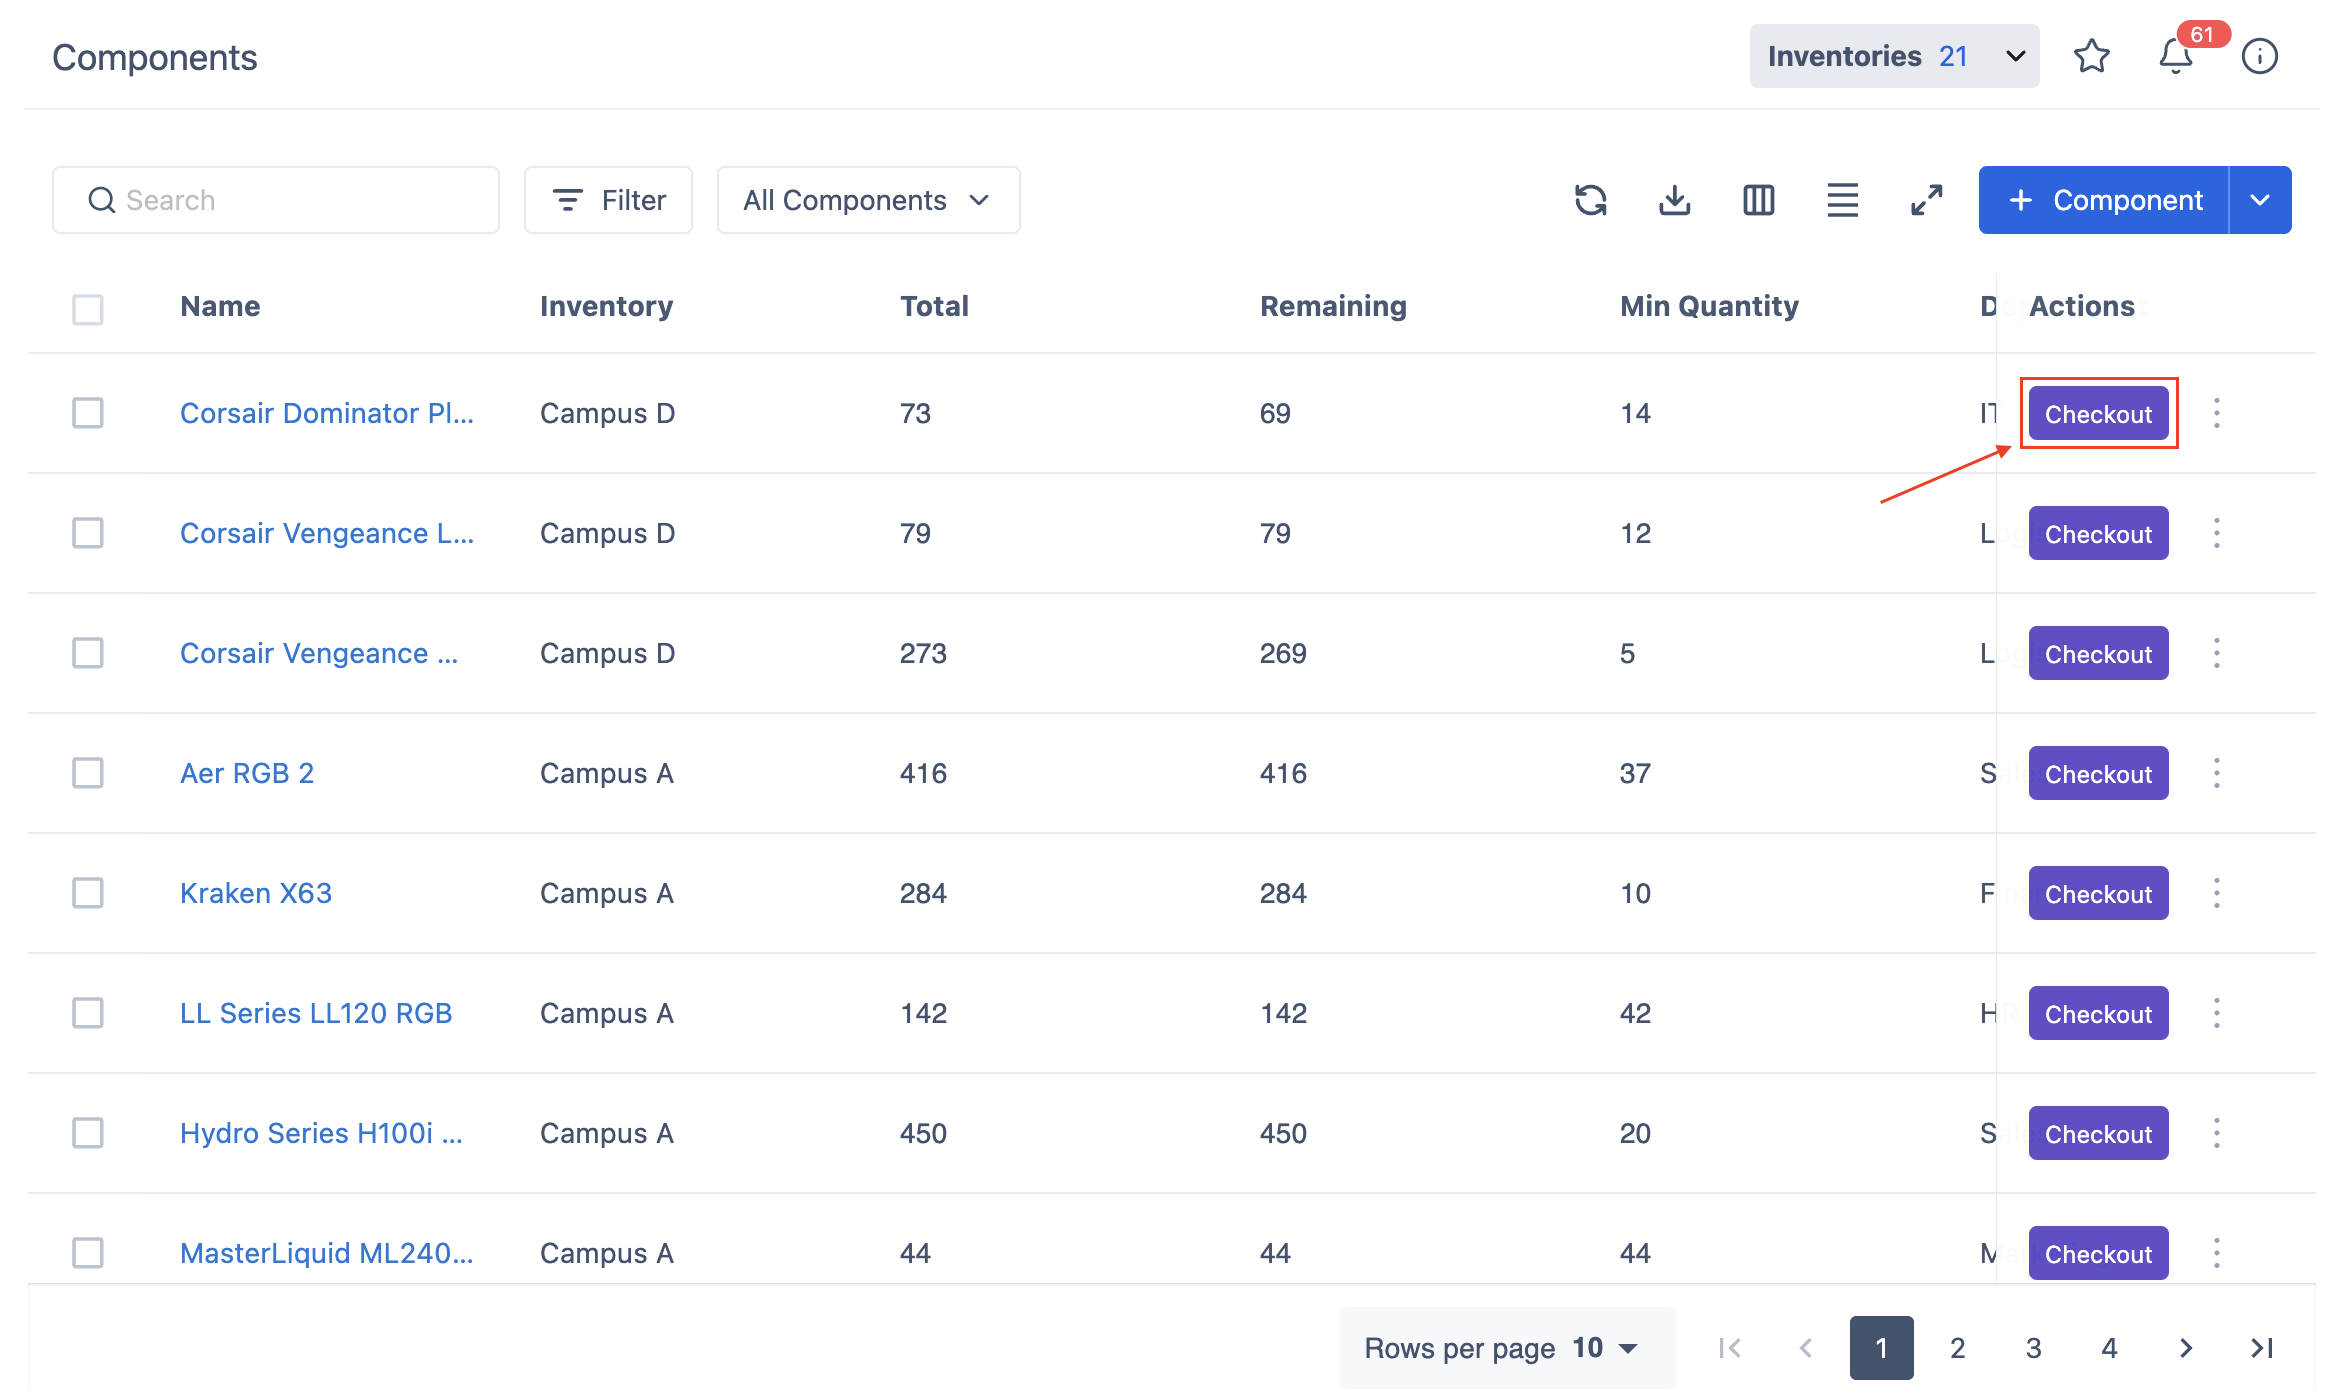
Navigate to the Components Screen:
-
Locate the component you want to check out in the component list.
-
In the Checkin/Checkout column, click on the

-
-
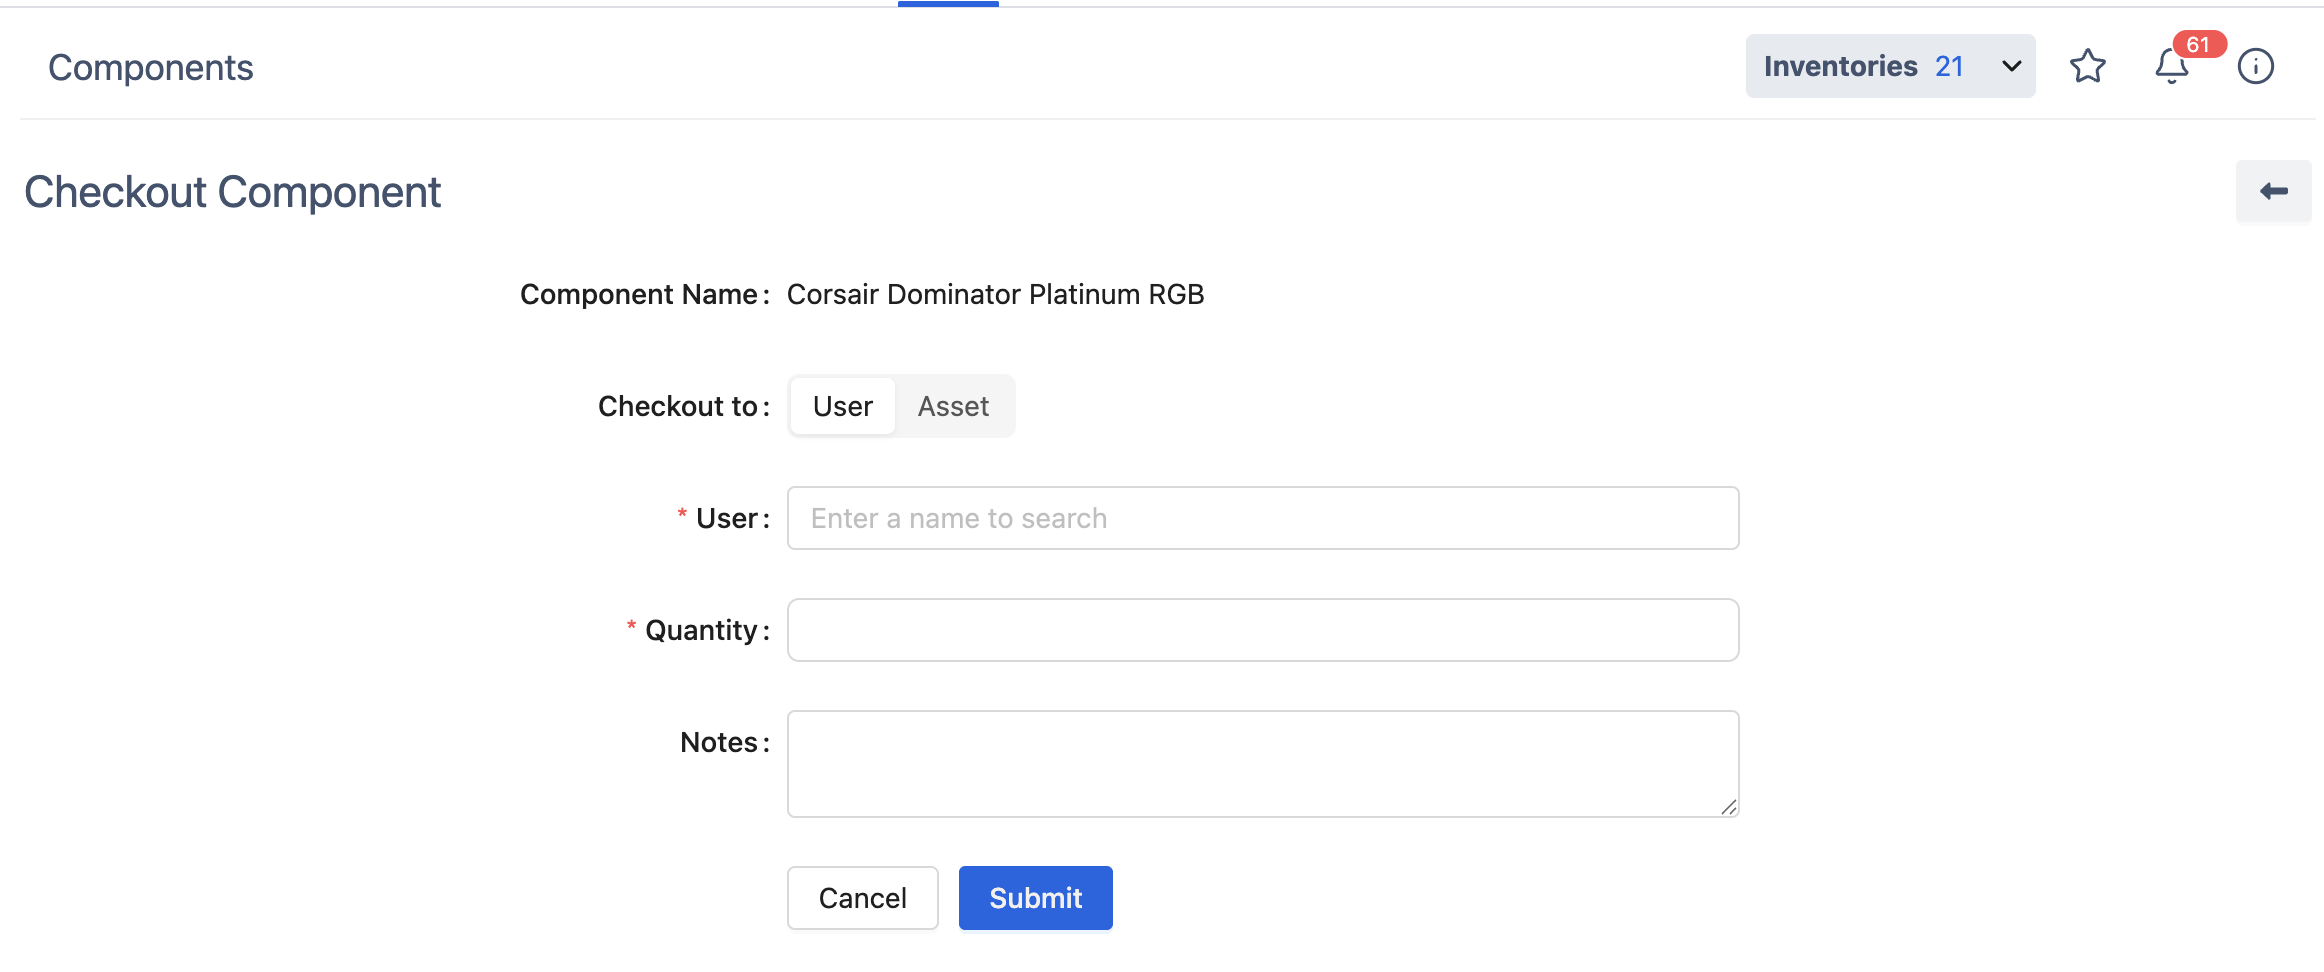
Checkout Component Screen:
You will be directed to the Checkout Component screen. The Checkout Component screen allows you to check out a component for an asset or a user. Follow the steps below to complete the checkout process:
-
Component Name: The name of the component you are checking out will be displayed at the top.
-
Checkout to: You can choose whether to check the accessory out to a User or an Asset:
User: Select this option if the component is being assigned to a person.
Asset: Select this option if the component is being assigned to another asset (e.g., a laptop or other equipment).
-
Quantity: Enter the number of items you want to check out.
-
Notes: Use this field to add any relevant notes regarding the checkout (e.g., reason for checkout, condition of the component, etc.).
-
Submit: Once all fields are filled out, click the Submit button to complete the checkout process.
-
Cancel: If you need to exit without completing the process, click Cancel.
Components that are out of stock cannot be checked out.
How to Check In a Component
To check in a component that has been previously checked out, follow these steps:
-
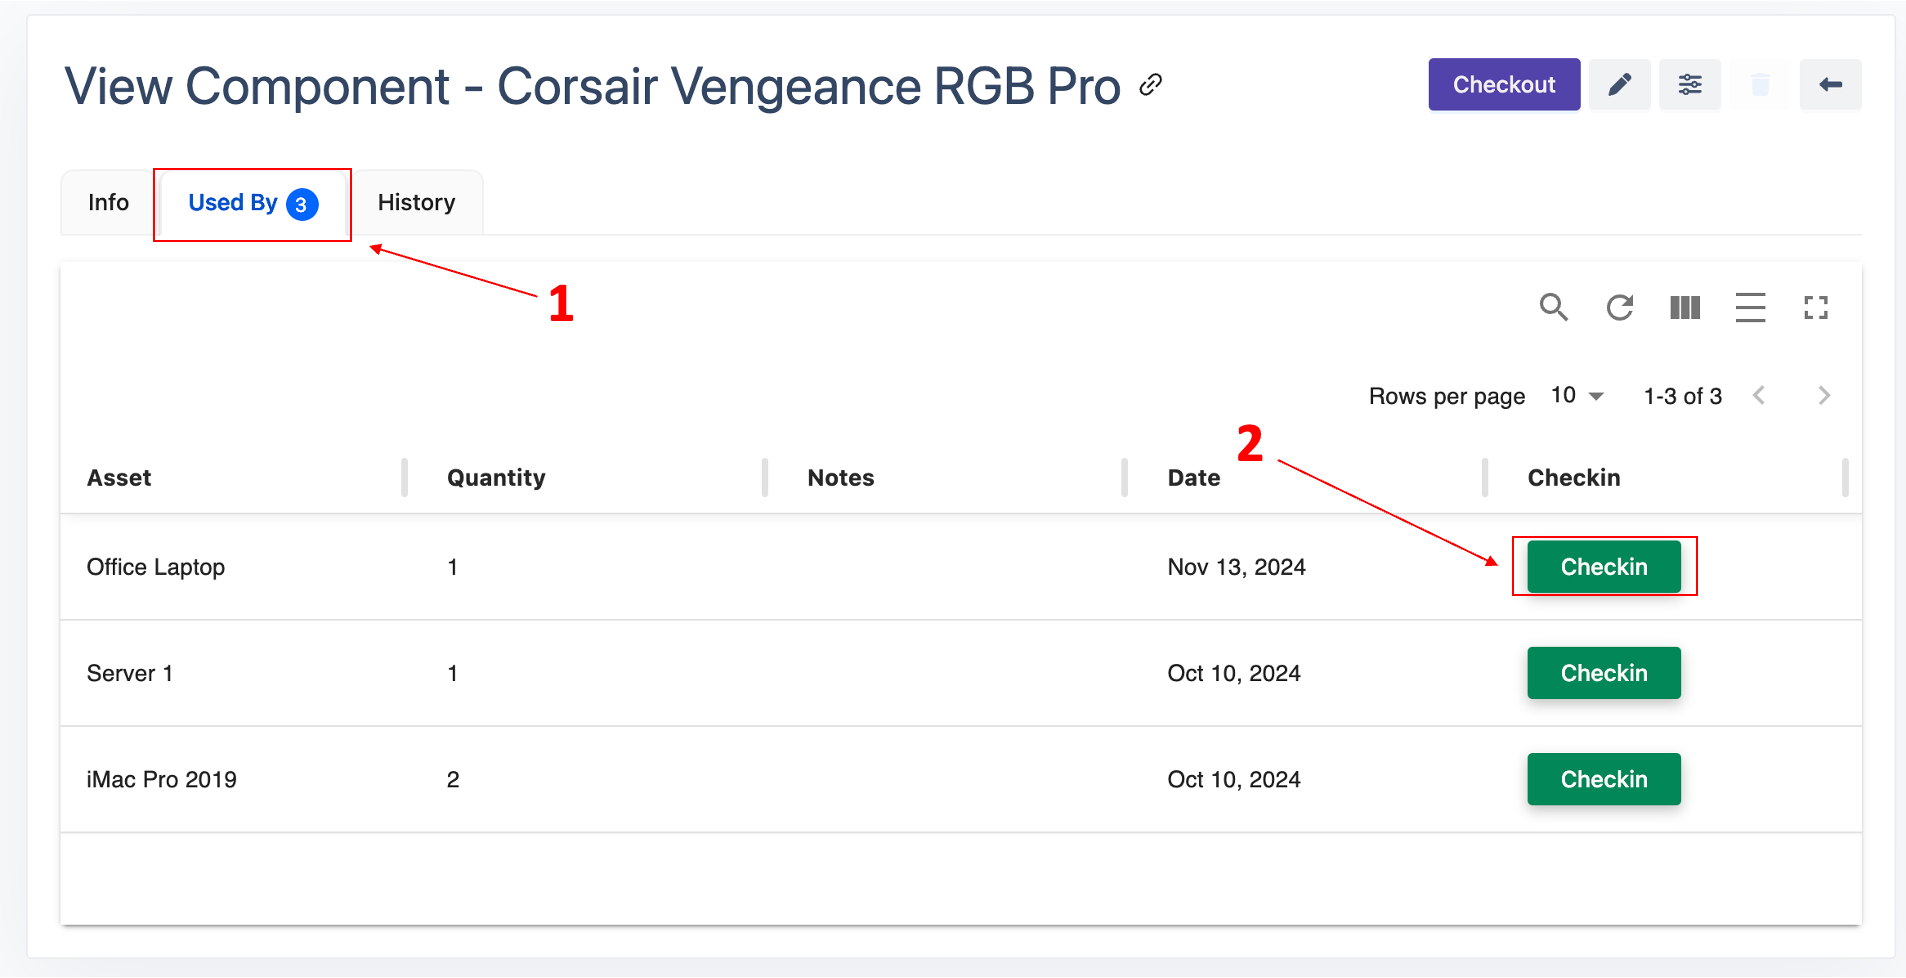
Navigate to the “Component Details” screen:
-
Click on the desired component from the list to navigate to the Component Details page.
-
-
Go to the “Used By” tab:
-
Go to the Used By tab, where you can see the assets the component is currently checked out to.
-
-
-
Click on the
-
-
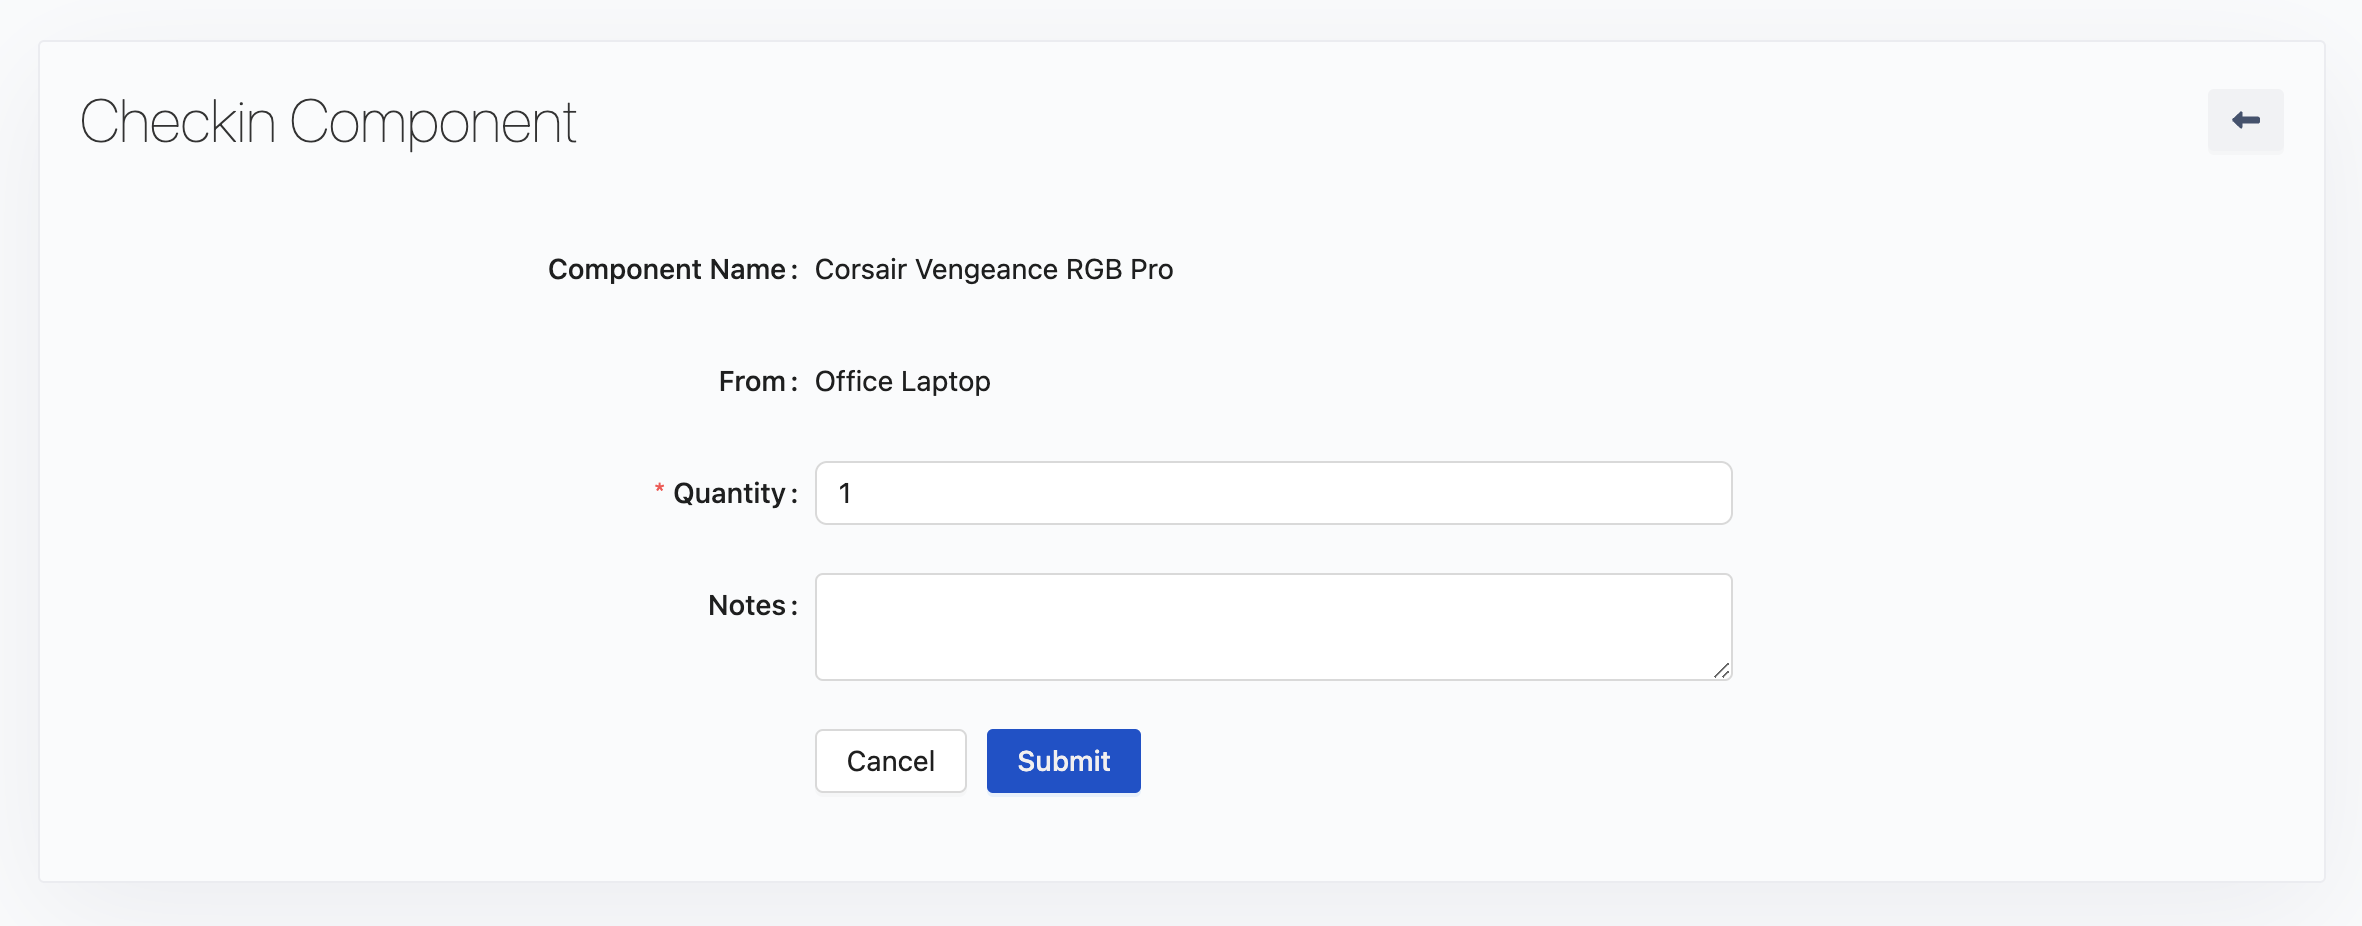
Checkin Component Screen:
-
You will be navigated to the Checkin Component screen.
-
Complete all the required information, including any notes or updates necessary for the component.
-
-
Submit the Check-In:
Once you have entered all the required information, click the Submit button to complete the check-in process. This will:
-
Return the component to the stock.
-
Update the available quantity for the component.