.png)
The "Inventories" feature in AssetIT allows organizations with multiple entities, such as different geographic locations or departments, to manage their IT assets separately but within the same application. This guide will walk you through how to use the Inventories effectively so that you can improve your experience of asset management for Jira.
Creating Entity-Specific Profiles:
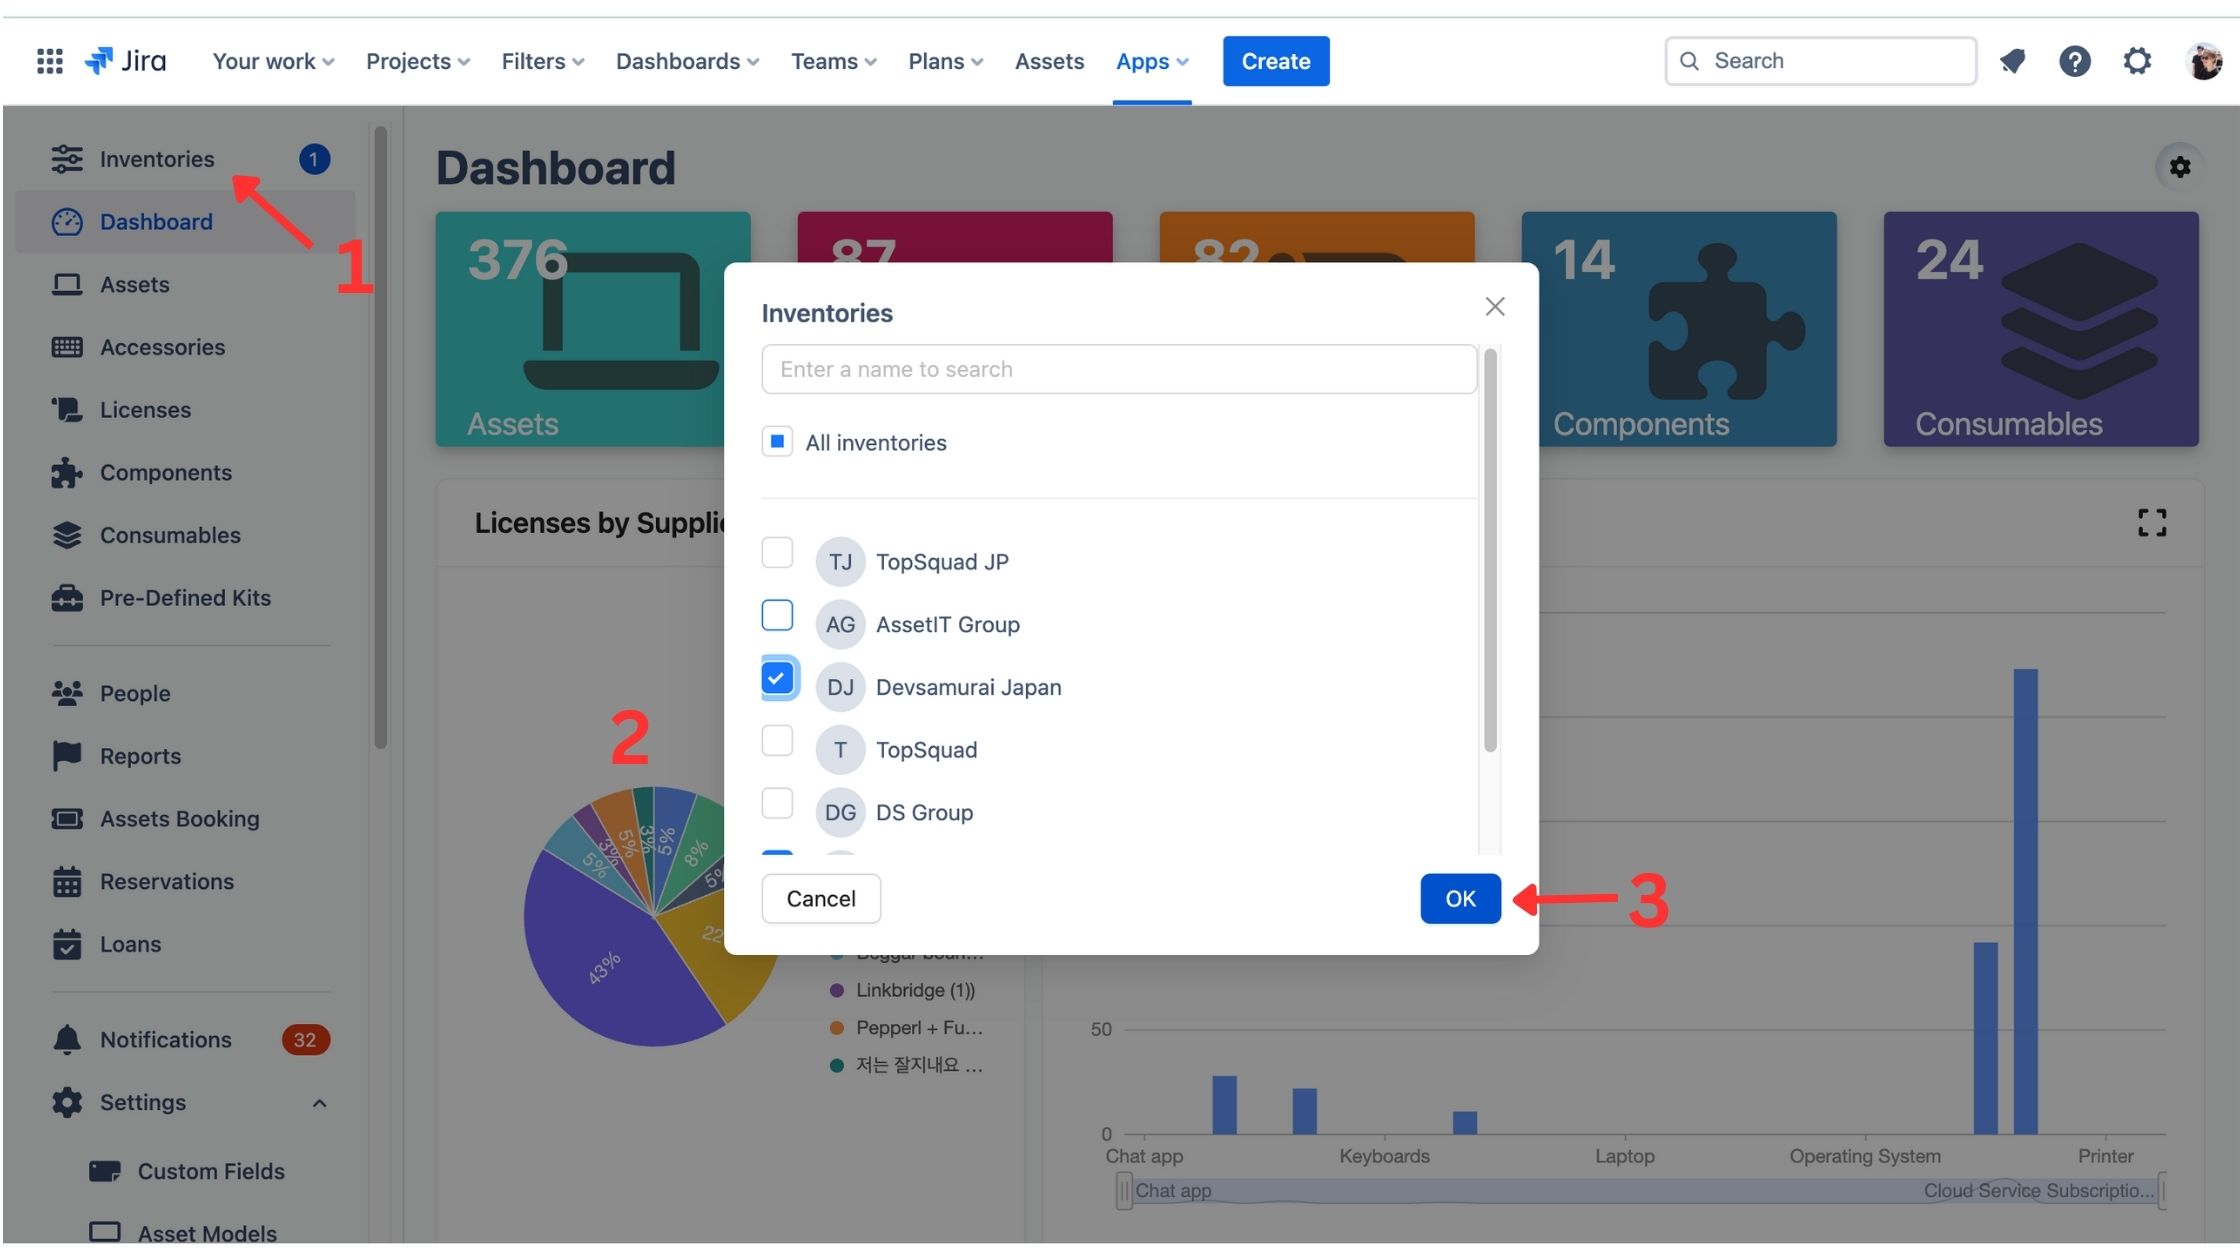
Settings > Inventories
Viewing and Managing Inventory-Specific Resources:
-
Selecting an Inventory:
-
Navigate to the "Inventories" section in the sidebar, and select the inventory you want to view.
-
Viewing Resources:
-
Upon selecting an inventory, the application will display all the resources/items associated with that inventory.
-
Use this feature to track and manage resources for each specific inventory.
Adding Items to an Inventory in AssetIT
In AssetIT, there are three primary methods to add IT assets, items, or resources to an inventory. These methods are designed to accommodate different needs, whether you're adding items individually, in bulk, or through a structured data import. This will help streamline your process of asset management for Jira.
-
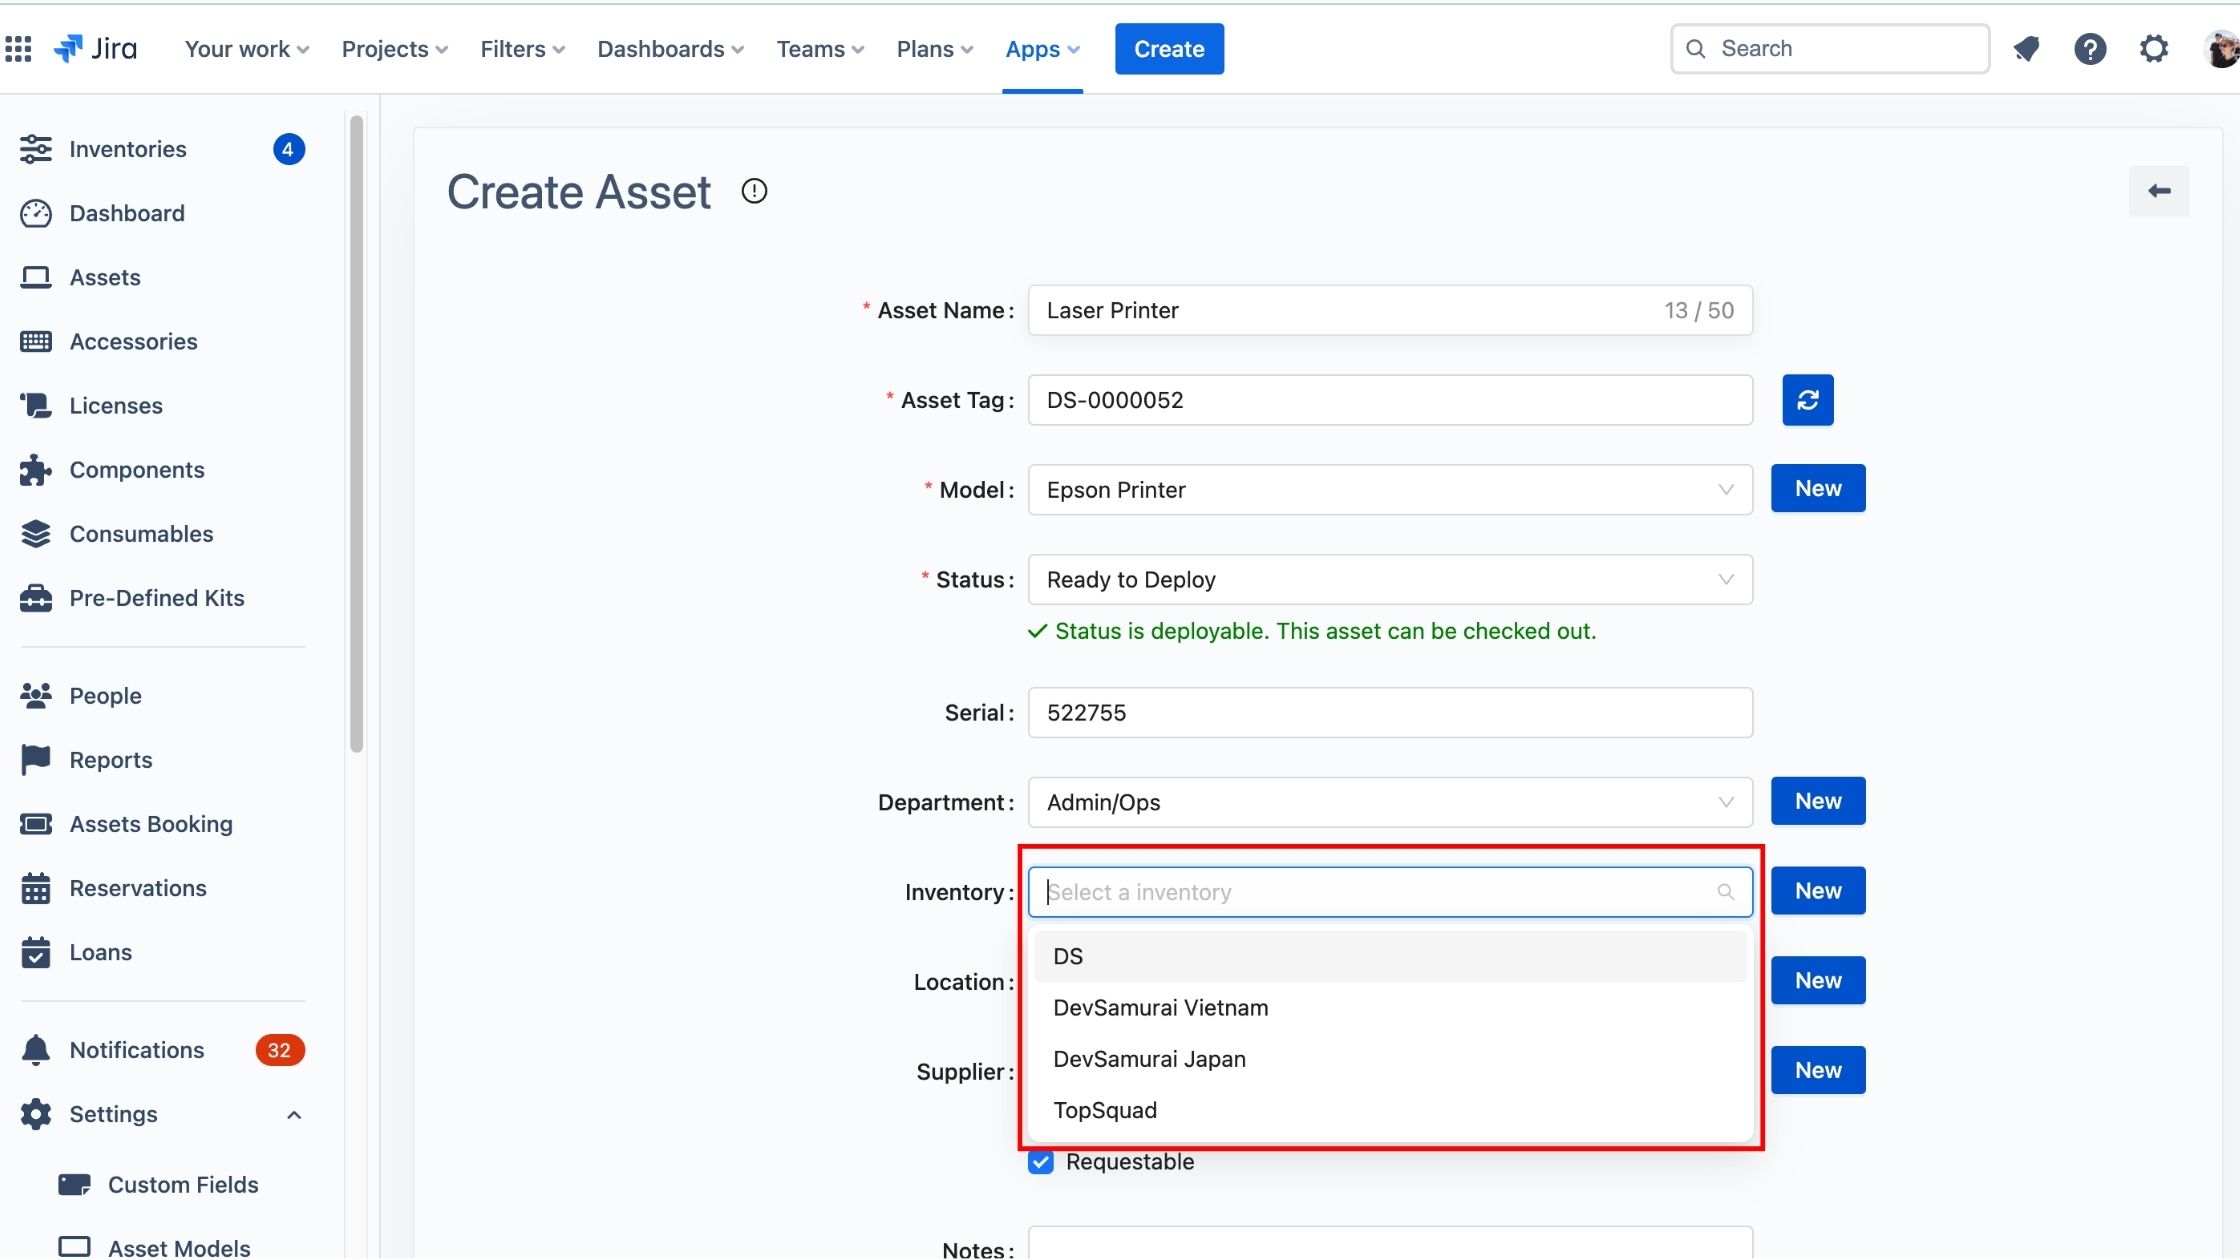
Adding an Item During Creation:
-
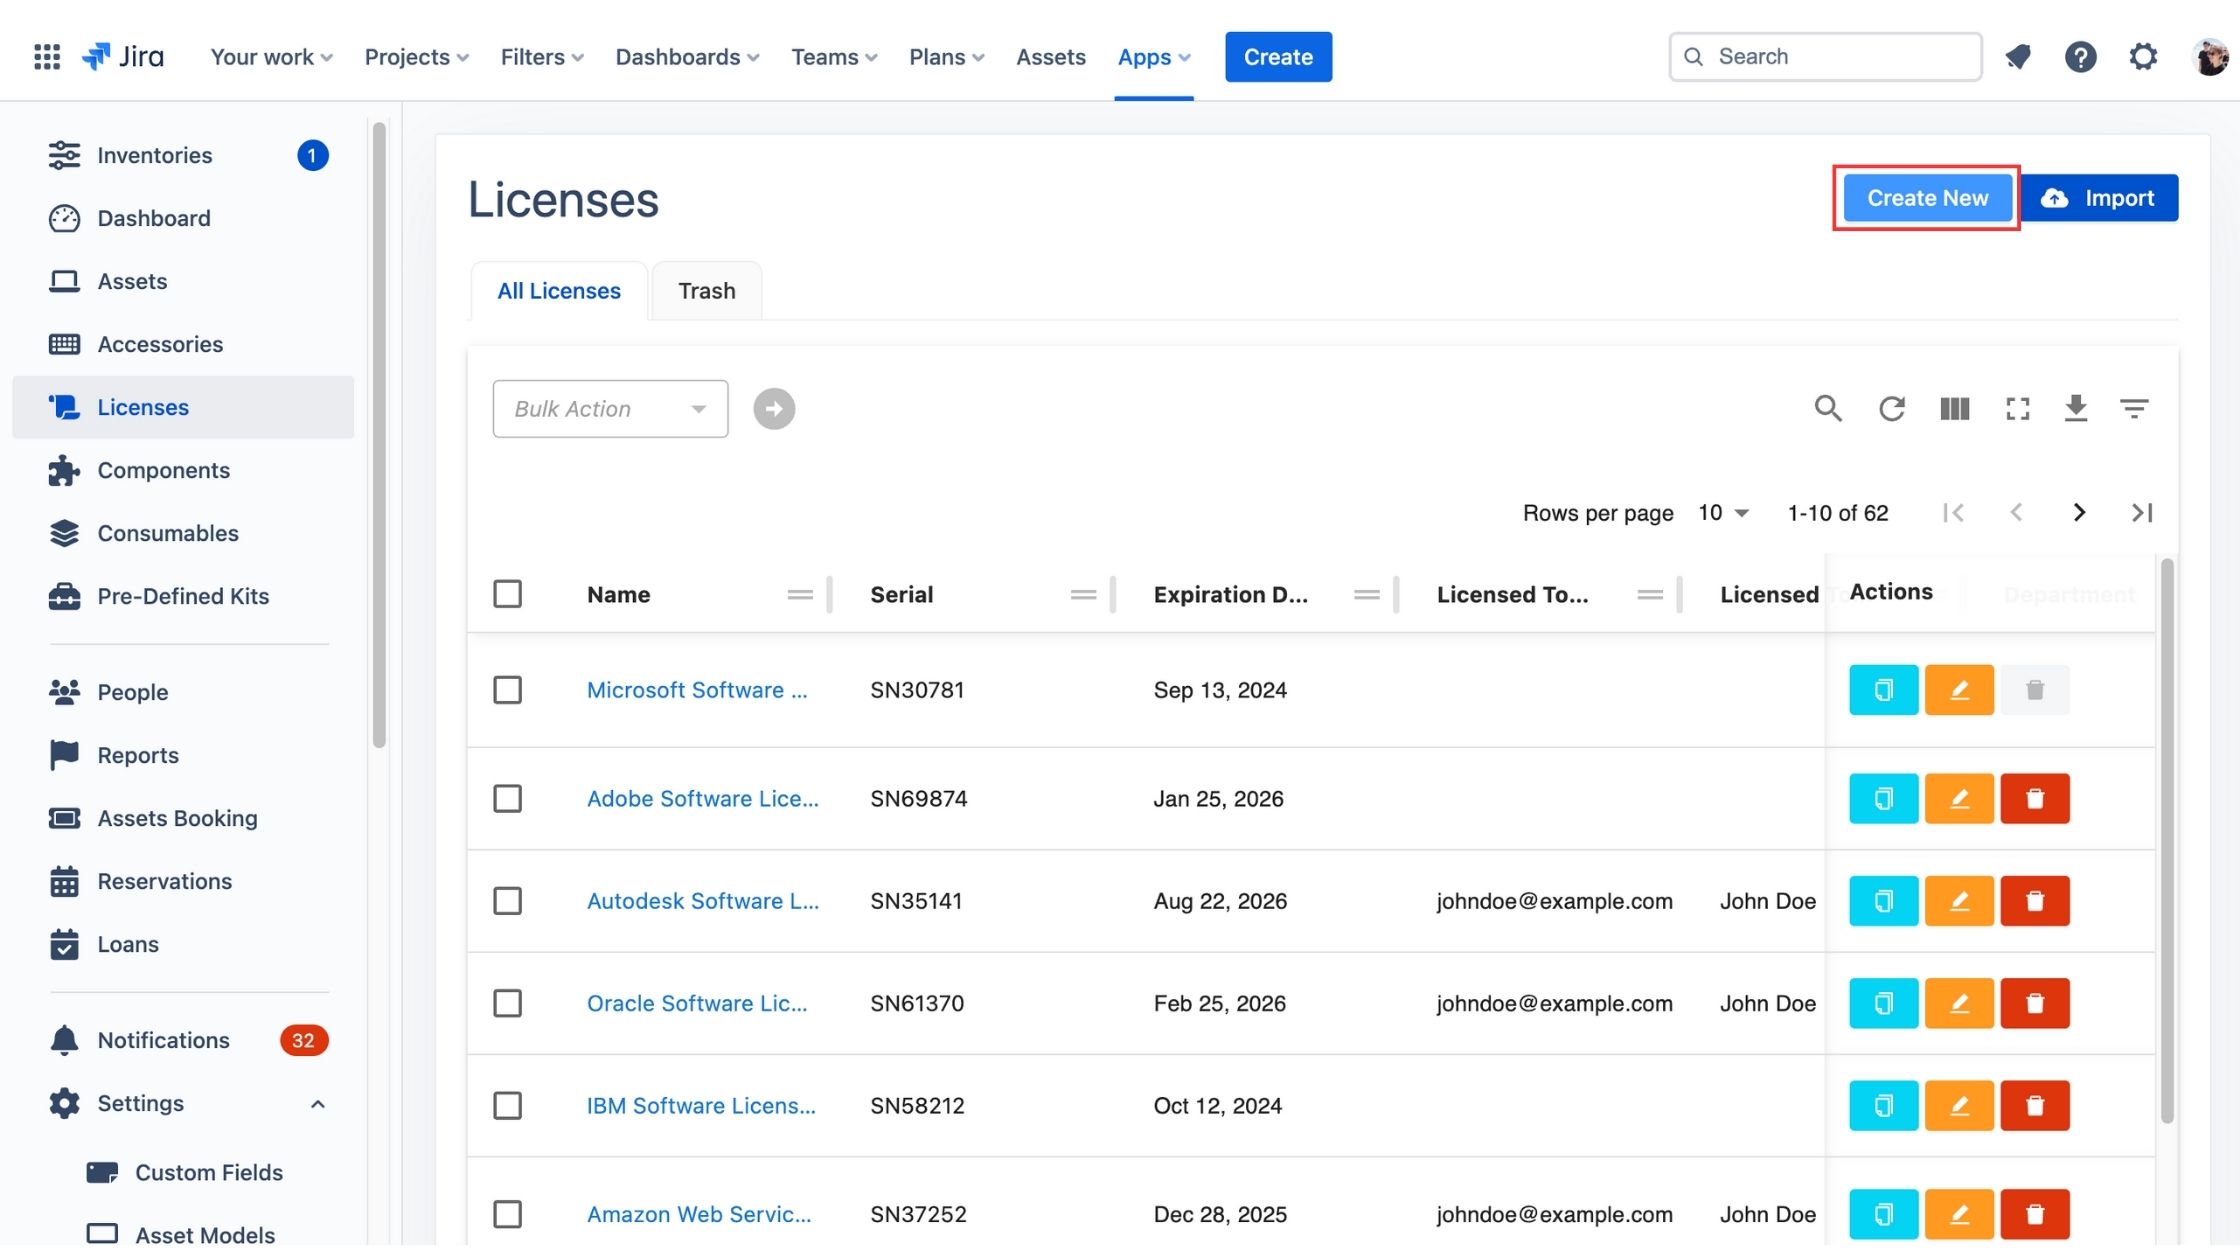
Access the 'Create New' Section: Open the AssetIT application and navigate to the section where you create a new item.
-
Fill in Item Details: Enter the necessary details for the new item.
-
Select the Inventory: In the item creation form, you will see an 'Inventory' field. Select the inventory to which this item should be added.
-
Save the Item: Complete the remaining details and save the item. It will be automatically added to the chosen inventory.
-
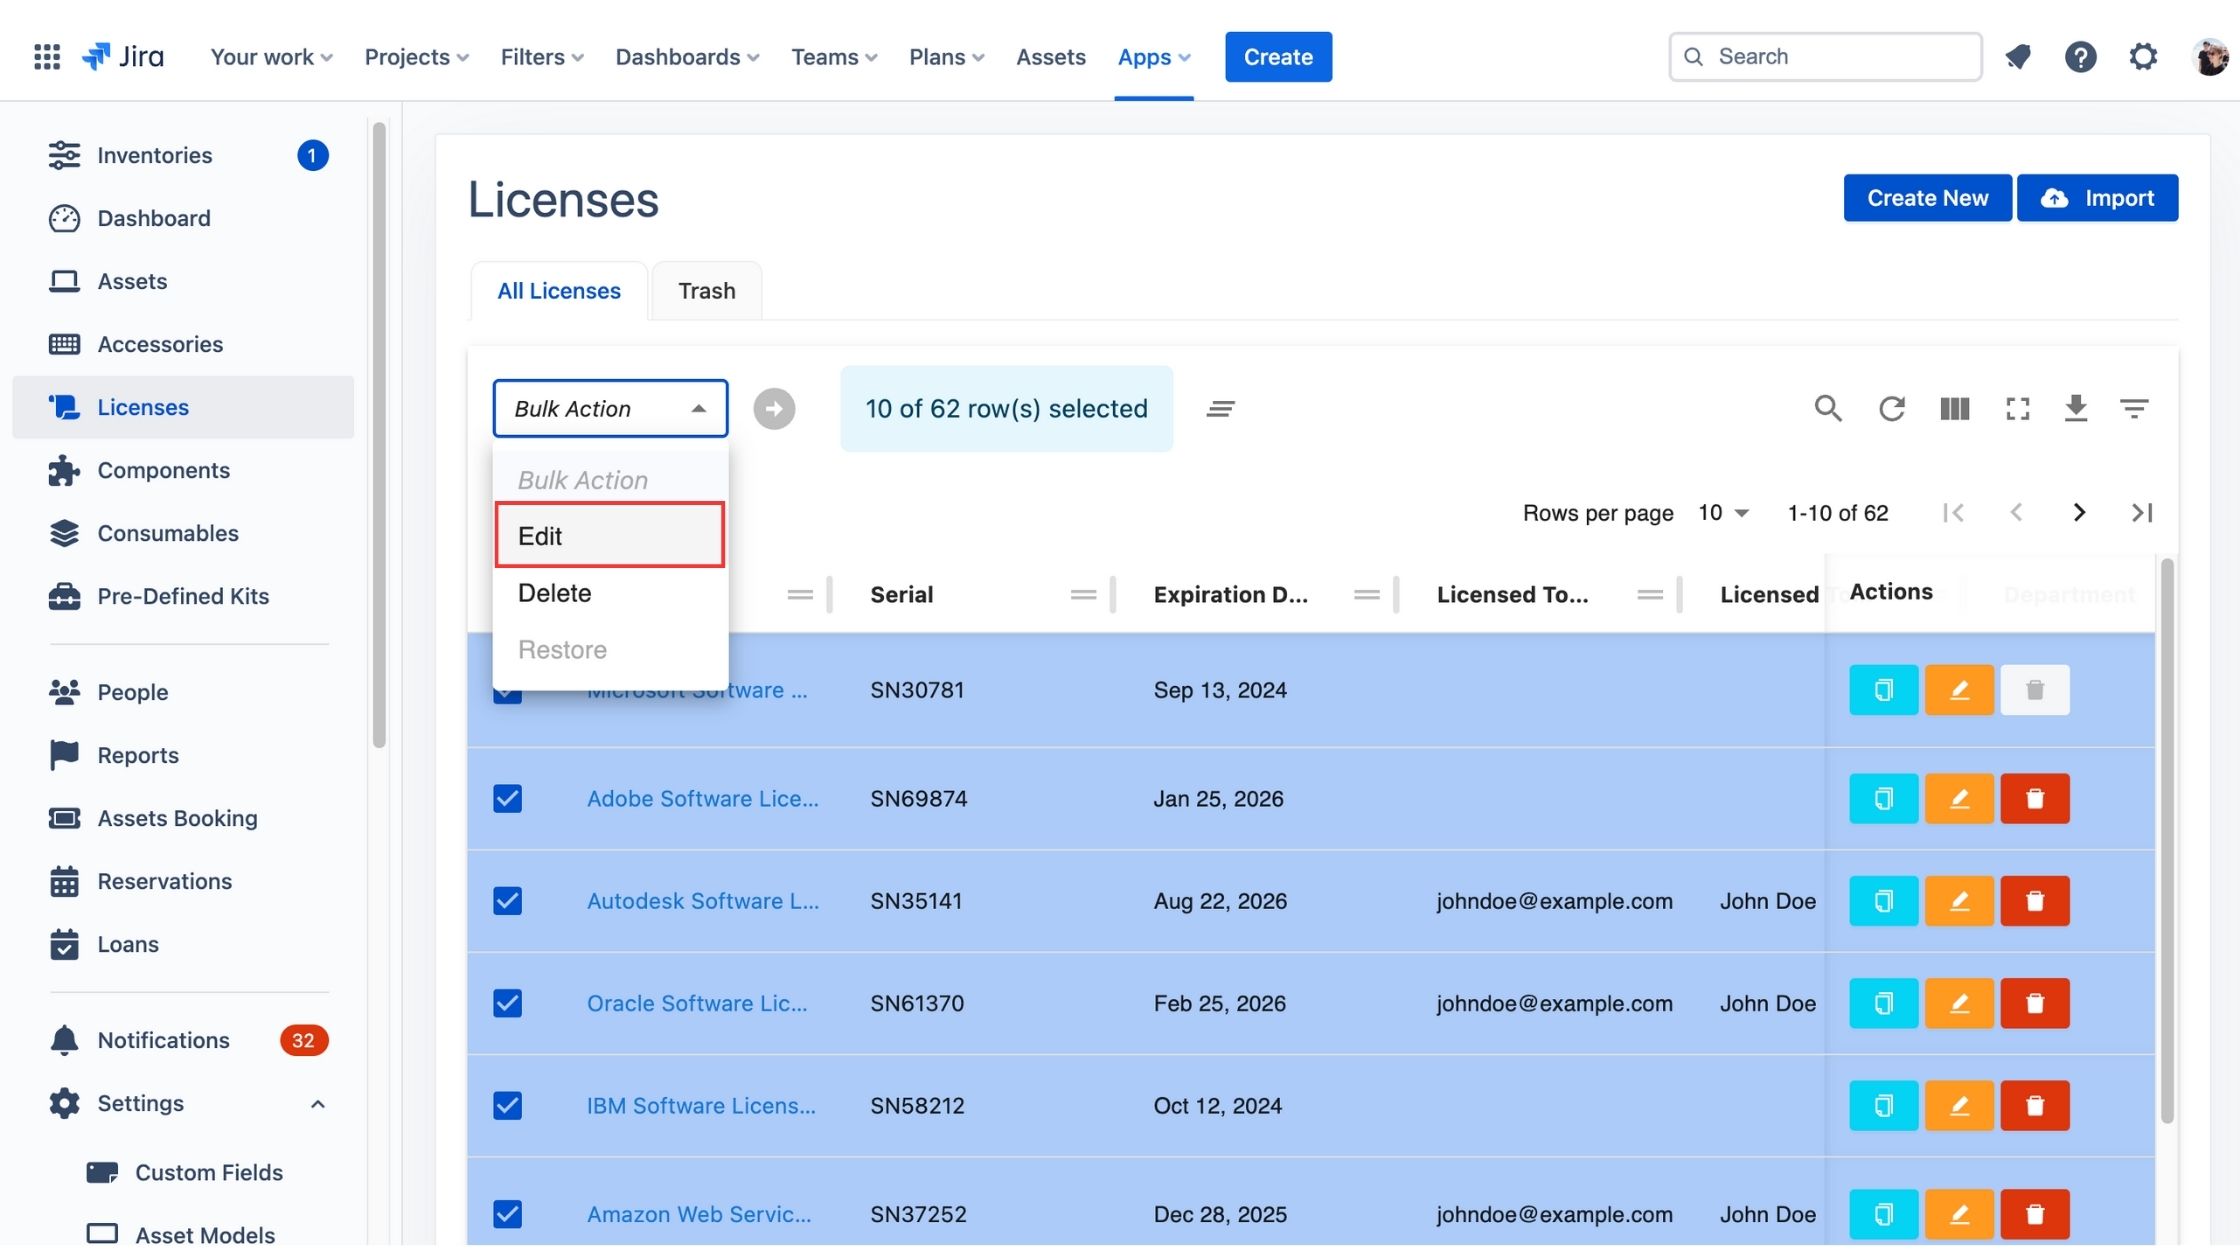
Using 'Bulk Edit' to Add Multiple Items:
-
Select Items for Bulk Edit: Go to the section where your items are listed. Select multiple items that you want to add to an inventory.
-
Choose 'Bulk Edit': Use the 'Bulk Edit' function to edit the selected items simultaneously.
-
Assign to Inventory: In the bulk edit options, select the inventory to which these items should be allocated.
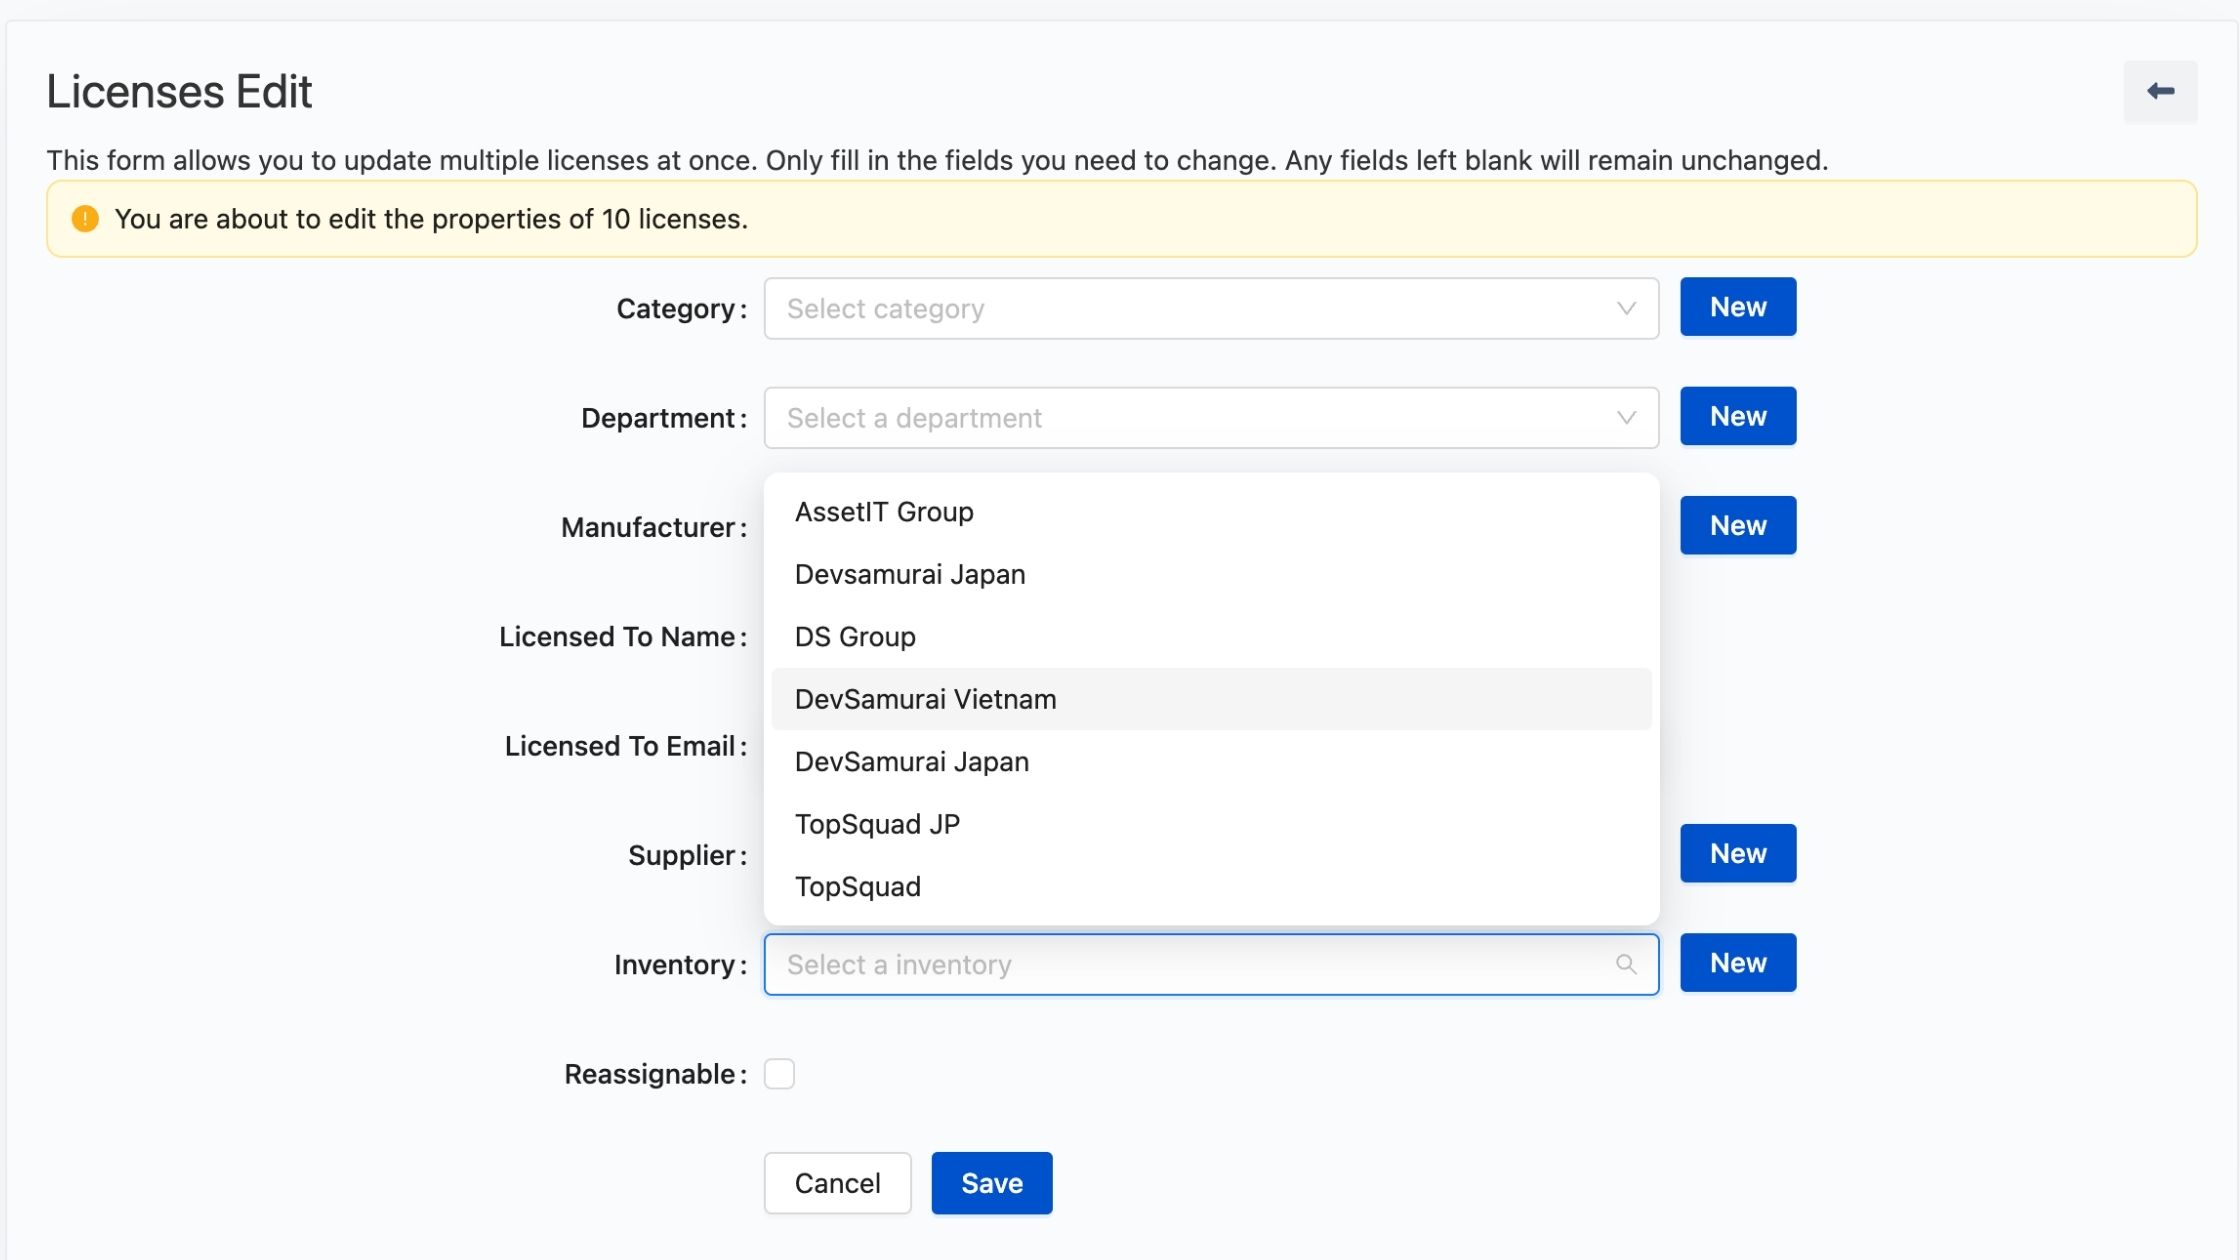
-
Apply Changes: Confirm and apply your changes. All selected items will be updated to the chosen inventory.
-
Importing Items from a CSV File:
-
Prepare Your CSV File: Create a CSV file with your items and their details. Ensure you have an 'Inventory' column where each item is assigned to an inventory (refer to the provided SCV sample for the format).
-
Navigate to Import Section: In AssetIT, go to the import section where you can upload CSV files.
-
Upload Your CSV File: Select and upload your prepared CSV file.
-
Complete the Import Process: Follow the prompts to complete the import. The items will be sorted and added to the inventories as specified in your CSV file.