.png)
Inventories in AssetIT allow organizations with multiple entities, such as different geographic locations or departments, to manage their IT assets separately but within the same application.
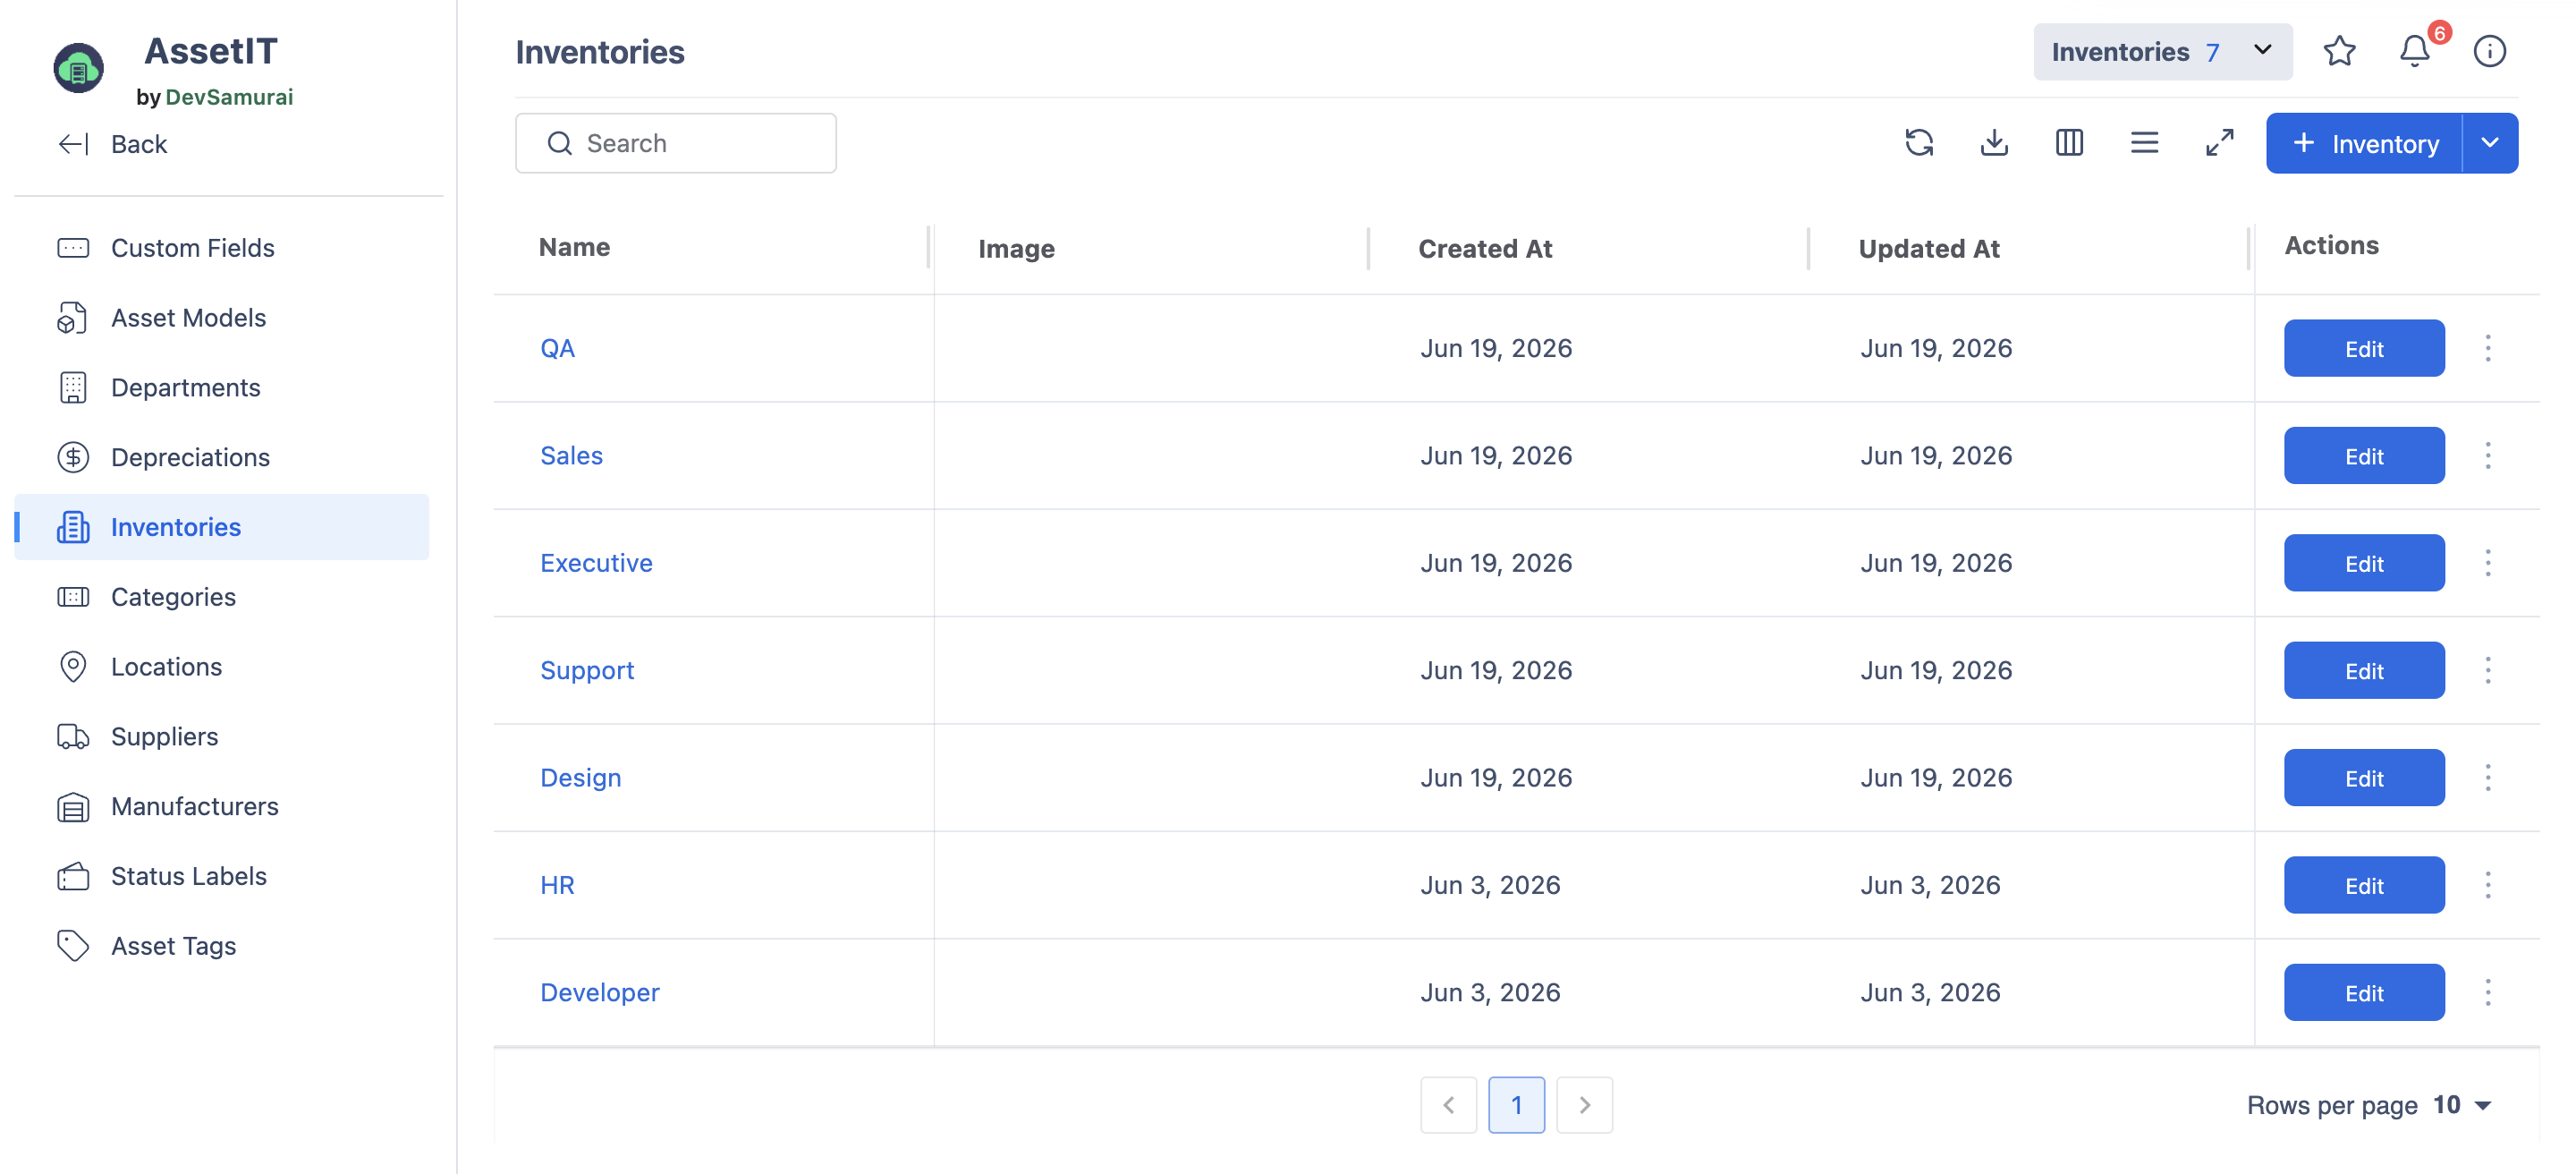
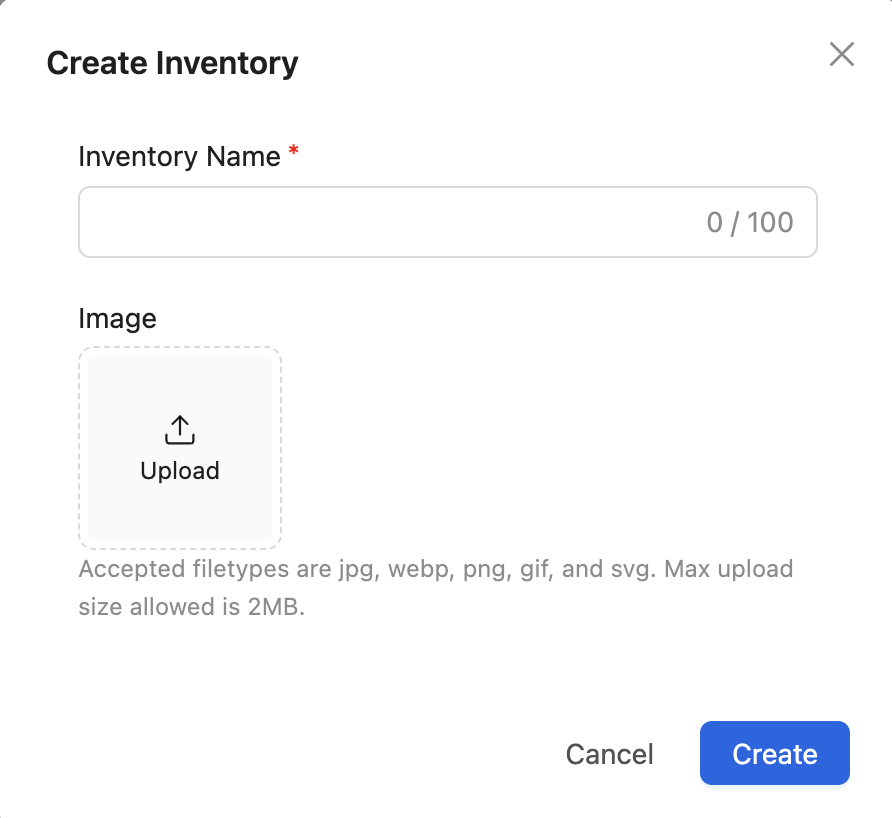
Creating a new inventory
There are two ways to create inventories:
-
One by one — Click + Inventory, fill in the details, and click Submit.
-
Bulk import — From the + Inventory dropdown, select Import Inventories to import multiple inventories at once.
Editing and deleting inventories
Edit an inventory
In the Actions column, click the Edit button to modify an inventory's details.
Delete a single inventory
In the Actions column, click More Options, then select Delete.
Delete in bulk
-
Select the inventories you want to delete.
-
From the Bulk Action menu, click Delete.
-
You are taken to the Confirm Bulk Delete Inventories page.
-
Review the inventories that will be deleted, then click Delete.
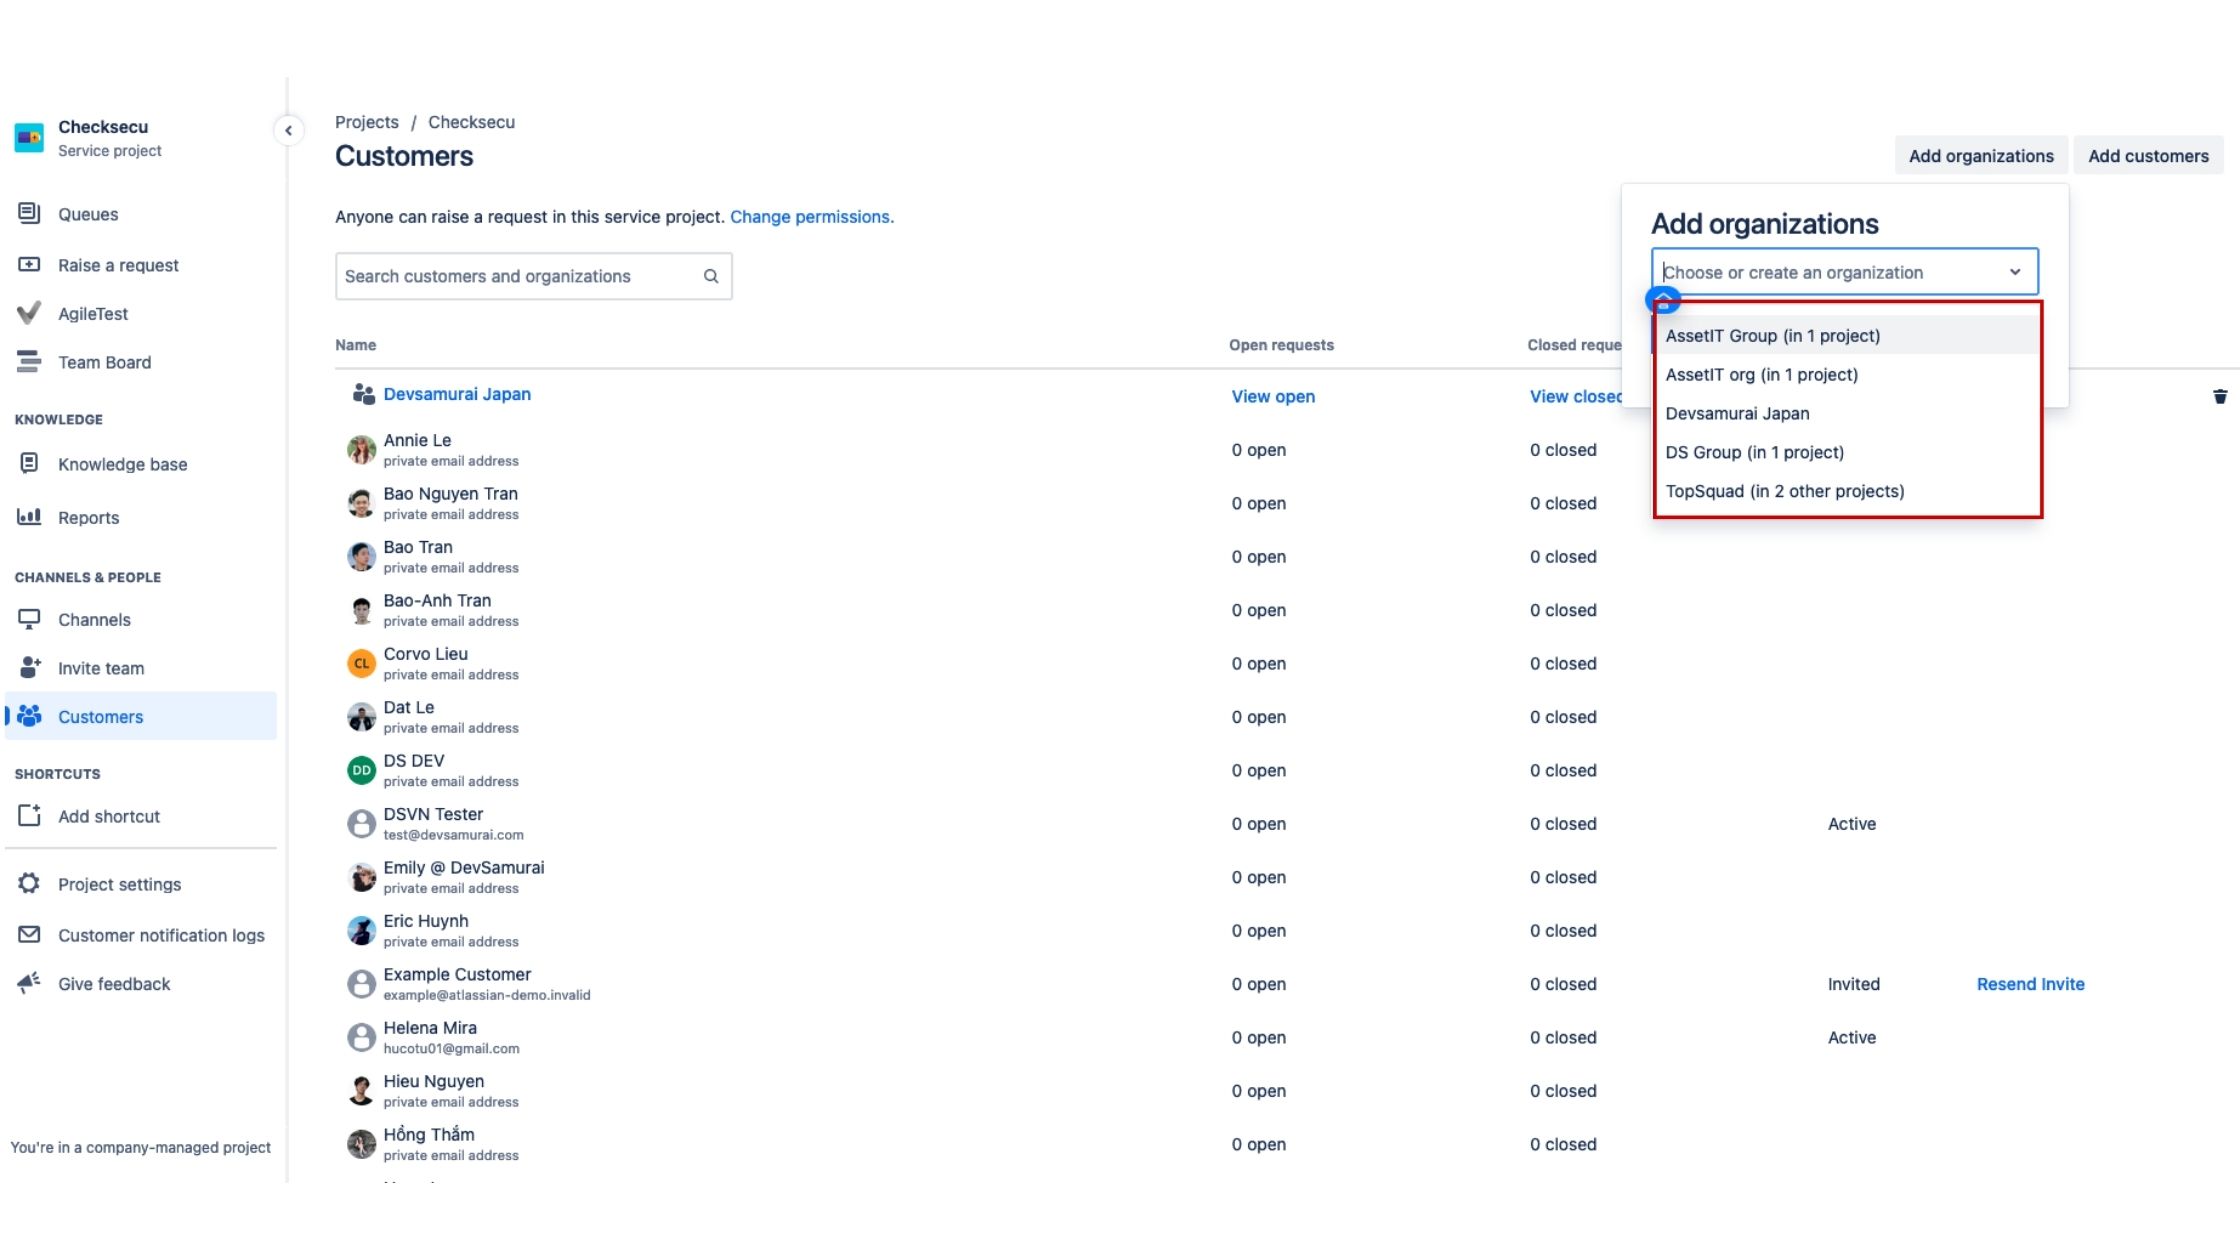
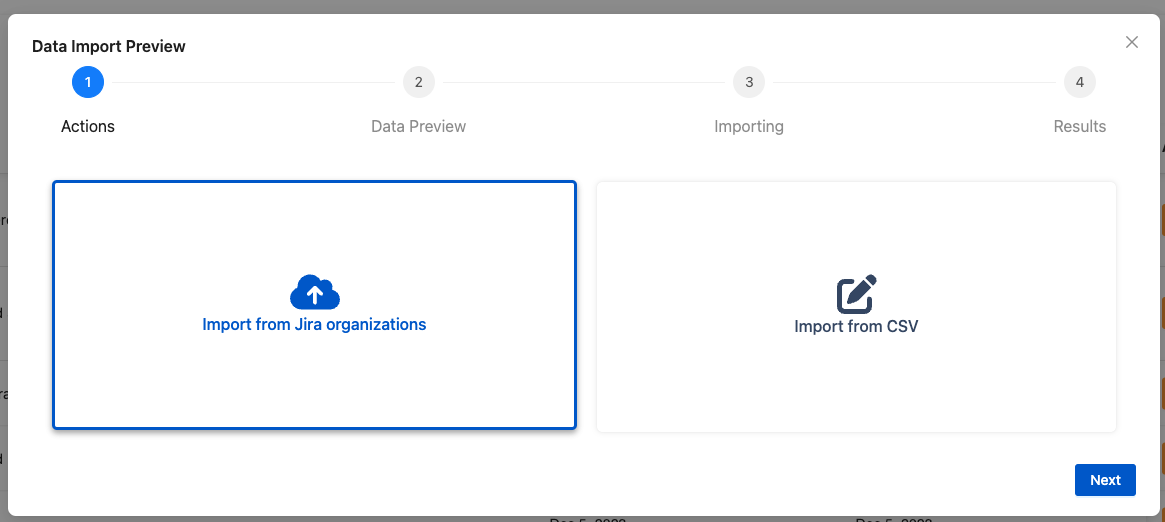
Import Jira Organizations into inventories
AssetIT lets you import organizations directly from Jira Service Management and convert them into inventories.
-
On the Inventories page, choose the Import Inventories option.
-
Select Import from Jira Organizations, then click Next.
-
Choose the organizations you want to import as inventories. AssetIT pulls the data directly from your Jira Service Management account.
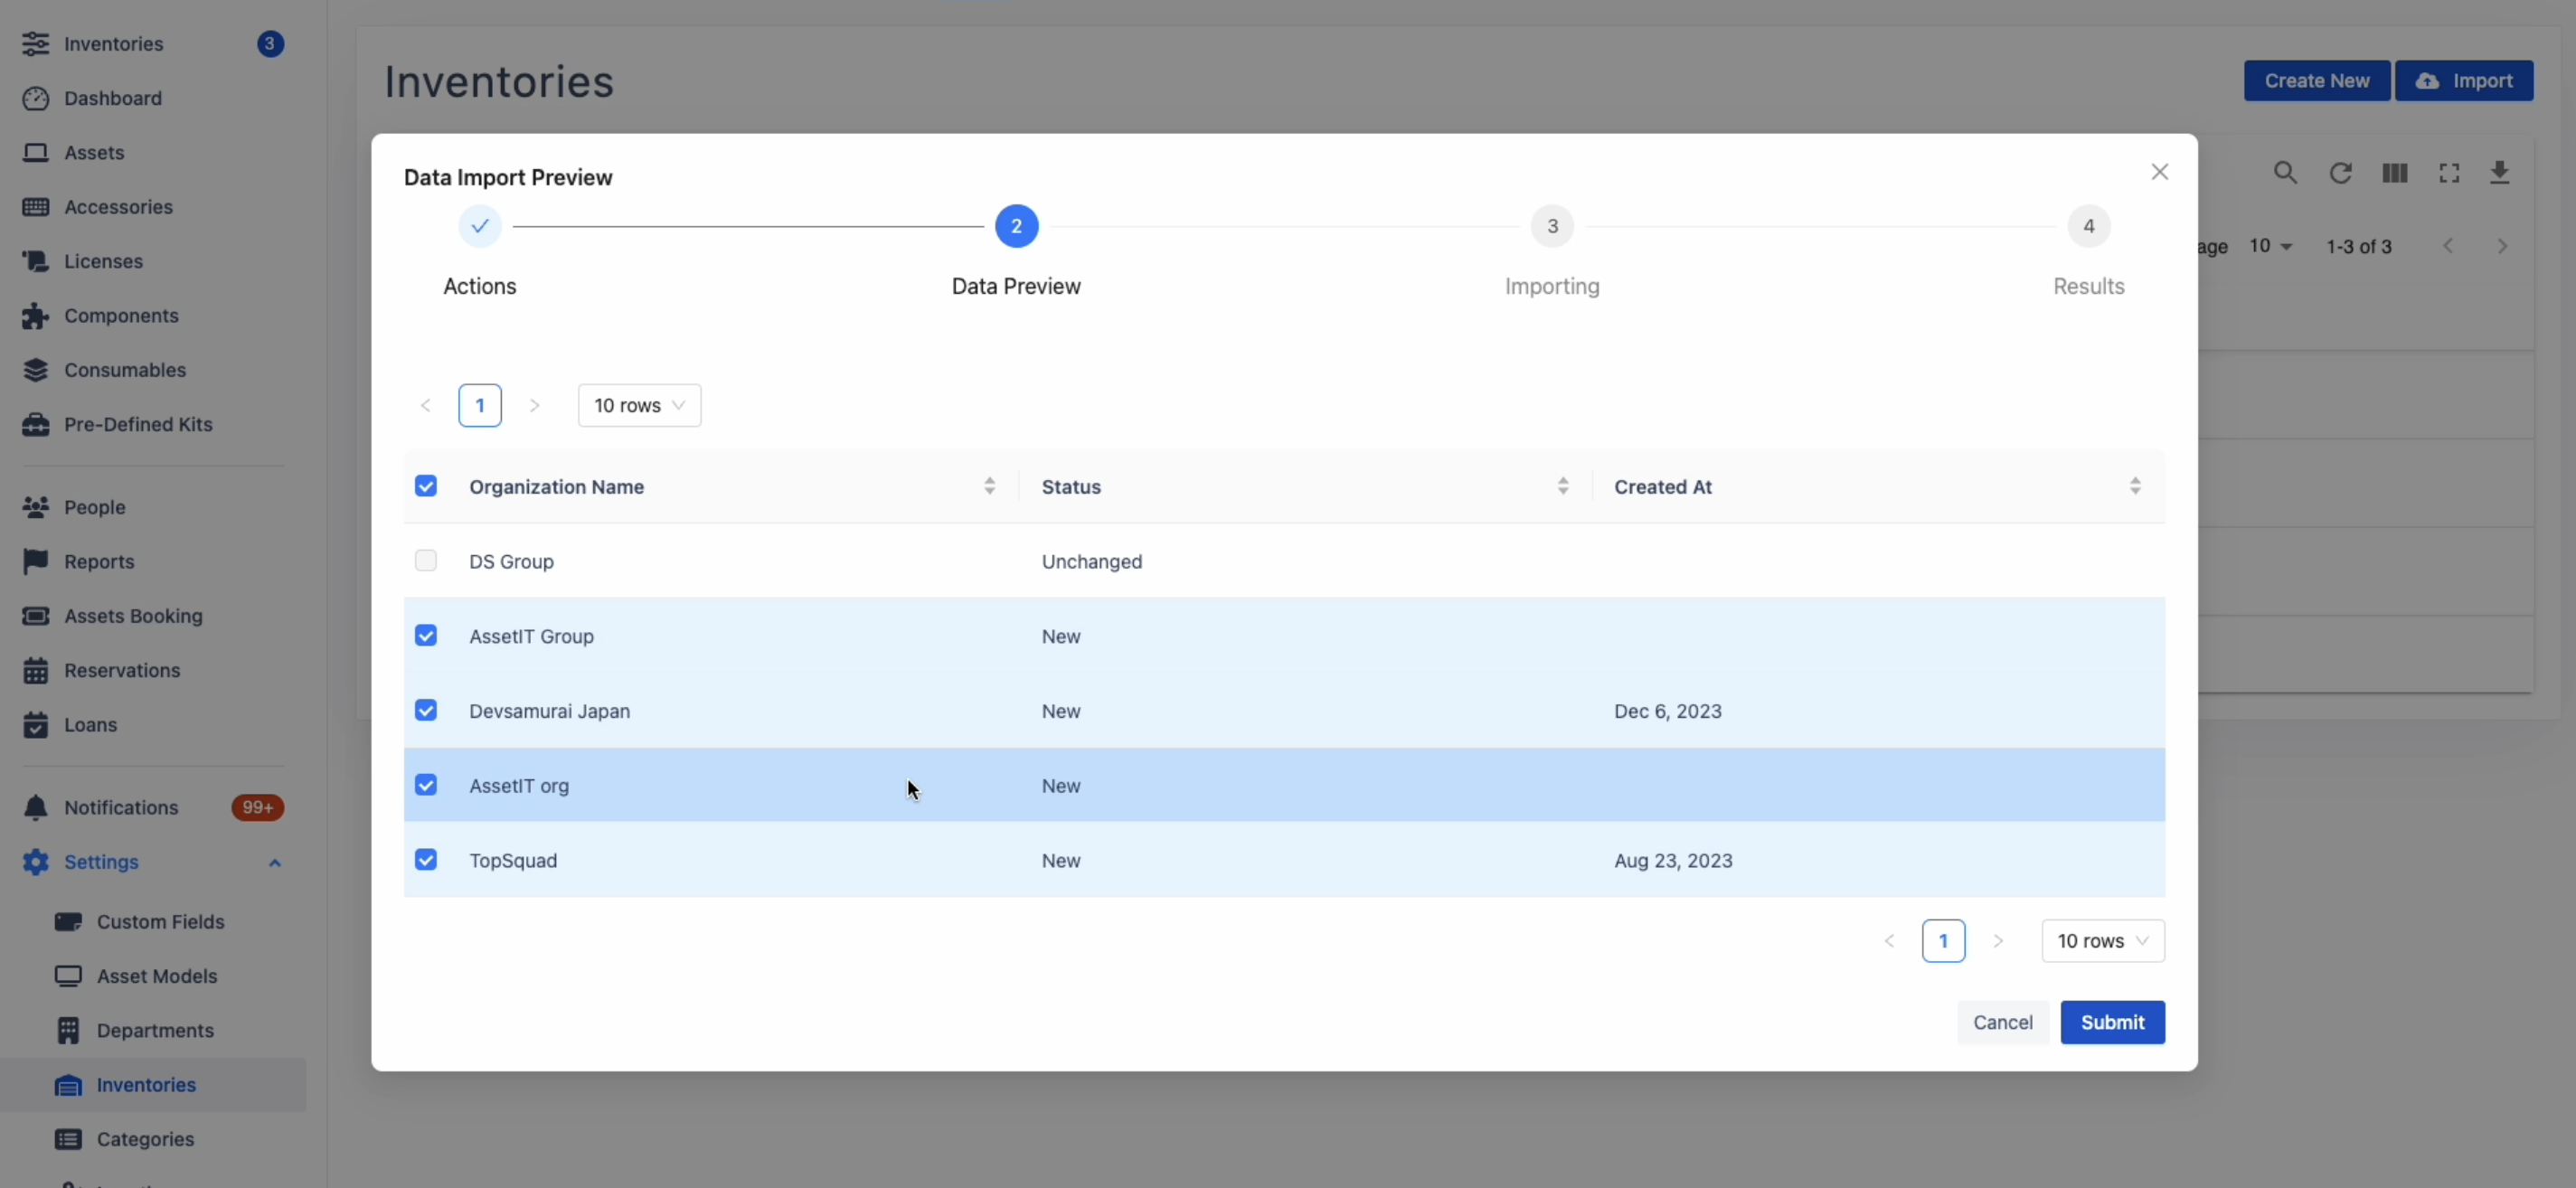
-
Click Submit to complete the import.