.png)
Who can customize CRM workflows in Sales & CRM for Jira?
Only Jira Site Administrators or Project Administrators have permission to customize the Lead and Deal workflows.
In Sales & CRM, Lead and Deal workflows help you track potential customers and opportunities through different stages. While the Lead Workflow tracks unqualified prospects, the Deal Workflow tracks formal sales opportunities as they move through a structured sales pipeline.
What is a Lead Workflow in CRM?
A Lead Workflow tracks the early stages of a potential customer’s journey. At this point, Leads are prospects that have not yet been fully qualified. The primary goal of the Lead workflow is to evaluate whether these unqualified prospects should be converted into Contacts—individuals who have shown interest and are actively engaged with your sales team.
Typically, a lead will move through the following stages:
-
New: The lead is newly created, and no contact has been made yet.
-
Attempted to Contact: Initial outreach has been made, but no response or further engagement has occurred.
-
Contacted: The lead has been successfully contacted and is now in discussions with the sales team.
-
Closed (Qualified/Unqualified): After evaluation, the lead is either qualified as a sales opportunity or disqualified.
What is a Deal Workflow in CRM?
A Deal Workflow represents the stages of your sales pipeline. Once a lead has been converted into a Contact and has shown potential, they are turned into a Deal—a formal sales opportunity. The Deal Workflow tracks the progress of the deal through the sales pipeline, from initial discovery to negotiation and ultimately to closing.
Typically, a deal will move through the following stages:
-
New: The opportunity is newly created. This stage marks the initial stage where the deal is being evaluated.
-
Discovery: The sales team works with the Contact within the Account to understand their needs and challenges.
-
Proposal: The team presents a proposal, outlining the solution, pricing, and terms.
-
Negotiation: Discussing the expansion or reduction of the scope of work, adjusting pricing, and managing expectations to reach a final agreement.
-
Closed (Won/Lost): The deal is either won (successful sale) or lost (due to reasons such as competition or budget).
While these default stages are designed to meet common needs, Sales & CRM allows you to customize the workflow stages for both Leads and Deals according to your organization’s process. Here's how you can customize these workflows.
Customizing Deal or Lead Workflow in Sales & CRM
1. Accessing the Workflow Configuration page
You can customize your Deal Workflow or Lead Workflow in the Workflow Configuration page.
This section allows you to add, edit, or remove workflow stages to better align with your organization’s sales process.
There are 02 ways to visit the Workflow Configuration page:
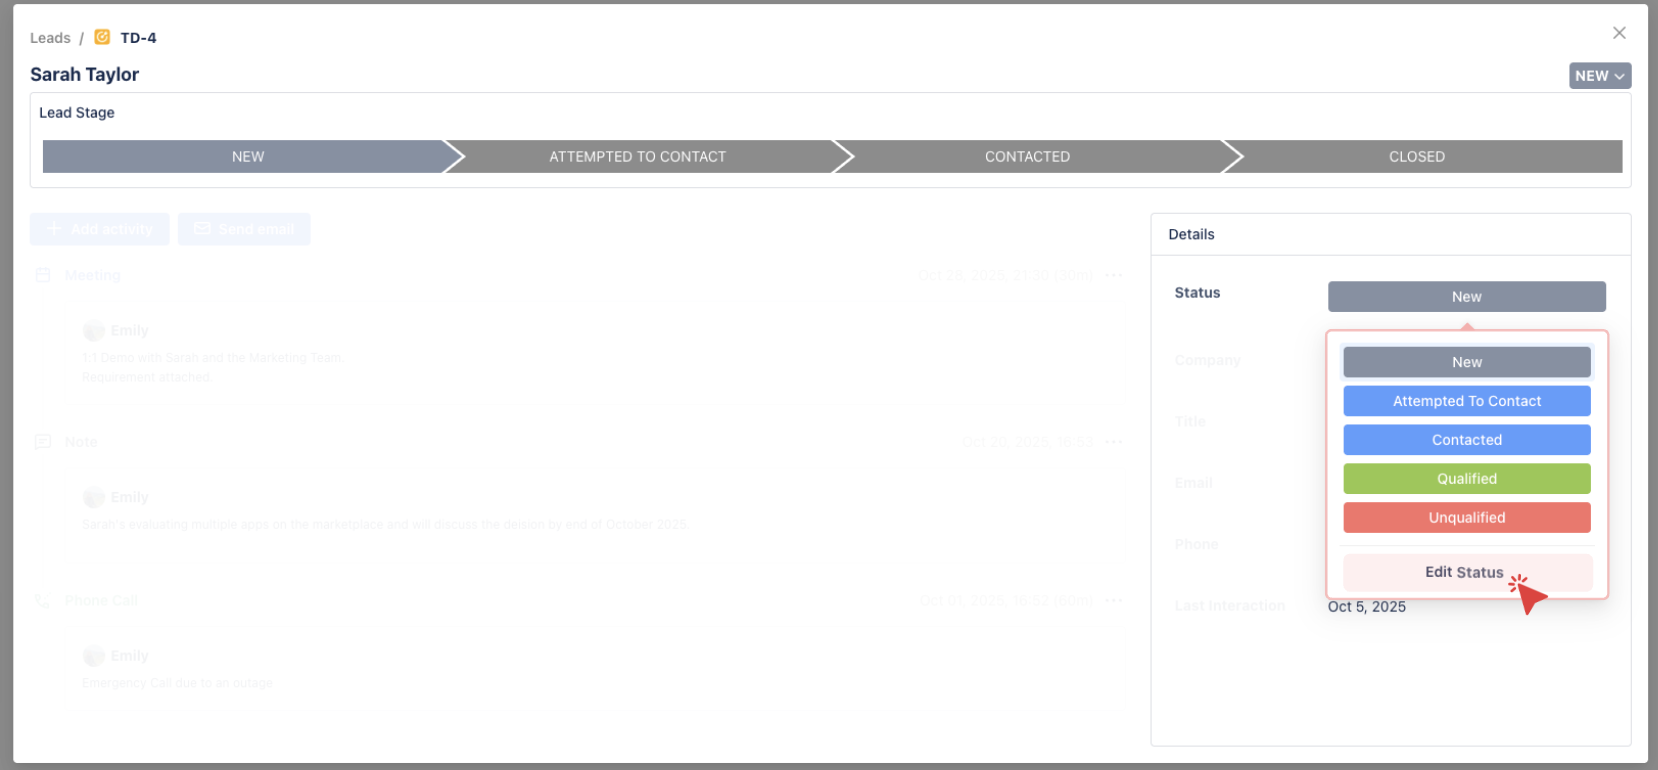
Approach 1: Editing the Status field inside a Lead or a Deal
Since each status of a Lead or Deal represents a stage in the workflow, you can edit the workflow directly from a record:
-
Click on a Lead or a Deal to open its Details page.
-
Locate the Status field.
-
Click on the current status to open the dropdown menu.
-
At the end of the list, click the Edit Status button.
-
You will be redirected to the Workflow Configuration page.
This method provides quick access when you are already working inside a specific Lead or Deal.
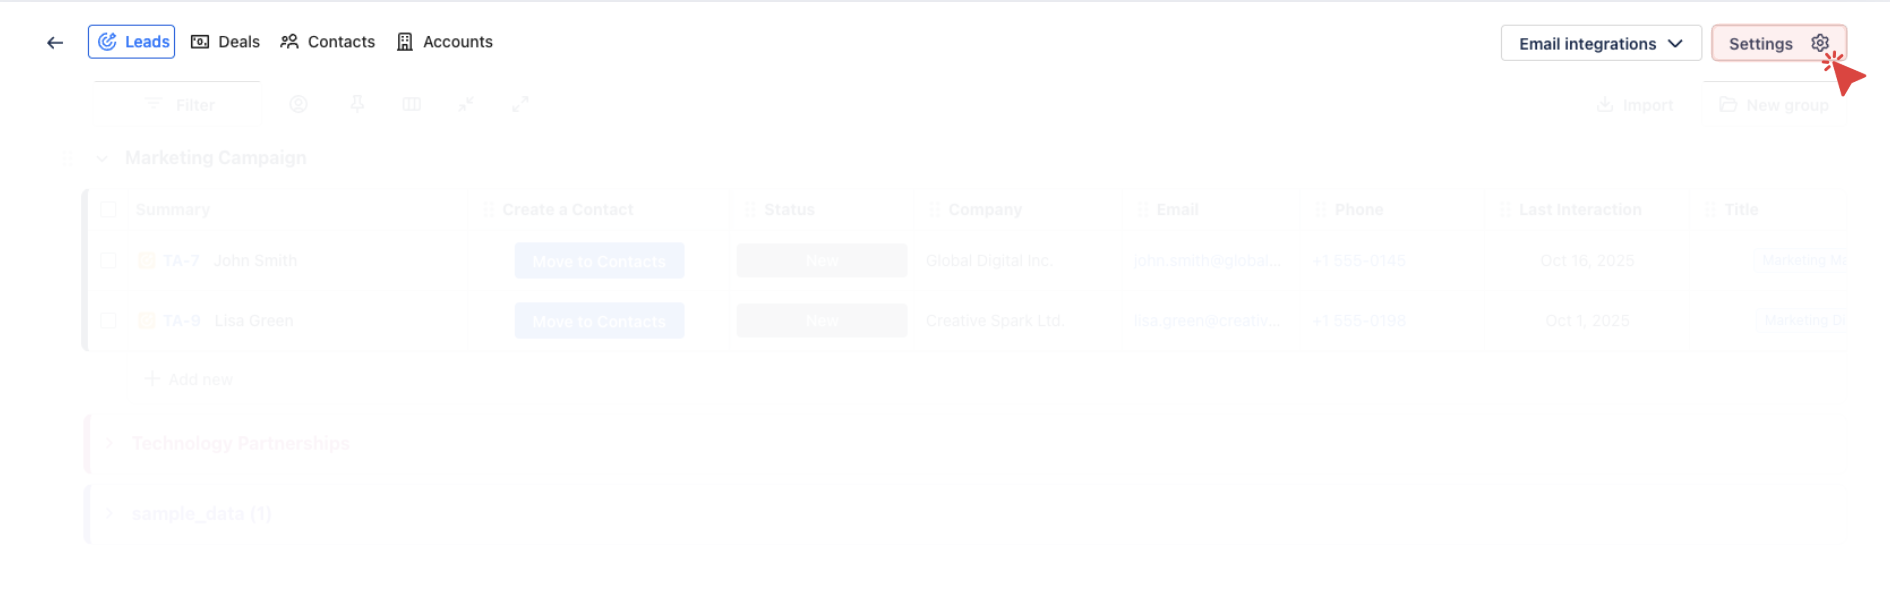
Approach 2. Navigating through Settings
You can also access the Workflow Configuration page directly from the main settings menu:
-
From any board (


-
You will be redirected to the Workflow Configuration page, where you can customize either the Lead Workflow or Deal Workflow.
2. Customizing Workflows
There are two tabs in the workflow configuration section: Leads workflow & Deals workflow.
You can customize the workflow for either Leads or Deals, depending on your needs.
-
Add a New Status:
-
To add a new status to either the Leads or Deals workflow, click on the Add Status button at the bottom of the workflow list.
-
After adding a status, it will be assigned the In-Progress status type by default, which is represented by a

-
-
Delete a Status:
-
To delete a status, you must ensure that it is not in use by any records (Leads or Deals). If the status is not being used, the :trash: Delete option will be available.
-
-
Reorder the Stages (Drag and Drop):
You can easily reorder the stages by dragging and dropping the status entries. This allows you to adjust the order of your workflow stages based on your business needs.
-
Color Codes: Each status color reflects its status category in Jira:
-

-
-


-
Did You Know?
Every record in Sales & CRM is also a Jira work item. You can view and move it between stages directly on your Jira Kanban board, and the changes will sync automatically with Sales & CRM for Jira.