.png)
Time Tracking – a powerful tool designed to help users efficiently log and manage their work hours. This feature allows users to easily and precisely keep track of their time spent on monday.com items. "Time Tracking" is the perfect solution for monitoring and optimizing your time management.
Access Time Tracking Workspace
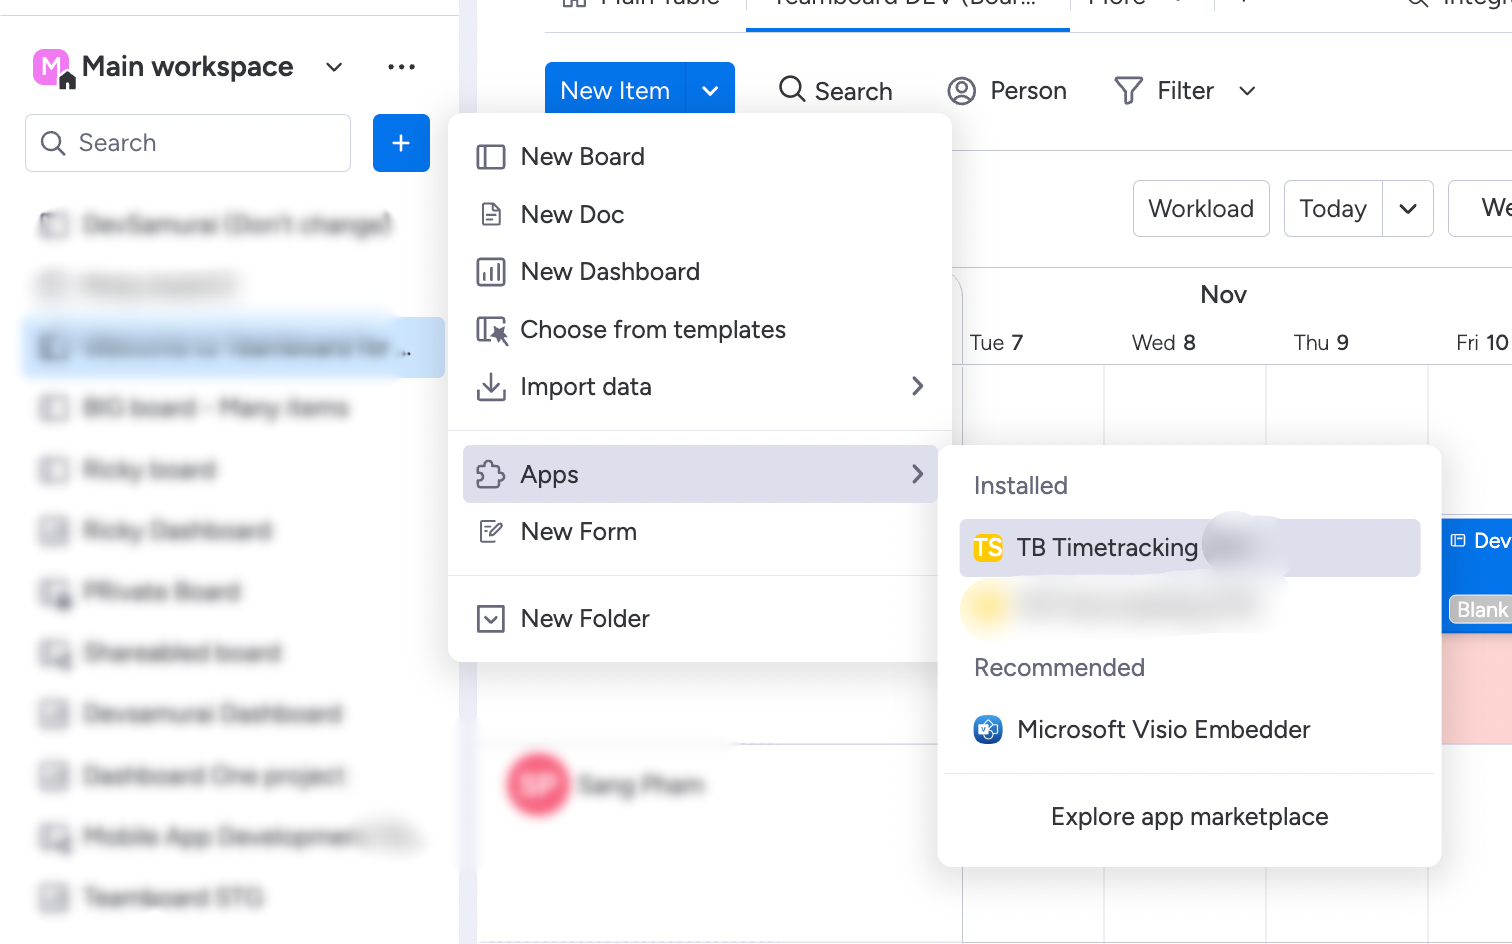
You can find and add “Time tracking” as a workspace item.
Then, you will see the main screen of time tracking like this:
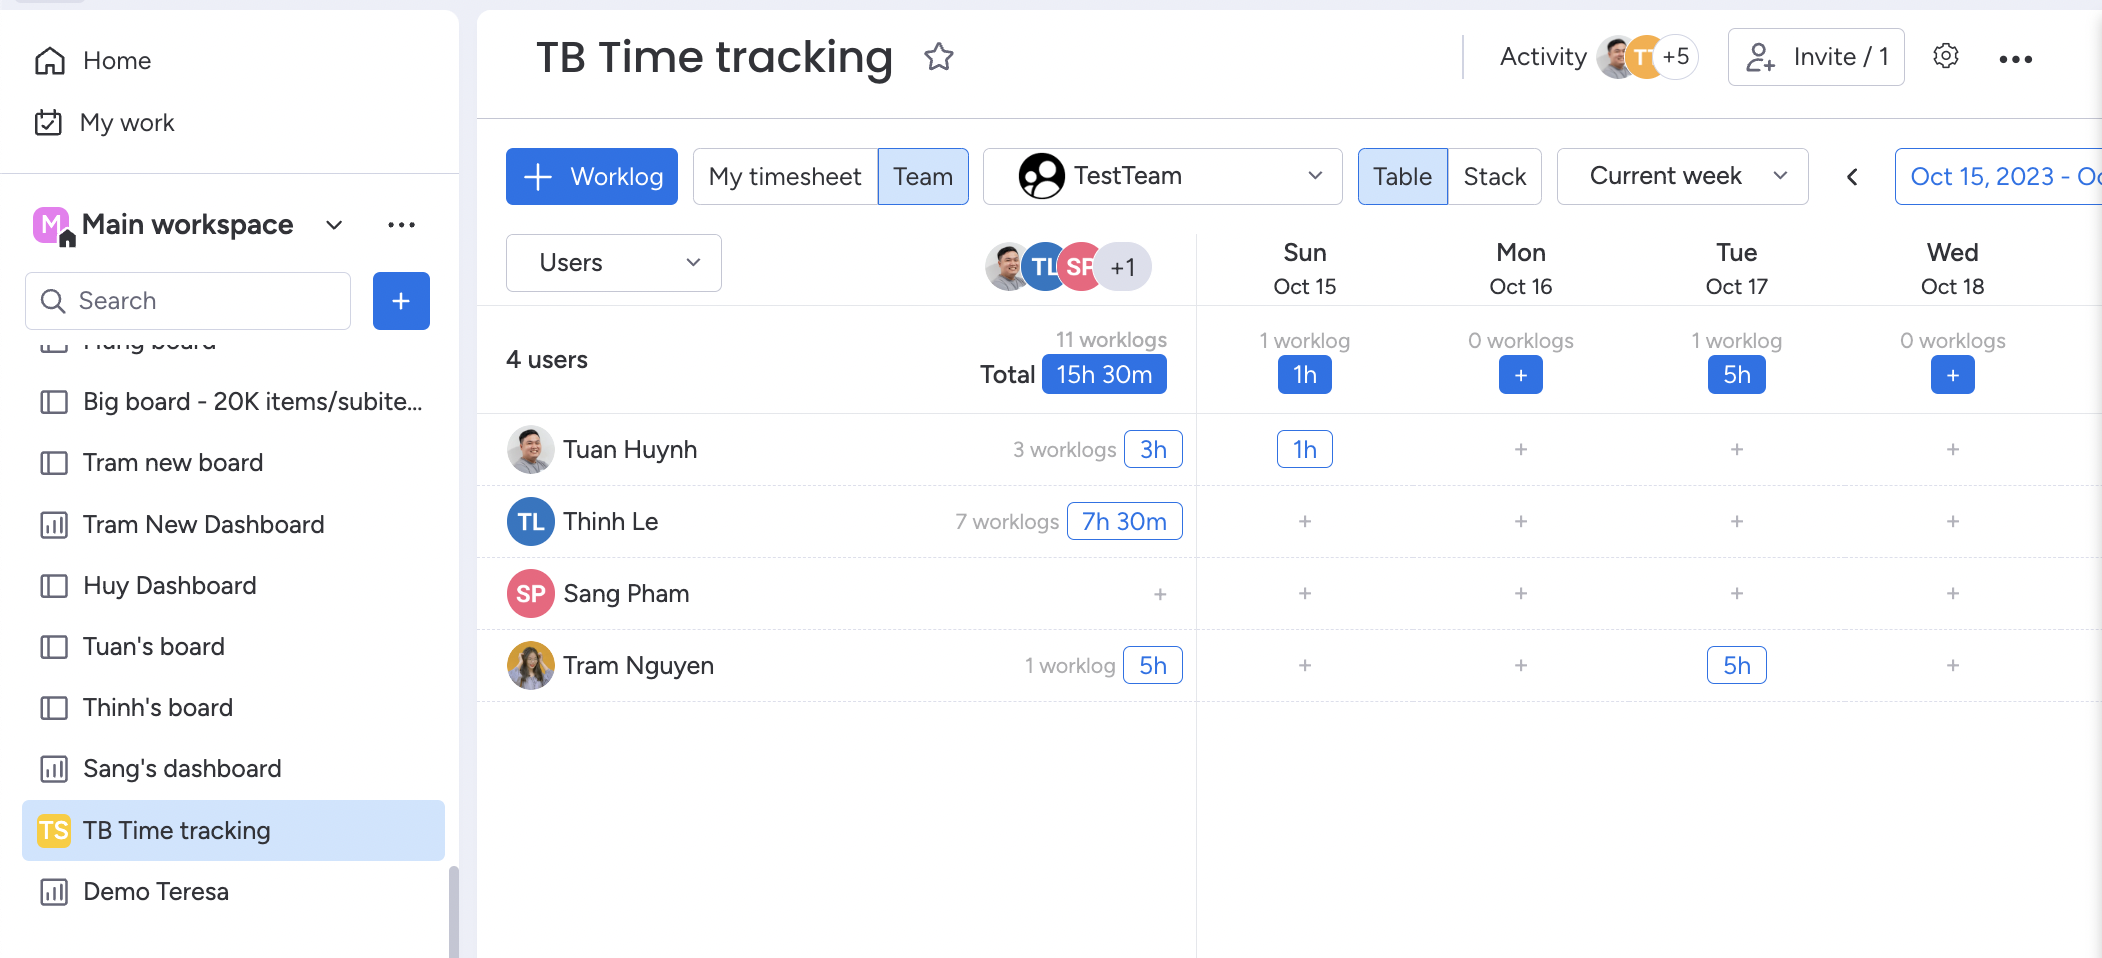
View modes
-
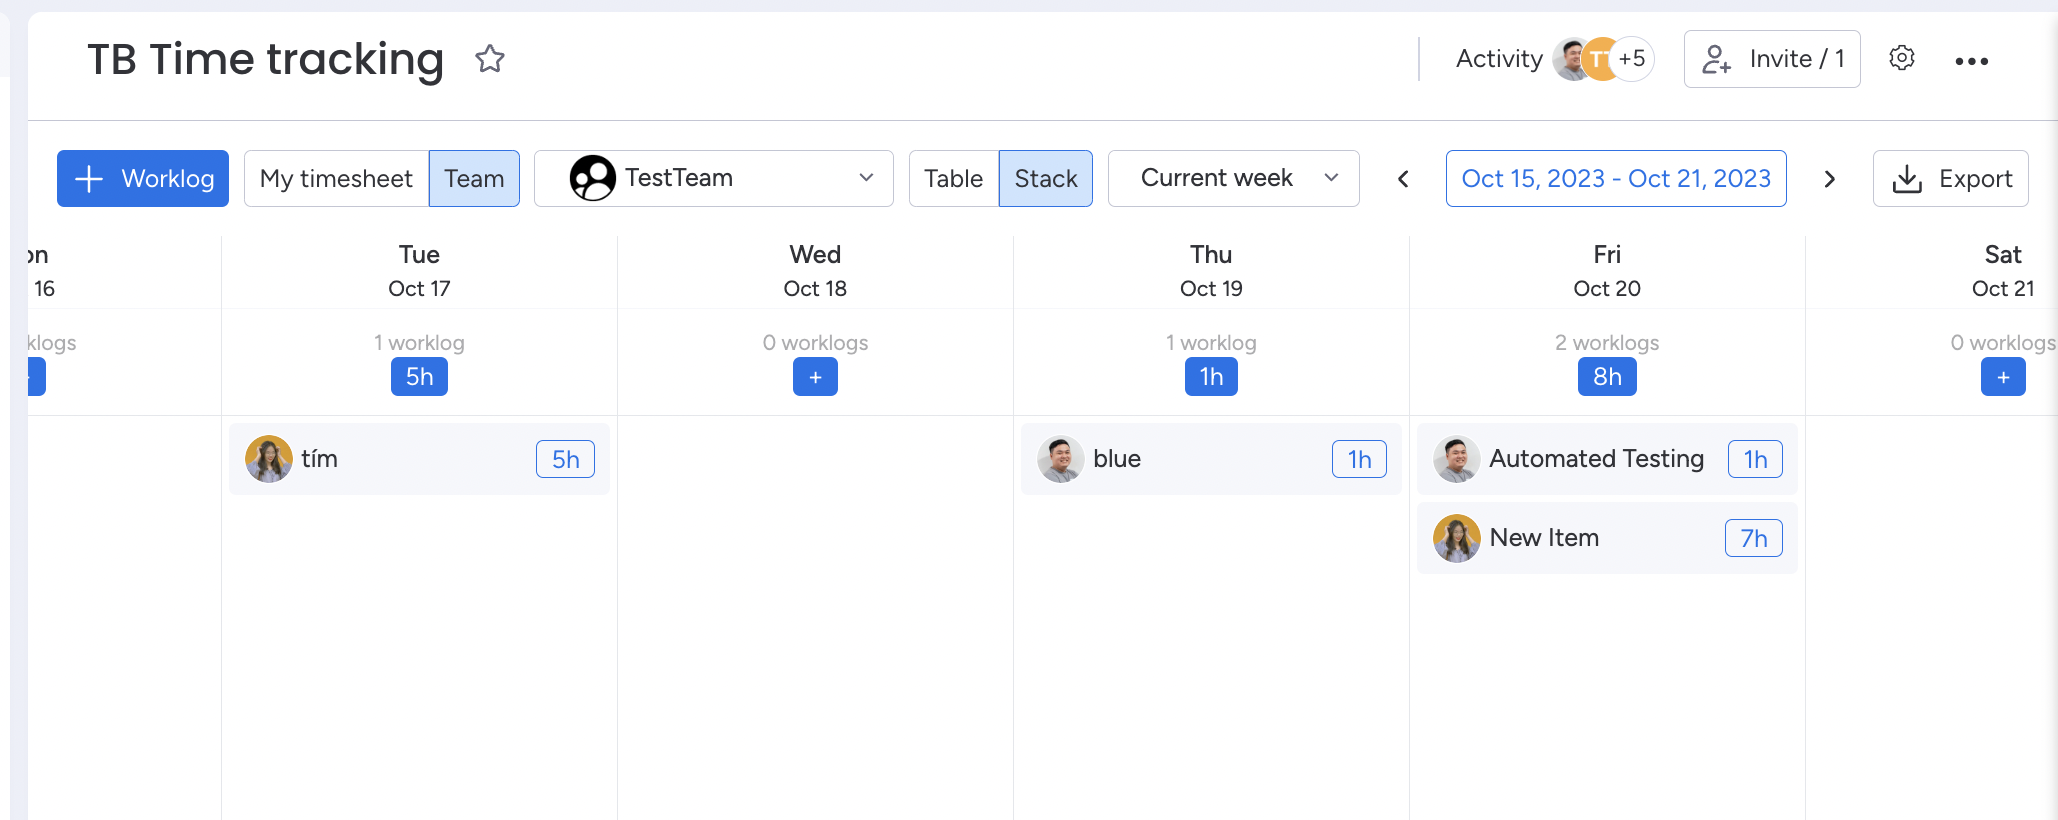
TimeTracking offers two different viewing modes. The default view mode is "Table," and users have the option to switch to "Stack" mode. In the "Stack" mode, each work log is displayed as a card under its respective day column.
-
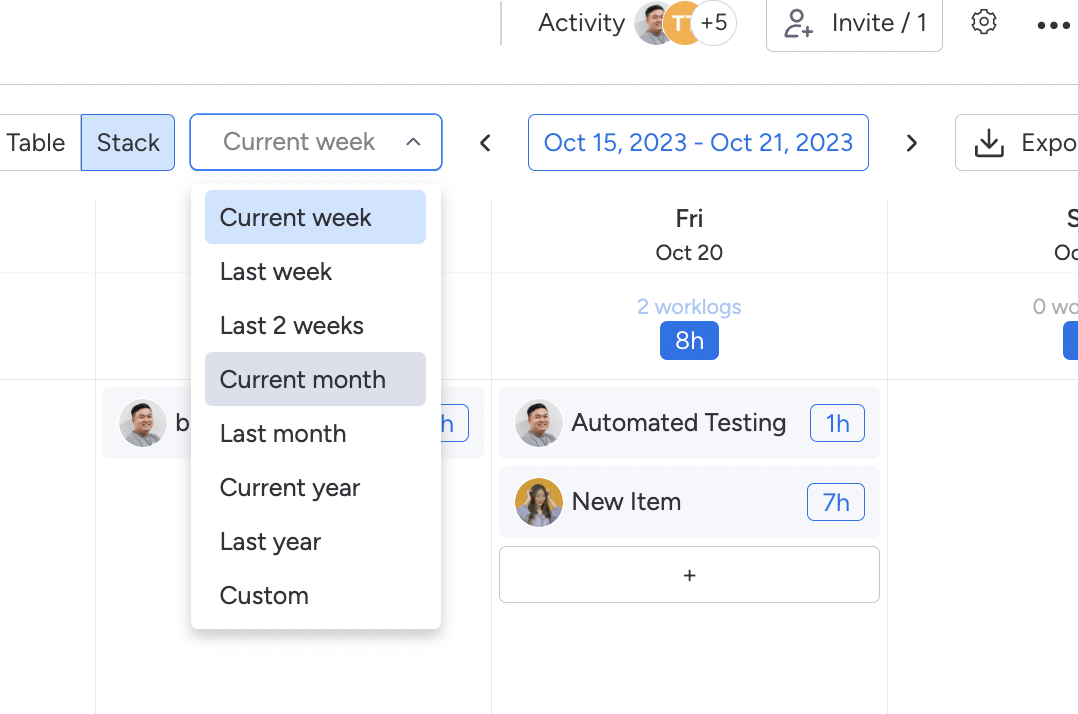
You can easily adjust the time range by selecting a predefined range or opting for a custom range of your choice.
Export
Currently, Time tracking supports exporting all your work logs in the selected time range to xlsx file (Excel format). Simply click on the "Export" button to do so.