.png)
-
Only users with Billing Admin permission can ‘mark tasks as billable’ and configure cost-related settings.
-
Regular users can ‘mark a task as billable’ only when Allow users to mark tasks as billable is enabled.
Tracking billable hours is essential for converting planned work into billable tasks that reflect actual costs. In TeamBoard TimePlanner, you can plan, mark, and log billable work to generate precise cost calculations.
Marking a Task as Billable
You can mark a task as billable when planning it on the Schedule. Billable tasks are reflected in reports and cost calculations, helping you track which work carries a cost.
You can mark a task as Billable in two ways.
Via the Planning Dialog
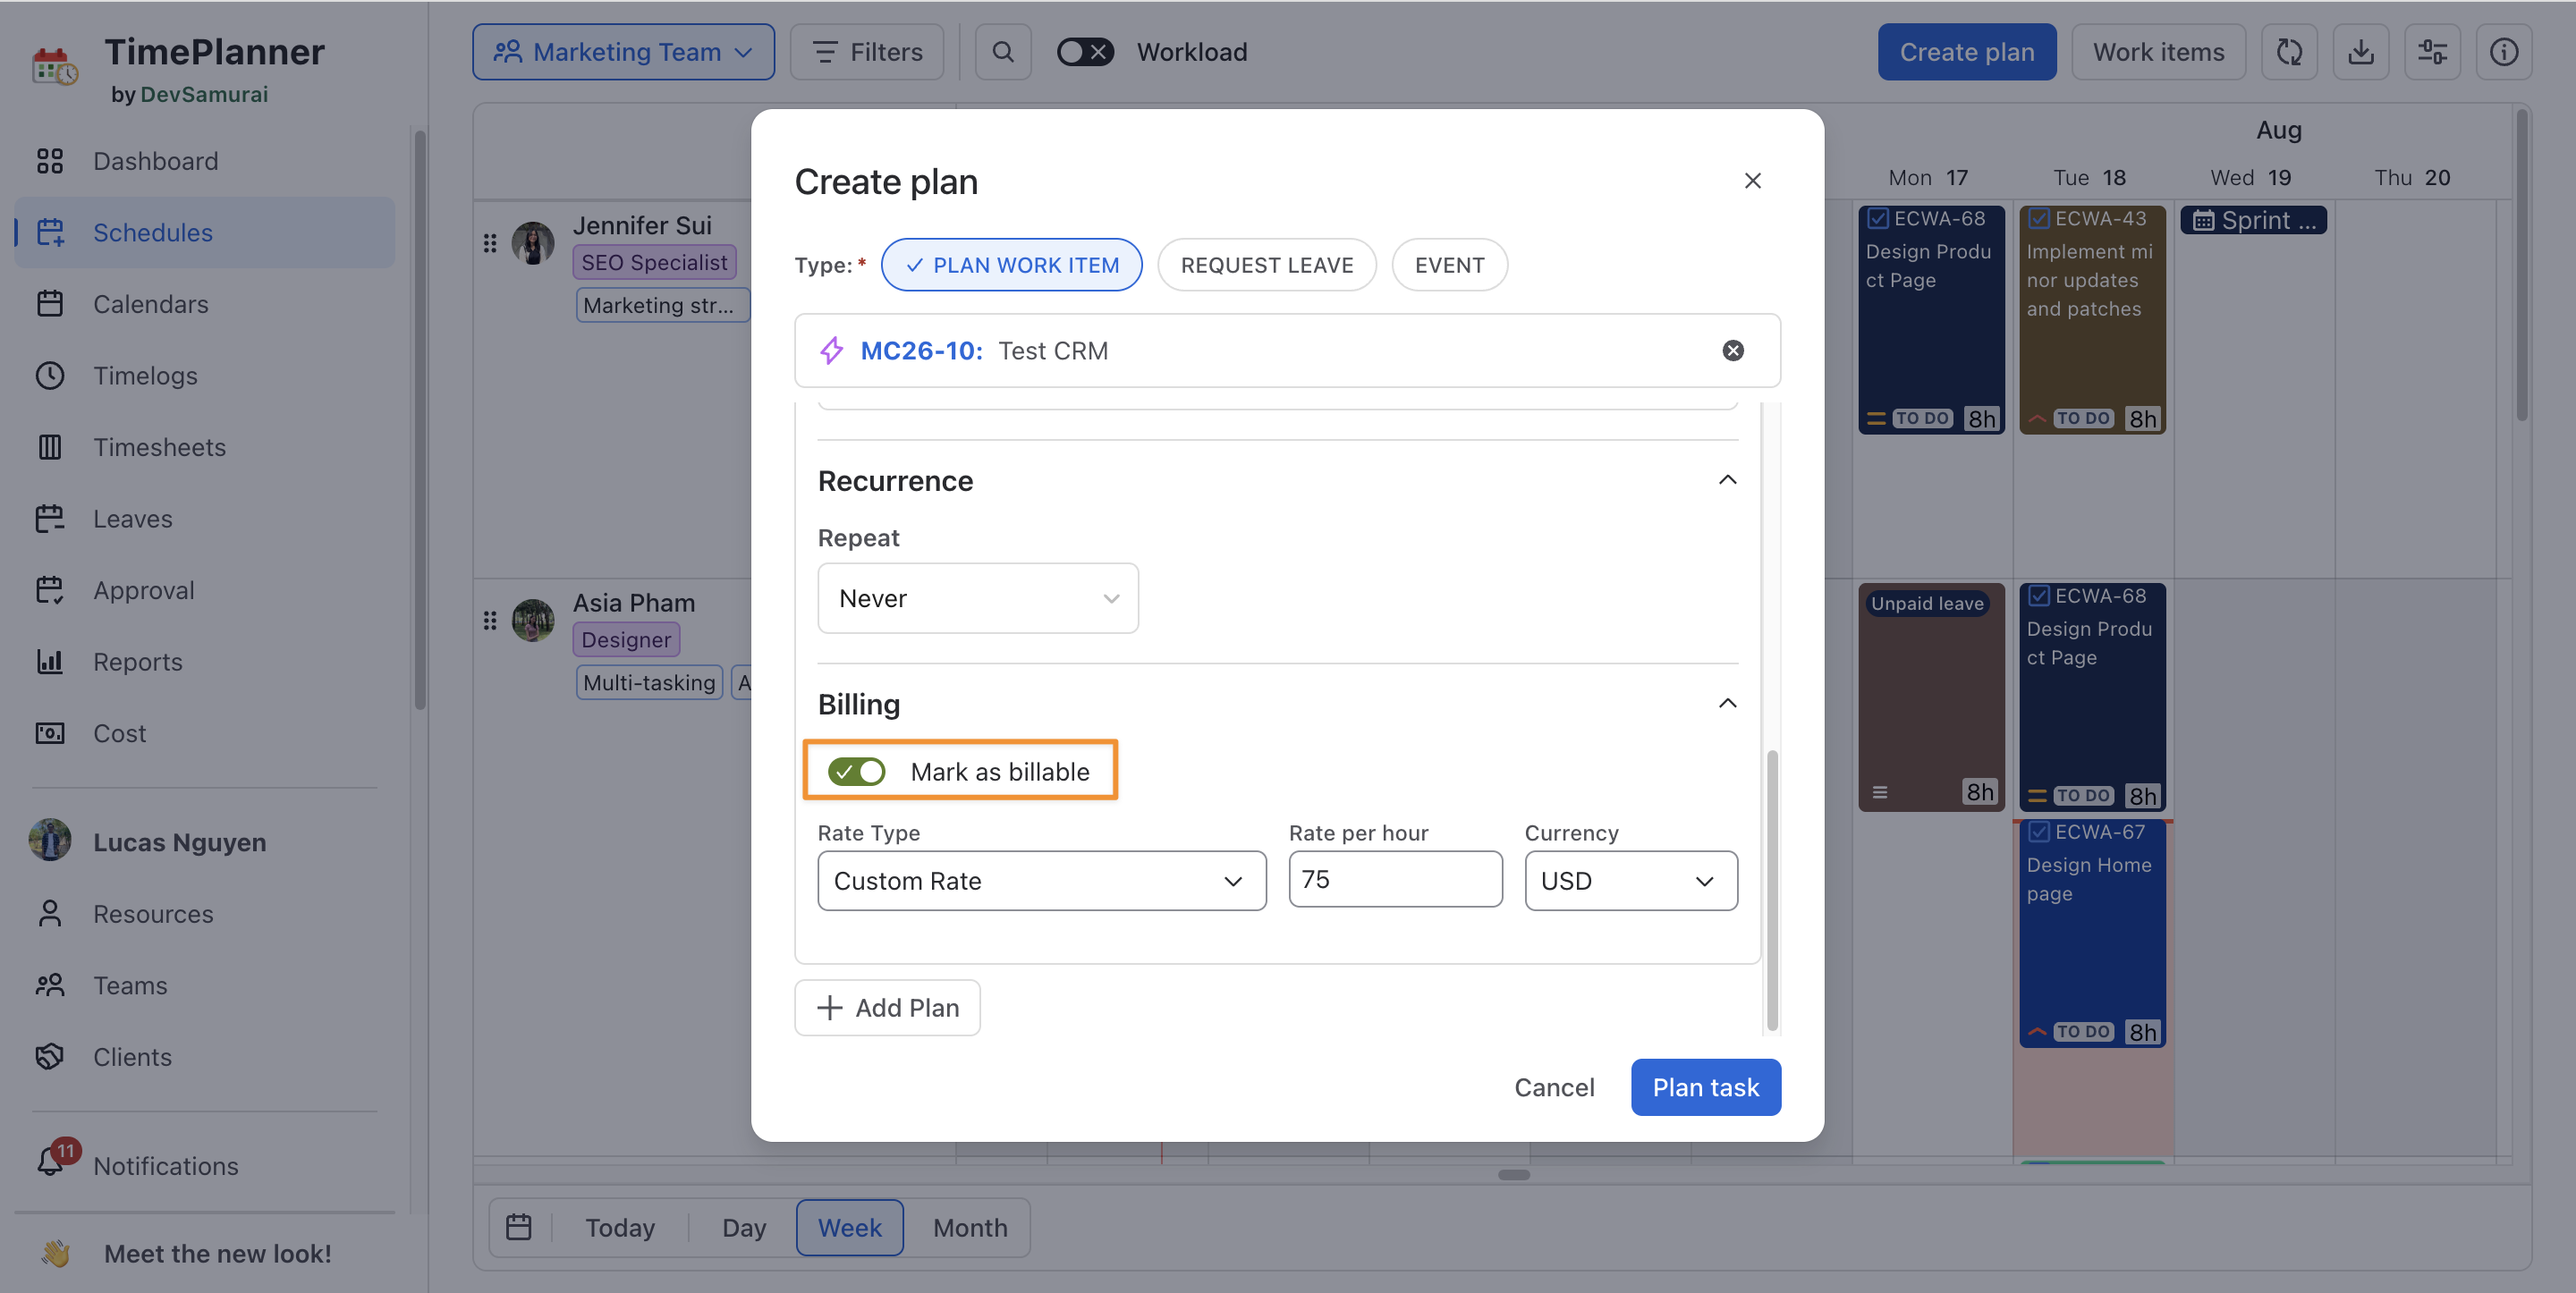
Navigate to the Schedule and follow the same steps when planning tasks via the Planning Dialog:
-
In the Planning dialog, enable Mark as billable.
-
Select the appropriate Rate Type to determine how the cost will be calculated.
-
Click Plan task to save the task.
Via the Jira Work Item Detail Panel
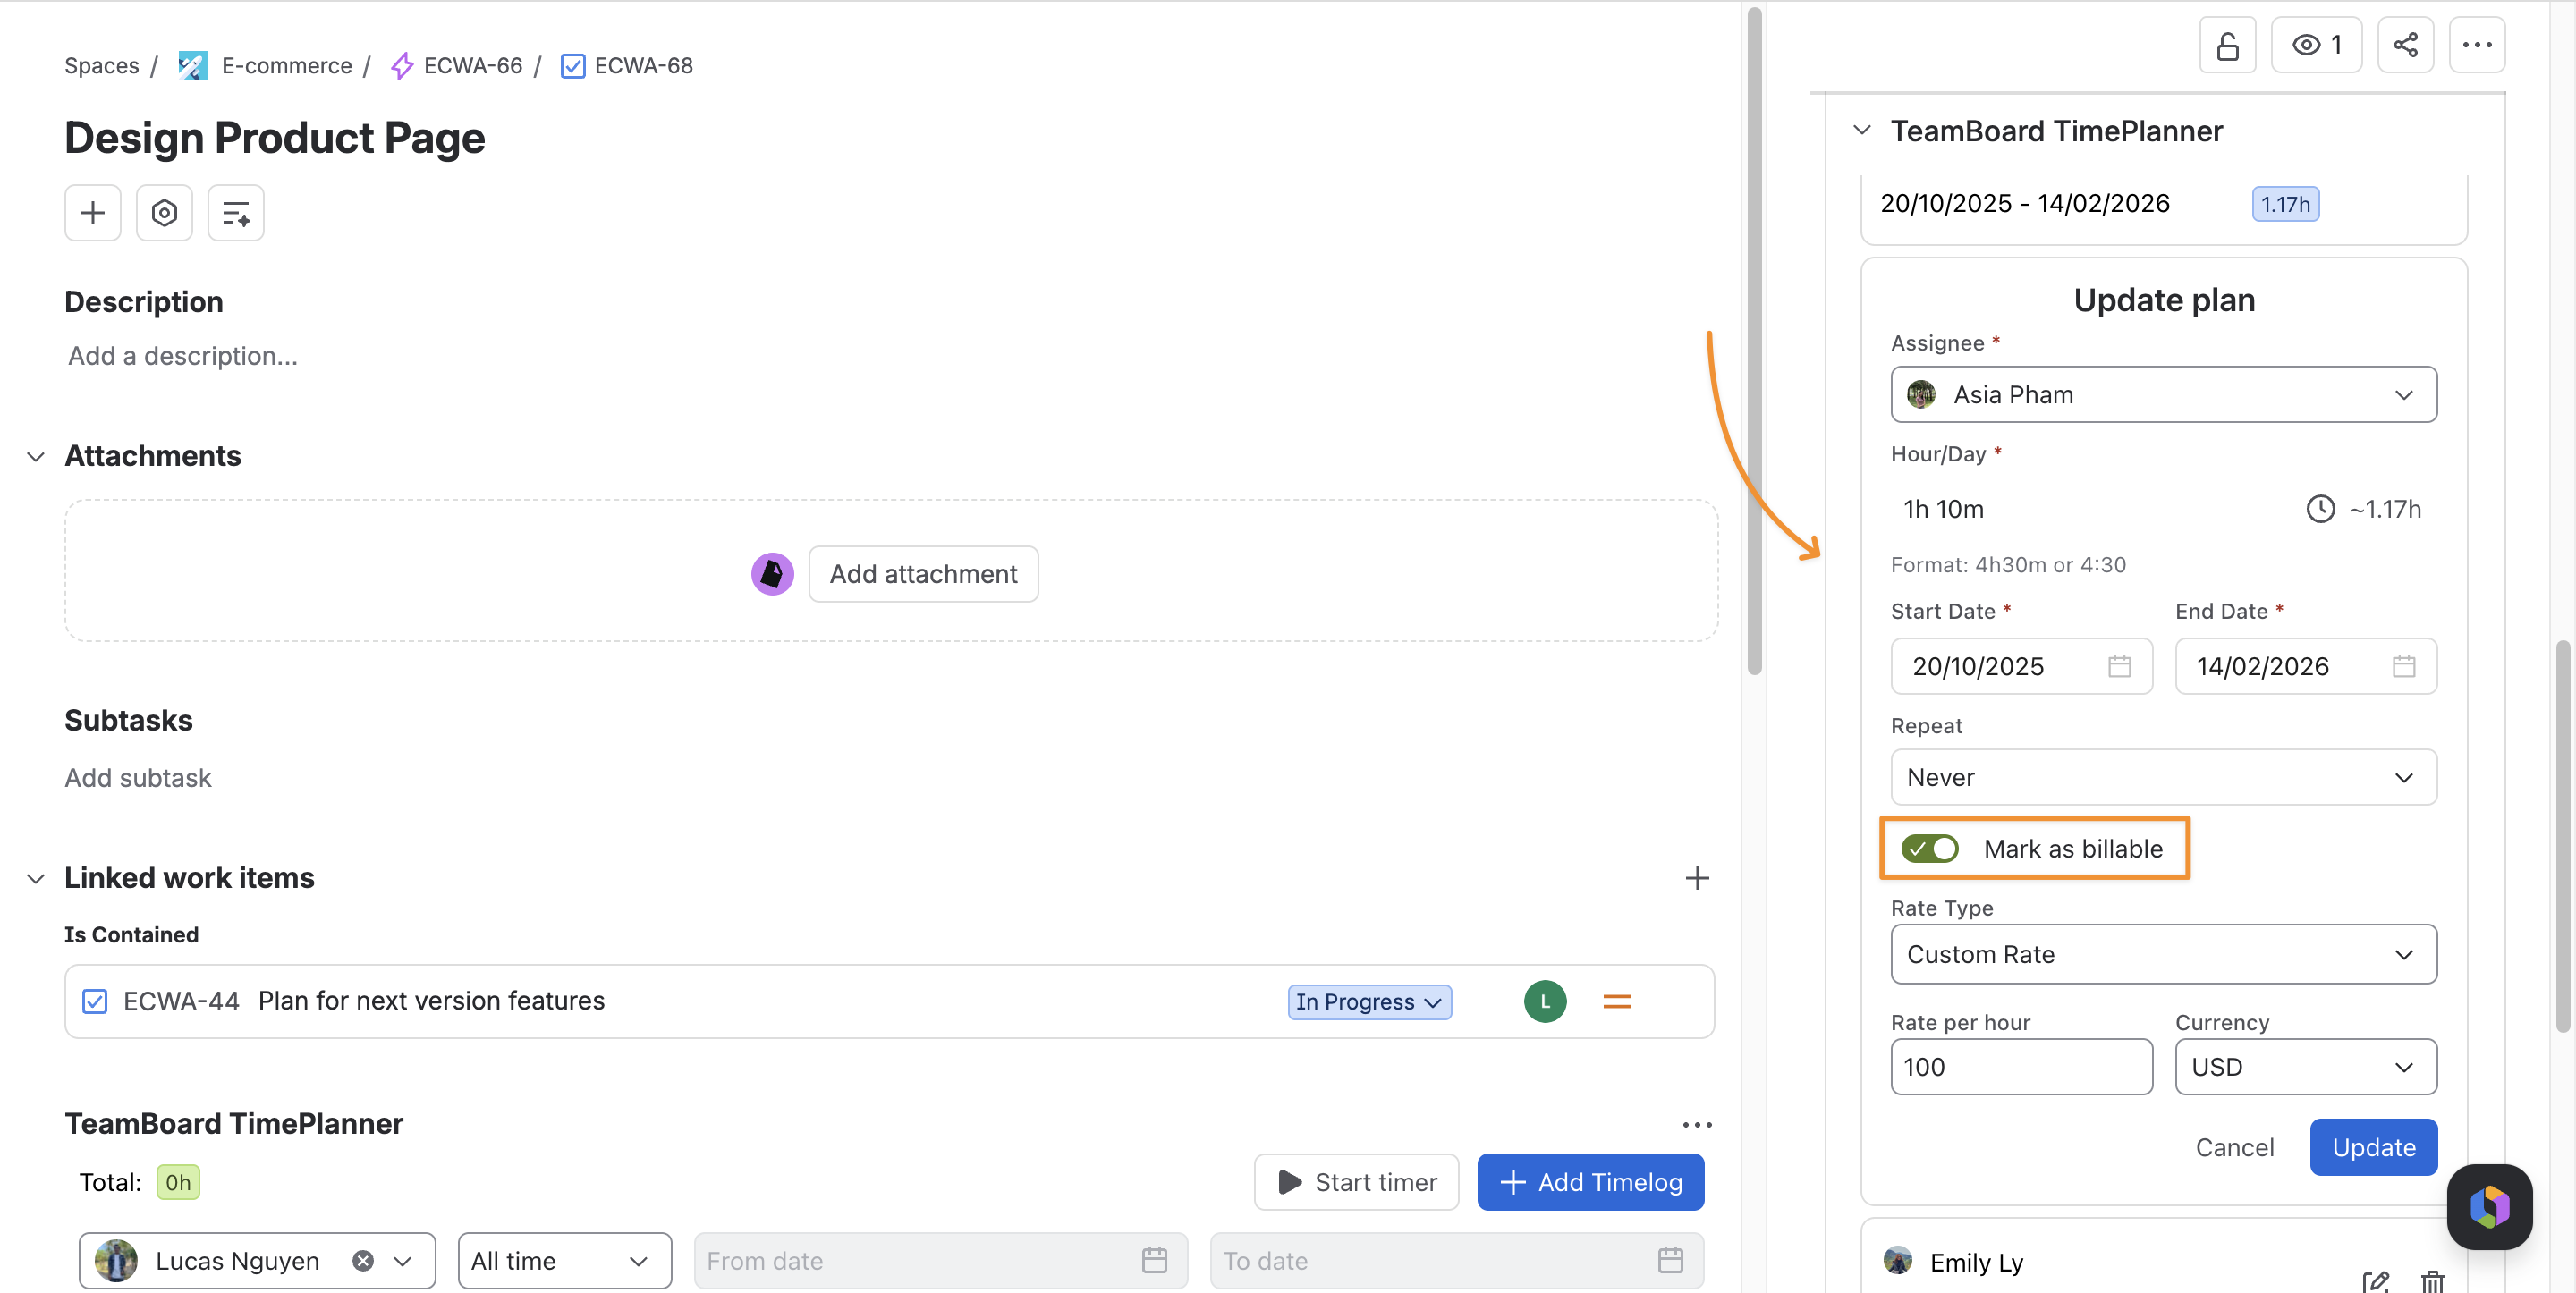
Navigate to the Schedule and follow the same steps when planning tasks via the Jira Work Item Detail Panel:
-
In the TeamBoard TimePlanner planning section, enable Mark as billable.
-
Select the appropriate Rate Type to determine how the cost will be calculated.
-
Click Update to save the task.
Rate configuration note
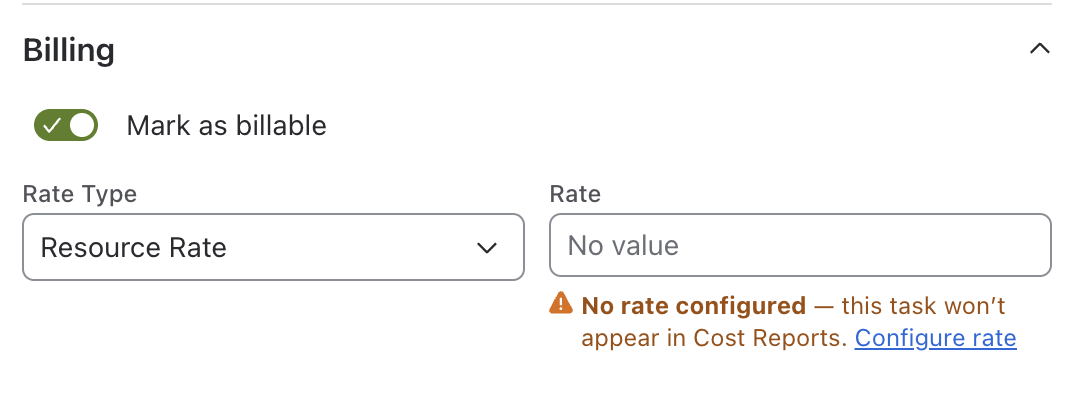
If no rate is configured for a planned task, a “No rate configured” warning appears below the Rate section in the Plan Modal.
This means the task currently has no cost value and may not be included in cost calculations or Cost Reports.
Users with billing permissions can click Configure rate to open the relevant Rate and Cost settings and add the missing rate.
Set up automatic billable defaults
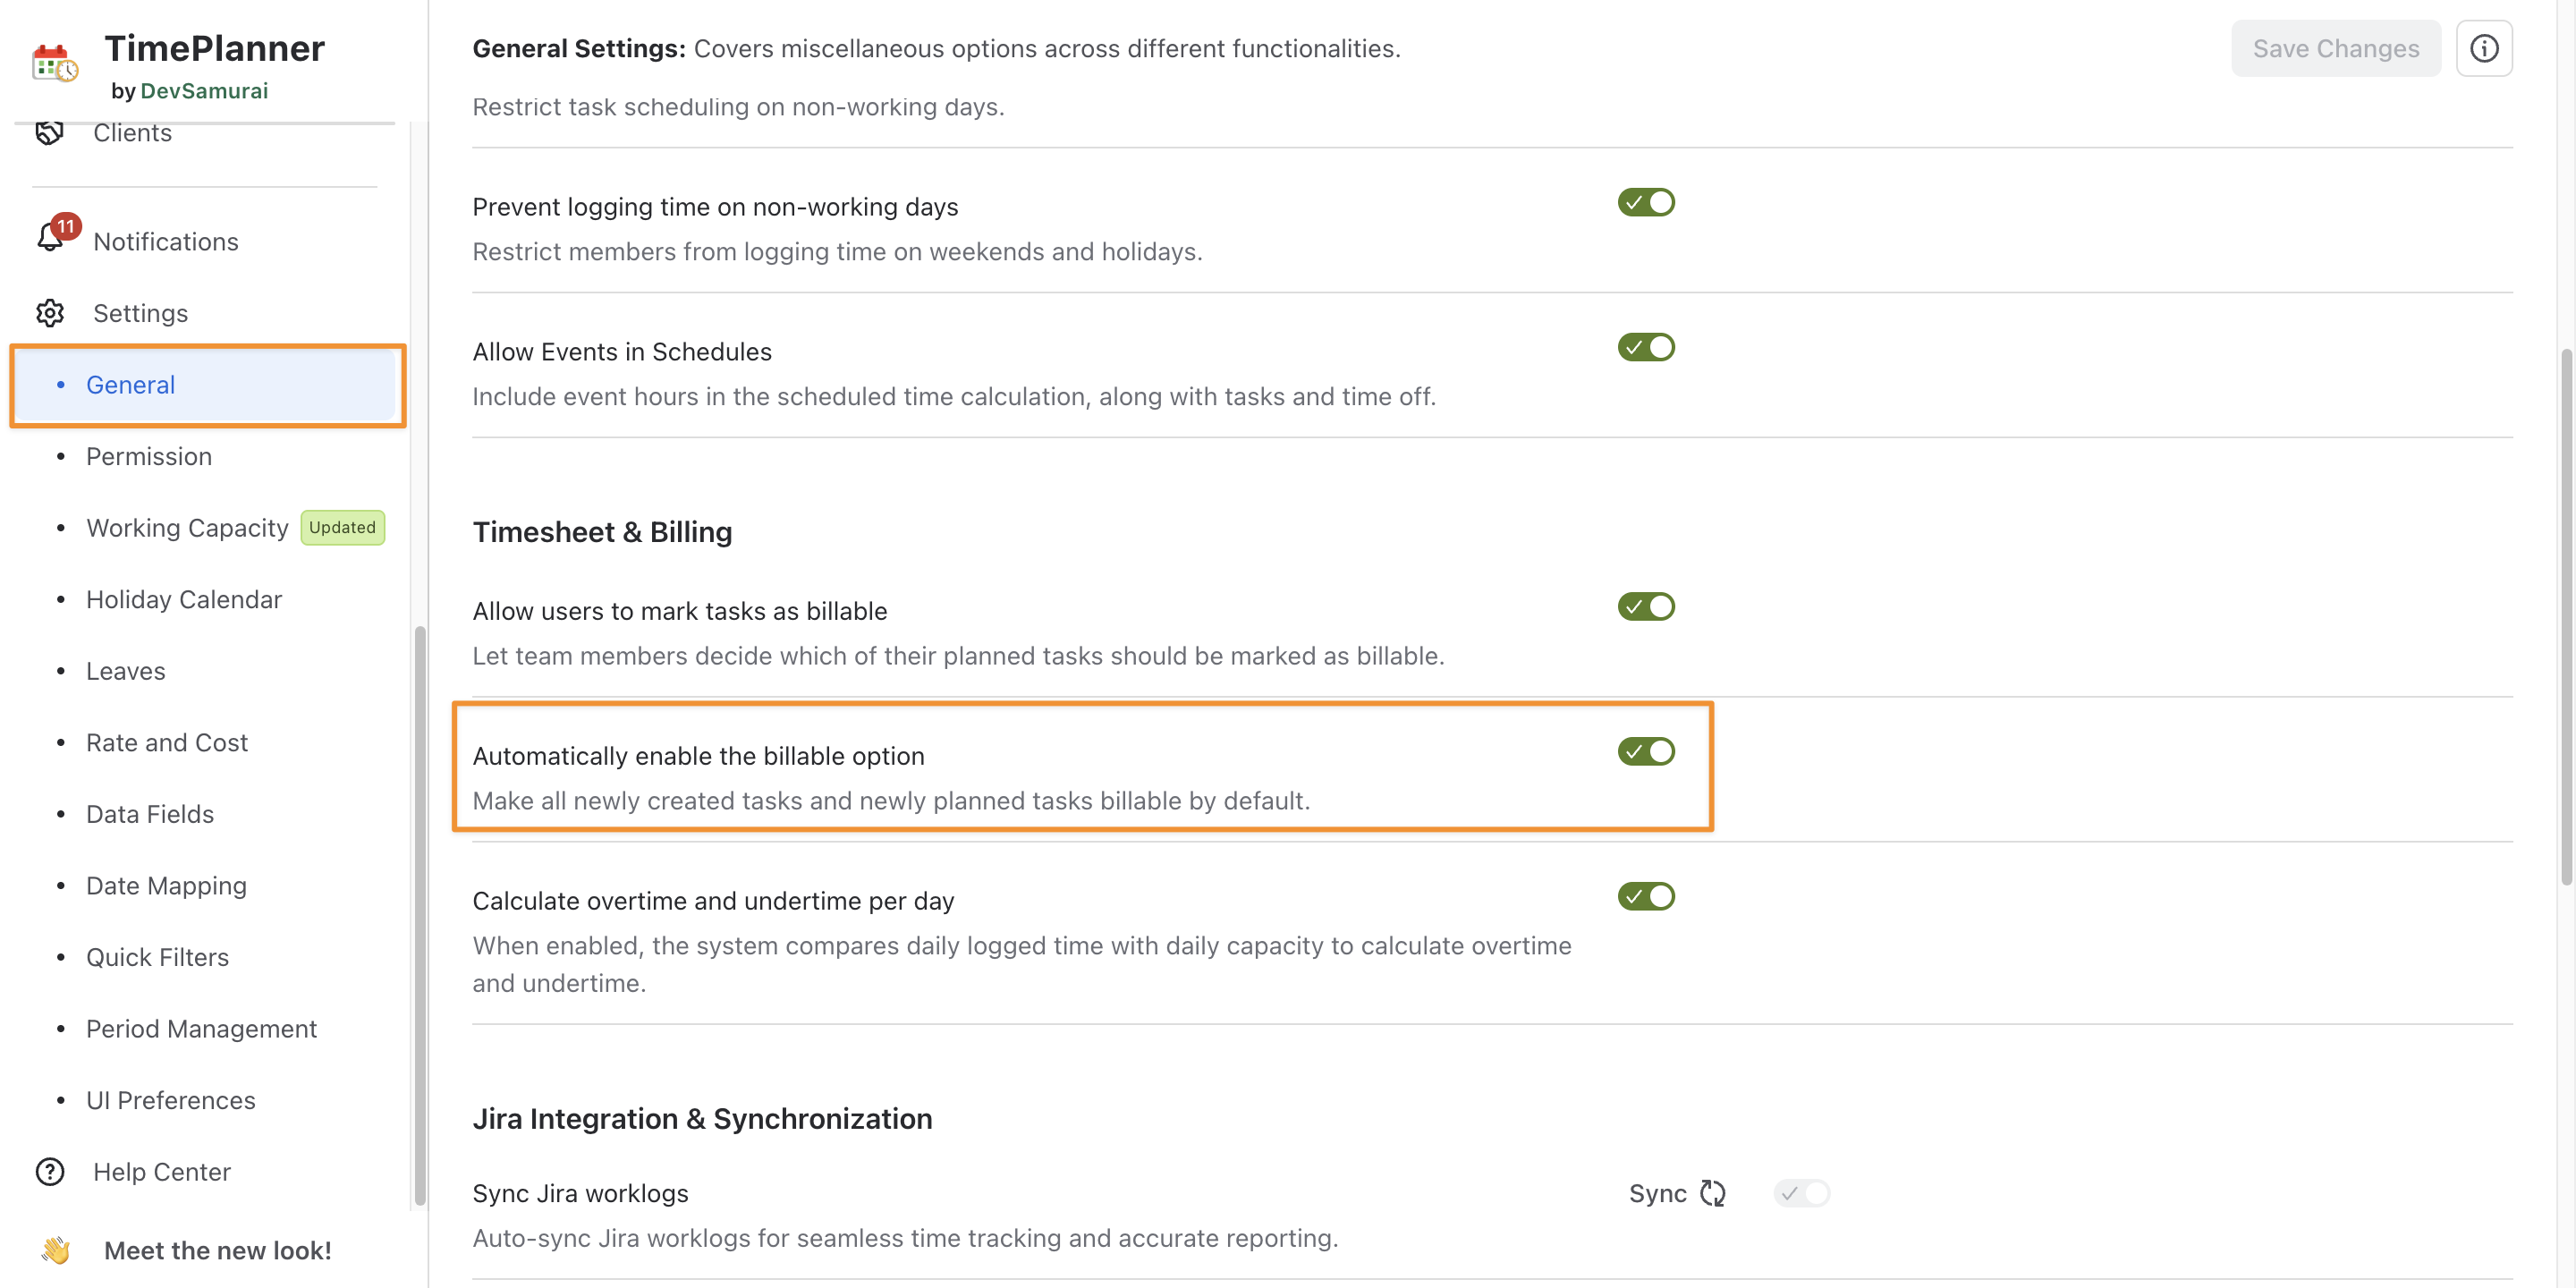
To save time and reduce the manual effort of marking individual tasks as billable, admins can configure automatic billable behavior globally. This setting applies app-wide and controls whether newly created tasks are marked as billable by default.
To configure the global billable setting:
-
Go to Settings > General
-
Find the Automatically enable the billable option toggle.
-
Set the toggle to your preferred state:
-
ON — New tasks are automatically marked as billable when created. Users can still change the billable status manually if they have permission.
-
OFF — New tasks are not marked as billable by default. Users must enable the billable option manually when needed, if allowed.
-
-
Save your changes.
What happens after marking a task as billable
Once a task is marked as billable, it appears as billable in reports and task detail views. To capture the actual cost, you also need to log time against the task. Logged hours are automatically linked to your configured rates, enabling accurate billable vs. actual cost tracking.
You can log time in three ways:
-
Option 1: Log Time in the Time Log Section
-
Option 2: Log Time from a Jira Work Item Details
-
Option 3: Log Time using the Start Timer