.png)
Only users with App Admin role can make changes to the Leave Settings.
The Leave Settings in TimePlanner allow users to customize the number of days off granted to employees, whether as default days for all employees or specific allocations for individual users.
How to Configure Leaves and Vacation Days
Navigate to ⚙️ Settings → Leaves to get started. There are the 03 main settings you can configure:
-
Leave settings
-
Leave types
-
Allocations
1. Enable/Disable General Settings
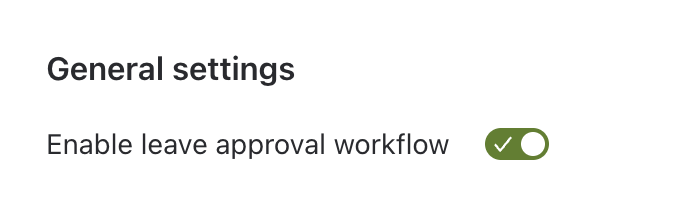
This option lets you decide if leave requests need to go through an approval process.
-
Enable: All leave requests must be approved by a Leave Approver before they are confirmed.
-
Disable: Employees can request and take leaves without requiring approval.
2. Leave Types
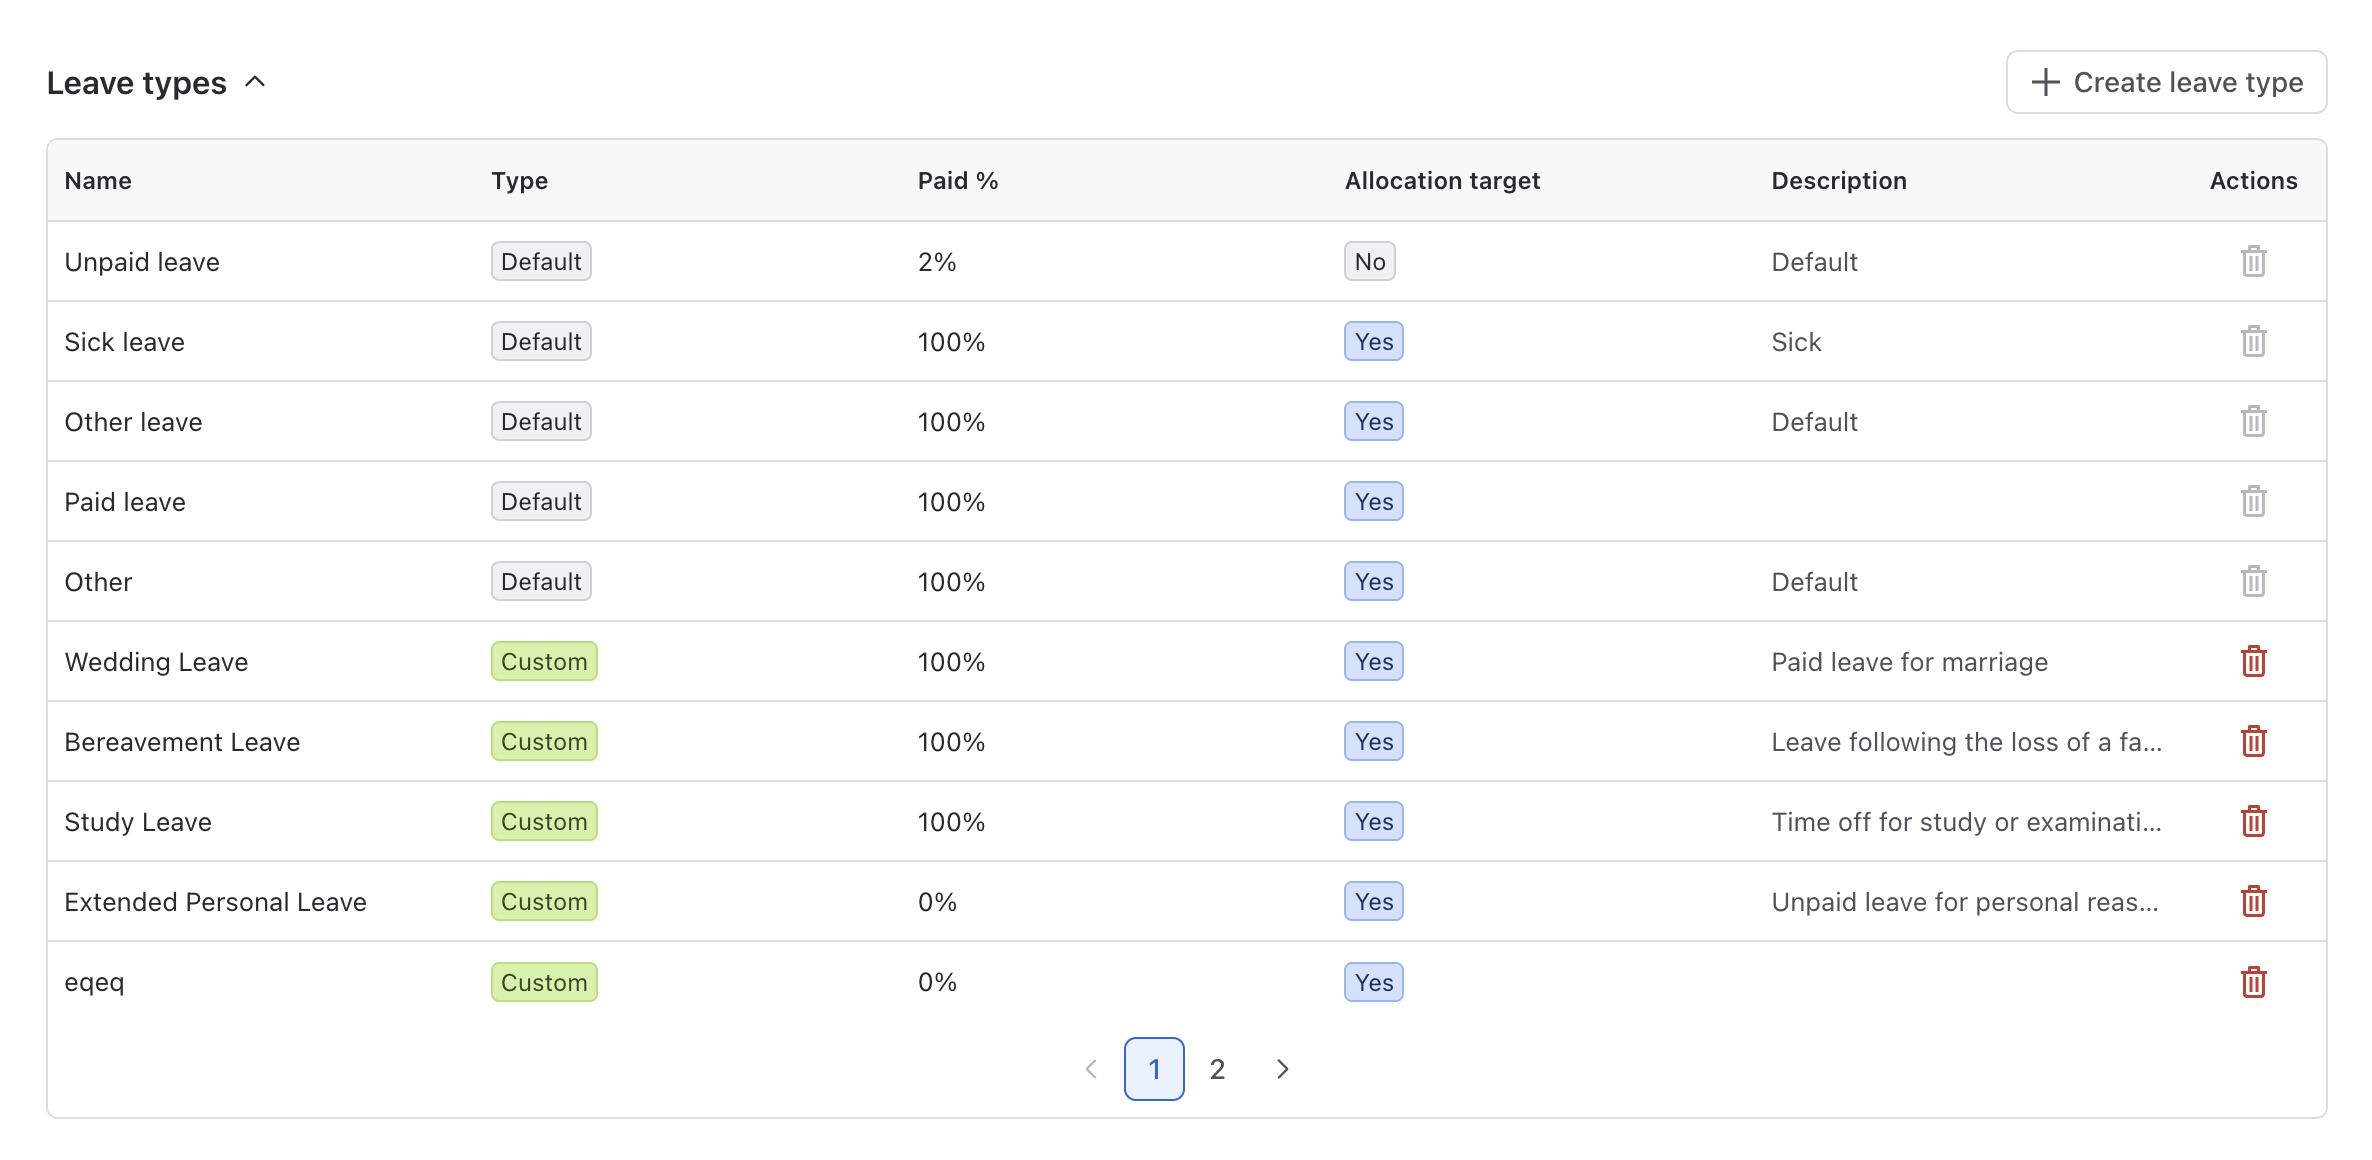
This setting allows you to define different categories of leave (e.g., Wedding Leave, Funeral Leave) in addition to the standard ones. You can also set up specific rules for how these leaves are paid and who they apply to.
In which:
-
Label: Present the name or category of the leave type. As default settings, there are 4 main leave types available: Paid Leave , Unpaid Leave , Sick Leave , OTHER LEAVE , and Other , and you may customize them.
-
Description: A short description of the leave type.
-
Paid %: Indicate the portion of an employee's salary that will be paid during the leave period.
-
Allocation target: Indicate whether a leave type counts toward the employee's total leave balance.
Creating a New Leave Type:
-
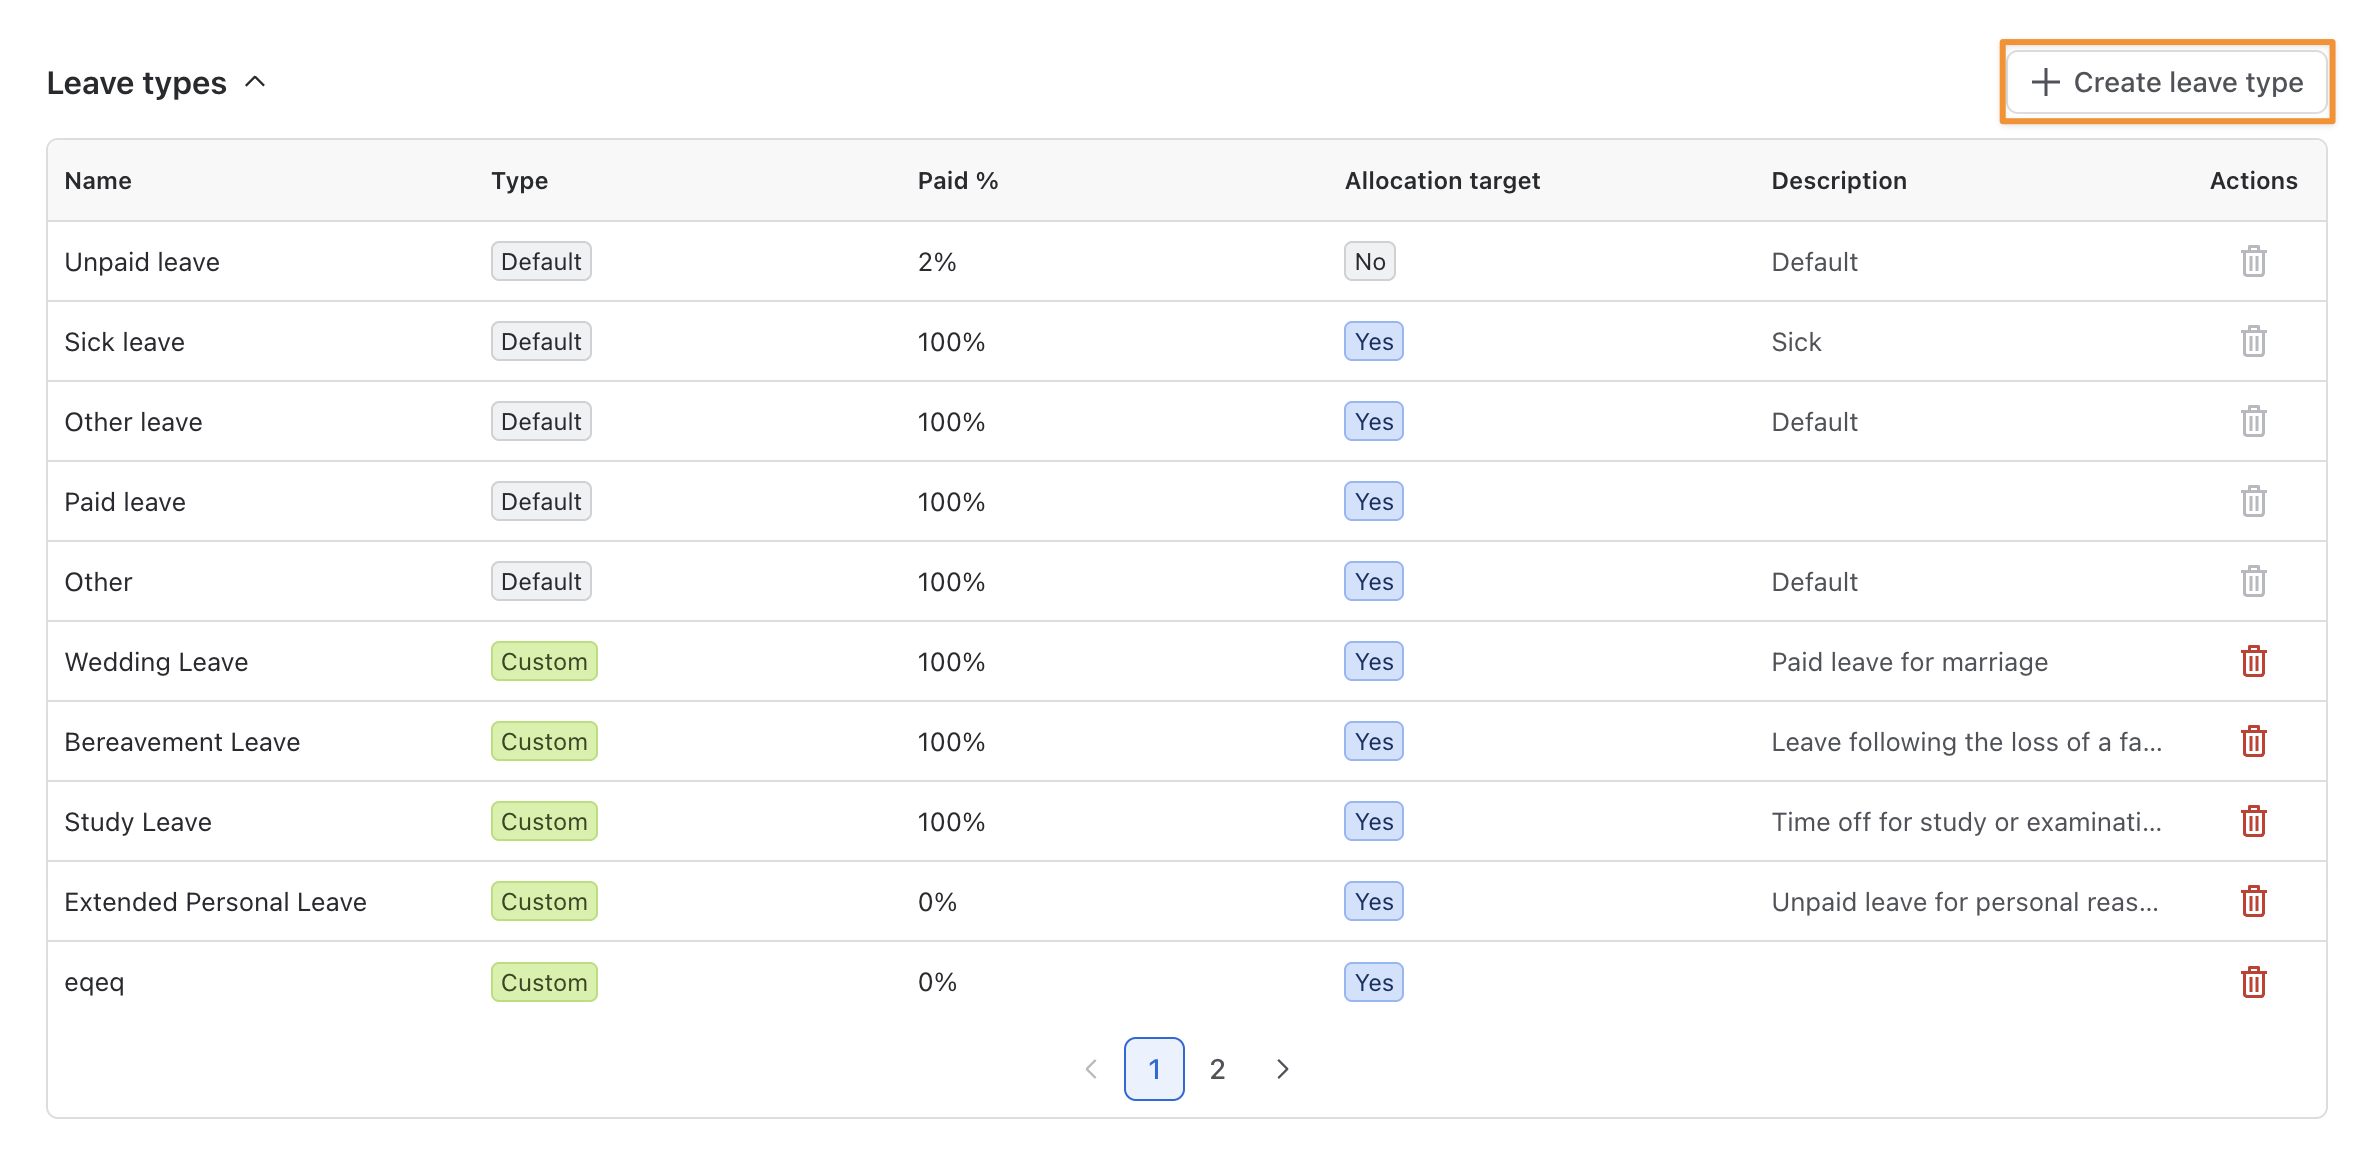
Click the + Create leave type button.
-
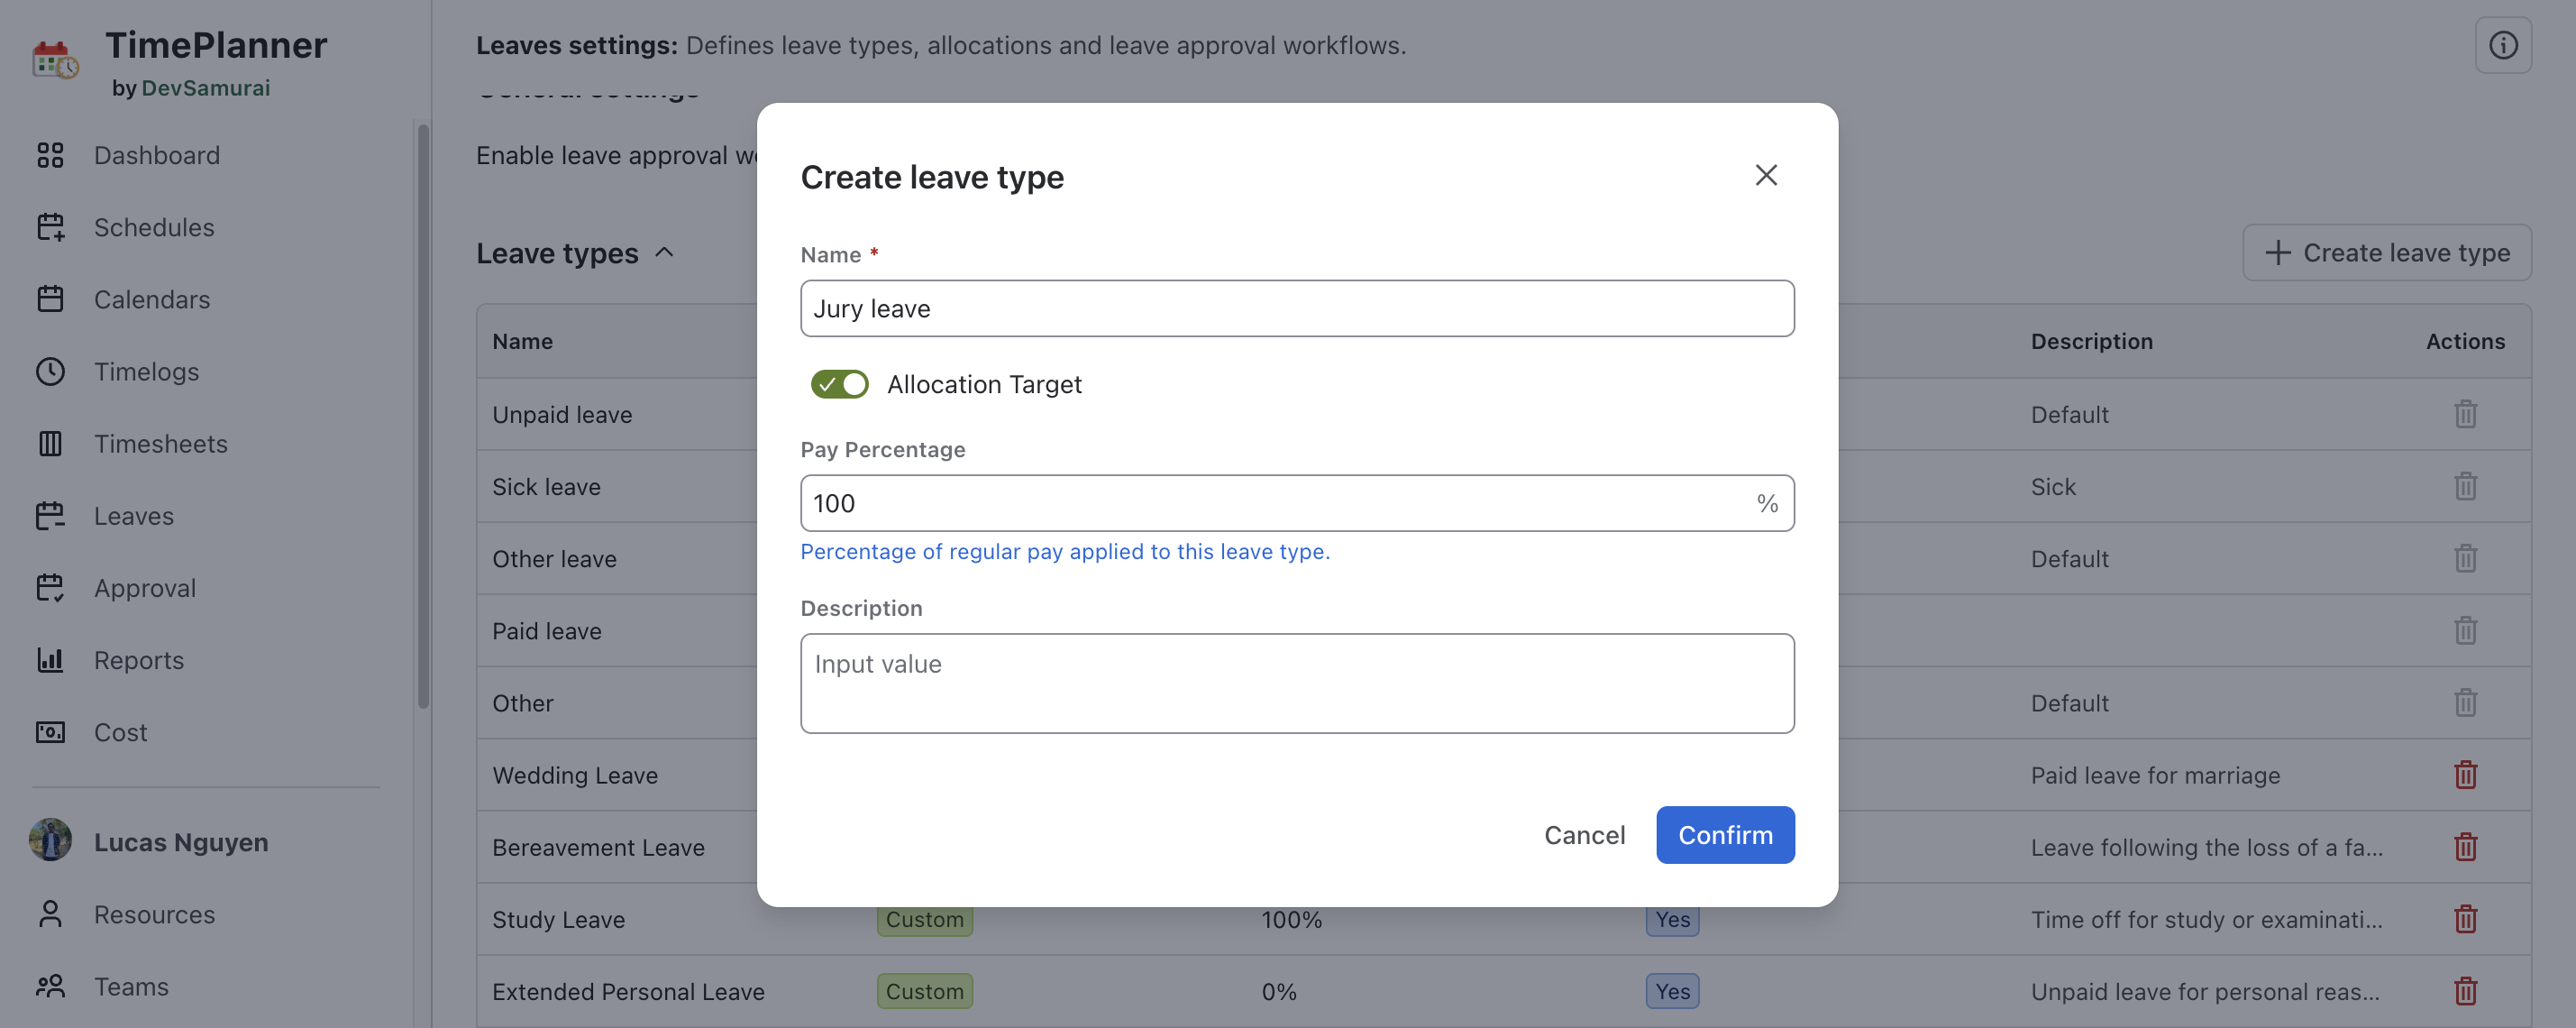
A pop-up titled "Create leave type" will appear. Complete the following fields:
-
Name: Enter a descriptive name for the leave (e.g., Wedding leave).
-
Allocation Target: Toggle this ON if this leave type should count against the total allocated leave days.
-
Pay Percentage: Specify the percentage of pay applicable during this leave (e.g., 100% for fully paid leave).
-
Description: Add a brief explanation of what this leave type is for (e.g., Leave for marriage-related events).
-
-
Click
Updating or Deleting A Leave Type
-
To edit an existing leave type, click on it and modify the necessary information.
-
To delete an existing leave type, click on the

5 default leave types (e.g., Paid Leave, Unpaid Leave, etc.) cannot be deleted.
3. Allocations
This setting allows you to assign a different number of days off to particular employees beyond the default allocation.

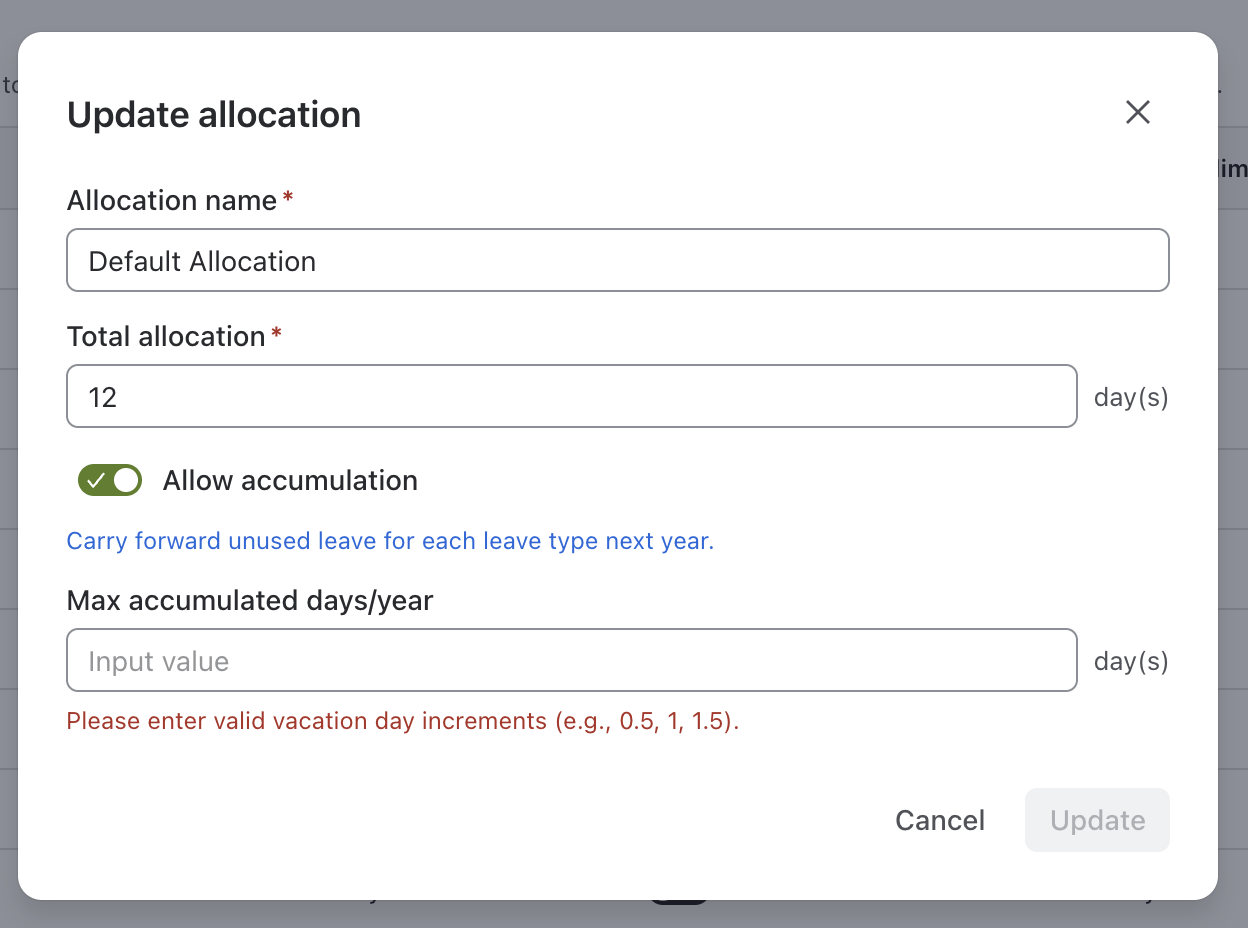
Default Allocation
This setting determines the number of leave days granted to employees every year.
-
Total Allocation days: Set how many days off are provided (e.g., 12 days per year).
-
Allow accumulation: Enable or disable the option for unused leave days to be carried over to the next year.
-
Maximum Accumulated Days: Set a cap on the number of days that can be accumulated (e.g., a maximum of 12 days carried over).
Values can be set in 0.5 increments, for example: 0, 0.5, 1, 1.5, 2, 2.5 day(s), etc.
Creating New Allocation
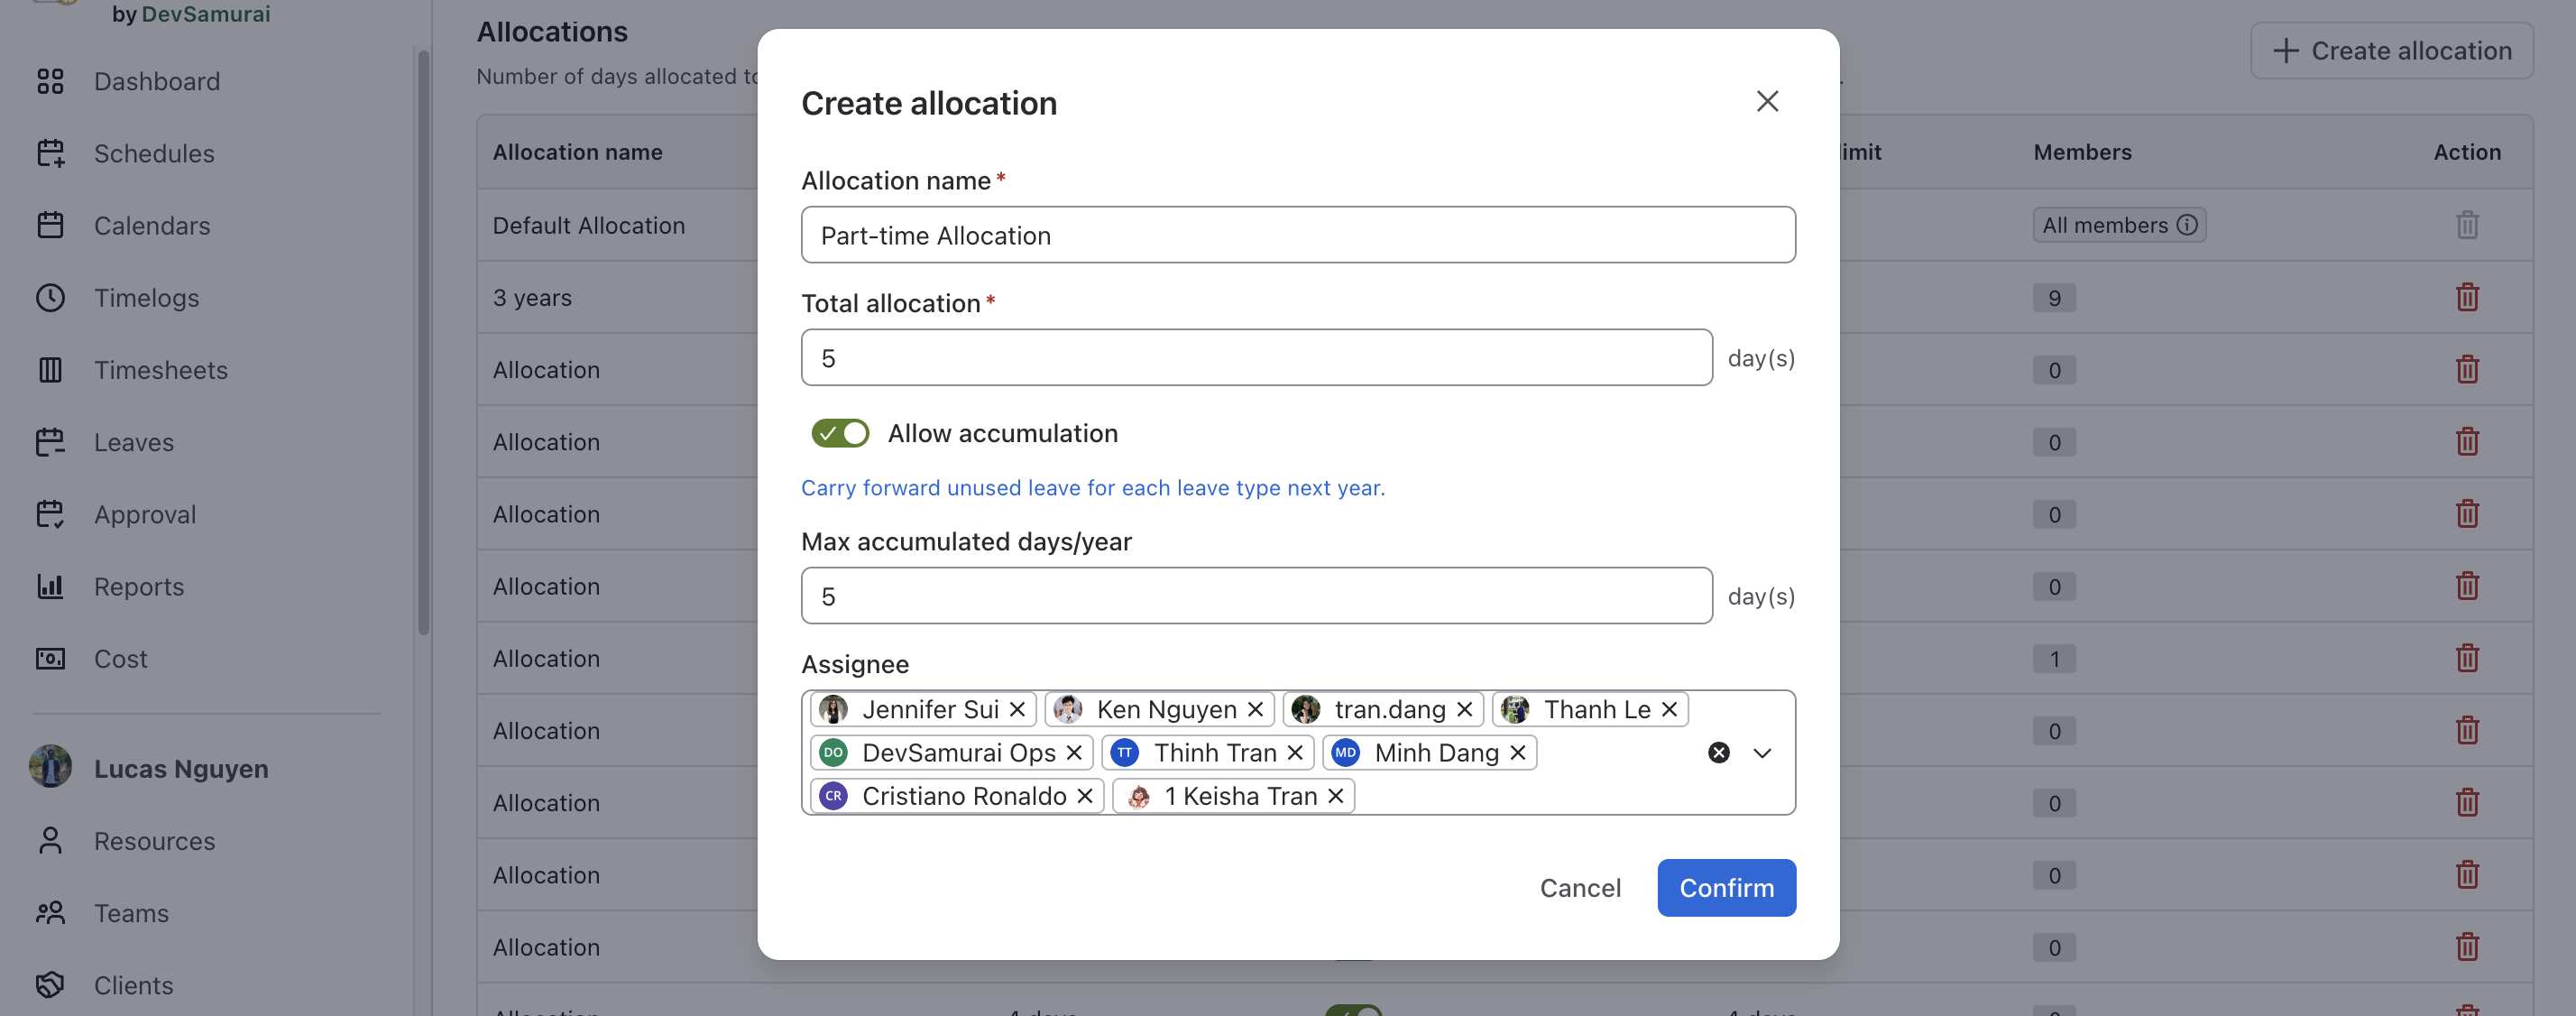
To create custom leave allocations for specific employees or teams, follow these steps:
-
Click + Create allocation.
-
Enter Total Allocation Days: Specify how many leave days are assigned to employees for this allocation (e.g., 5 days).
-
Enable/Disable Leave Accumulation: Decide whether unused leave days should be carried over to the next year.
-
Set Maximum Accumulated Days: If you want to limit how many leave days can accumulate, enter the maximum value here (e.g., 5 days).
-
Add Assignees: Select the users or teams that this allocation will apply to. You can assign specific employees or groups to this custom allocation.
Updating or Deleting An Allocation
-
To edit an existing allocation, click on it and modify the necessary information.
-
To delete an existing allocation, click on the