.png)
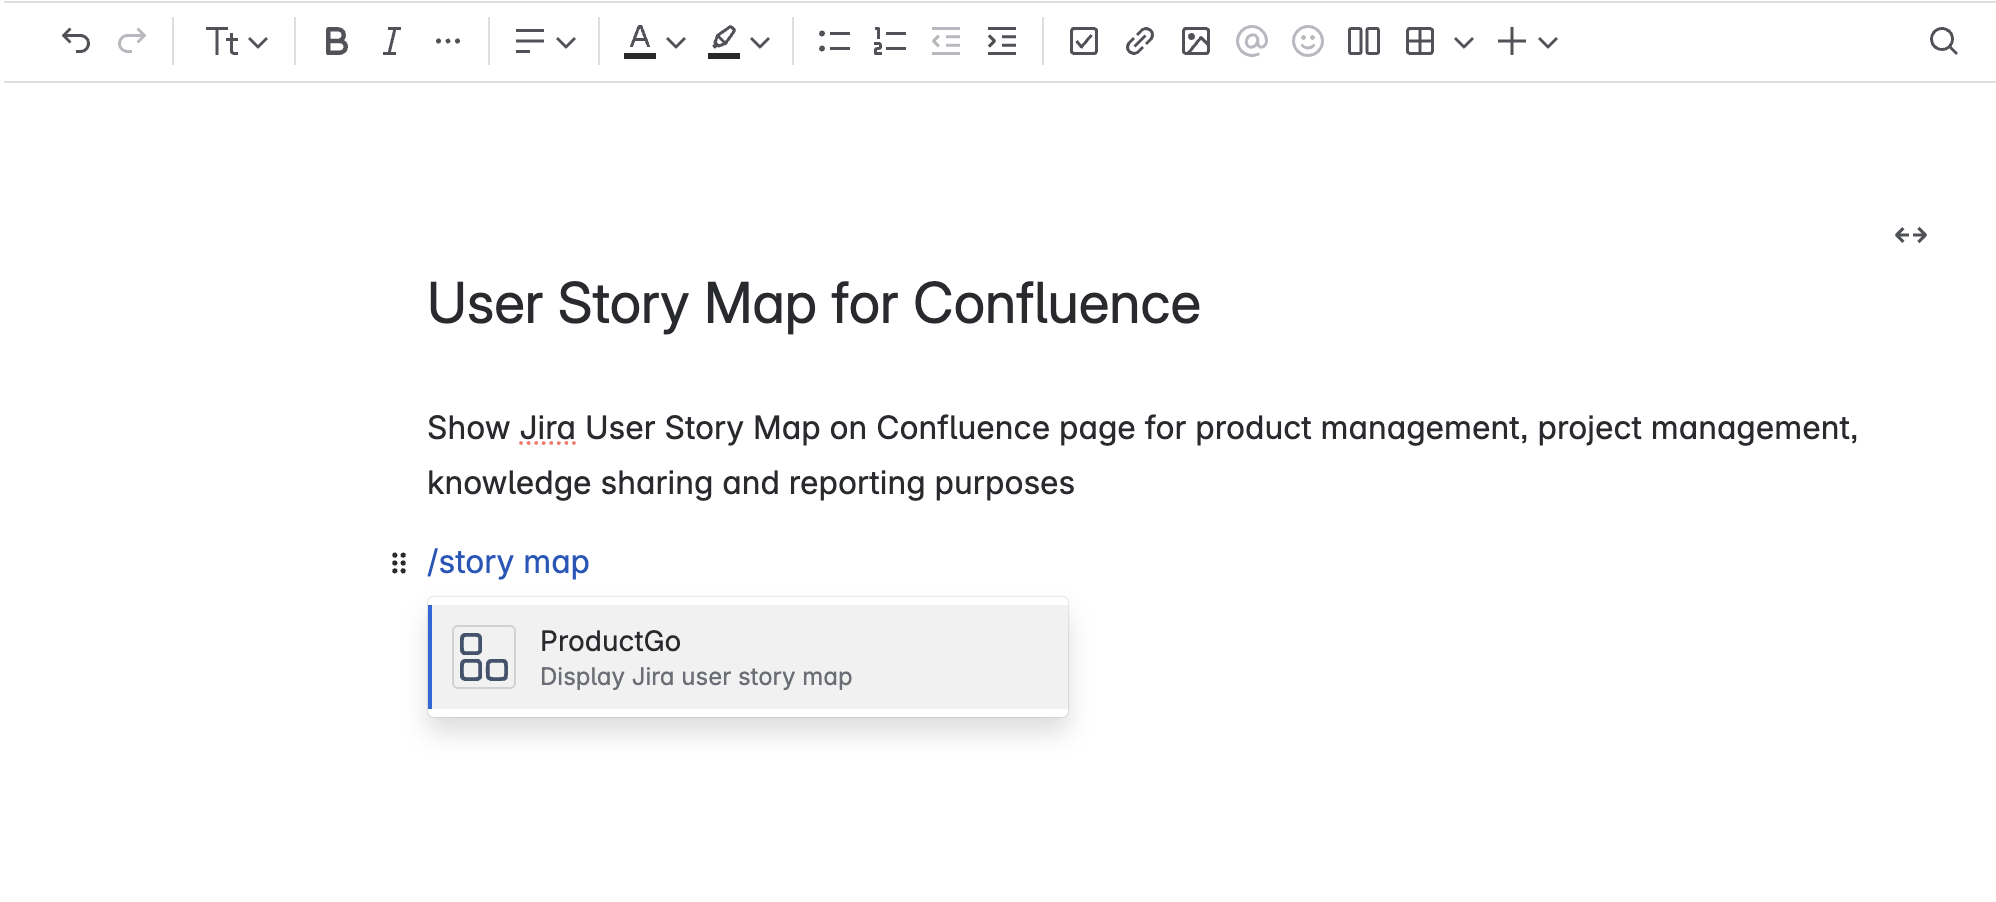
Find the ProductGo Macro
On your Confluence page, you have two options:
-
Type
/ProductGoor/story mapand select the ProductGo icon from the list. -
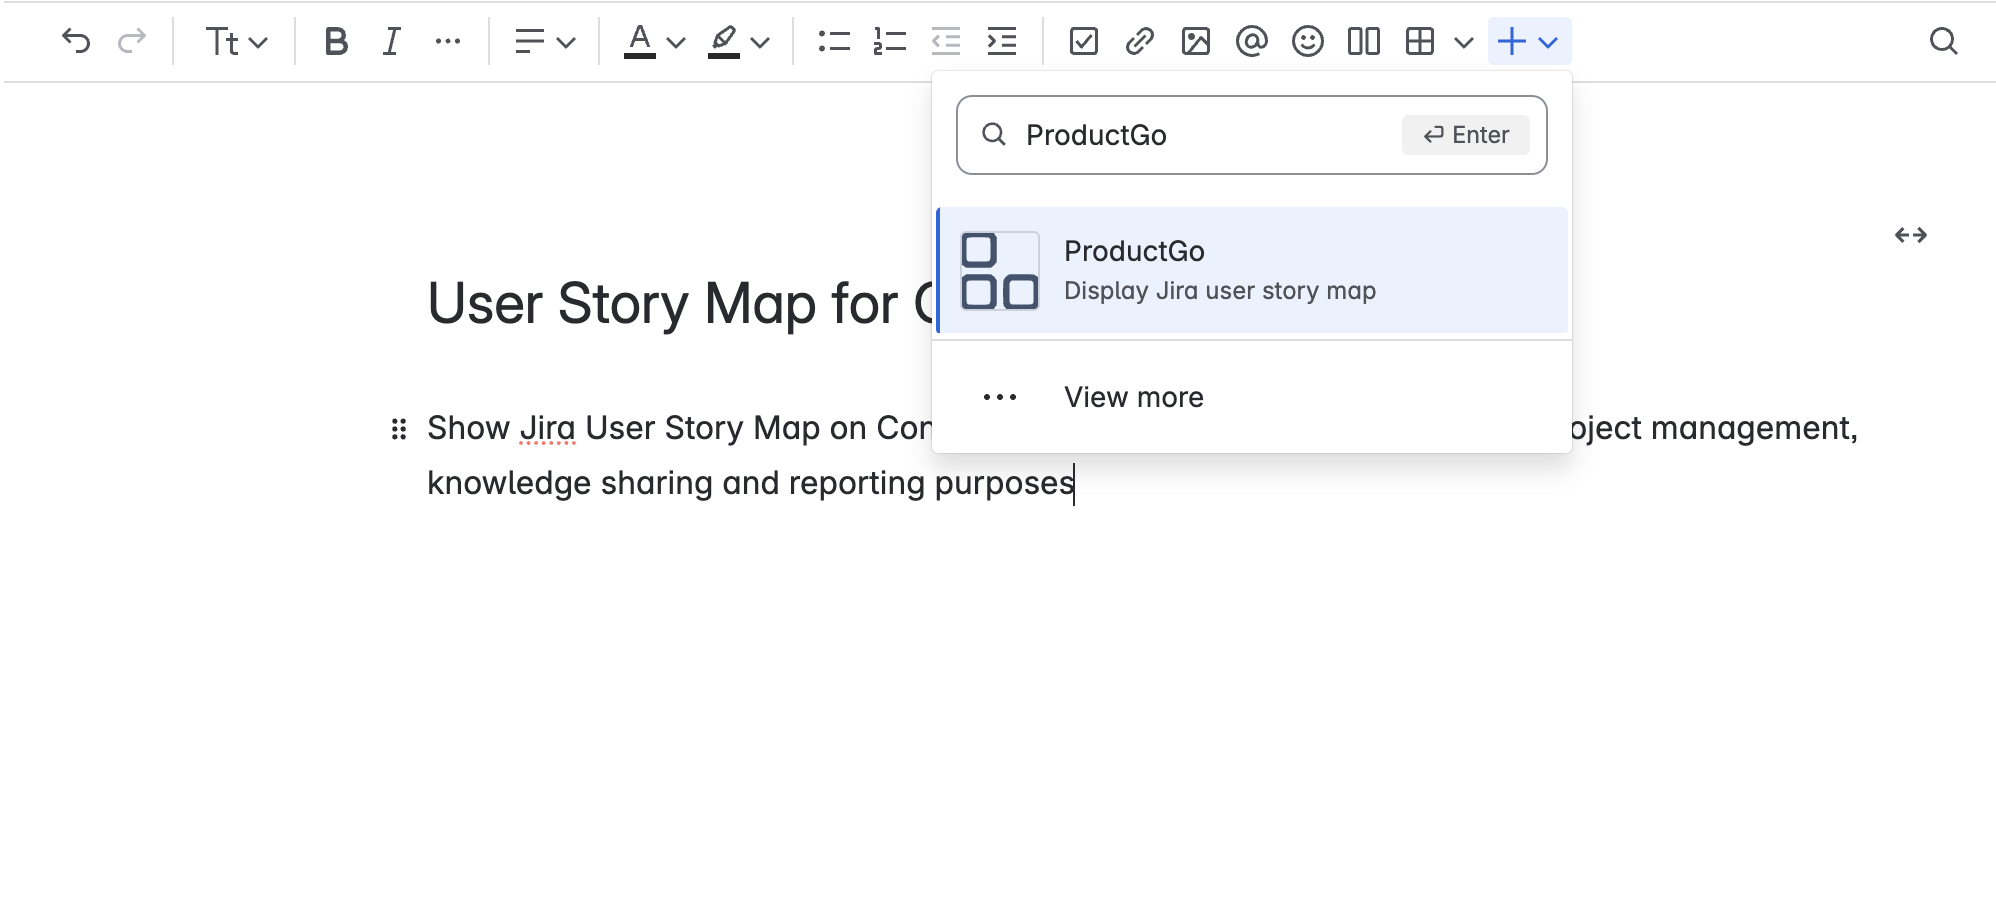
Or, click the Insert option in the Confluence editor, search for “ProductGo” or “Story Map” and choose the Story Map icon.
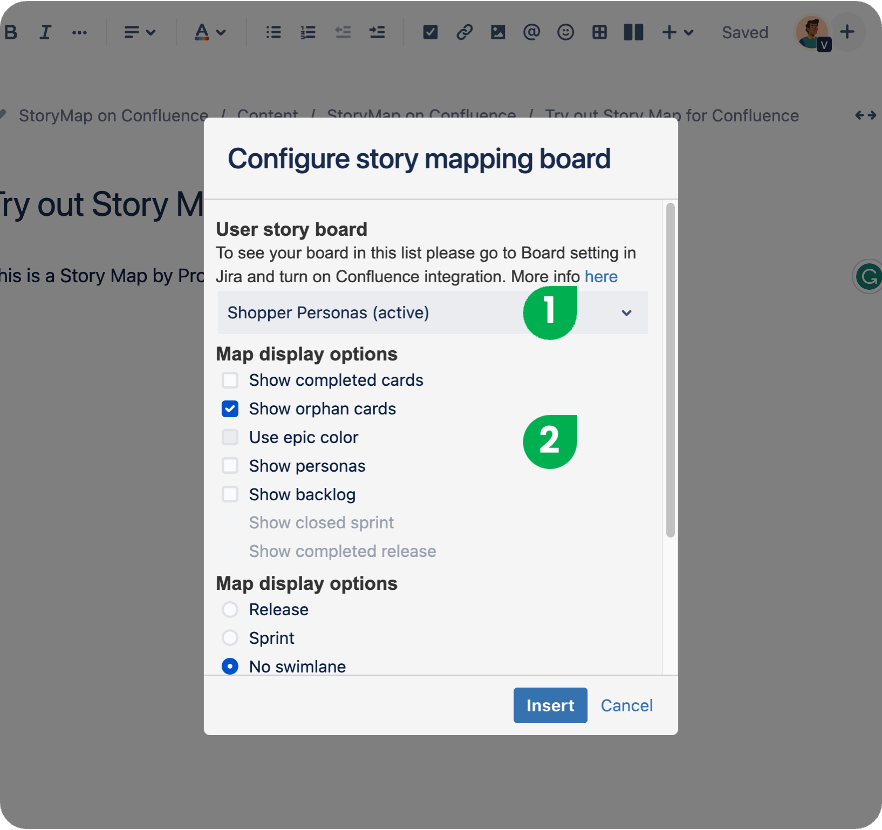
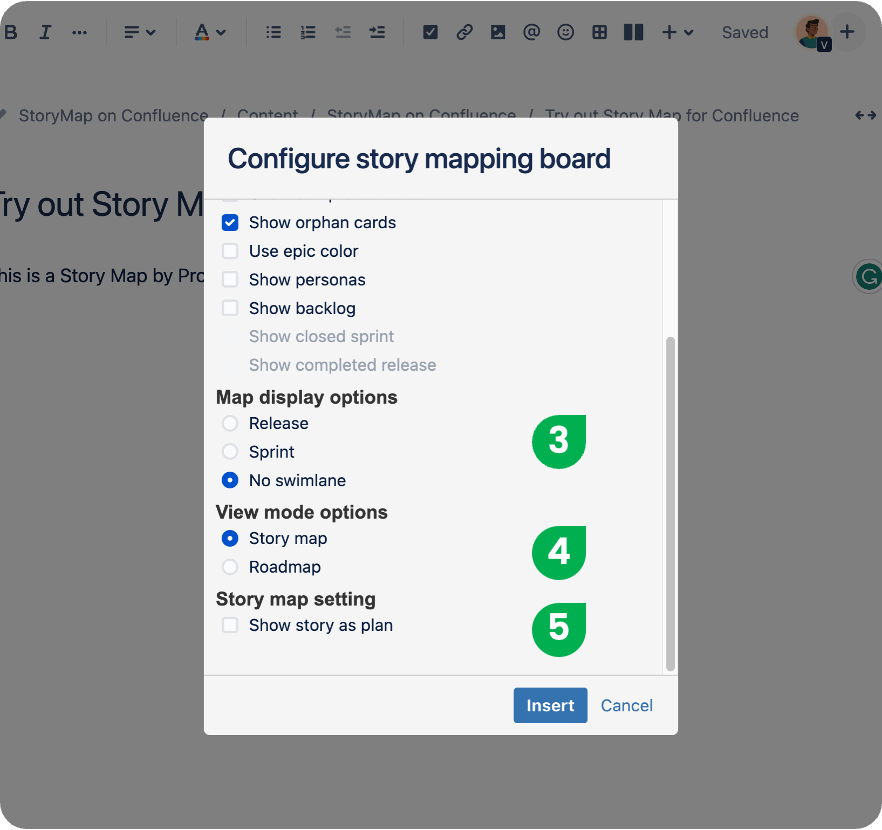
Configure the Story Map Display
-
After inserting the macro, a configuration window will appear.
-
Select the Story Map board you want to display.
-
Customize how cards appear using the map display options.
-
Choose the swimlane mode that best fits your workflow.
-
Select the view mode—either Story Map or Roadmap.
-
You can also set your story map to display in horizontal mode if preferred.
Add the Story Map to Your Page
Once you’ve set your options, click Insert to add the story map or roadmap to your Confluence page.
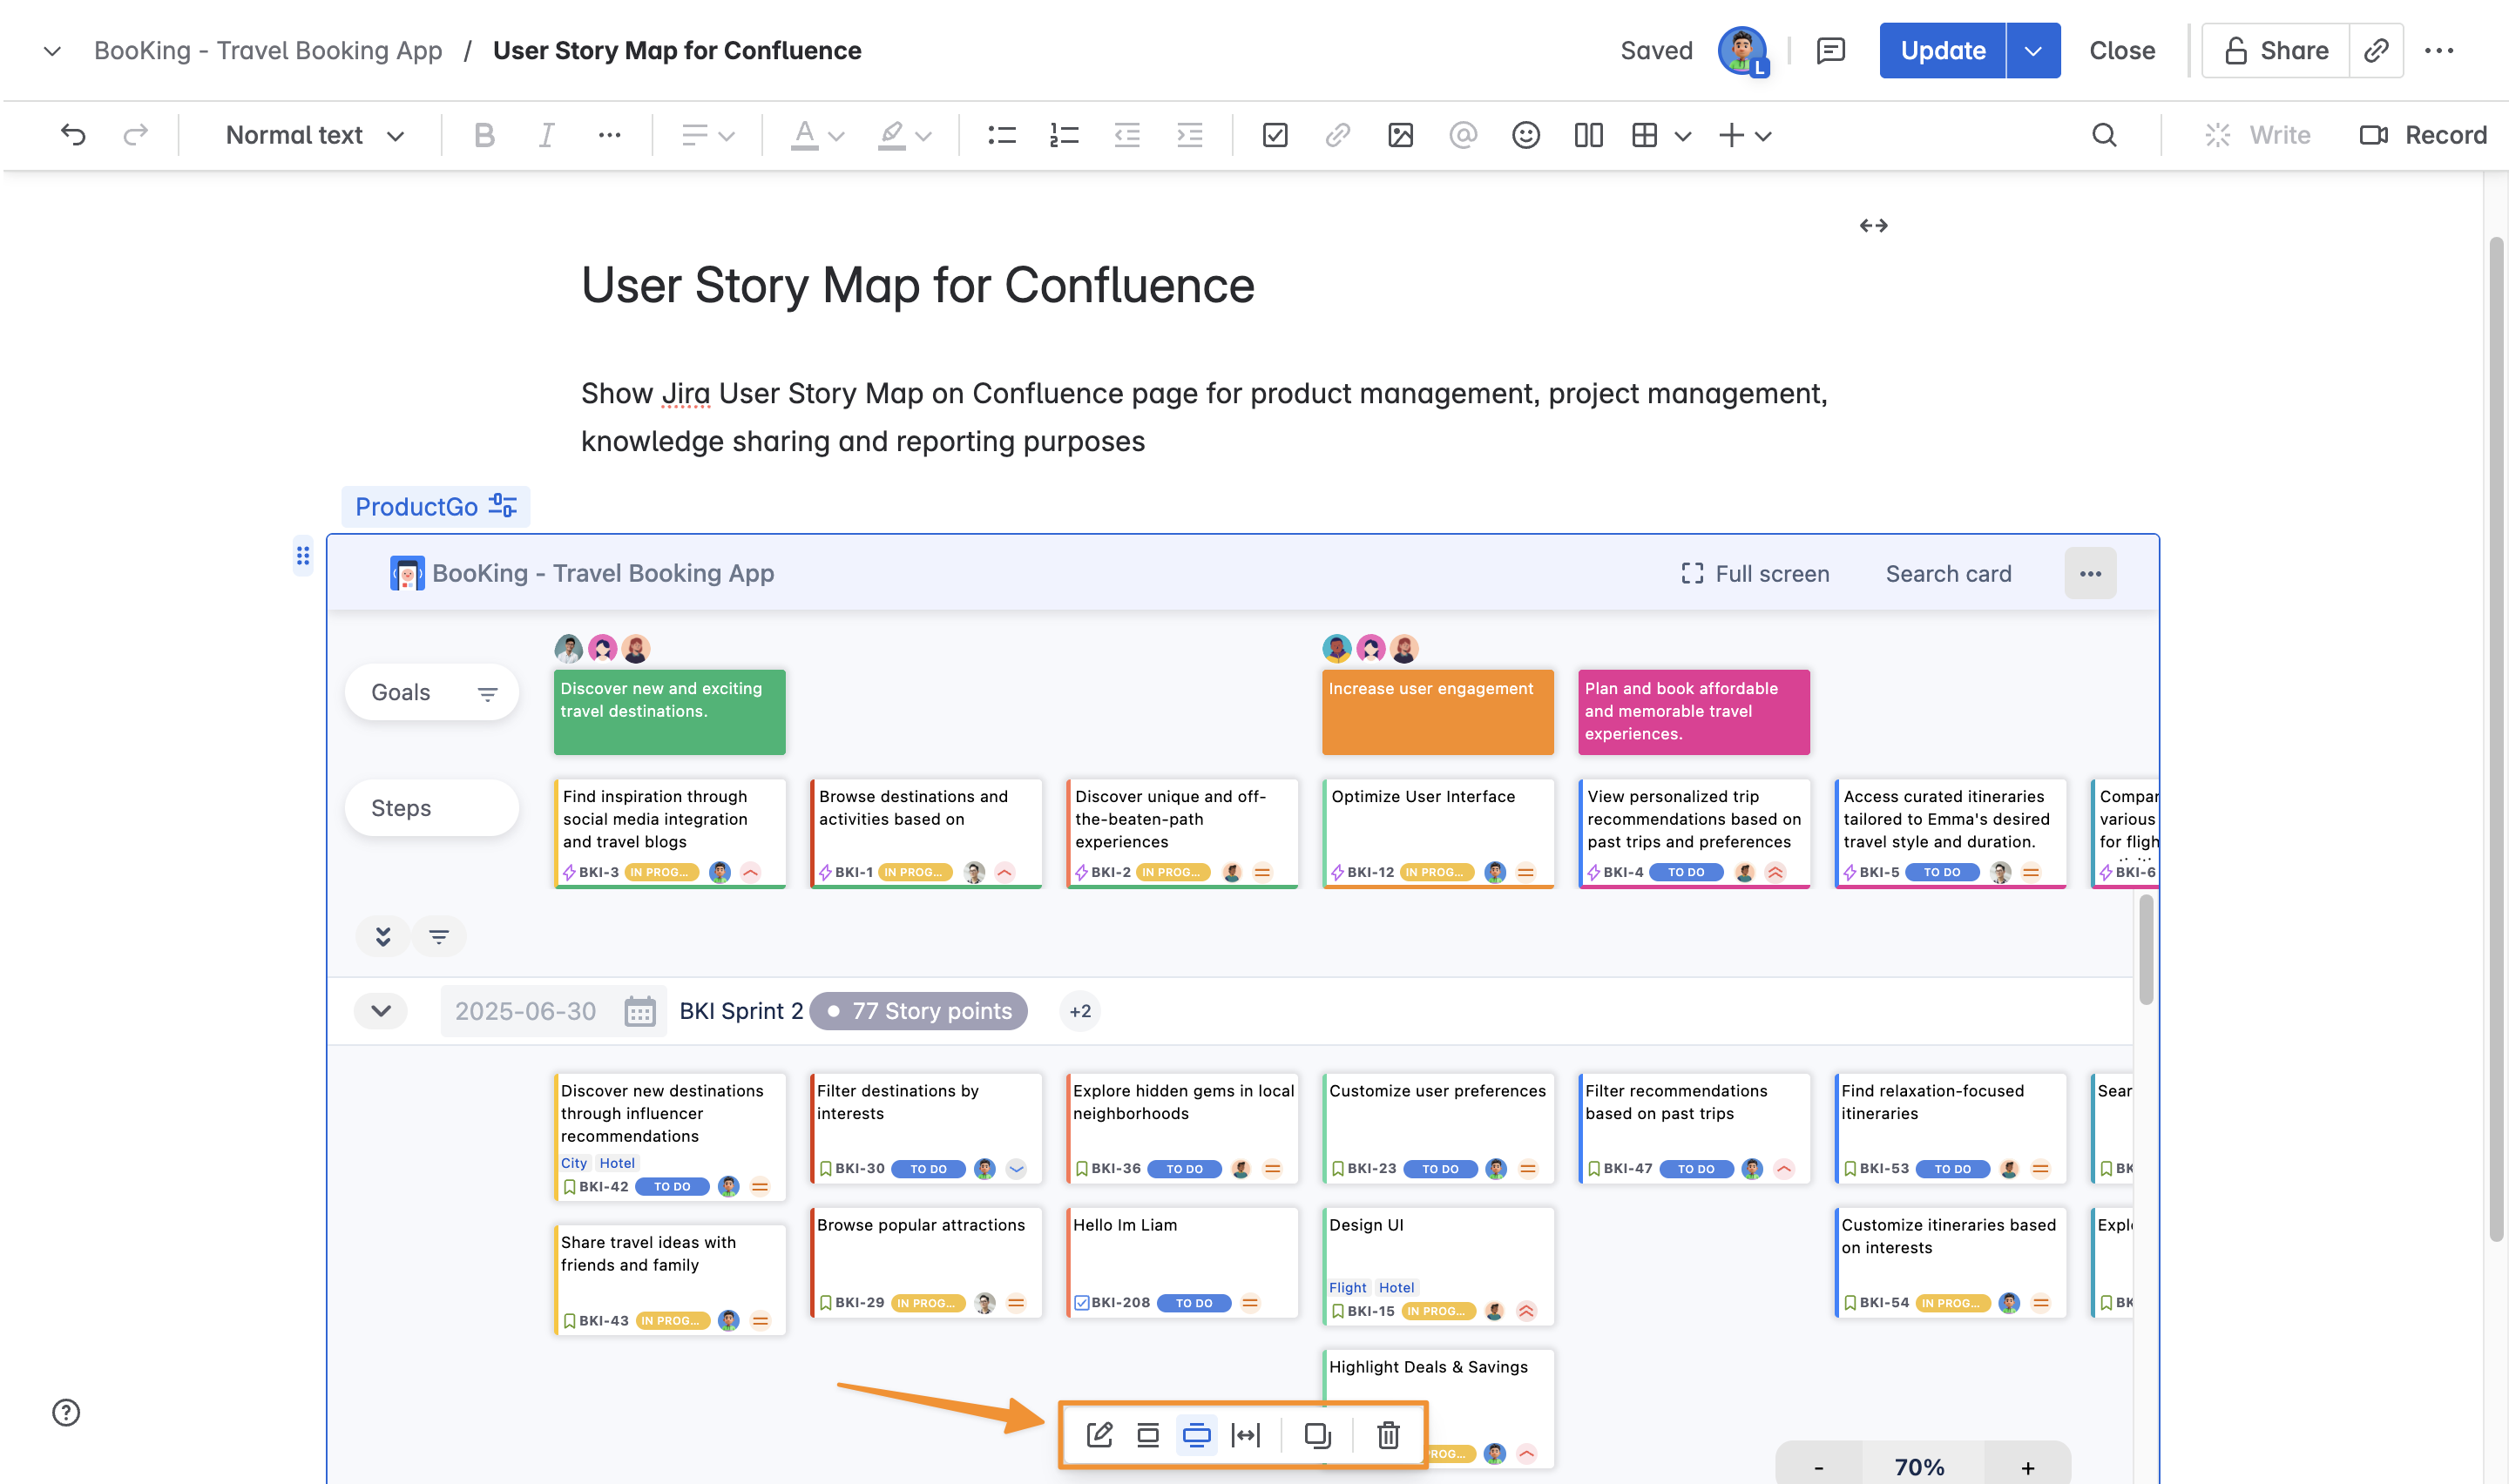
Editing the Configuration
-
In Edit mode, click on the embedded story map and use the pen icon to adjust settings.
-
Here, you can resize the map, duplicate the configuration, or remove it from the page as needed.