.png)
There are four ways to edit an asset in AssetIT. Choose the method that best suits your needs:
1. In-line Edit
-
At the Asset List view, double-click on the cell you wish to edit.
You can edit the following fields:
-
Asset Name
-
Asset Tag
-
Asset Model
-
Status
-
Serial Number
-
Purchase Date
-
Purchase Cost
-
Order Number
-
Department
-
Warranty Month
-
Supplier
-
Location
-
Inventory
-
Notes
Note: Custom fields cannot be edited using this method.
-
After making your changes, simply click outside the cell to save the updates automatically.
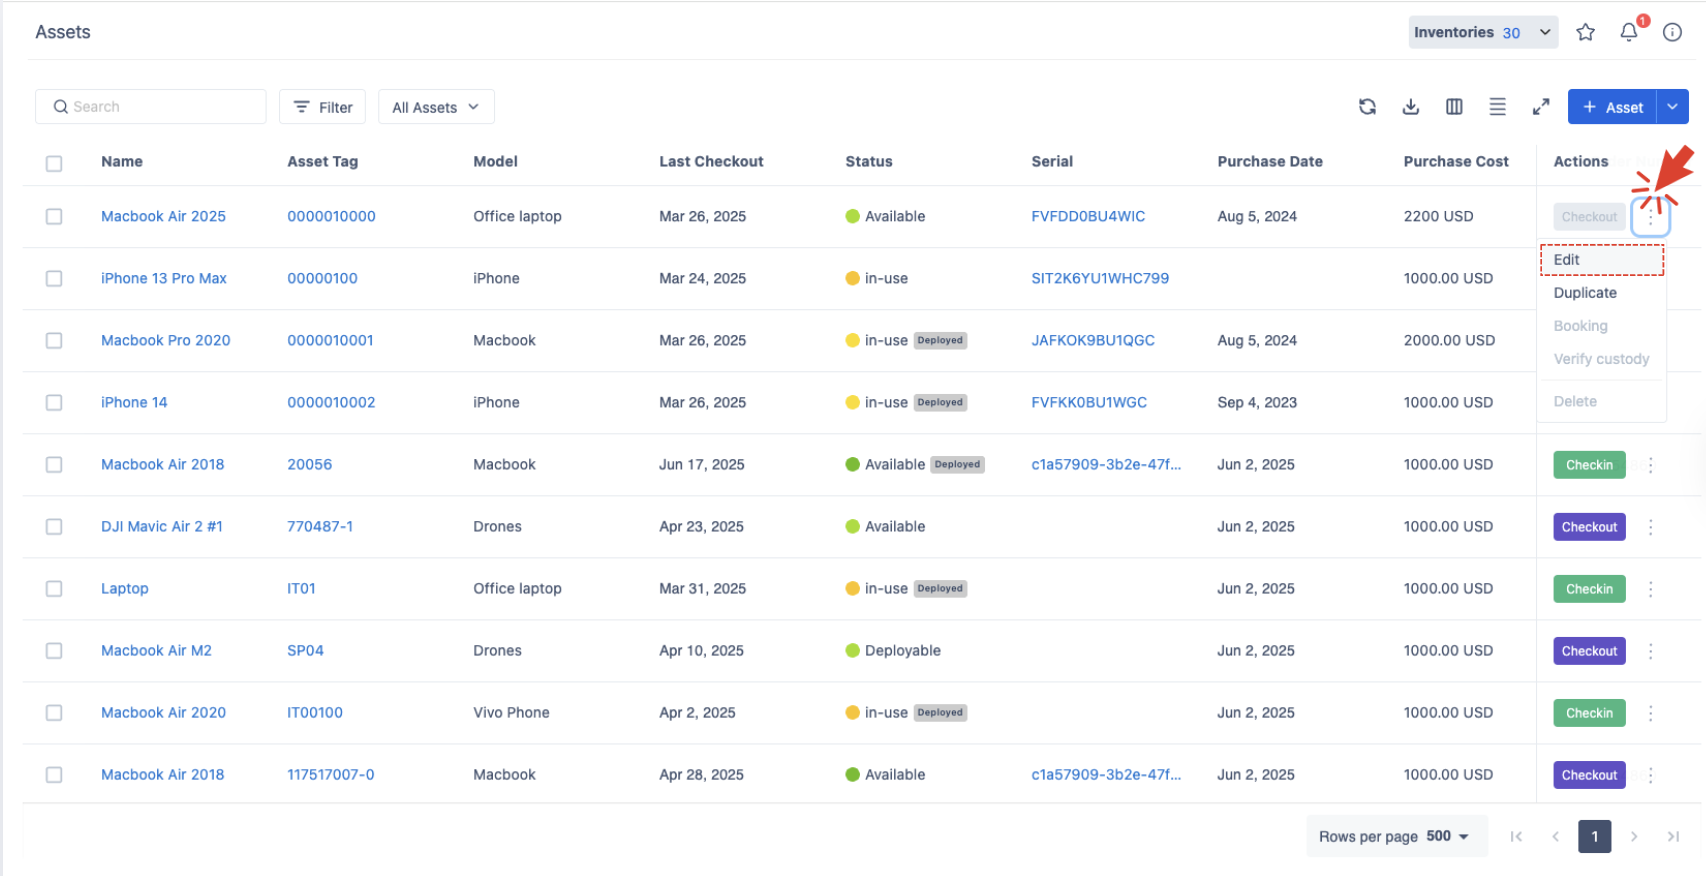
2. Edit via the 'More' Button
-
At the Asset List view, click the More button (

-
Select Edit from the options.
-
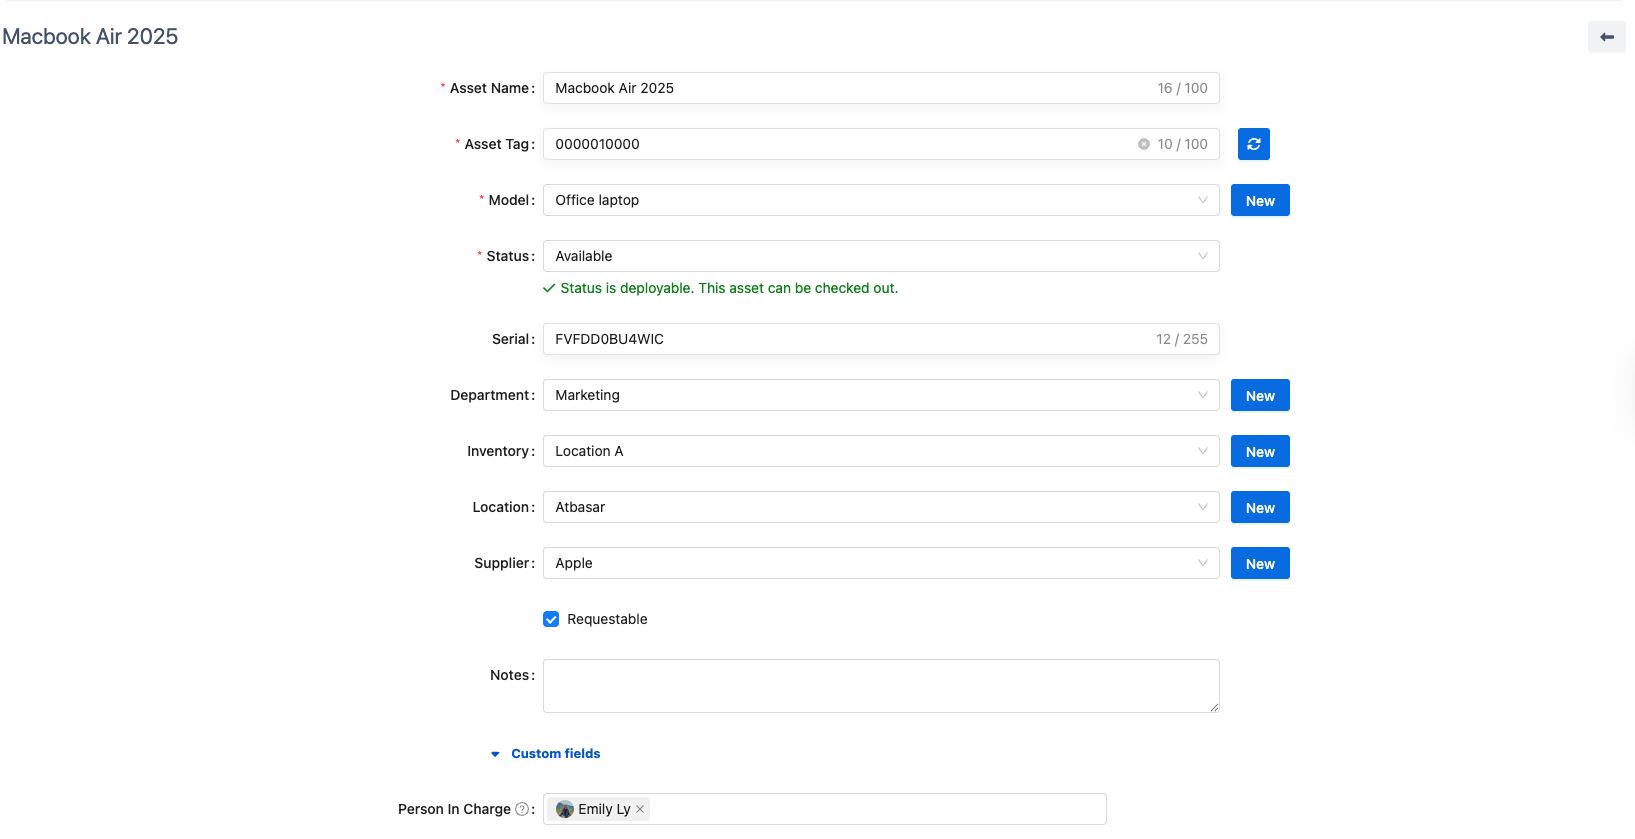
In the Asset Edit Page, you can update all fields, including custom fields.
-
Once you have made the desired changes, click

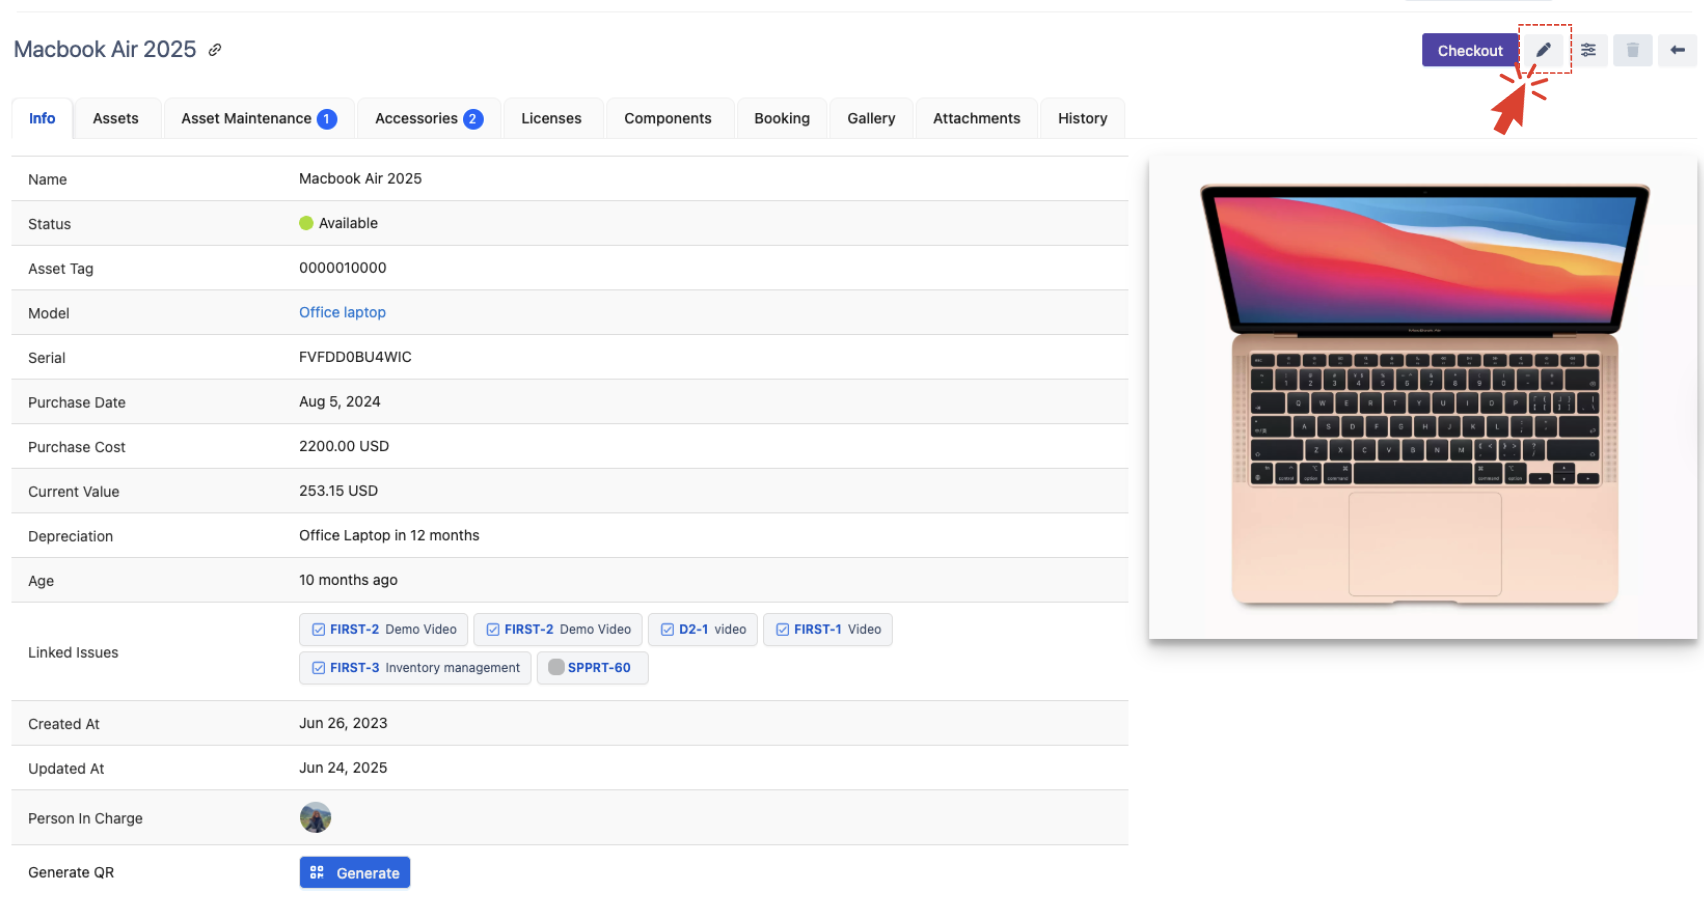
3. Edit in Asset Detail Screen
-
In the Asset List, click the Asset Name, Asset Tag, or Serial Number of an asset to navigate to its detailed page.
-
On the Asset Detail page, click the

-
In the Asset Edit Page, you can update all fields, including custom fields.
-
After editing, click
4. Bulk Edit
-
Select multiple assets from the asset list that you want to edit.
-
Use the Bulk Edit function to apply changes across all selected assets at once. → How to Bulk Edit Selected Assets.