.png)
Who can manage custody verification?
Only app admins or users with Custody Verification permission can manage custody verifications in AssetIT. The list includes only assets in inventories that you have access to.
What is Custody Verification?
The Custody Verification feature helps maintain accountability by requiring users to confirm the possession and condition of the assets assigned to them. This is especially important in environments where assets are frequently allocated across team members and need to be tracked for usage, maintenance, and lifecycle management.
Accessing custody verifications
-
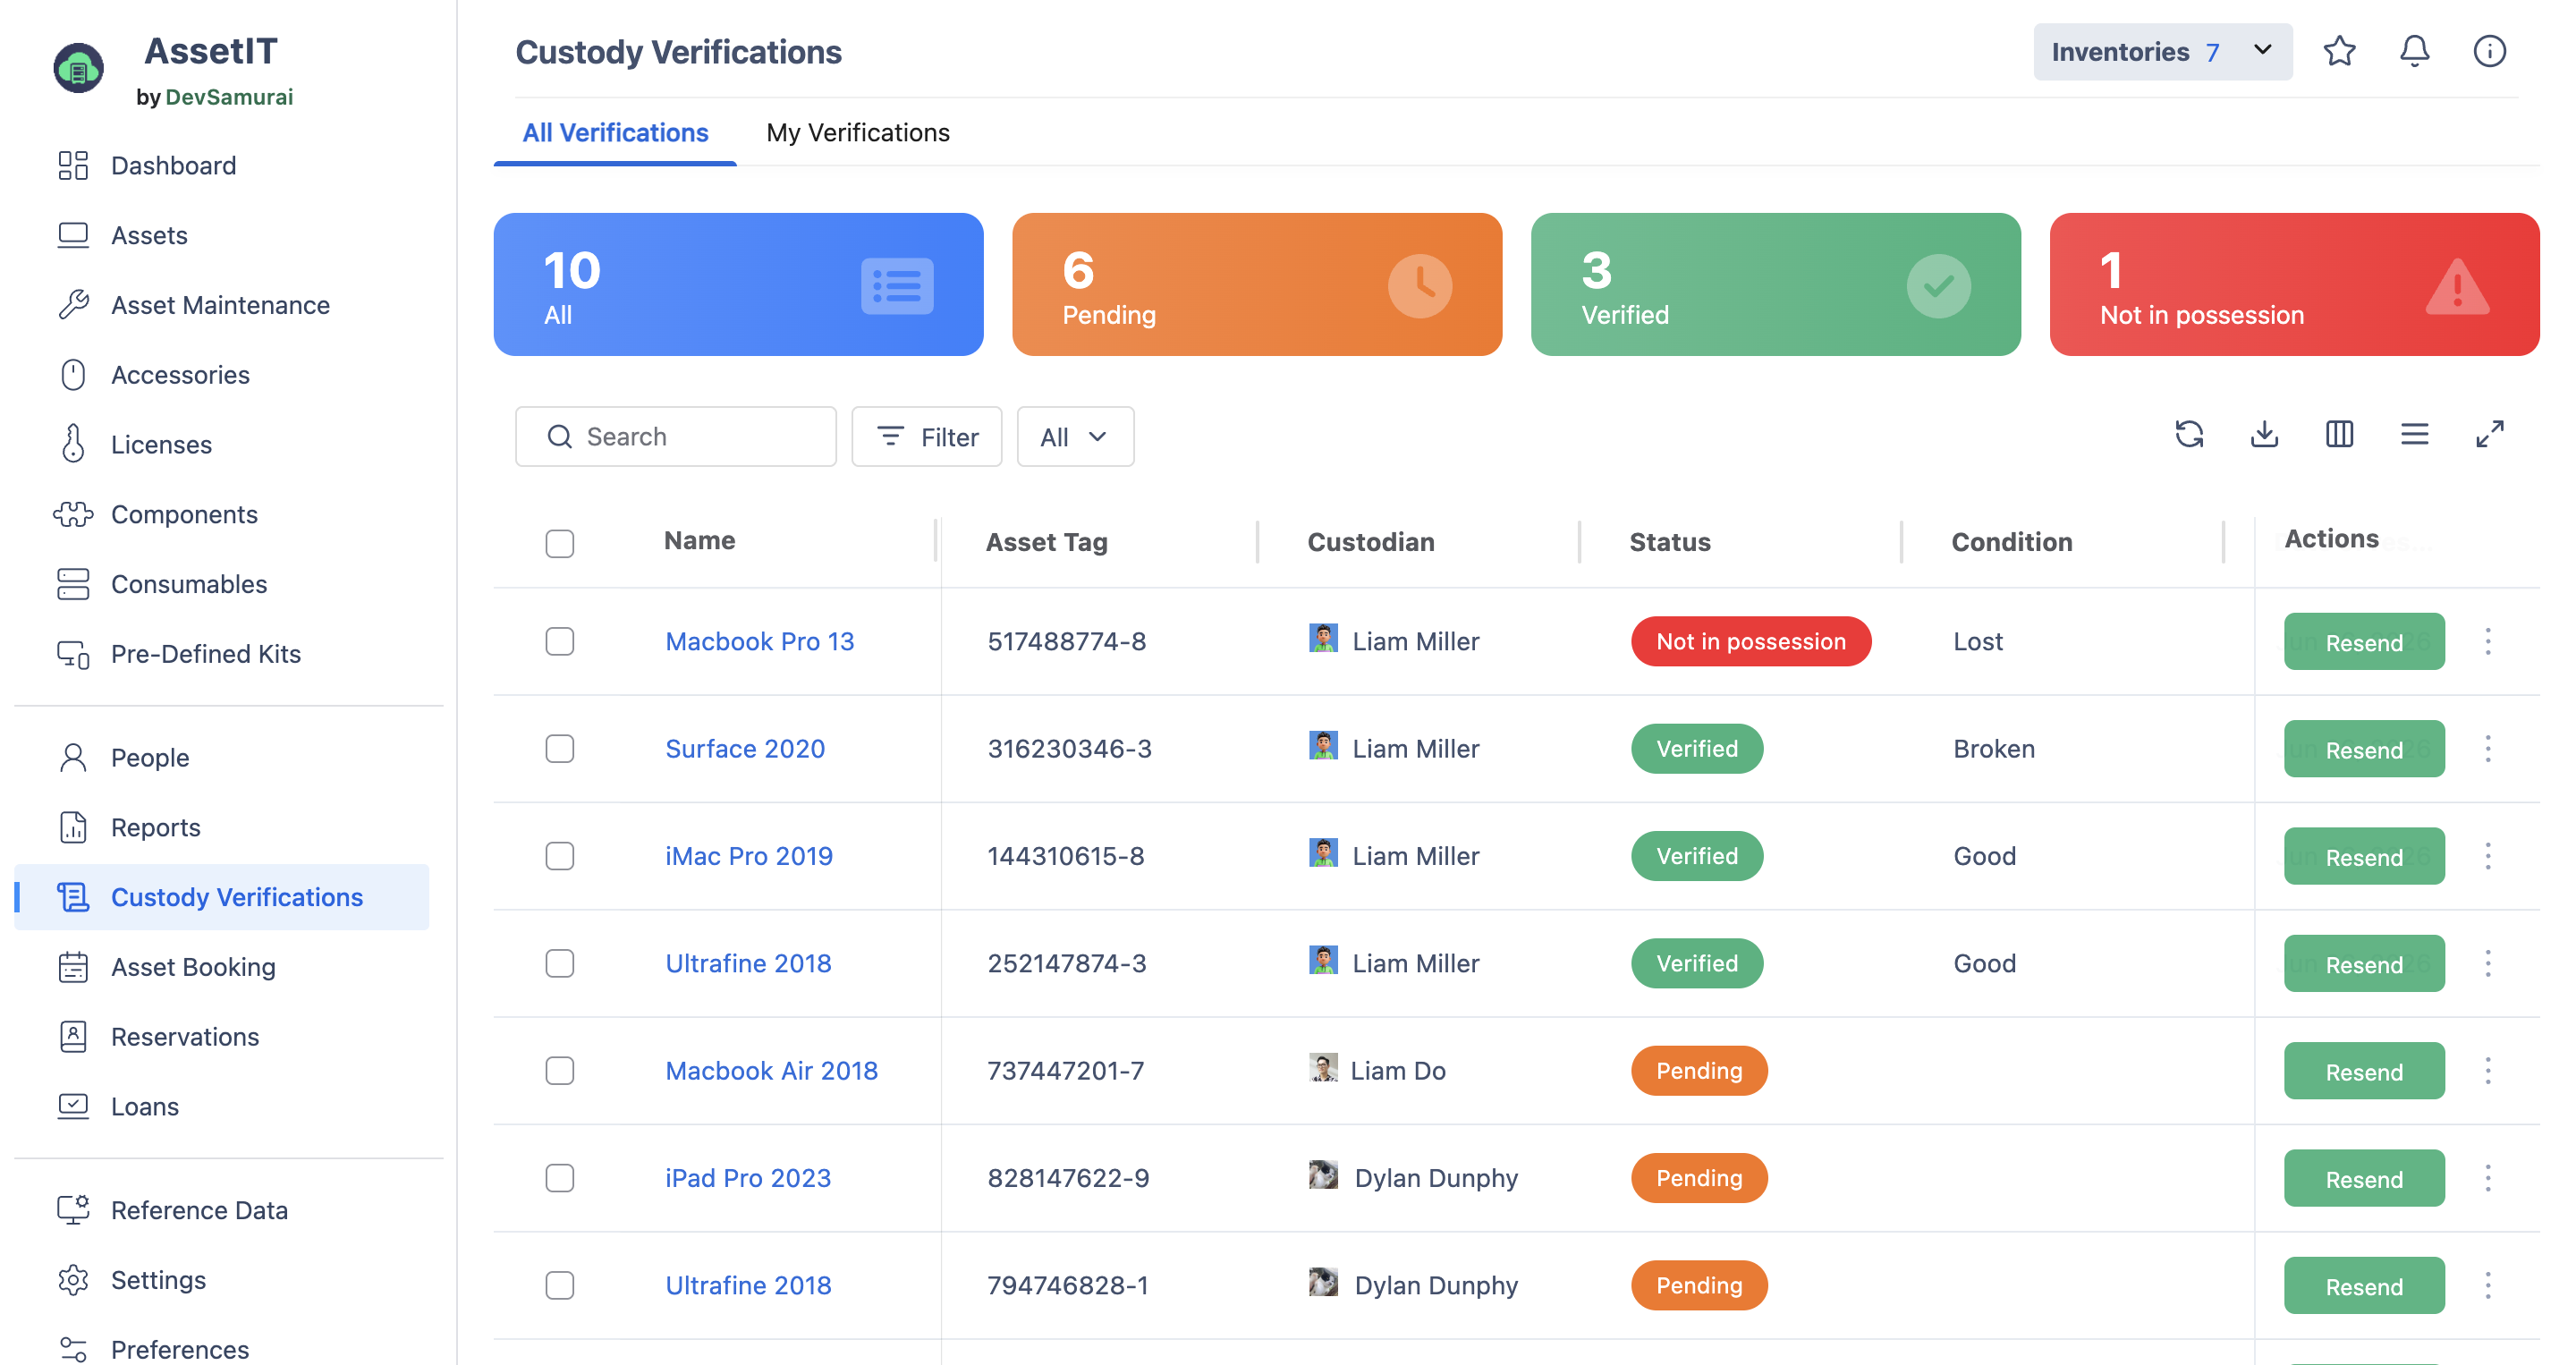
In the AssetIT sidebar, click the Custody Verification tab.
-
The custody verification list appears, displaying the following details for each asset:
|
Field |
Description |
|---|---|
|
Asset Name |
The name of the asset. |
|
Asset Tag |
The unique identifier for the asset. |
|
Assigned To |
The user to whom the asset is currently assigned. |
|
Status |
Whether the asset is Not in Possession, Verified, or Pending. |
|
Condition |
The asset's condition: Lost, Stolen, Broken, Good, Damaged, or Other. |
|
Date of Response |
The date when the last verification response was recorded. |
|
Due Date |
The deadline for completing the verification. |
|
Notes |
Any additional remarks or details provided during the verification. |
|
Signature |
The digital signature from the last verification. |
|
Created Date |
The date when the verification entry was created. |
|
Actions |
Resend the custody request or view history. |
Filtering verifications
Filter by status
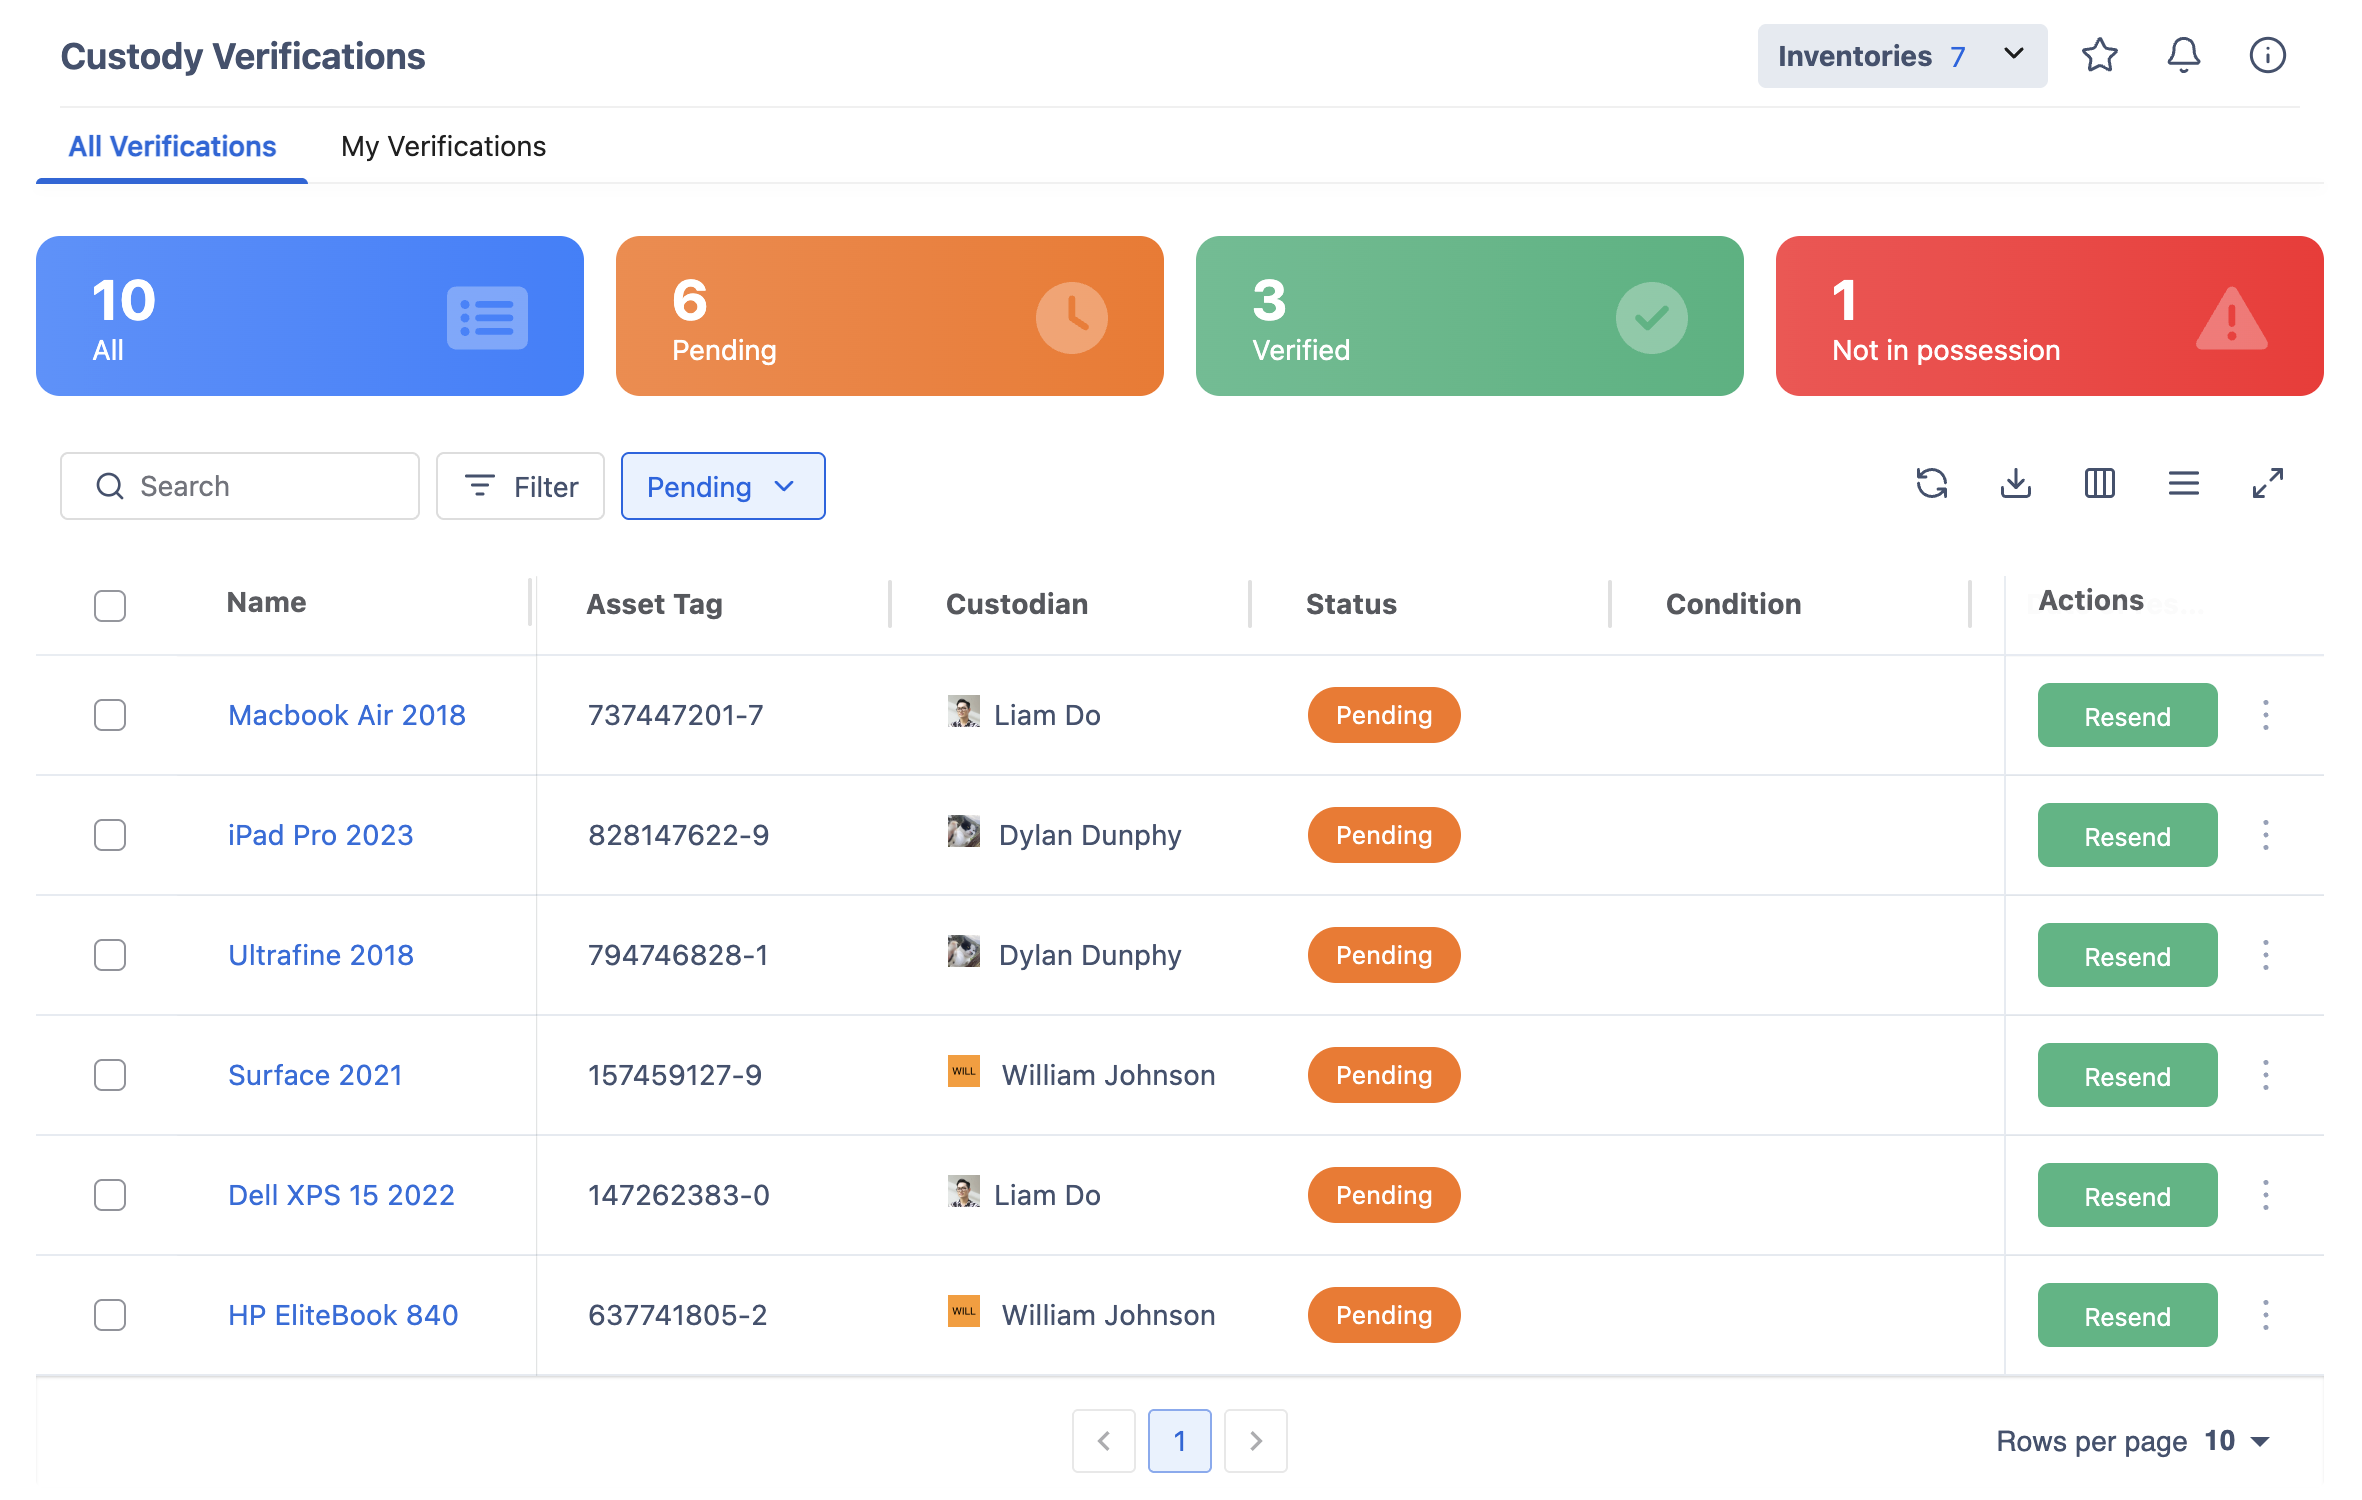
Use the status shortcuts to quickly filter the list:
-
Pending — Verifications awaiting a response.
-
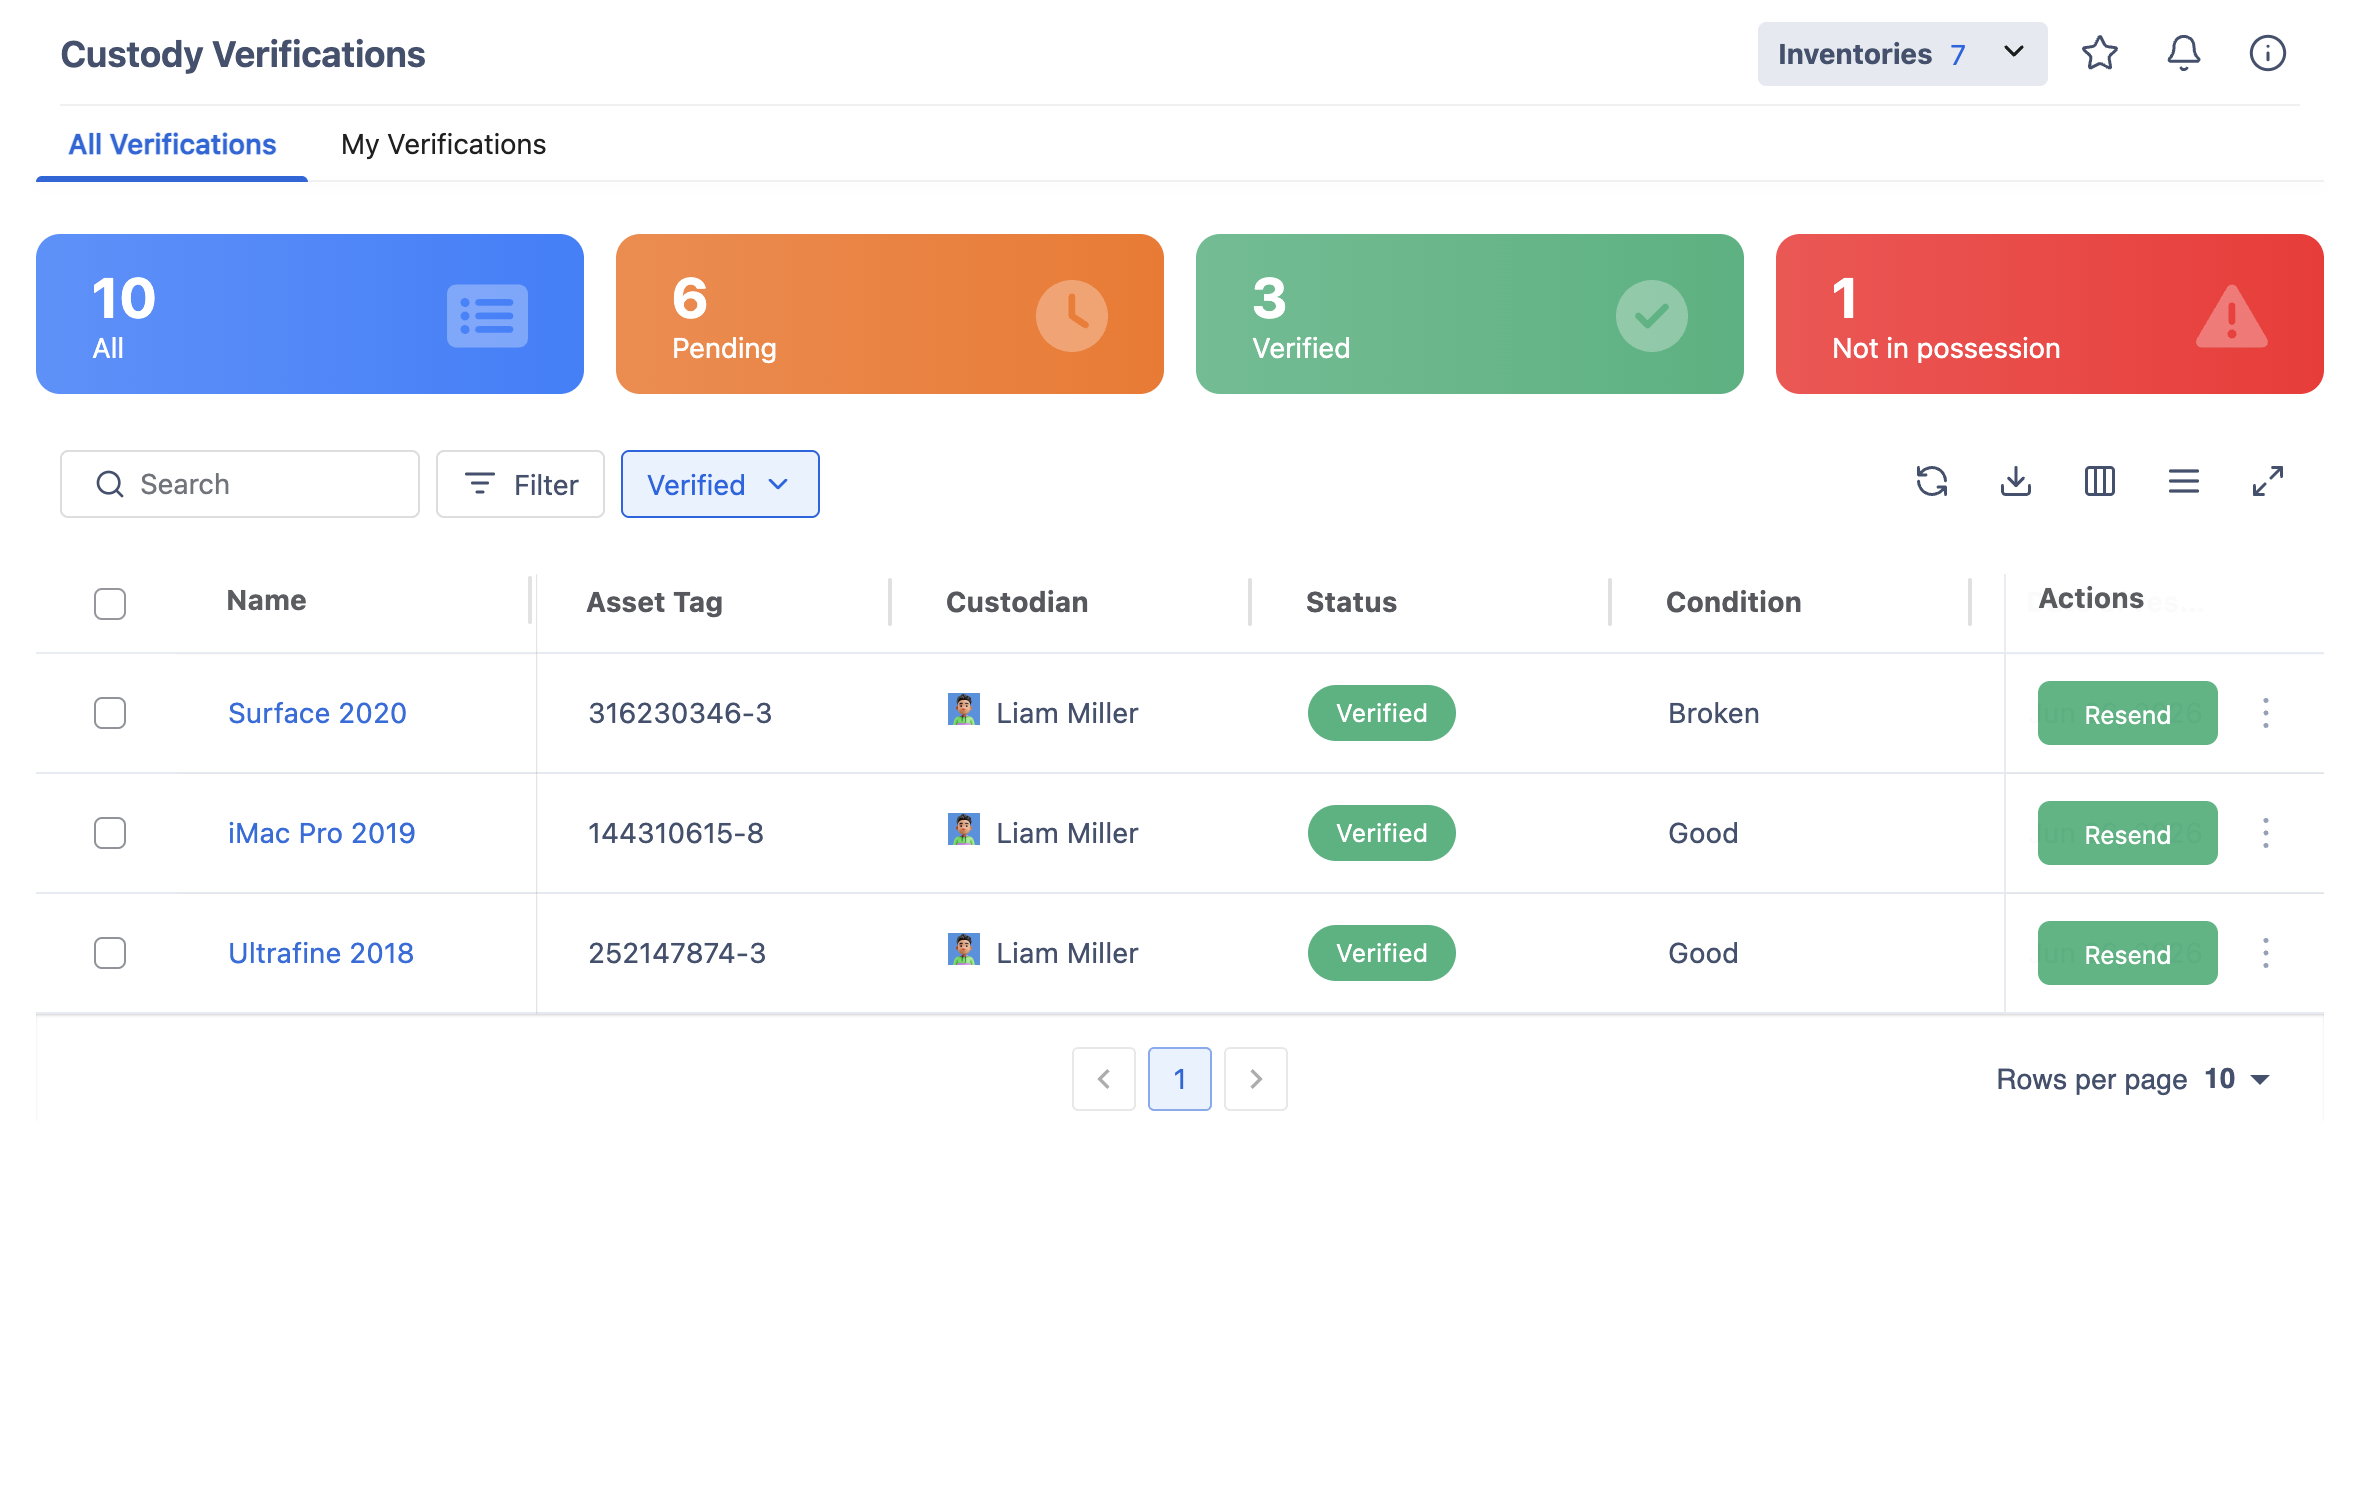
Verified — Verifications that have been completed and confirmed.
-
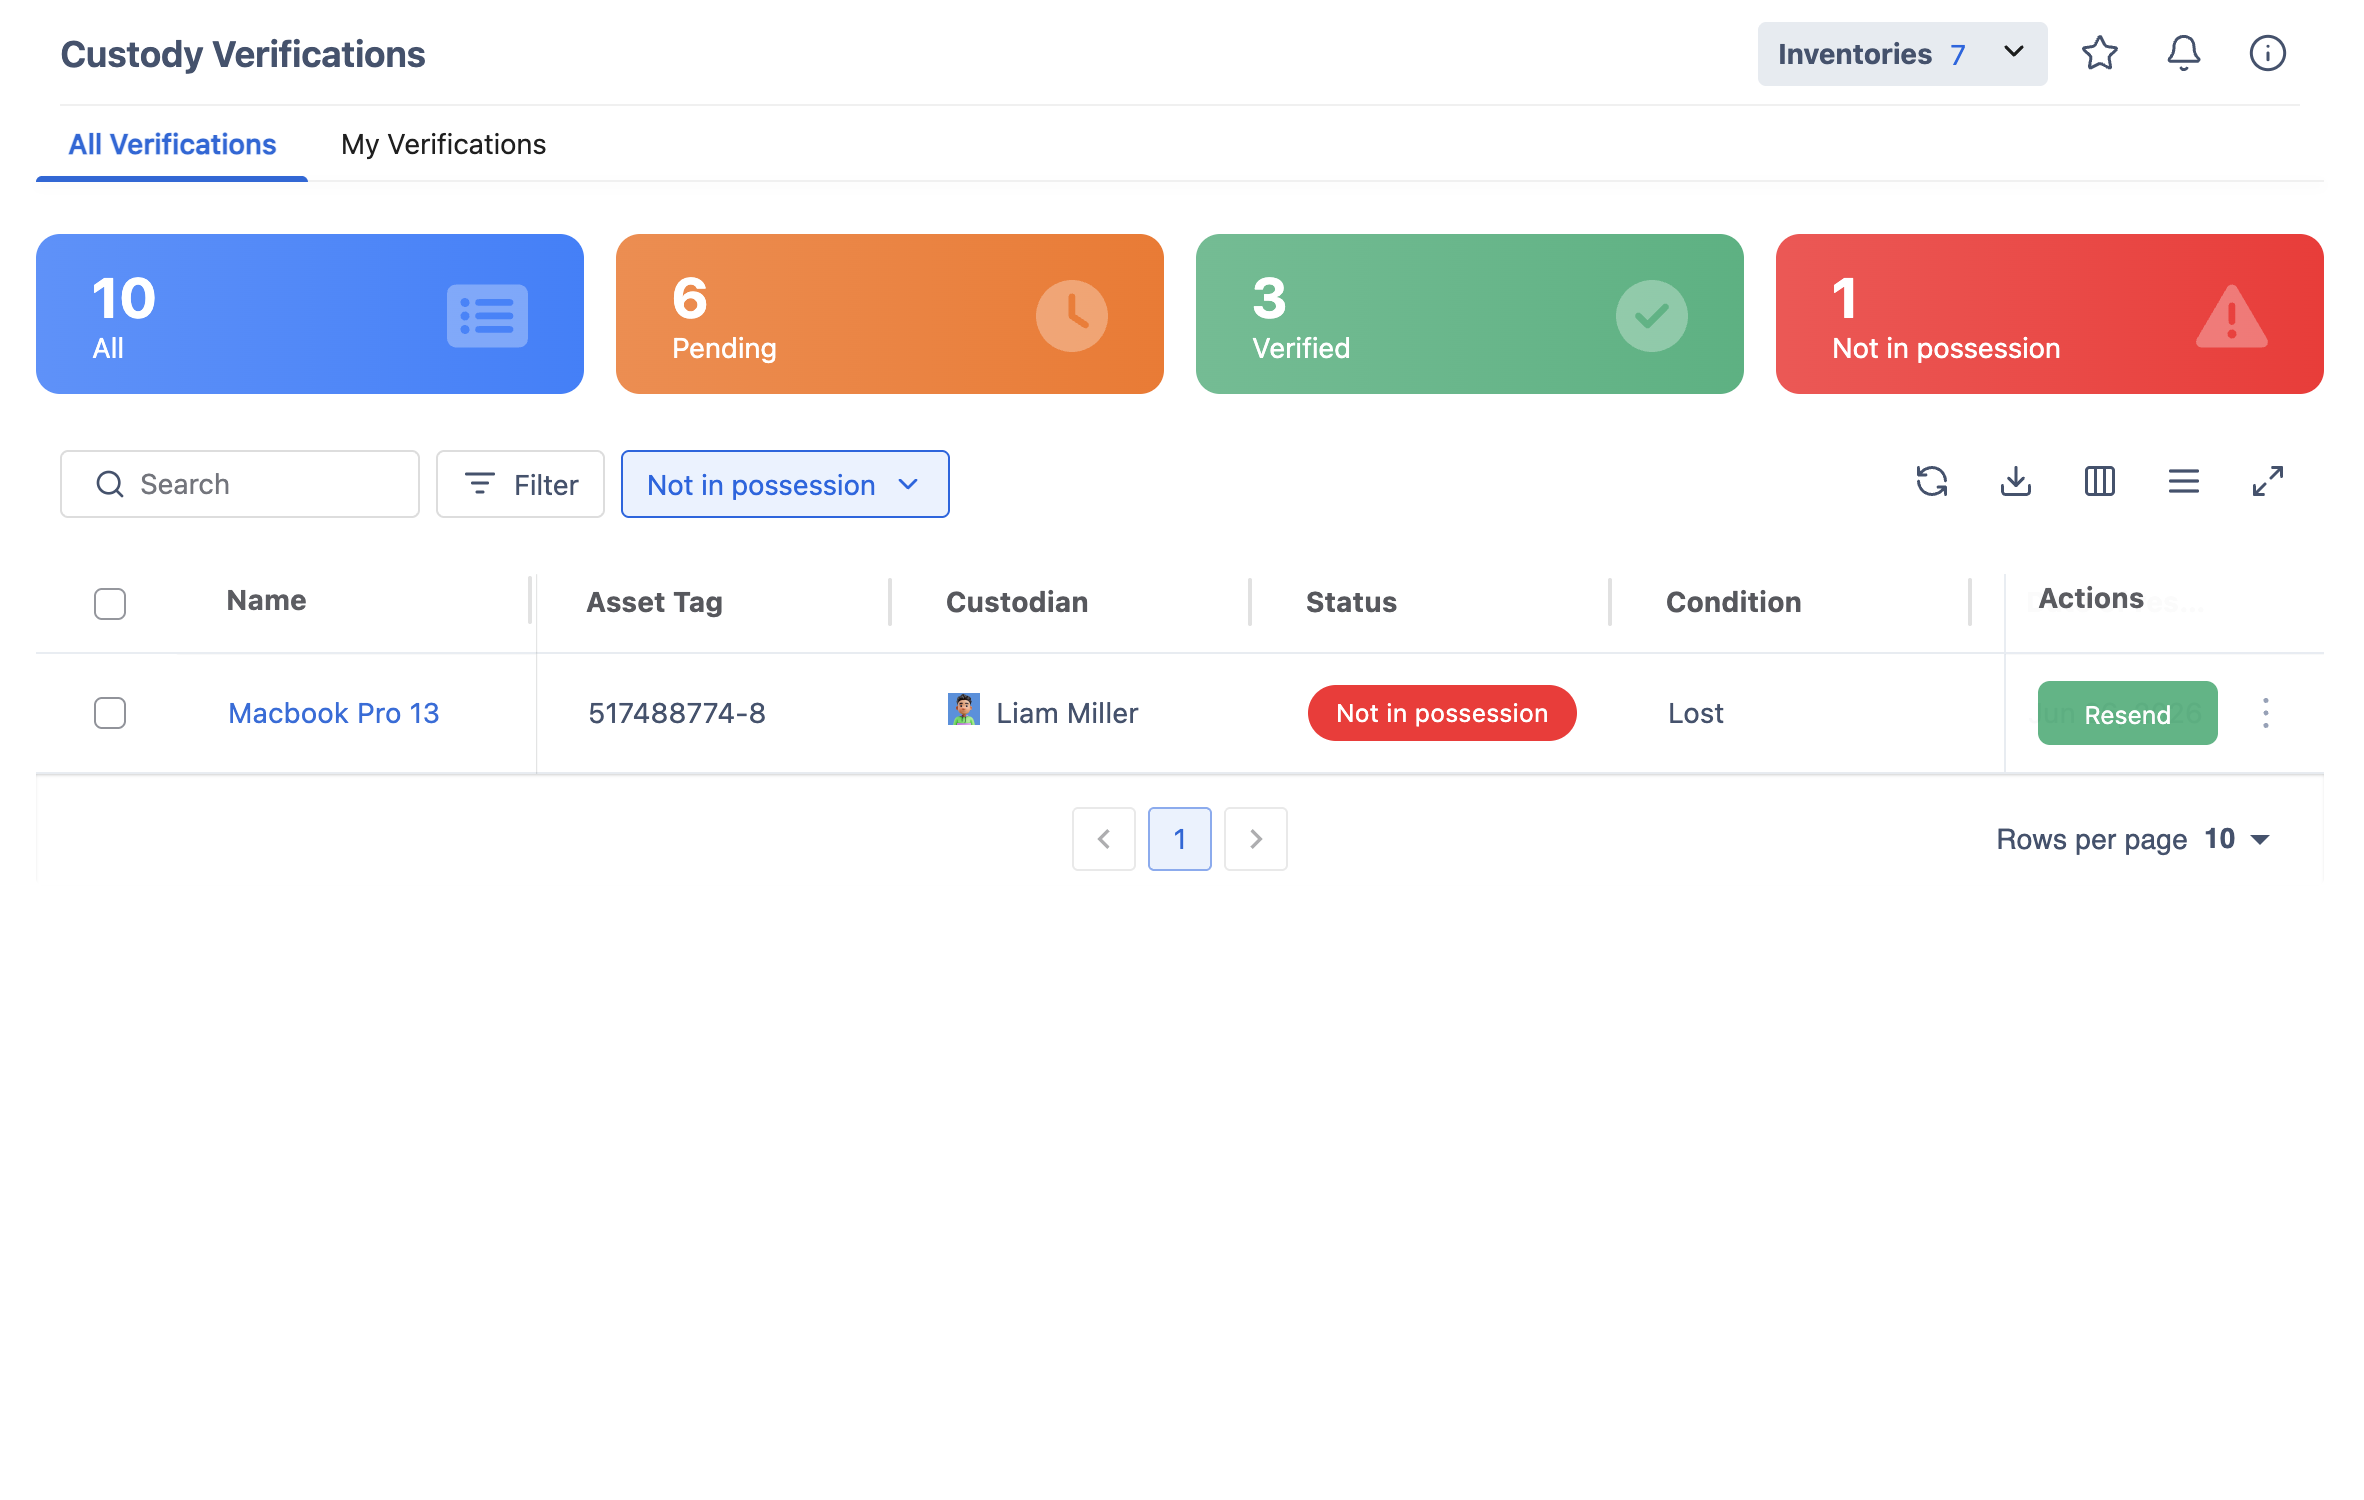
Not in Possession — Assets reported as not in the assignee's possession.
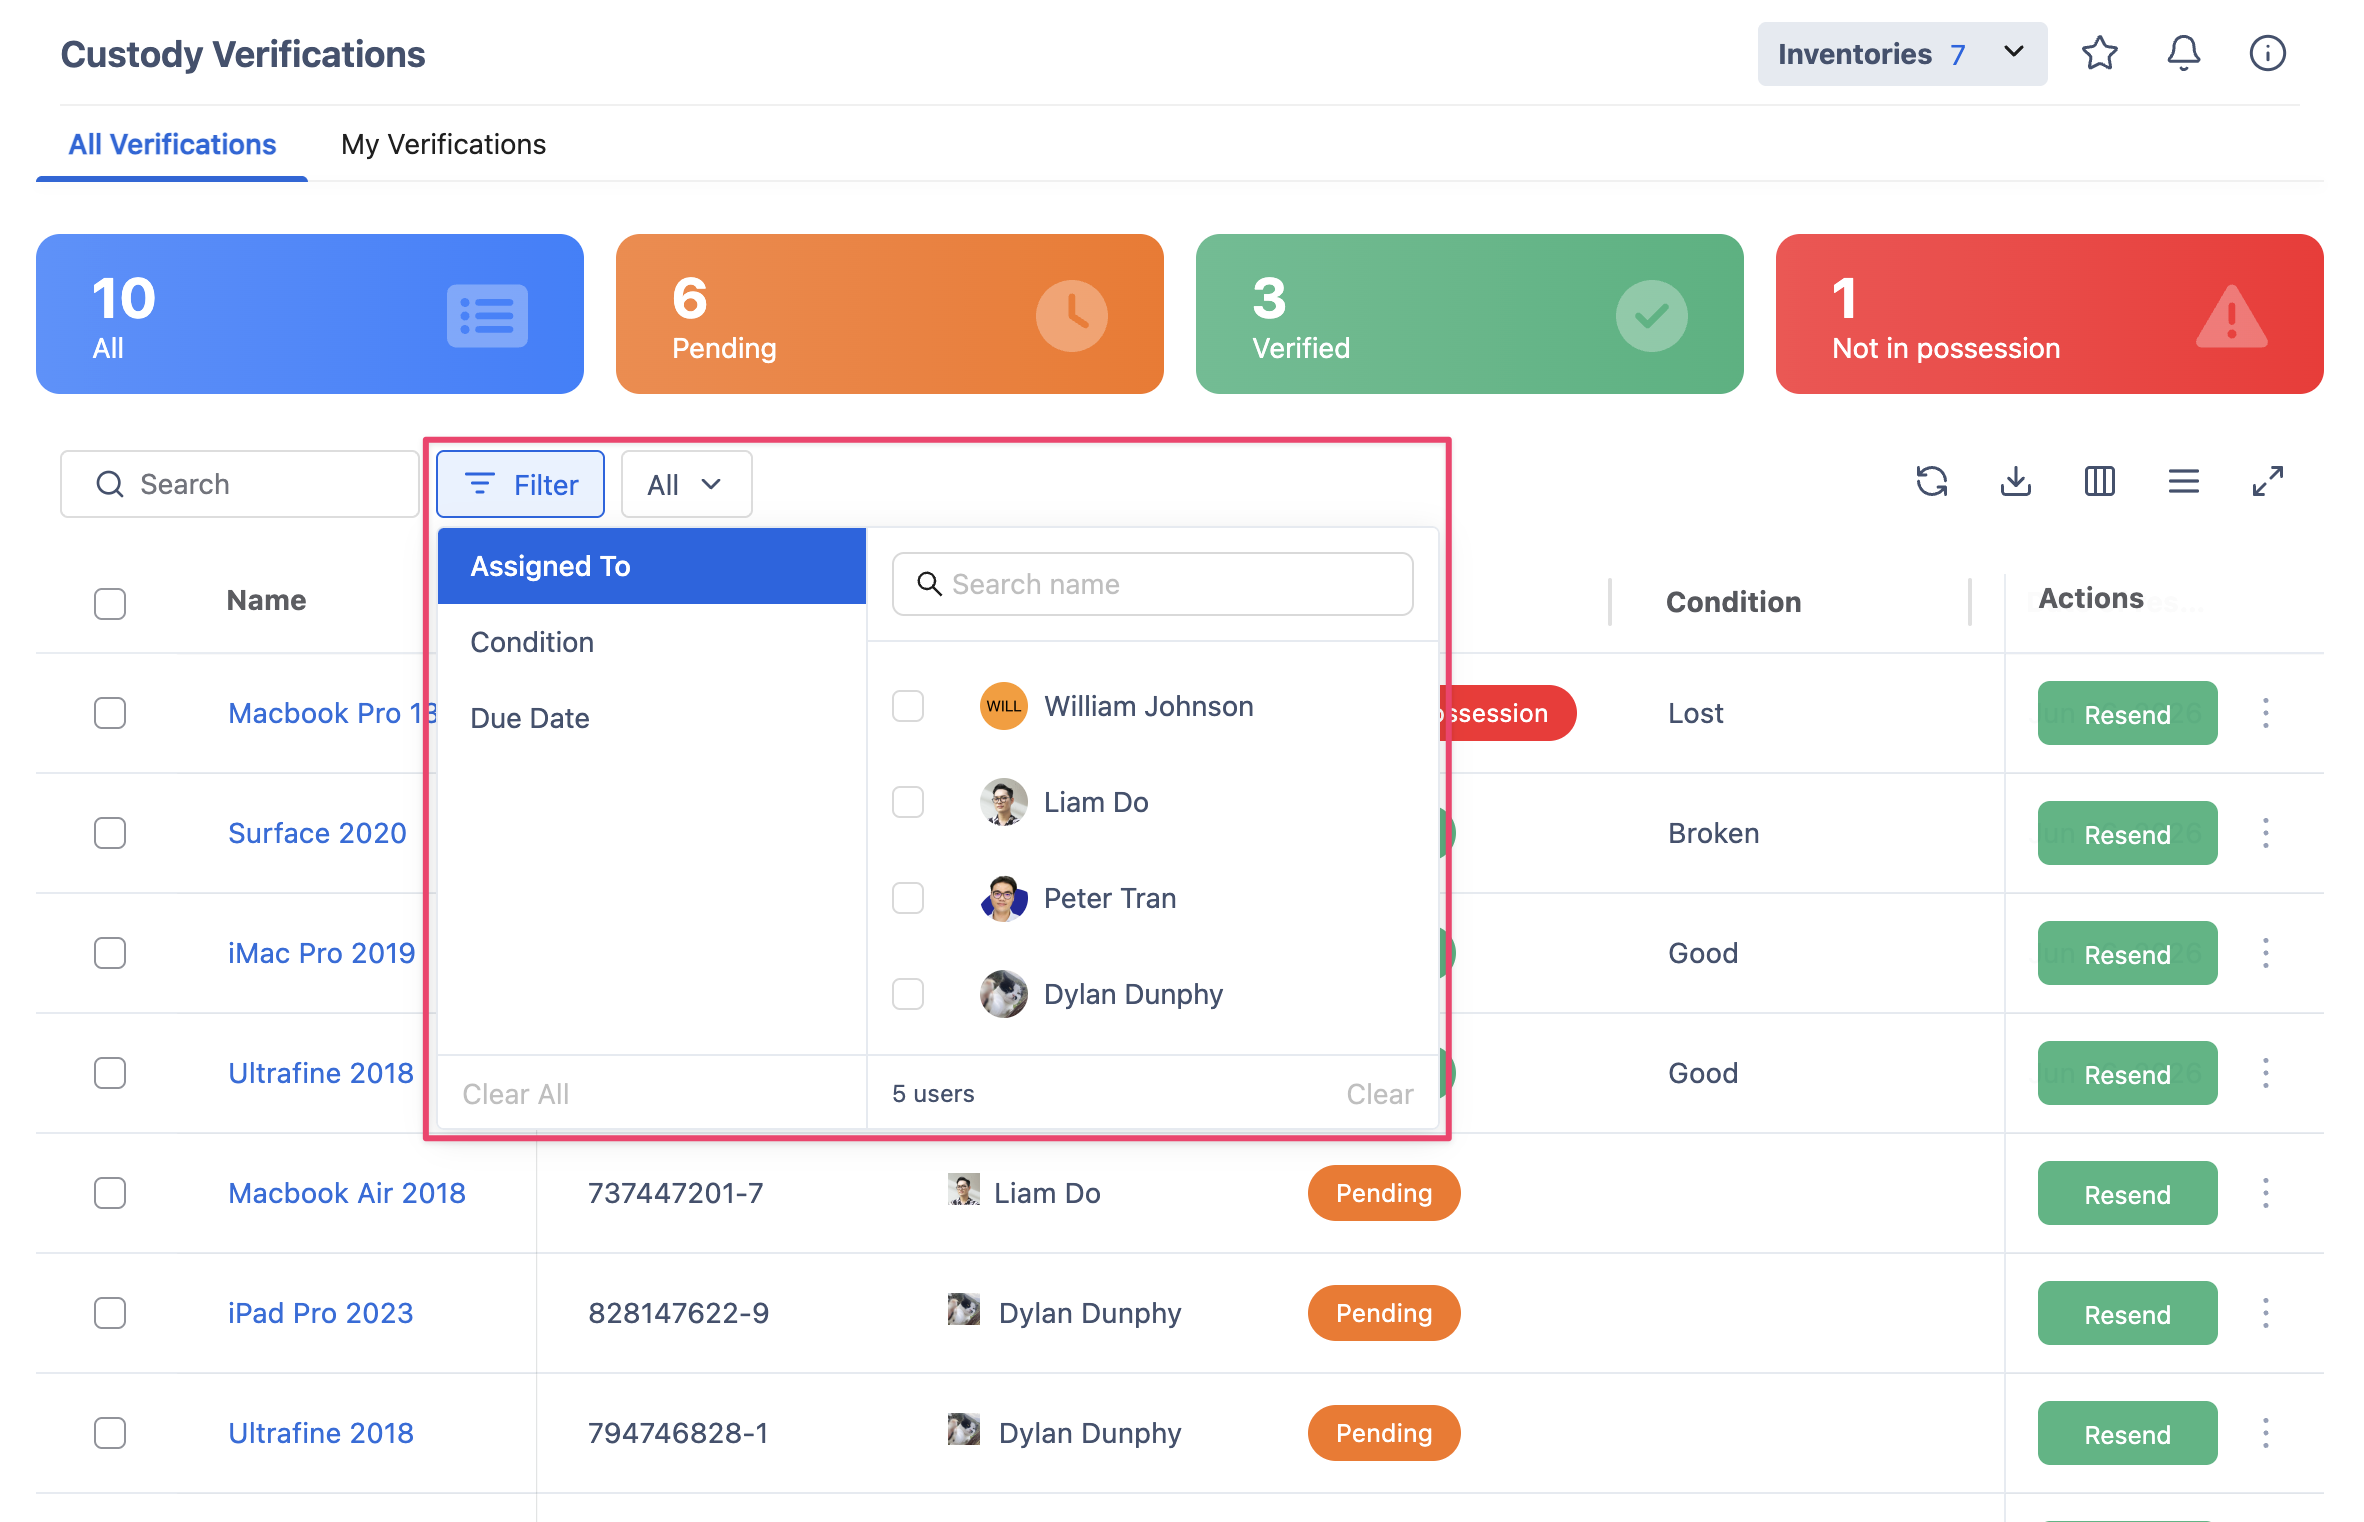
Filter by advanced criteria
Click the filter button to access additional filters:
-
Assigned To — Filter verifications by a specific assignee.
-
Condition — Filter verifications by a specific condition.
-
Due Date — Filter verifications within a specific time range.
Viewing your personal verification requests
Switch to the My Verifications tab to see any verifications waiting for your confirmation. This tab lists all items that require your direct attention.
Refer to the Verify a Custody guide for further instructions.