.png)
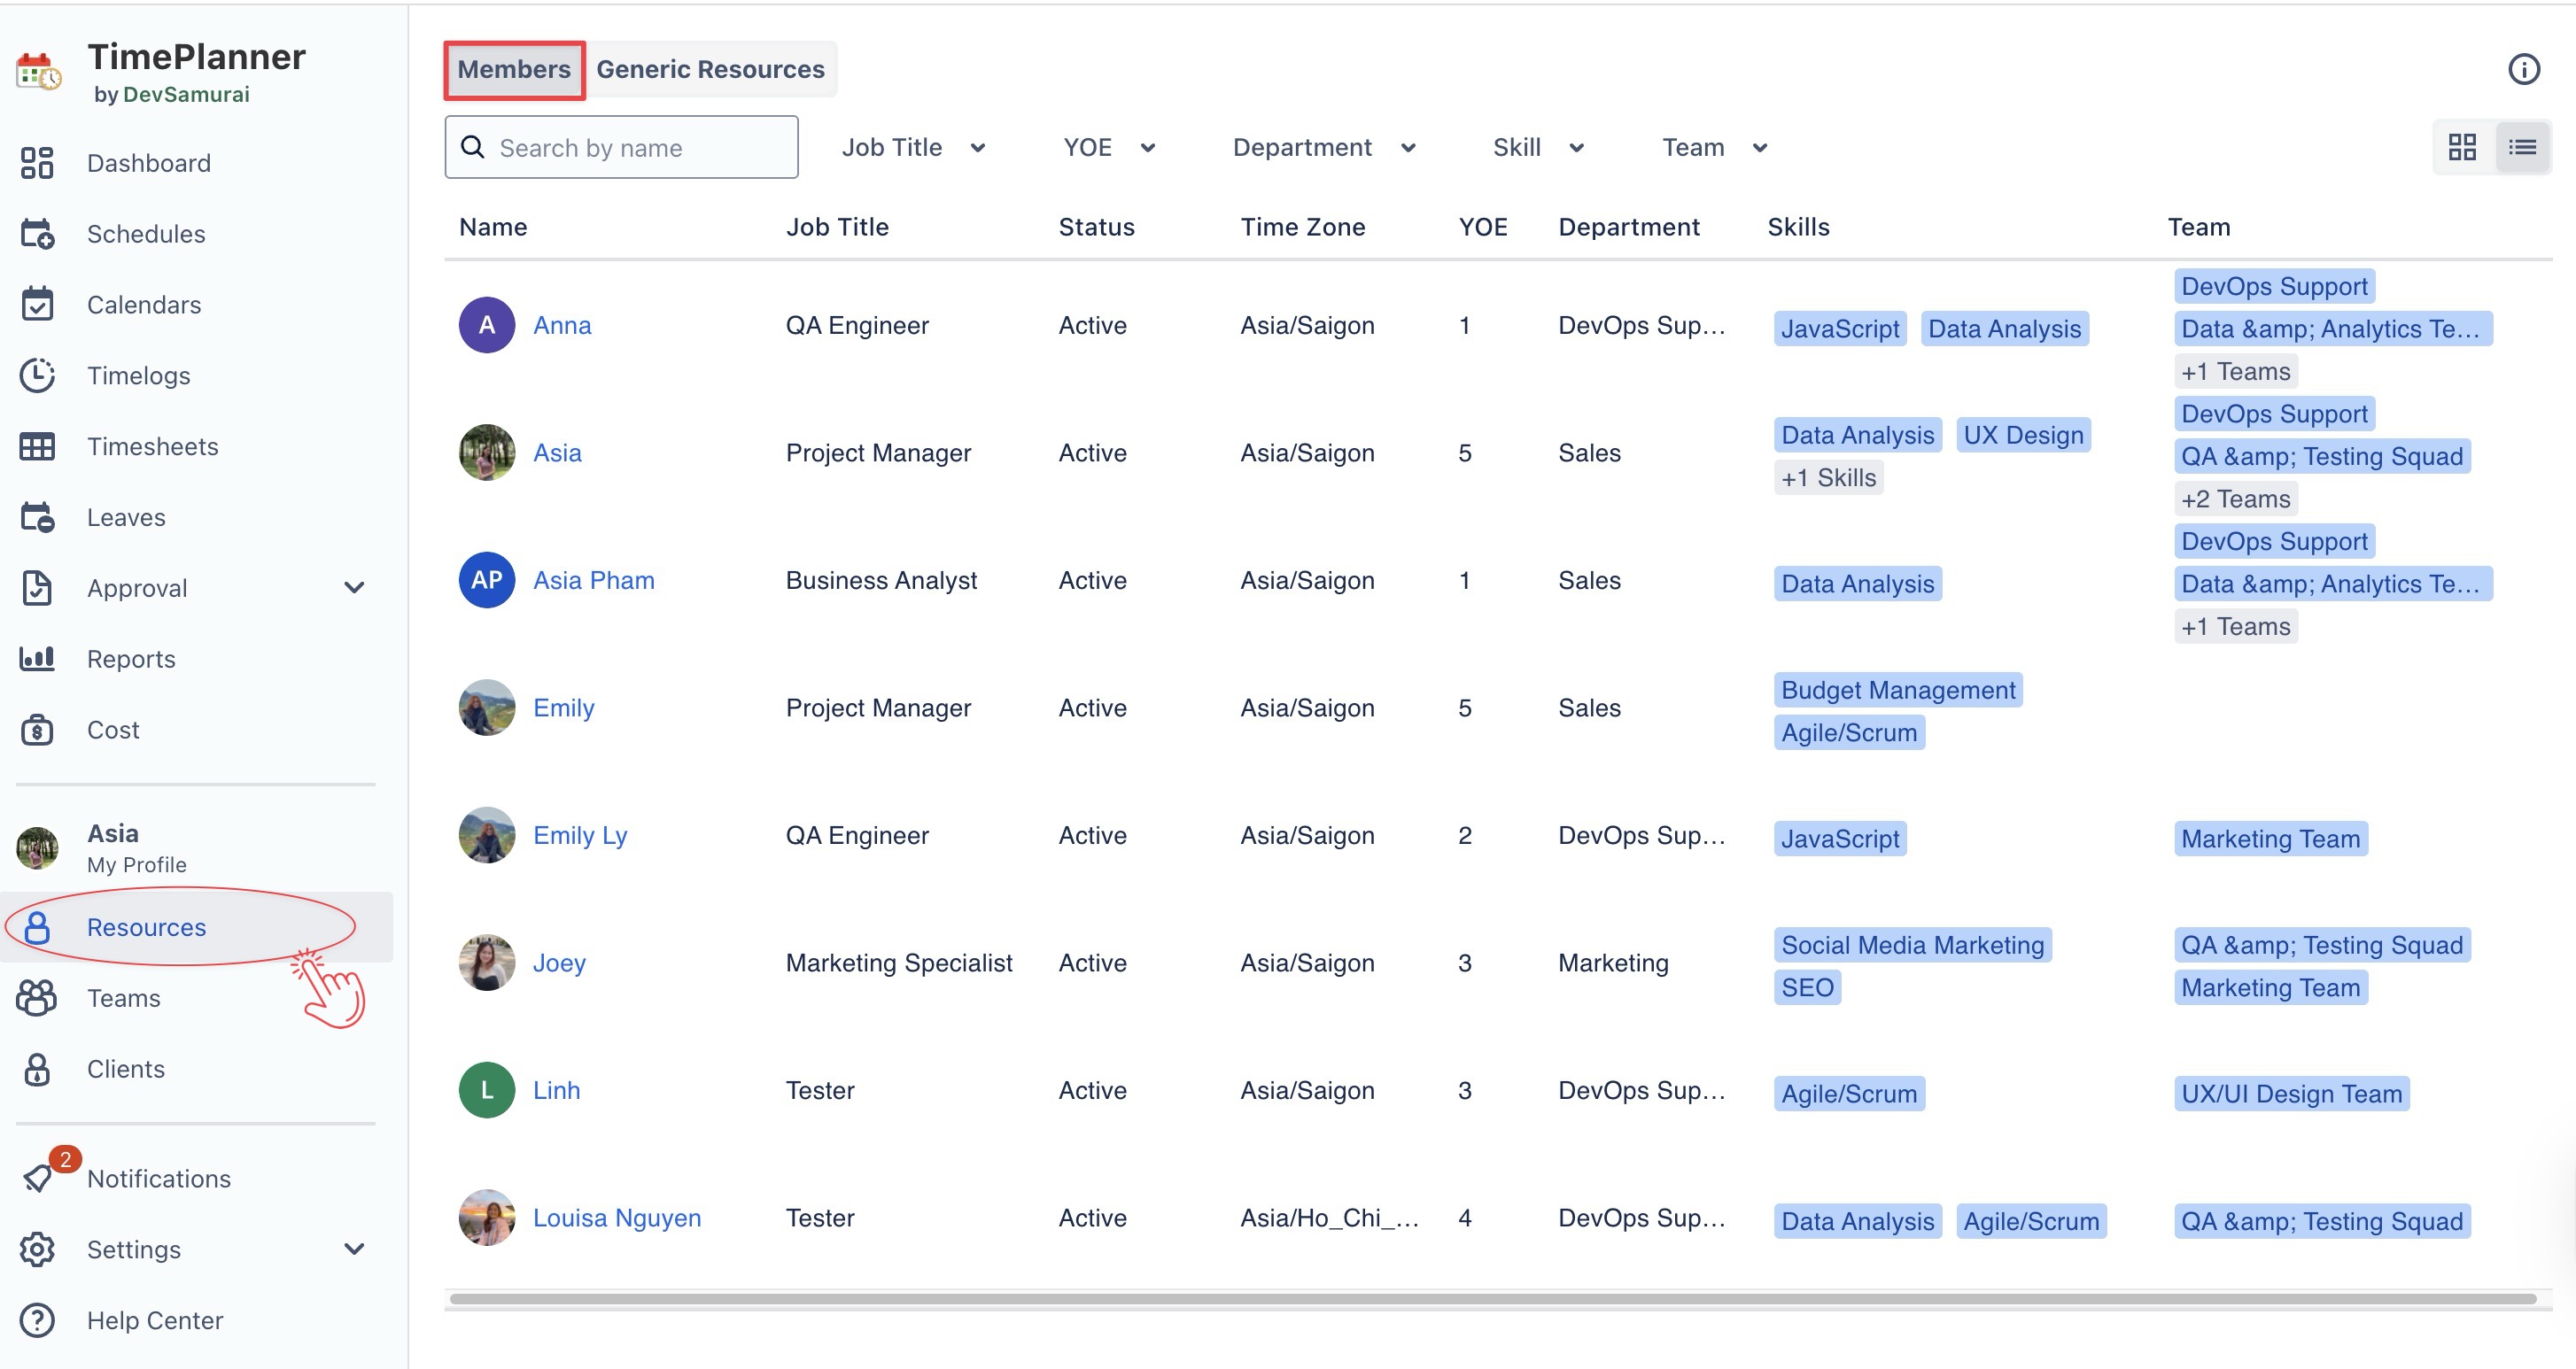
In TimePlanner, Members refers to the Jira users within your organization who are actively involved in projects. These users are individuals with accounts linked to your Jira instance and contribute to project tasks, time logging, and resource management.
Manage Members allows App Admins to view and manage team member profiles, providing access to important details such as roles, skills, availability, capacity, and cost rates.
How to access Members
From the left-hand menu, click on 
Member Views
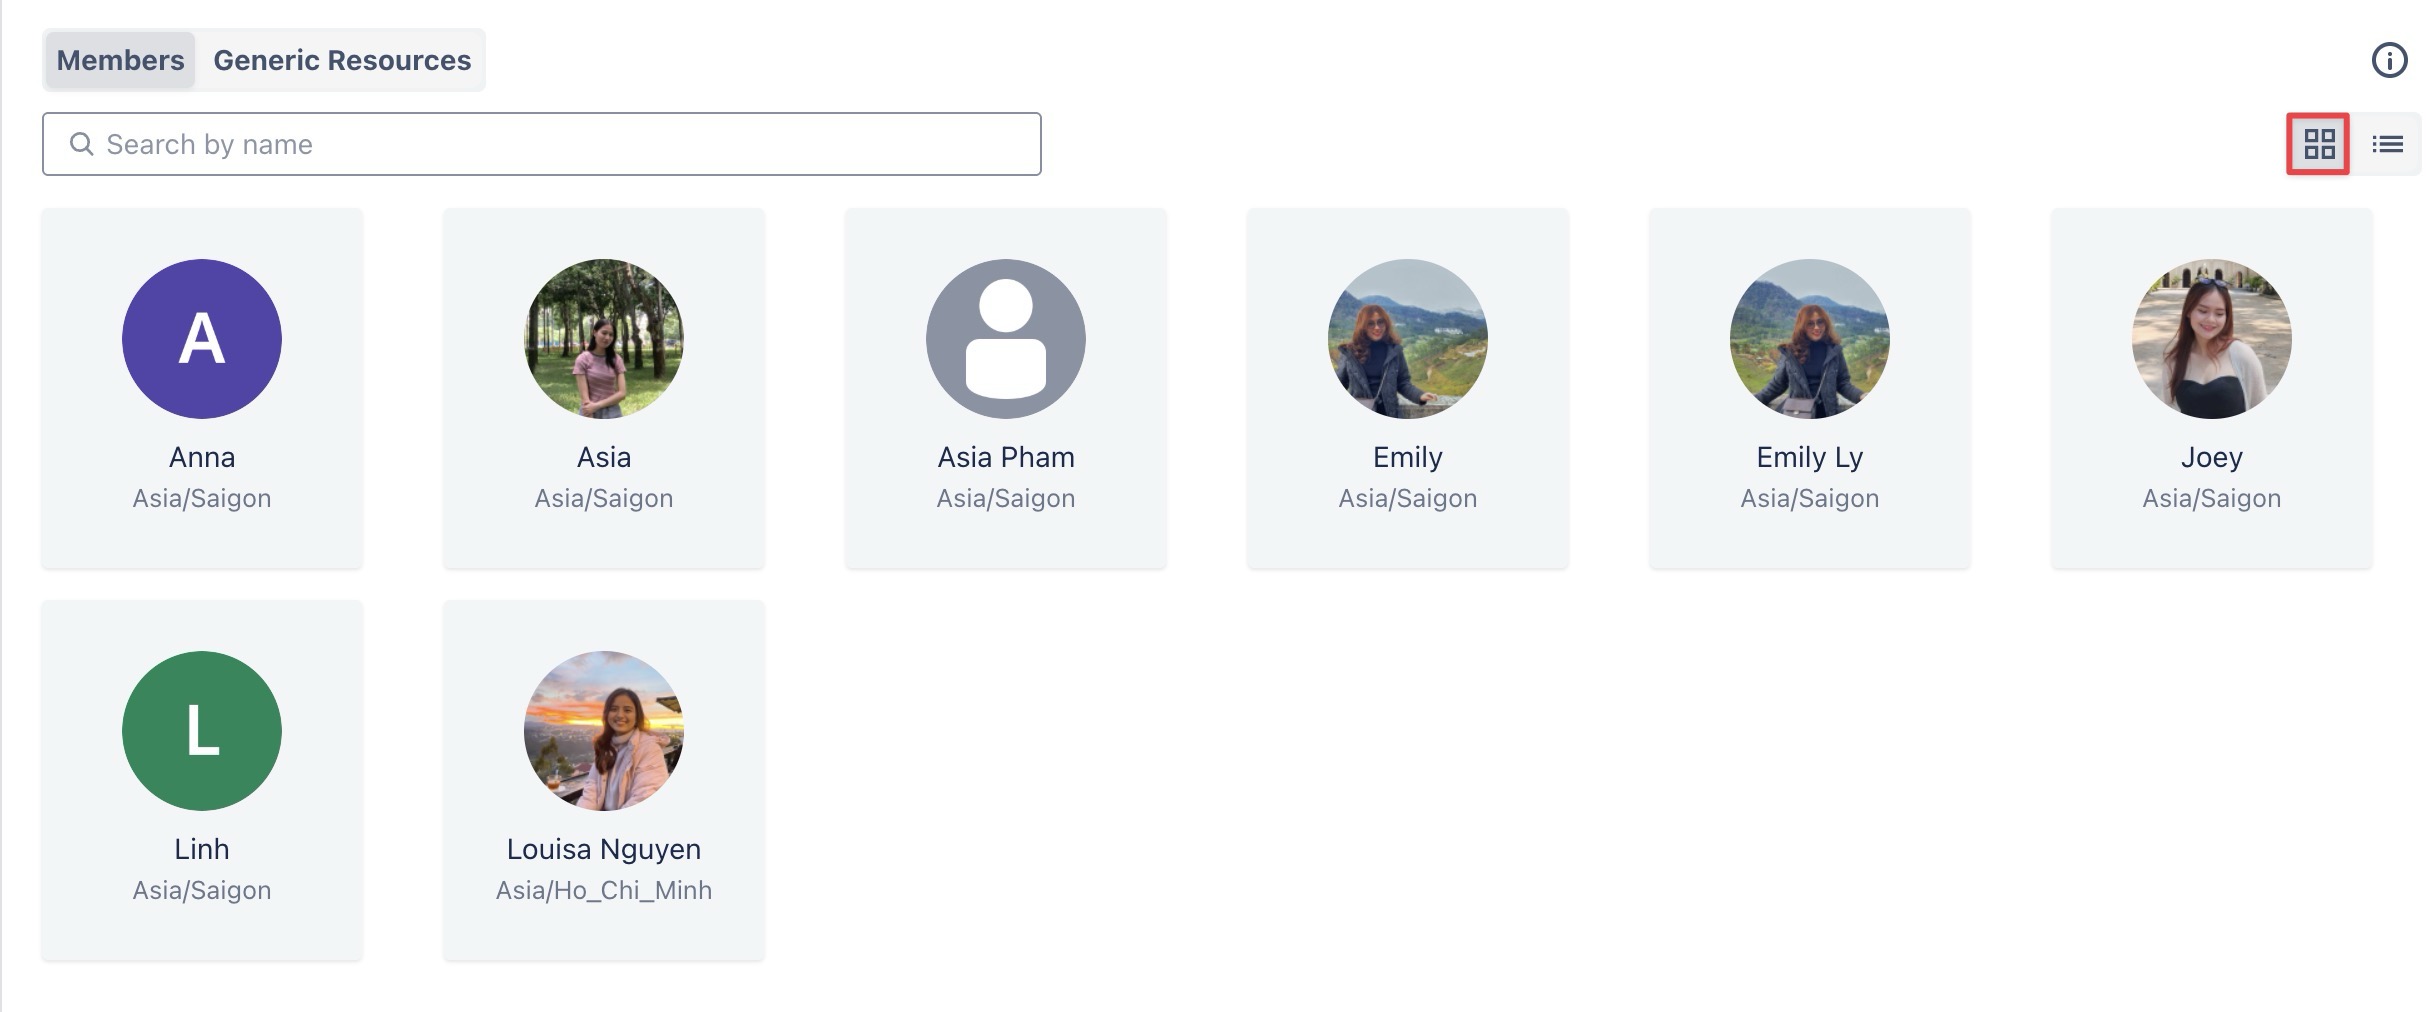
To manage your team effectively, you can view the members in two modes: Table View and Grid View.
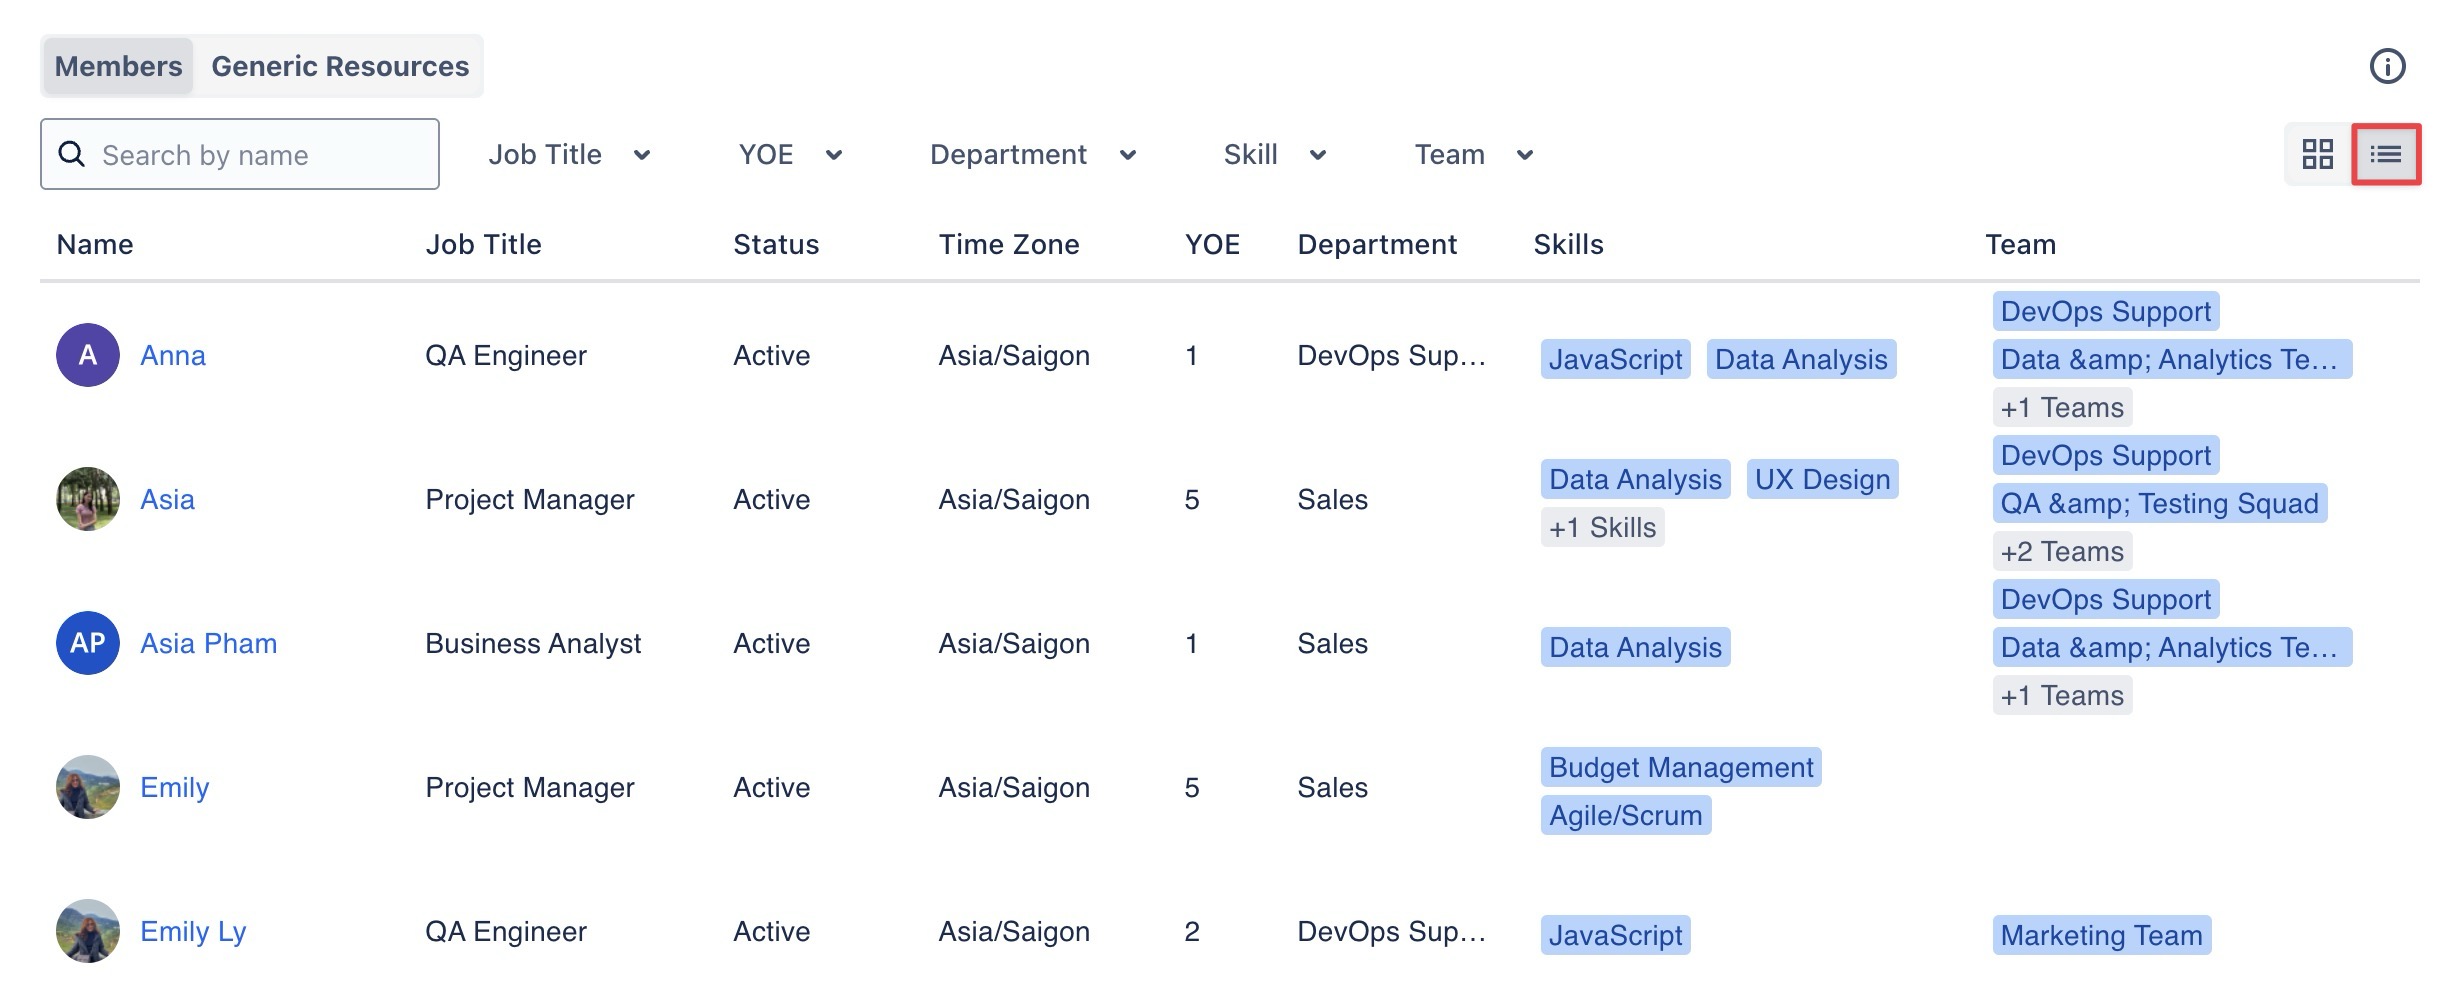
How to Switch Between Views
To toggle between the Table View and Grid View, simply use the 
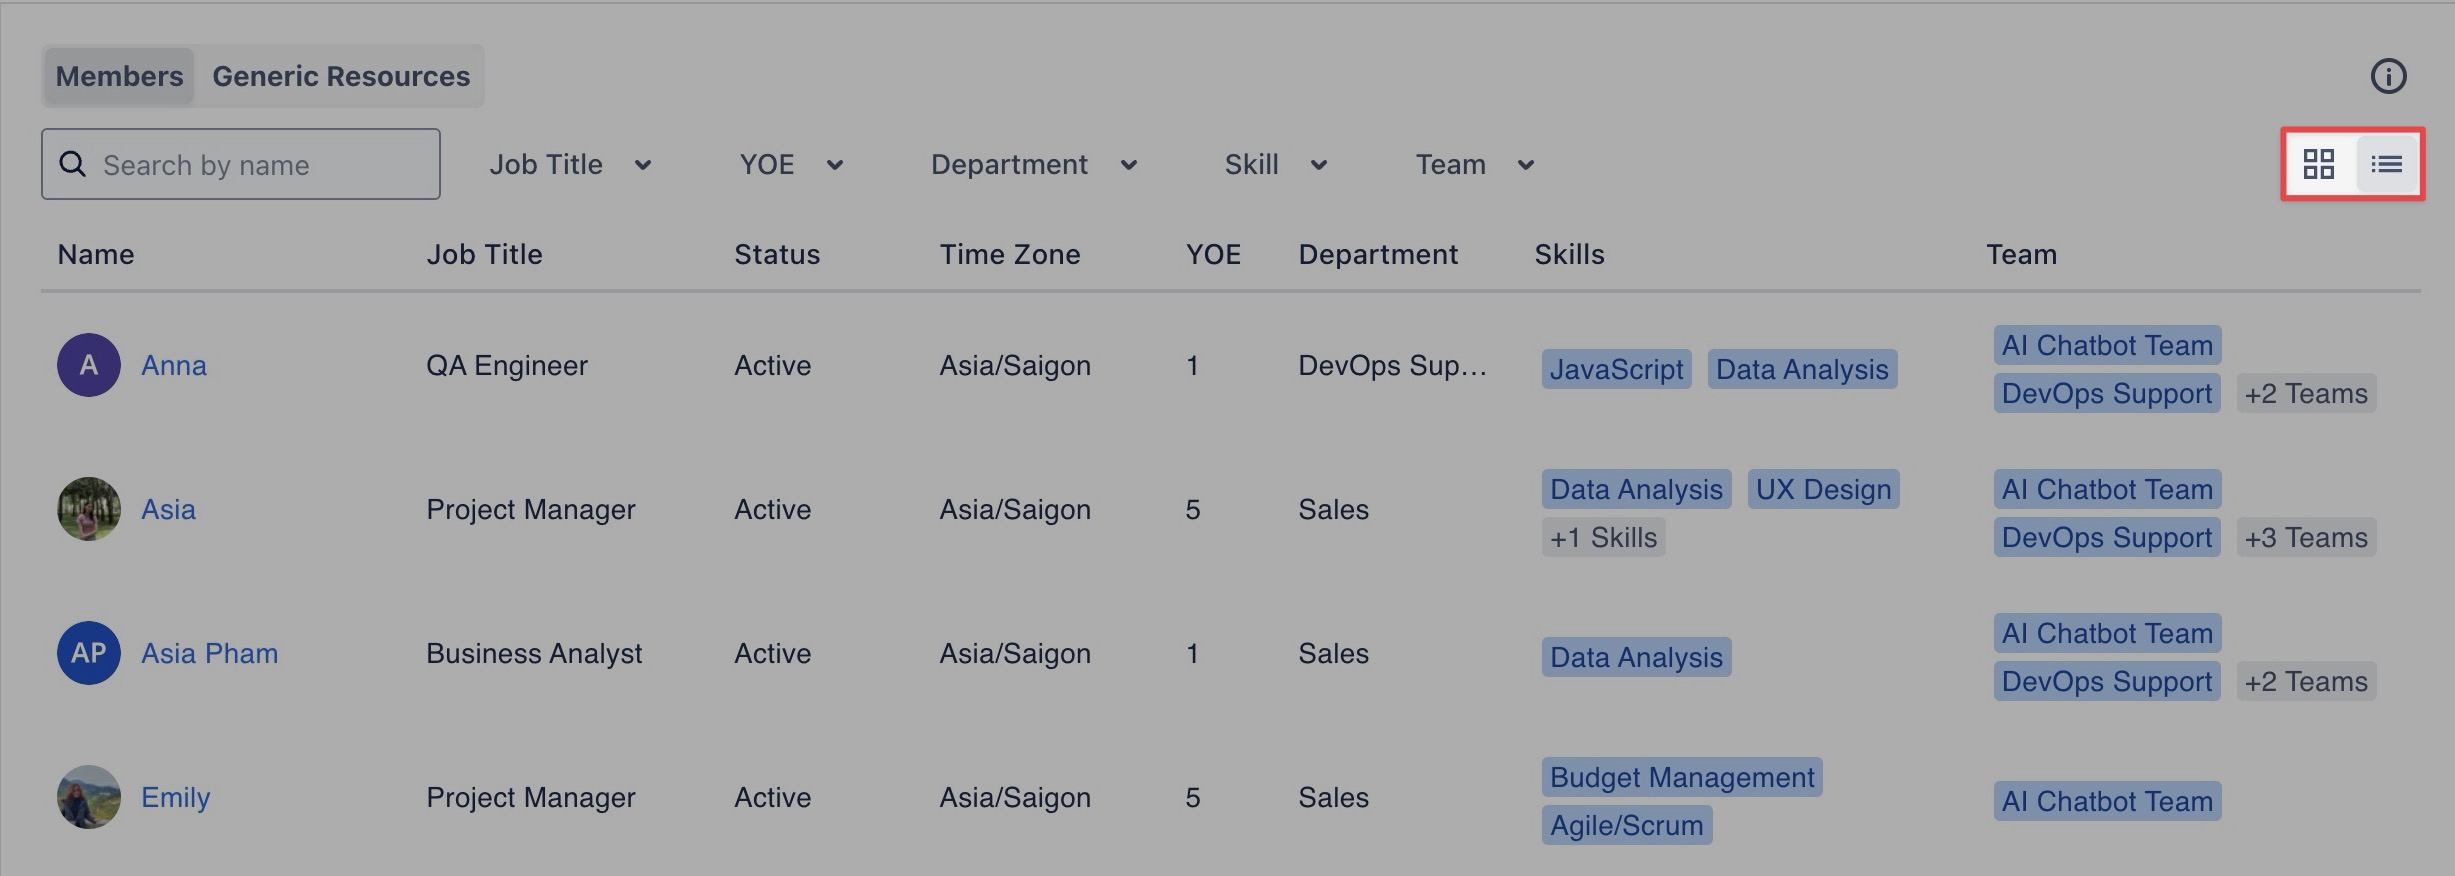
Table View
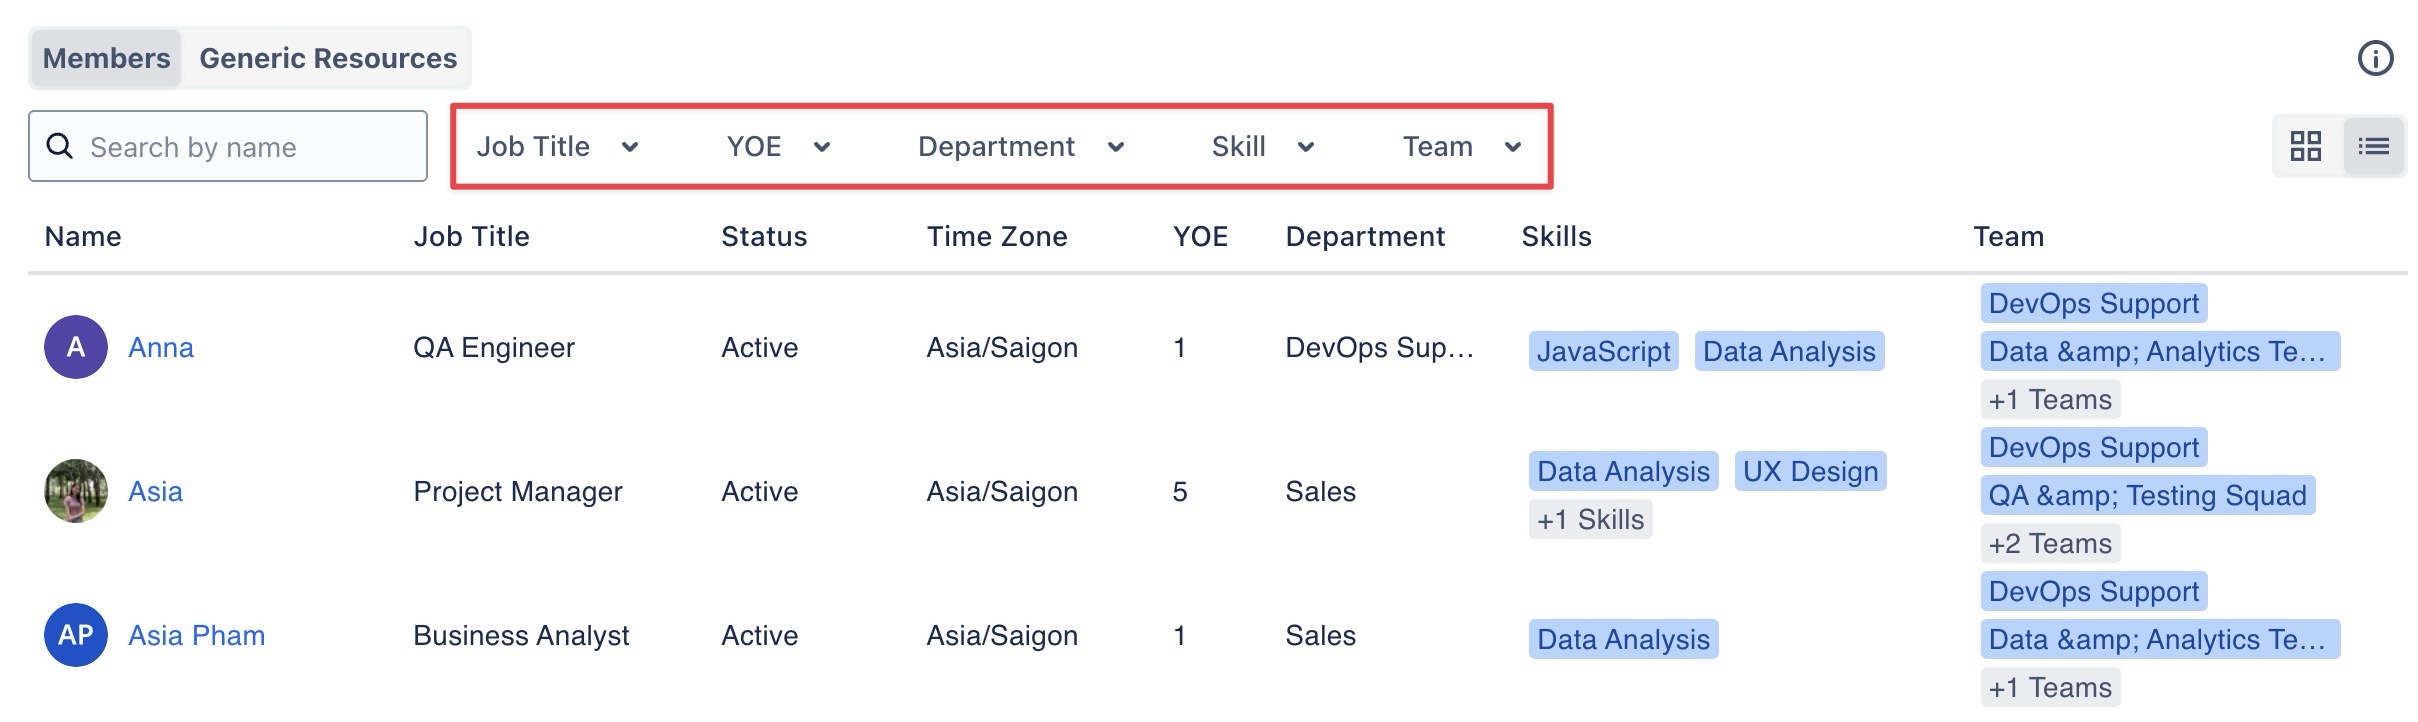
The Table View is the most detailed and comprehensive way to manage and view member data. It provides at-a-glance information on essential team member details.
-
Name: Identify each team member easily.
-
Job Title: See the role assigned to each member.
-
Status: Check if a member is active, on leave, or inactive.
-
Time Zone: Track each member’s time zone for better scheduling.
-
Years of Experience (YOE): View the number of years each member has in their role.
-
Department: Understand which department a member belongs to.
-
Skills: Highlight the skills each member offers.
-
Team: Identify the specific team each member is part of.
Tips: Use Filters in the Table View to quickly narrow down results by job title, years of experience, department, and other key attributes.
Grid View
The Grid View is more visually oriented and focuses on displaying team members' profiles with their photos.
Manage Individual Member
To view more details about a specific member, click directly on the member's name:
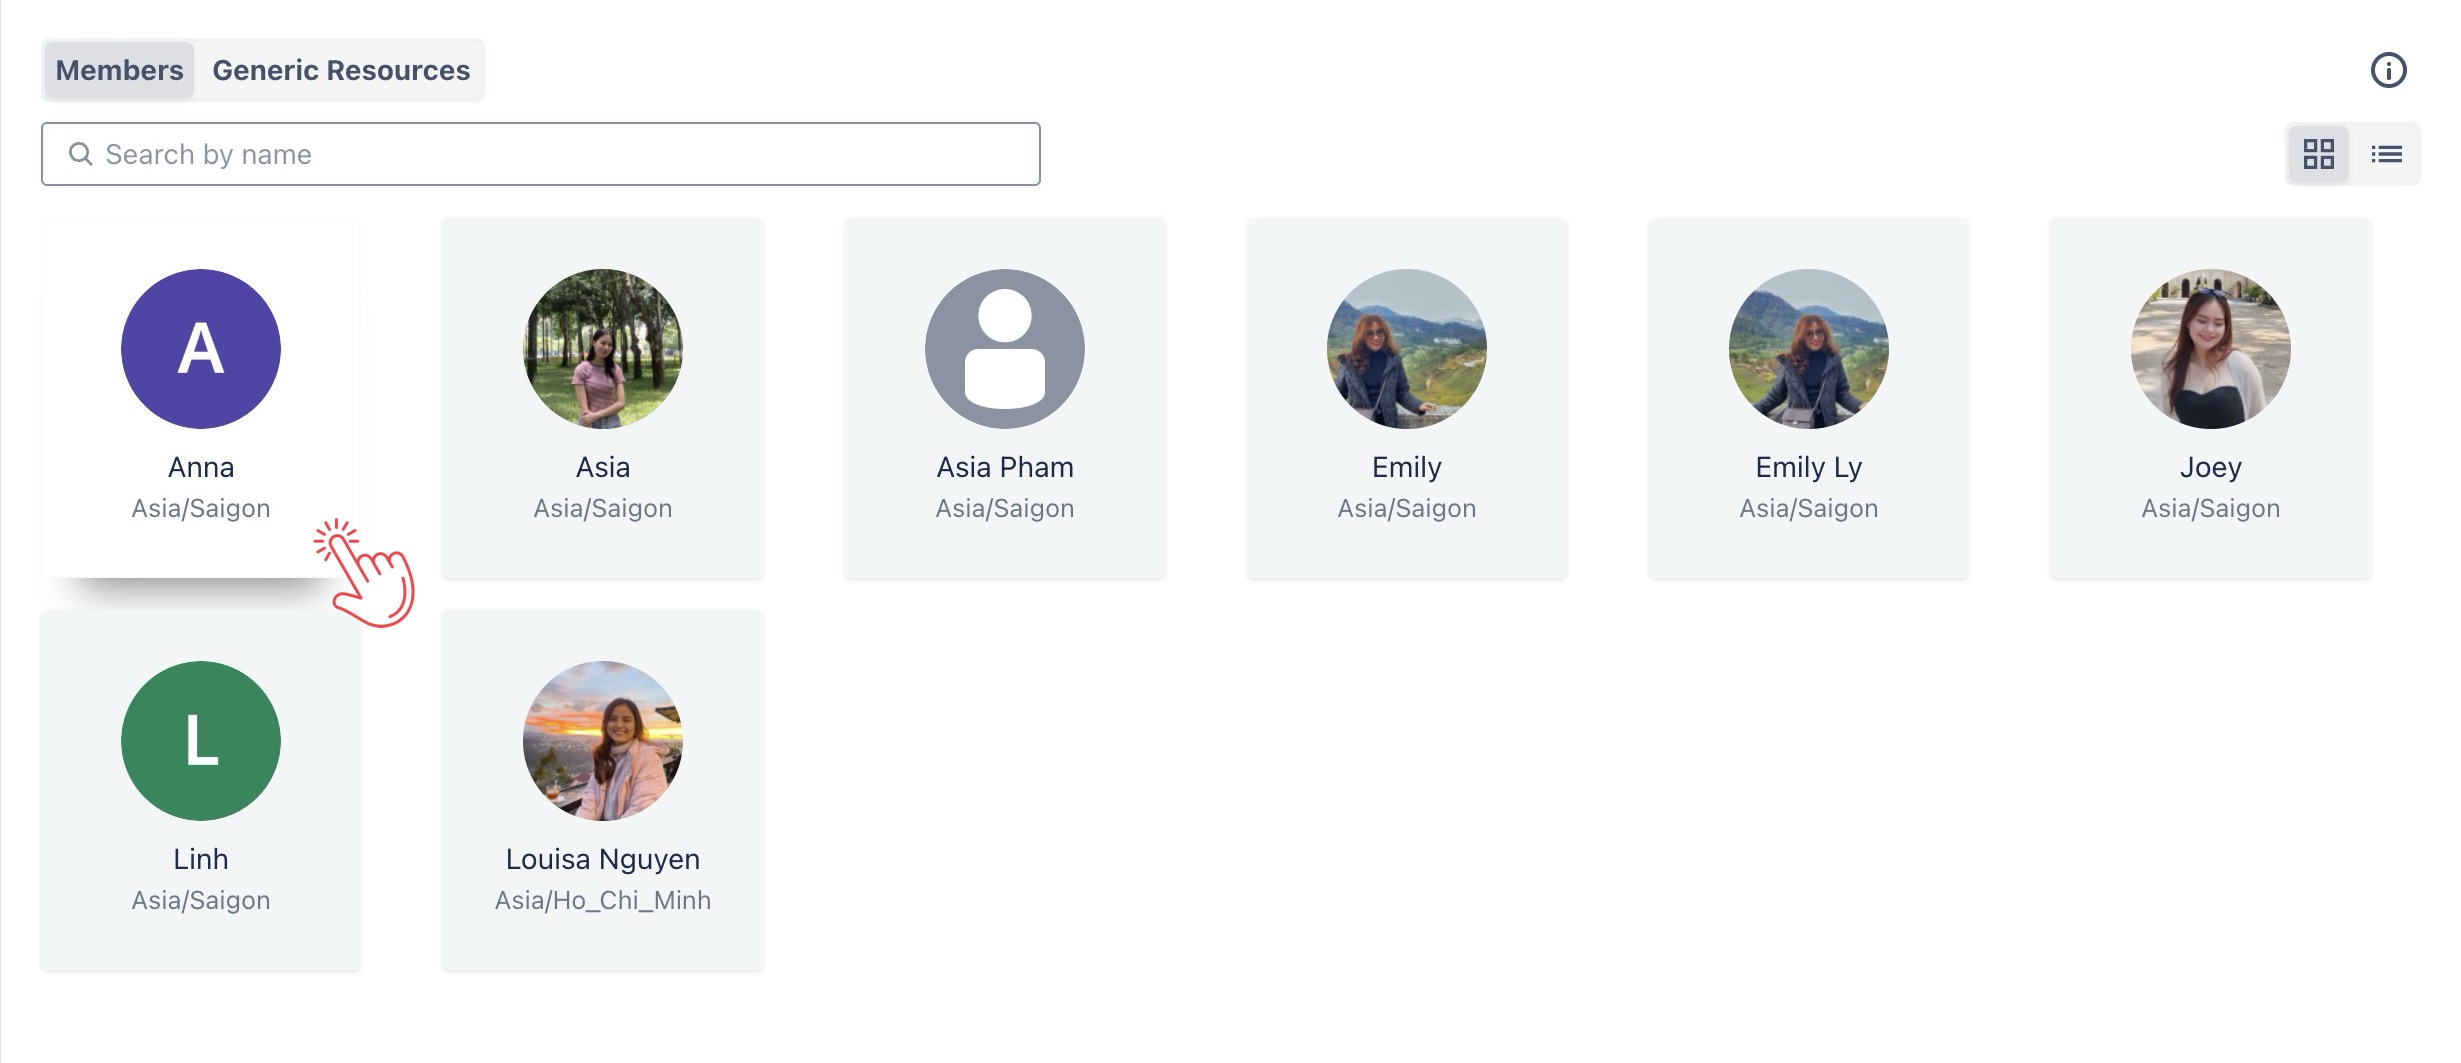
This will open a full-screen view containing valuable insights across multiple categories, including:
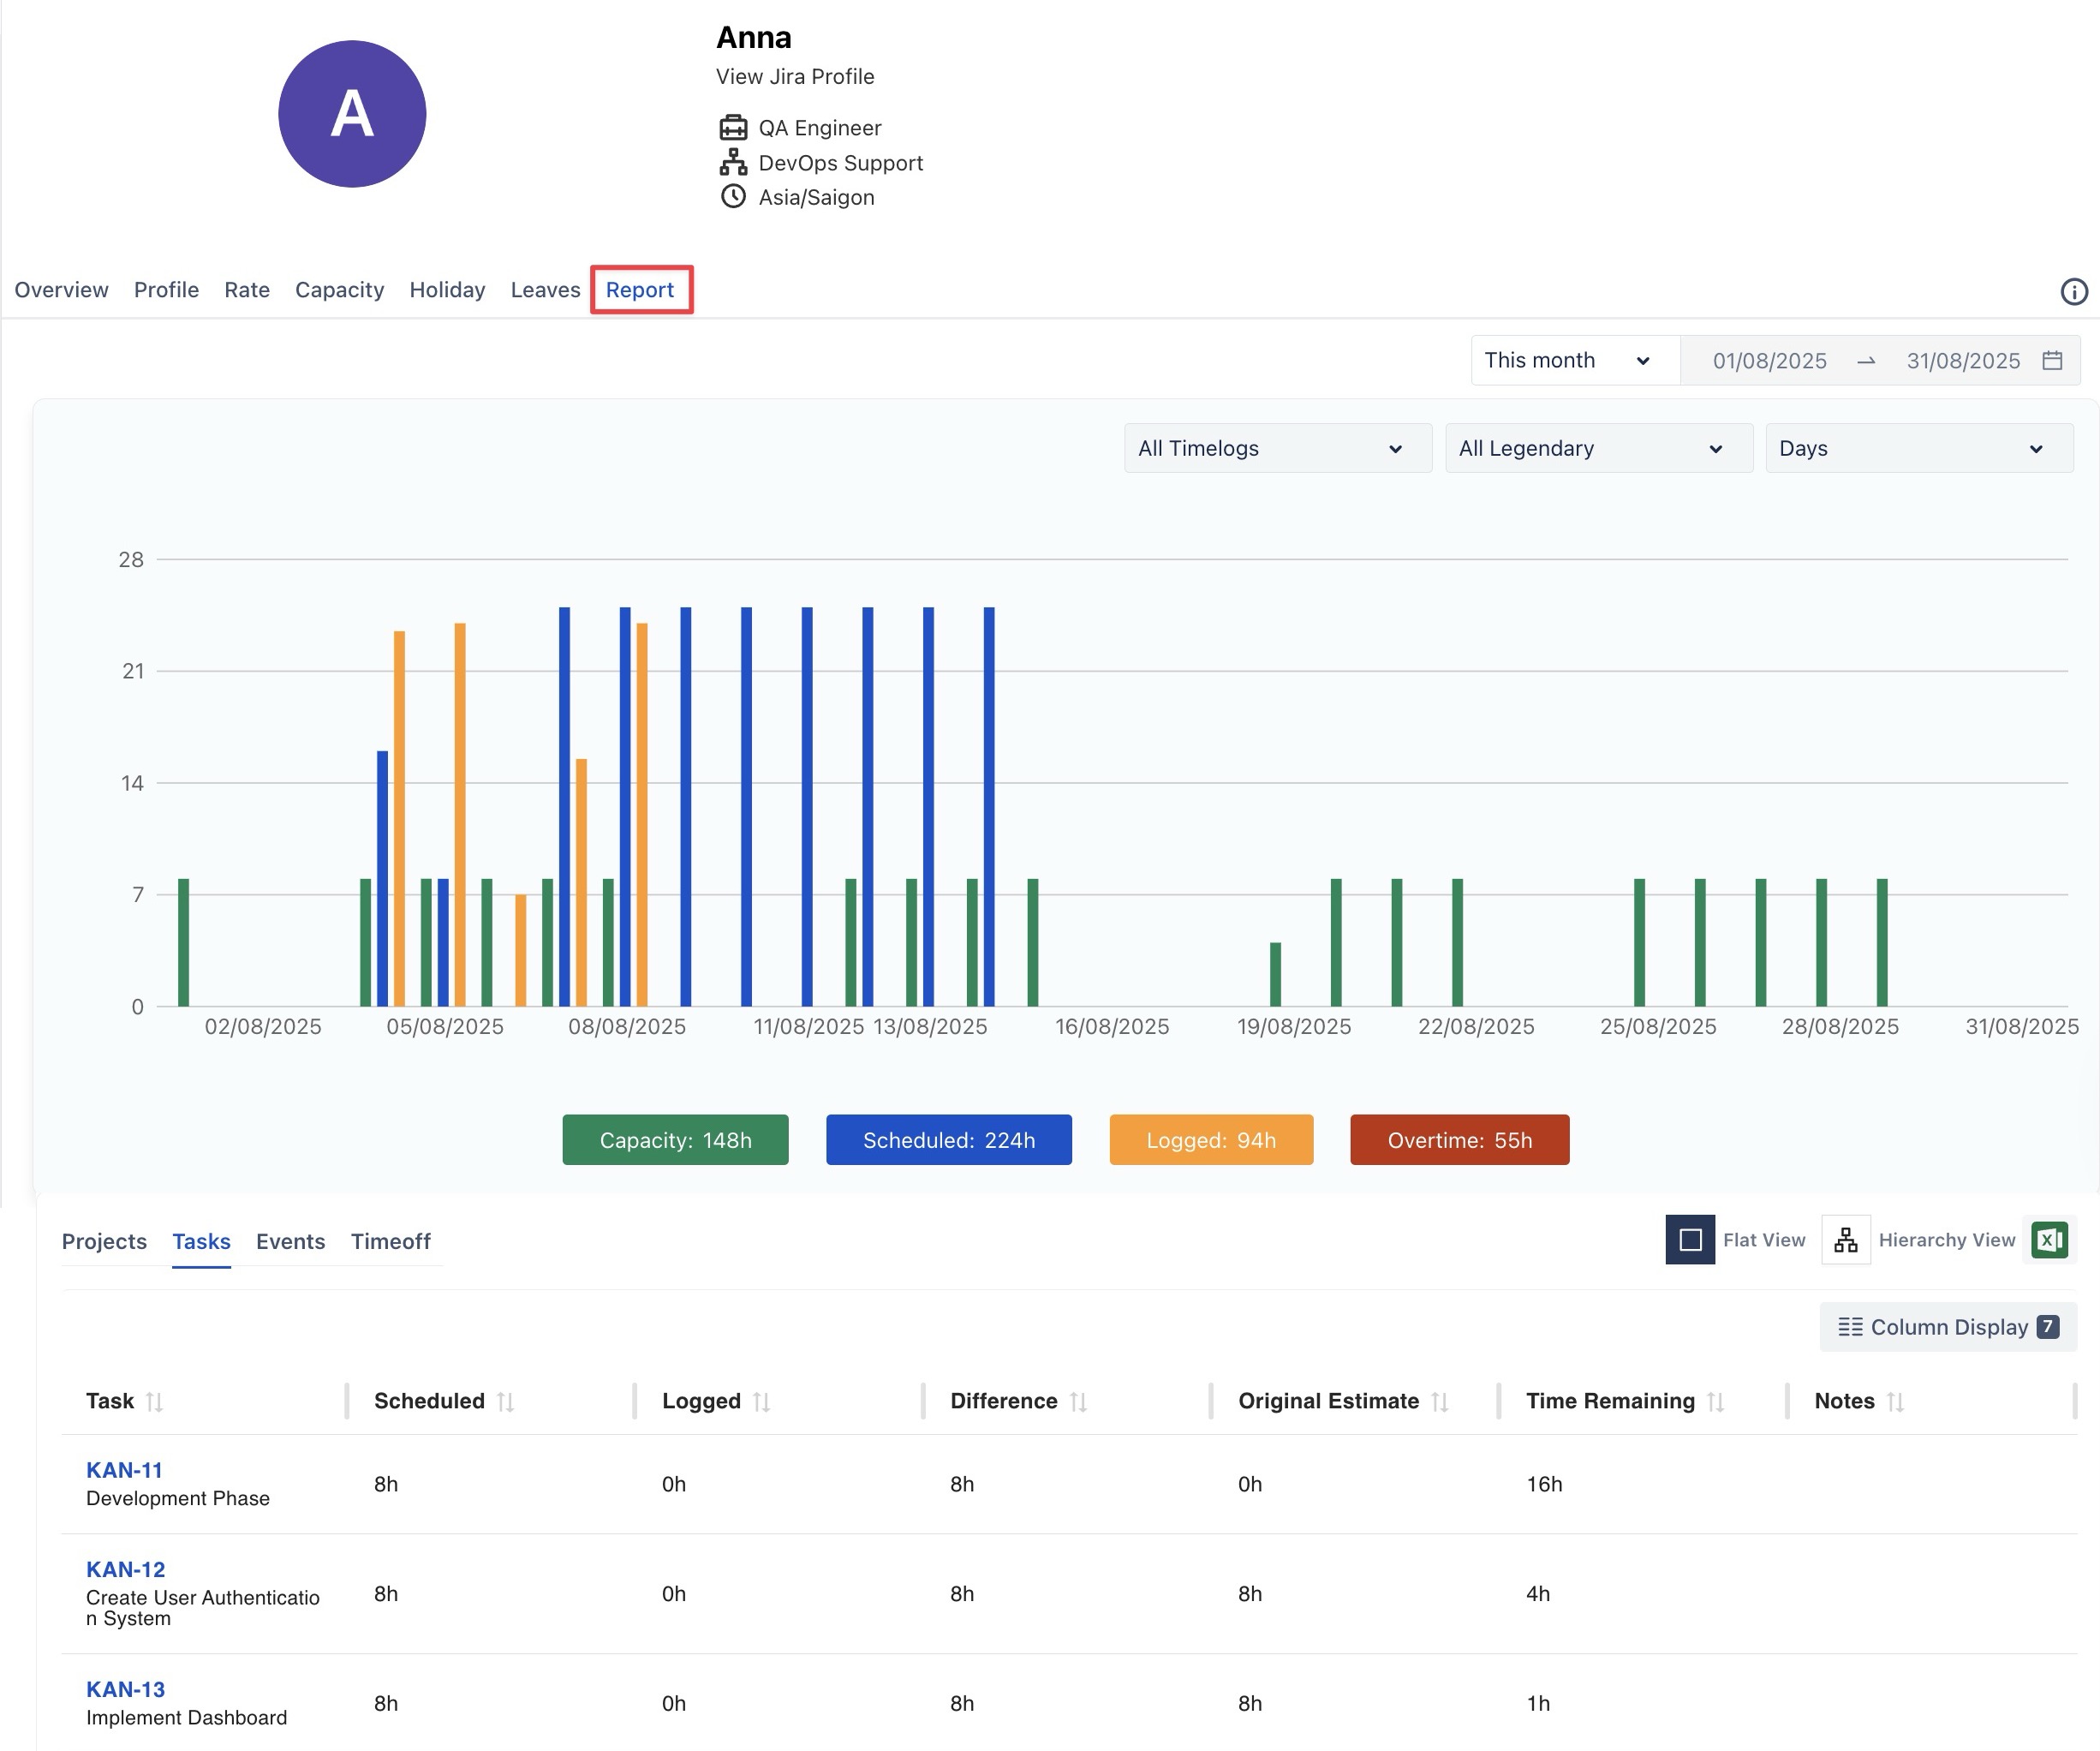
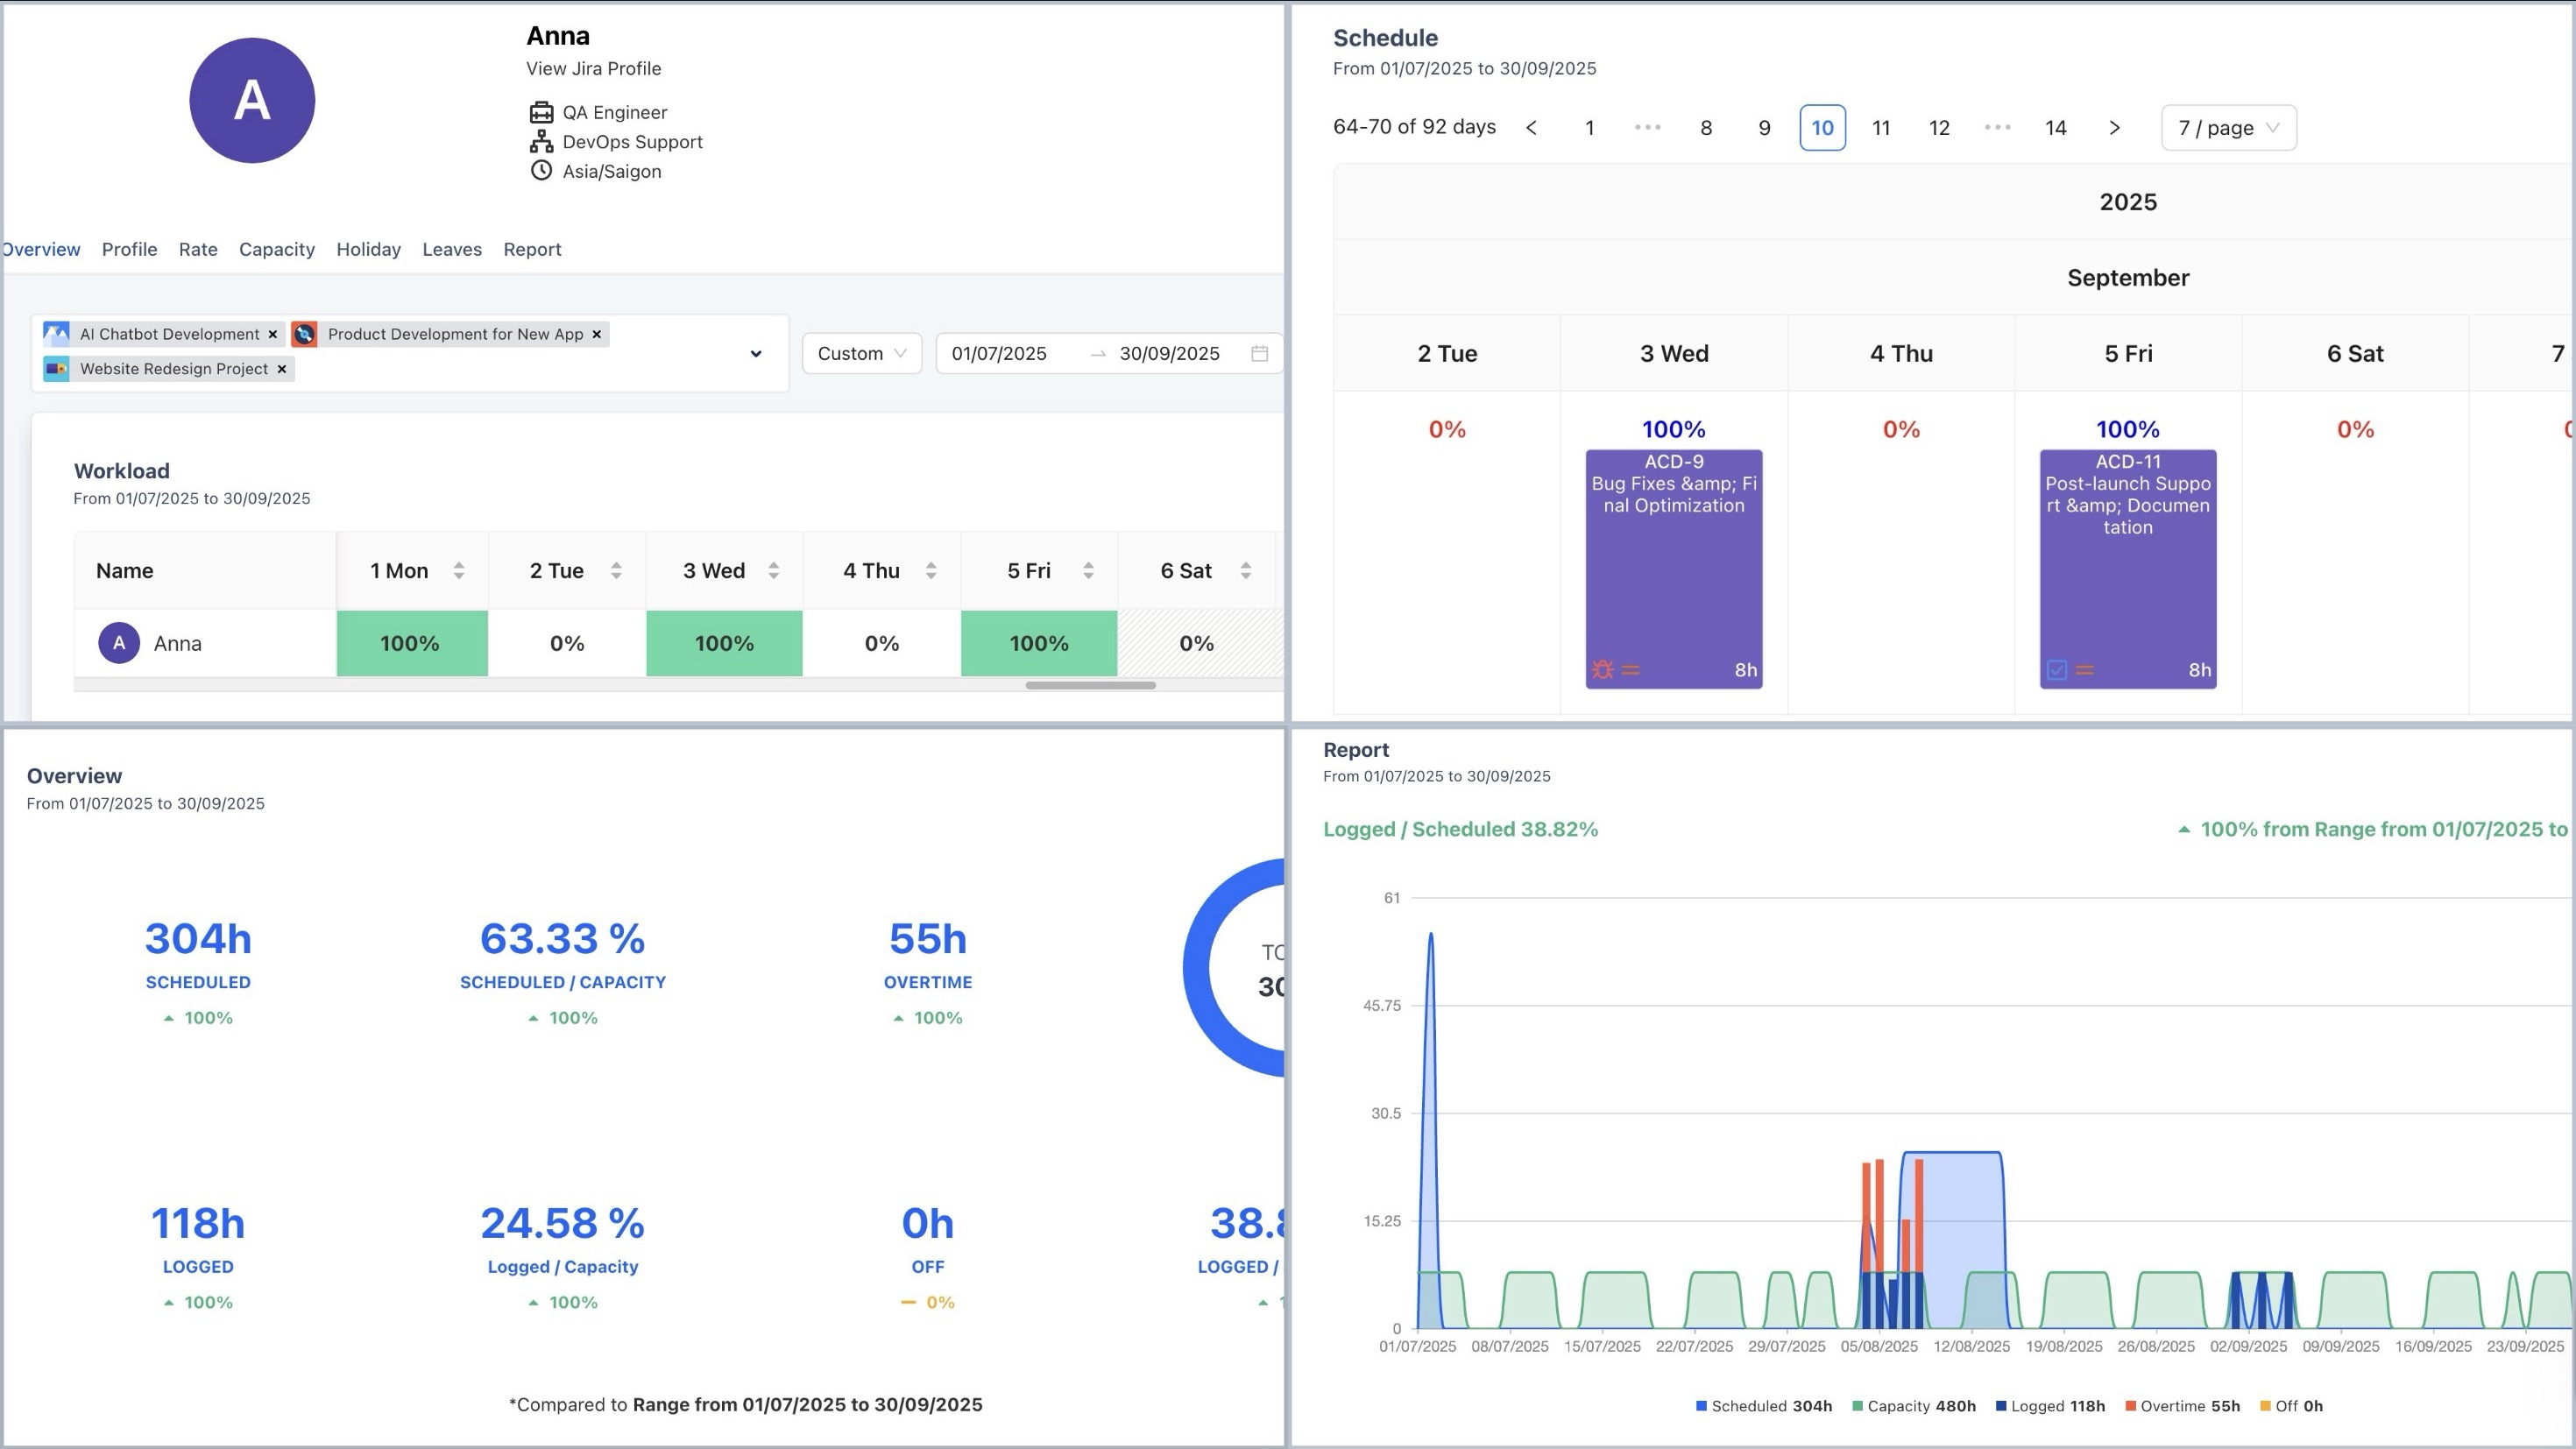
View Workload and Performance (Overview)
The Overview section provides admins with a detailed snapshot of a member’s workload and performance. It includes scheduled hours, logged time, overtime, and capacity usage into a single view, making it easy to track utilization and identify workload imbalances.
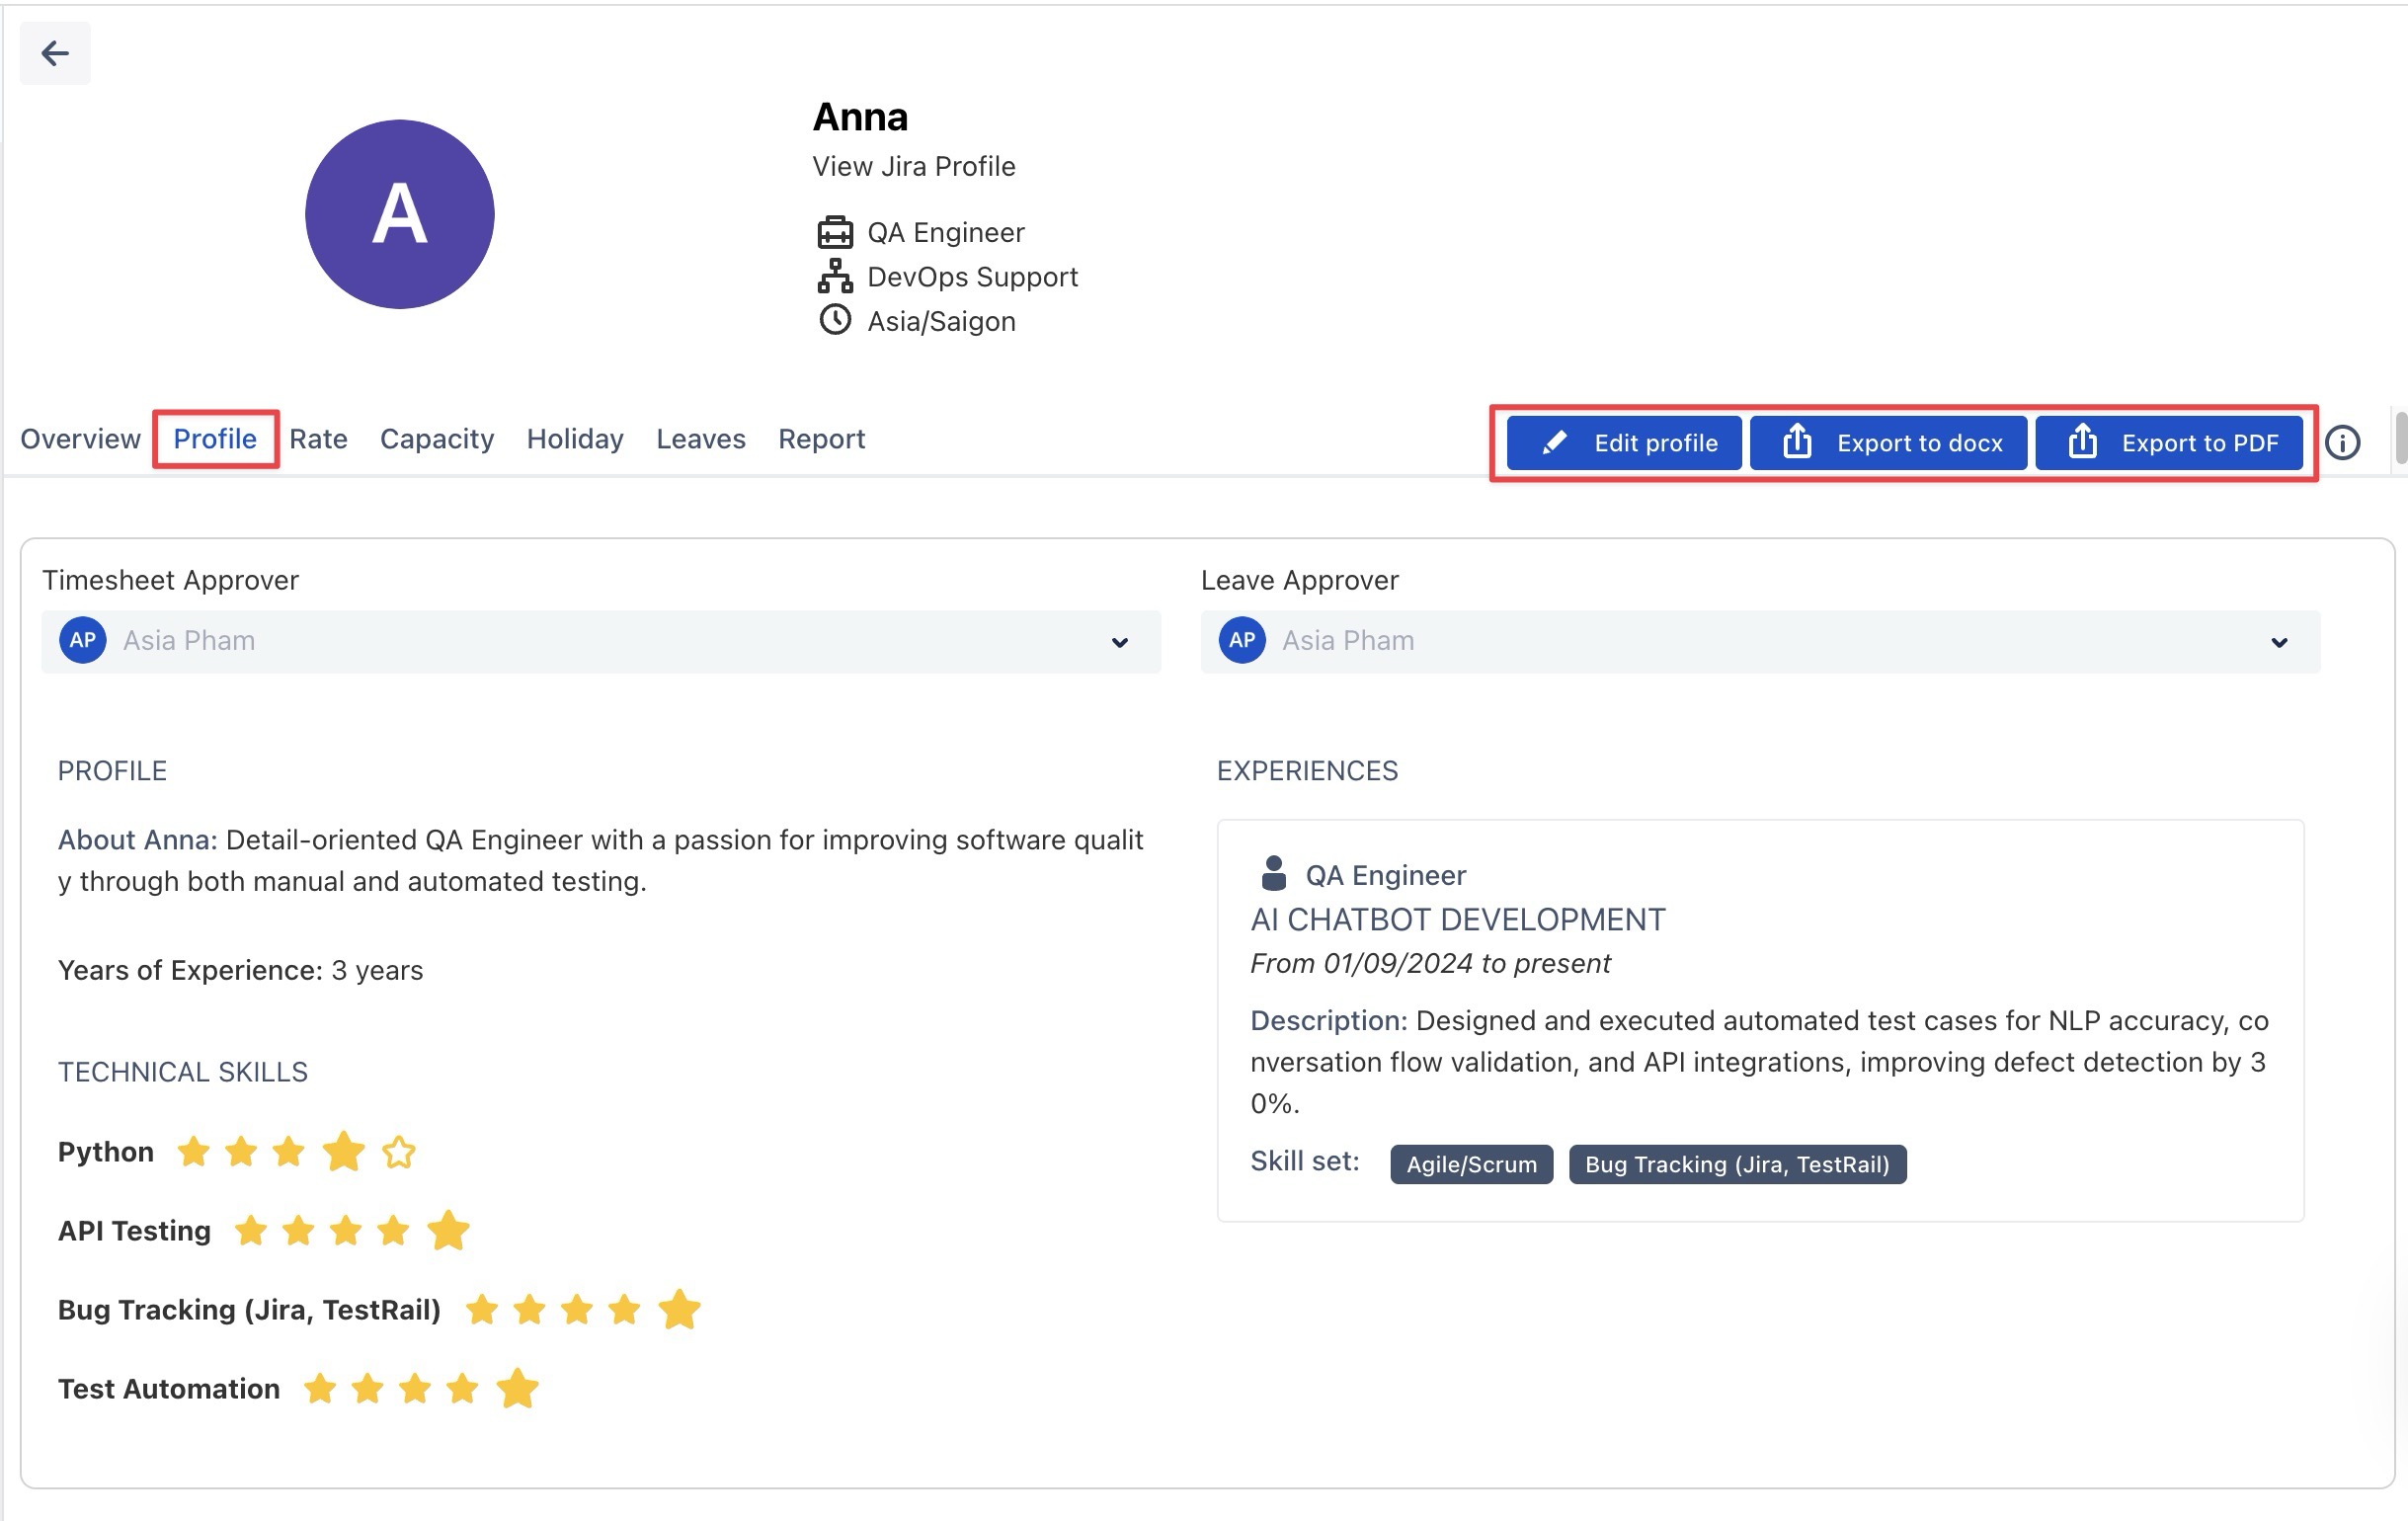
Manage Member Profile
Access and update your team member's job titles, departments, years of experience, and technical skills to keep profiles aligned with project needs and ensure the right resource is assigned to each task.
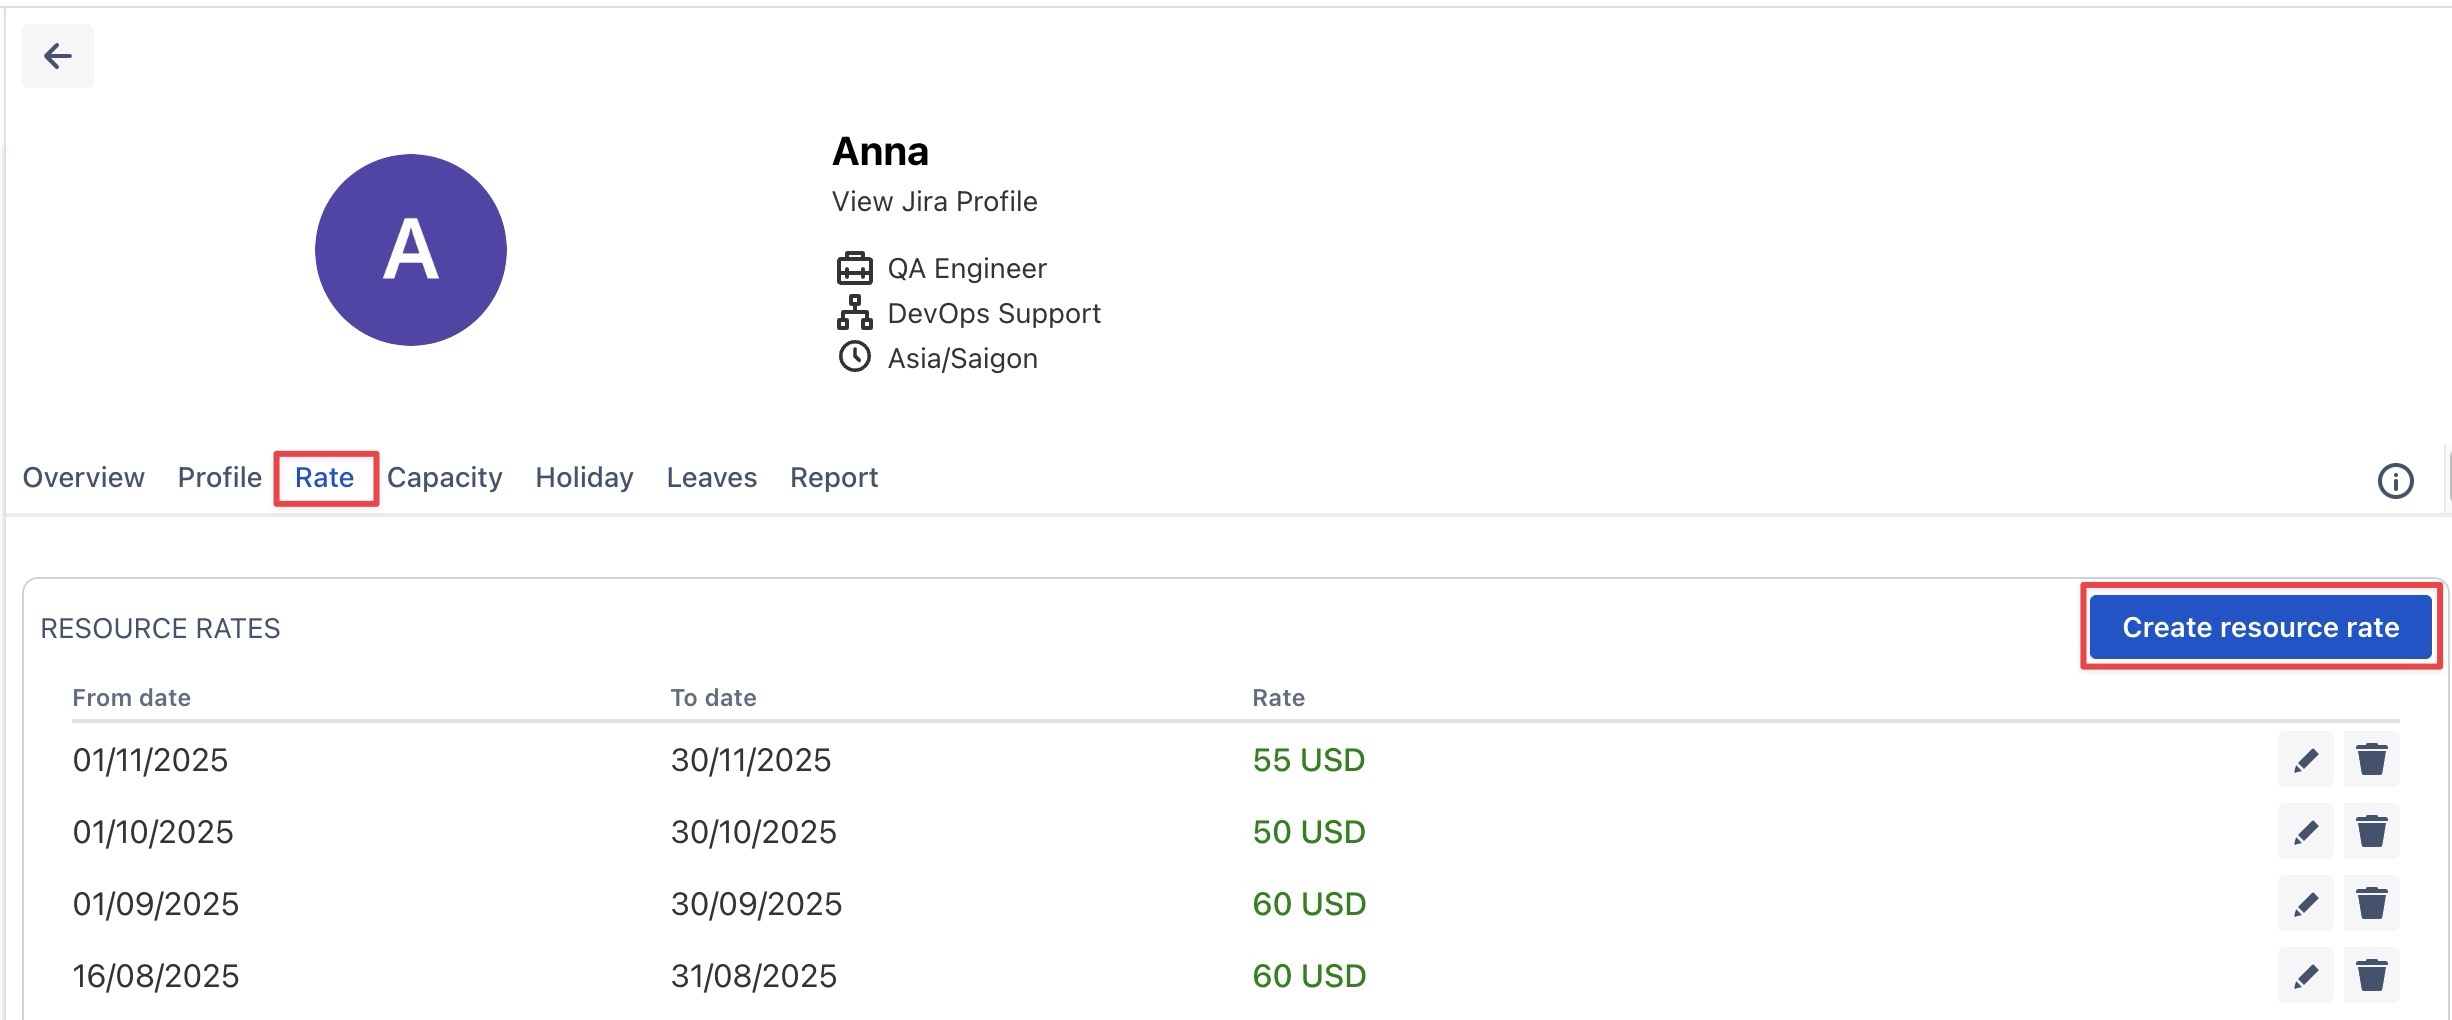
Track and Assign Rates
For App Admins or Billing/Cost Admins, manage and assign cost rates to resources. This allows you to track the financial aspects of your team and ensure accurate budgeting and project cost allocation.
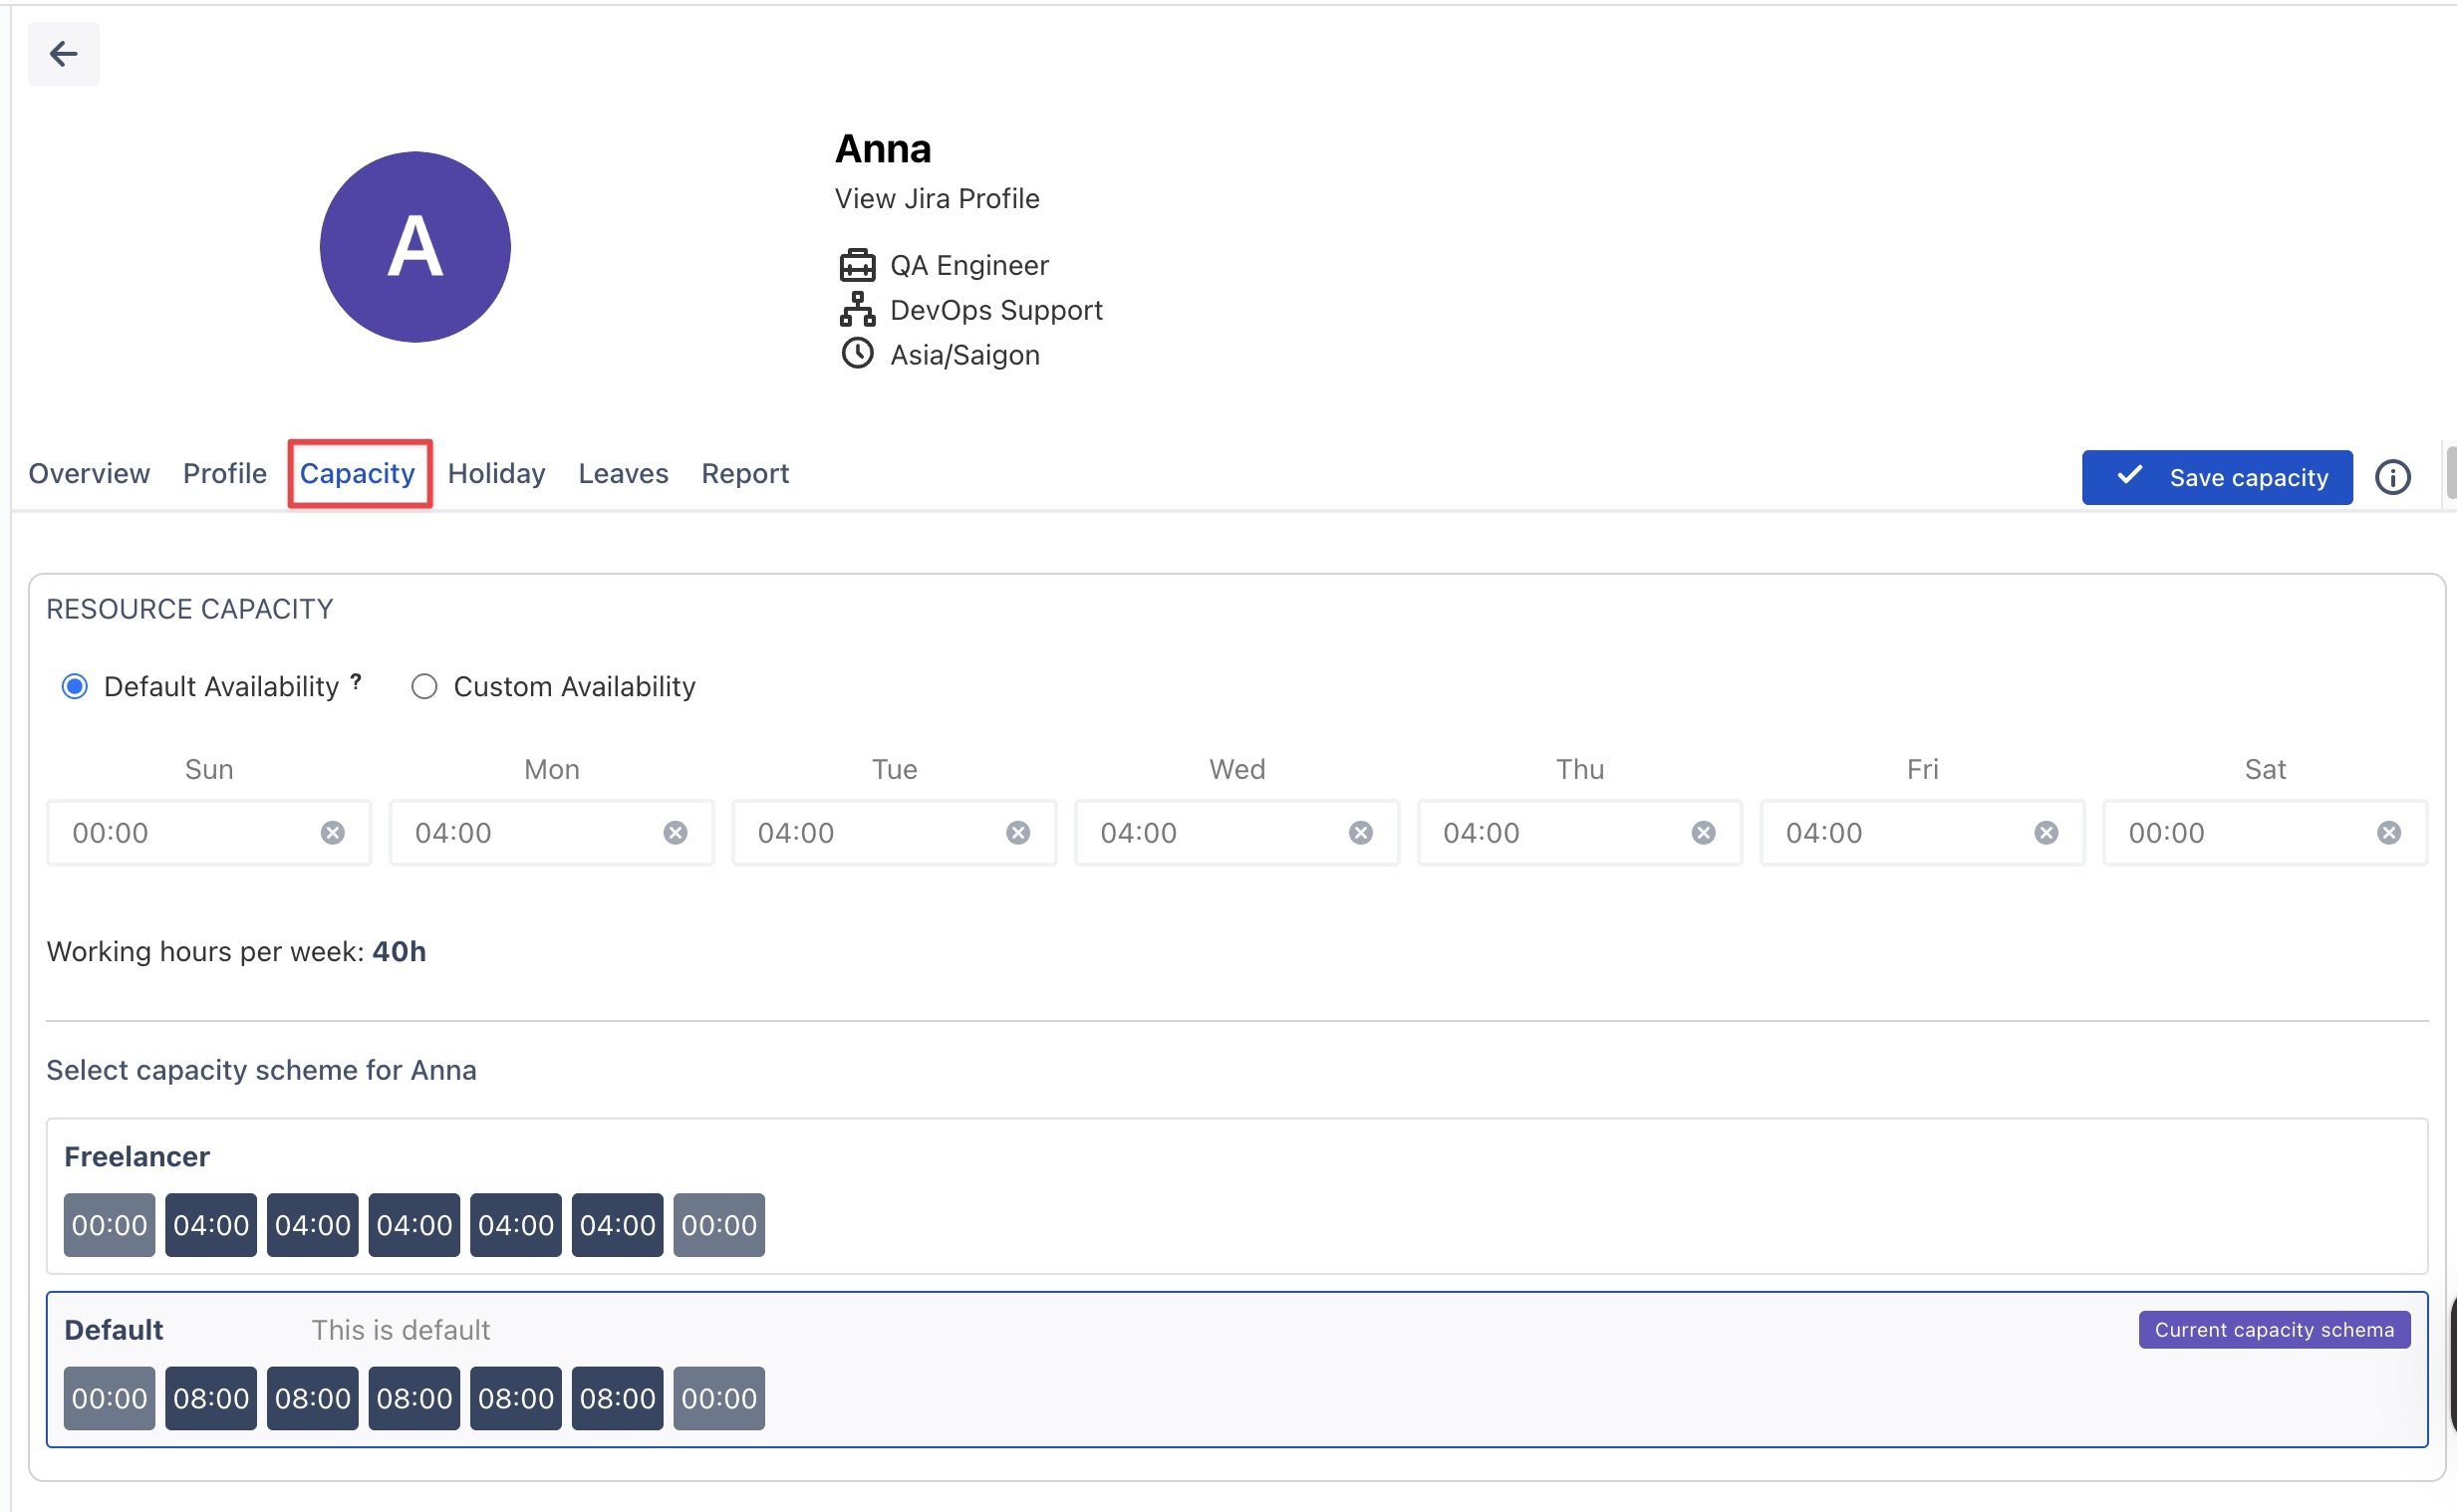
Set and Adjust Capacity
The Capacity tab allows admins and authorized users to define and manage a member’s available working hours. By setting default or custom availability, you can ensure that each team member has the right workload balance and is neither over-allocated nor underutilized.
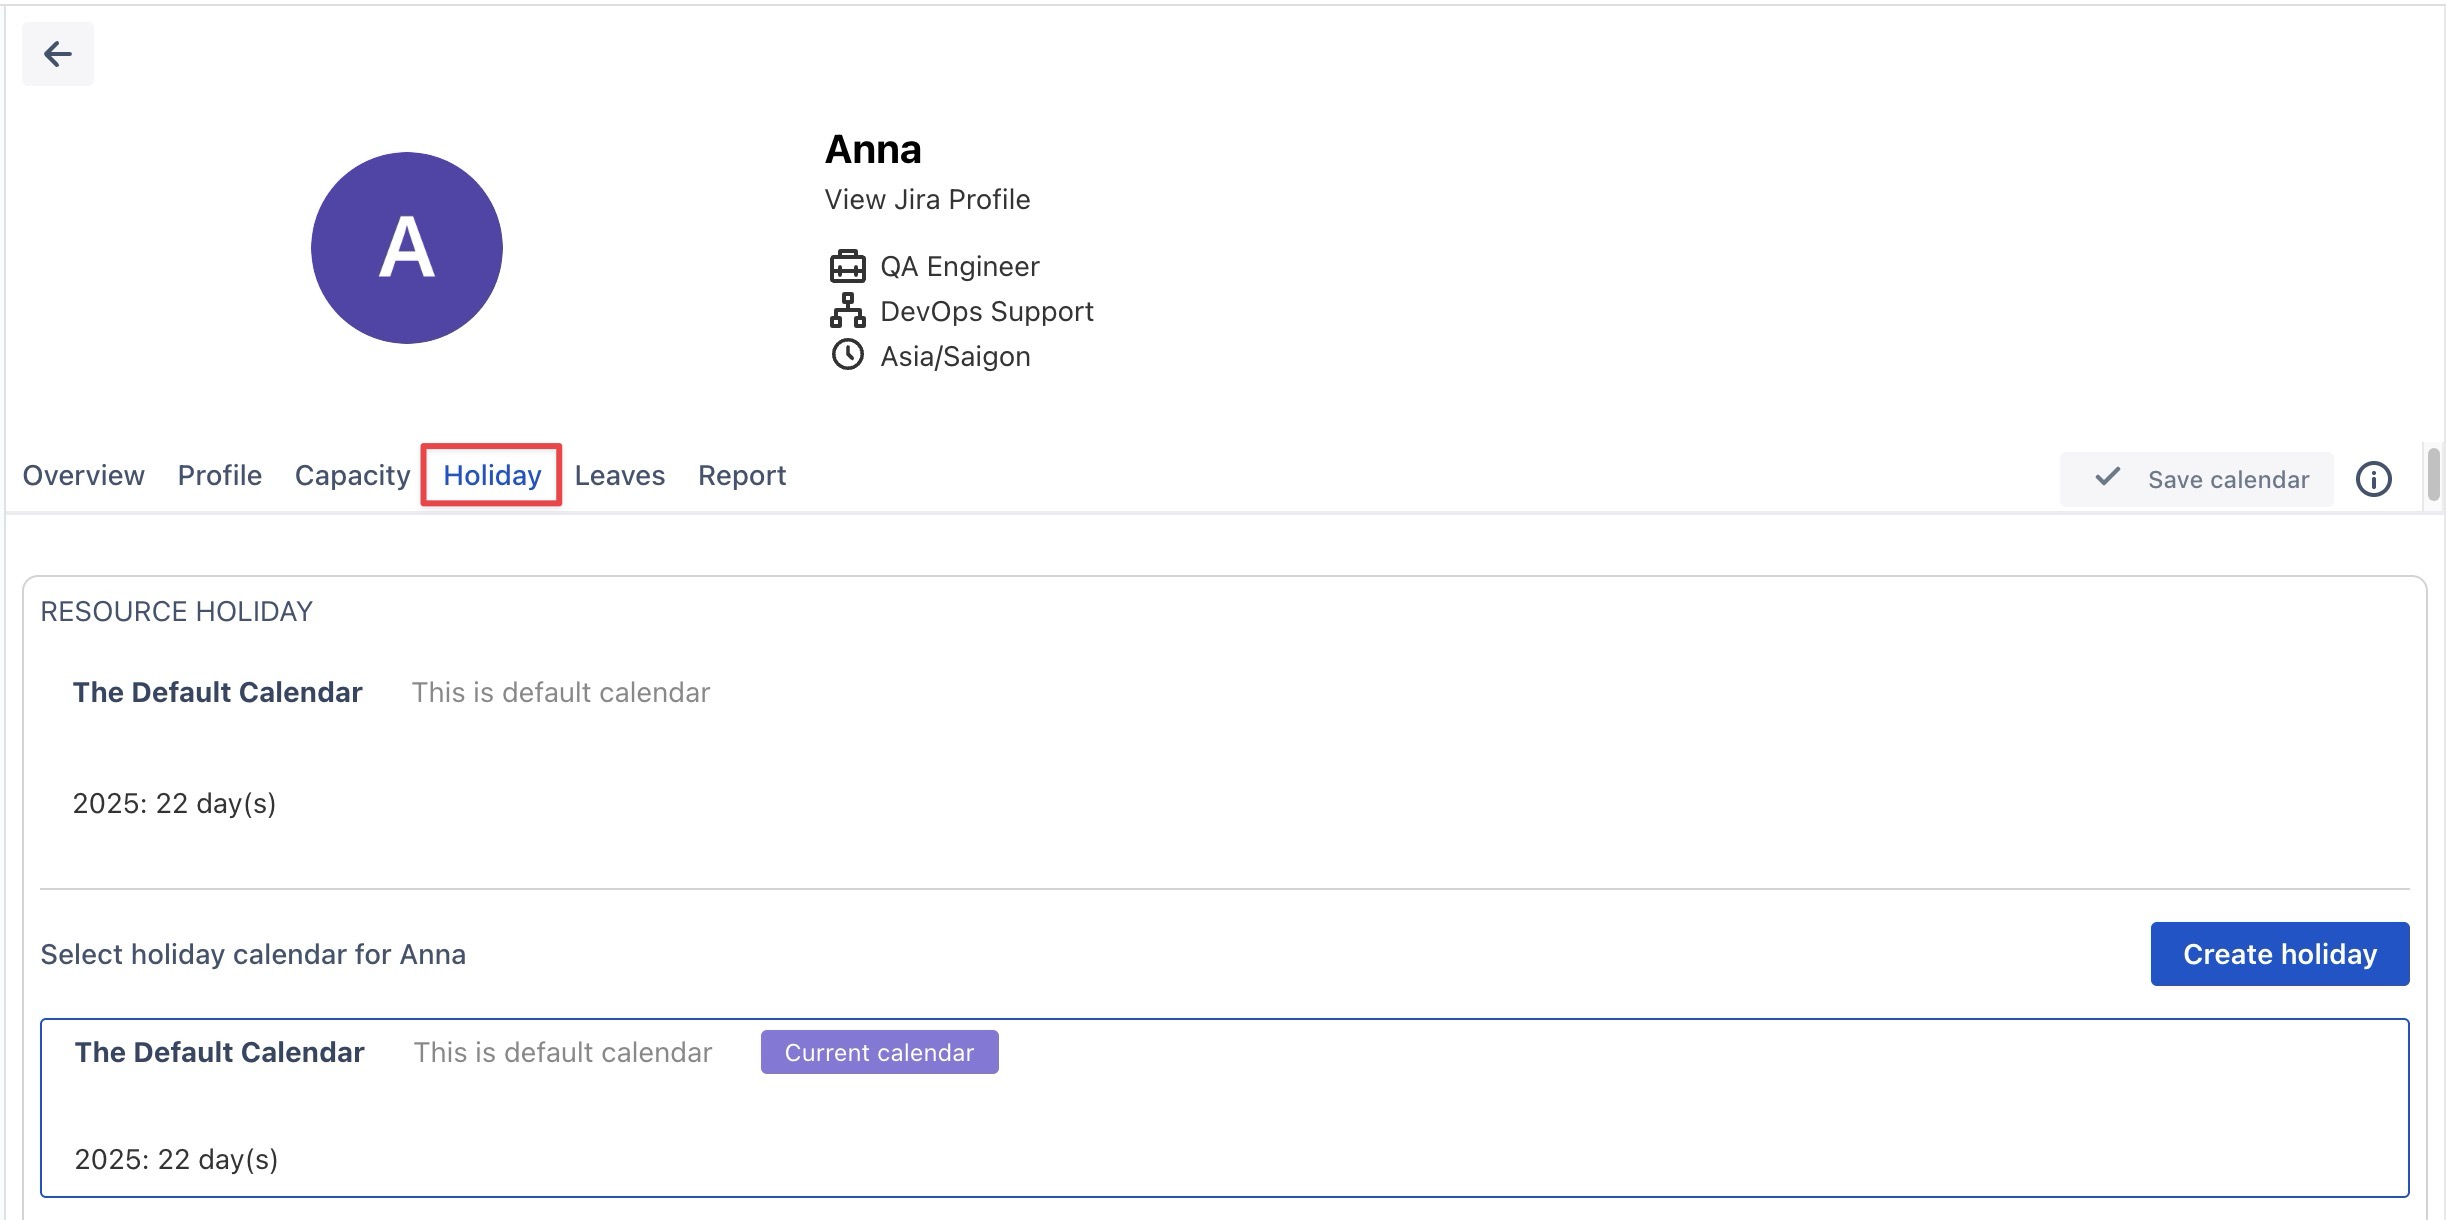
Manage Holidays
The Holiday tab allows you to view and update scheduled holidays and non-working days for each member. By assigning holiday calendars, admins can ensure that resource availability reflects official holidays and company policies.
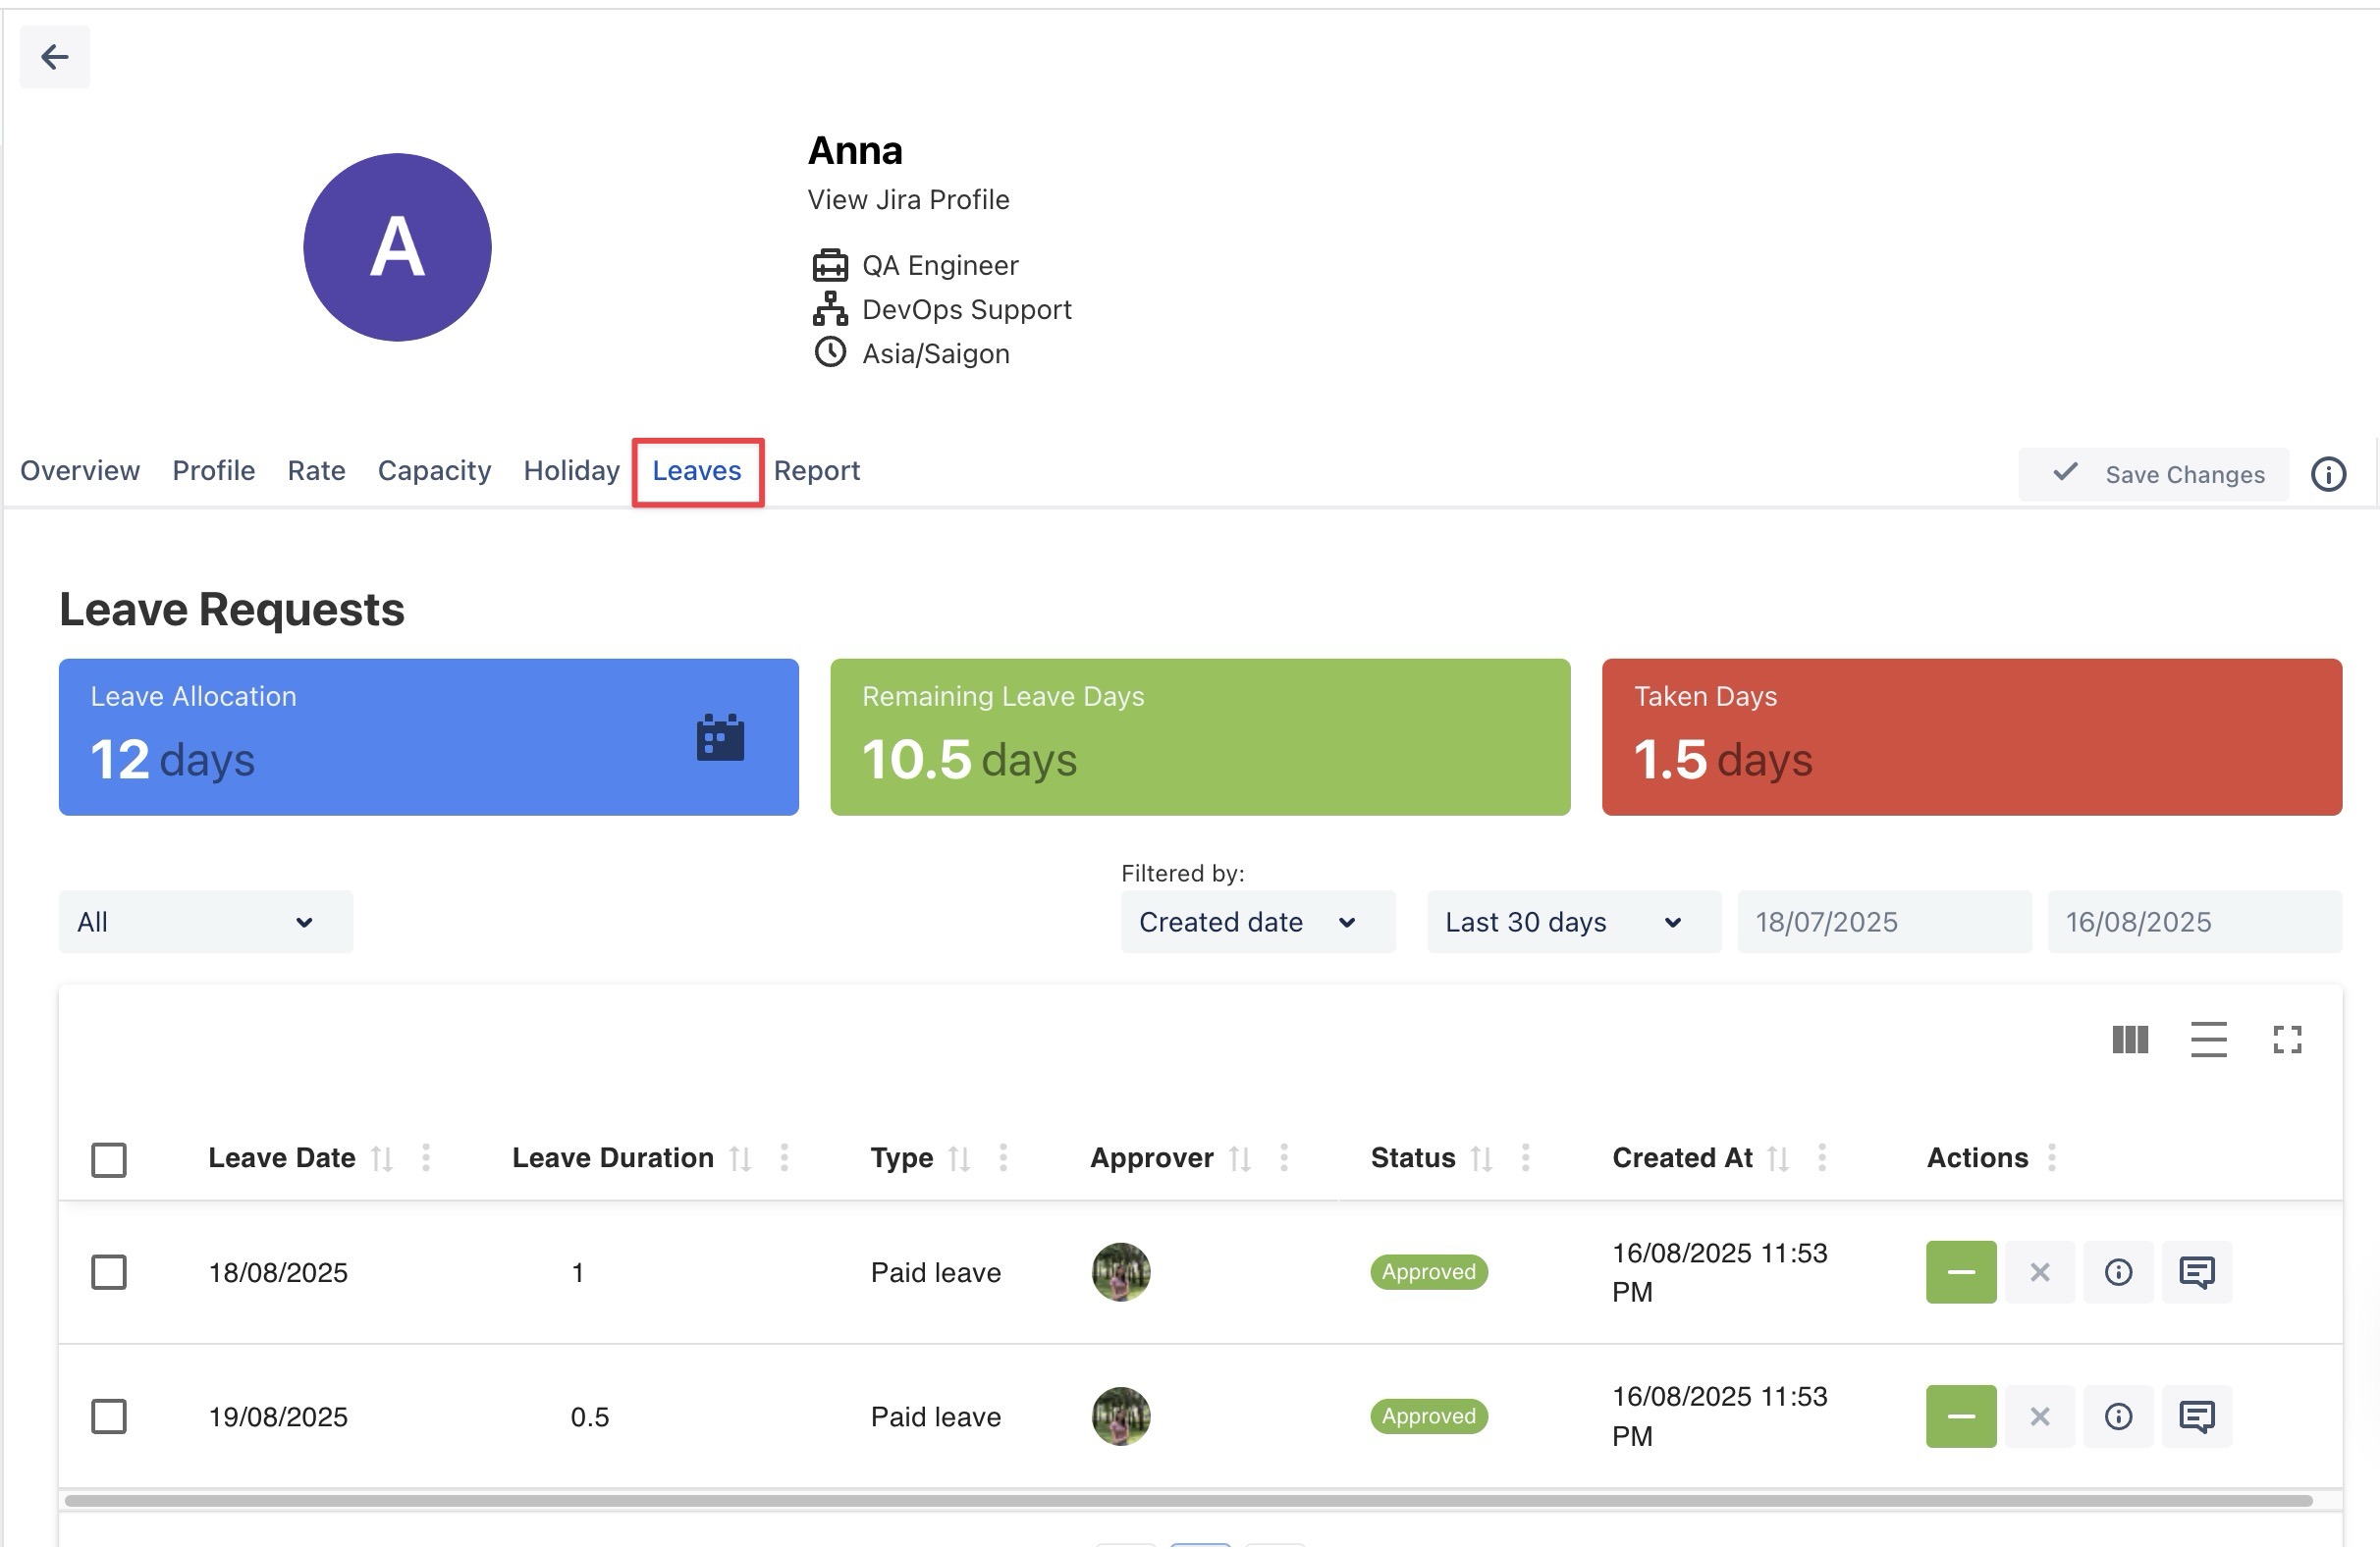
Track and Approve Leaves
The Leaves tab allows admins to track and manage leave requests for individual members. It displays allocated, remaining, and taken leave days, ensuring member availability is correctly reflected in project planning and reporting.
Generate Performance Reports
Generate visual reports that display team scheduled hours, logged time, capacity, and any gaps. These reports provide quick insights to assess team performance, workload distribution, and potential resource issues that may impact project timelines.