.png)
Only App Admins or Client Admins can create or update client profiles. To grant these permissions, please visit here.
A Client Profile in TeamBoard TimePlanner allows you to manage essential client information and track the projects associated with each client efficiently.
How to Create a New Client:
-
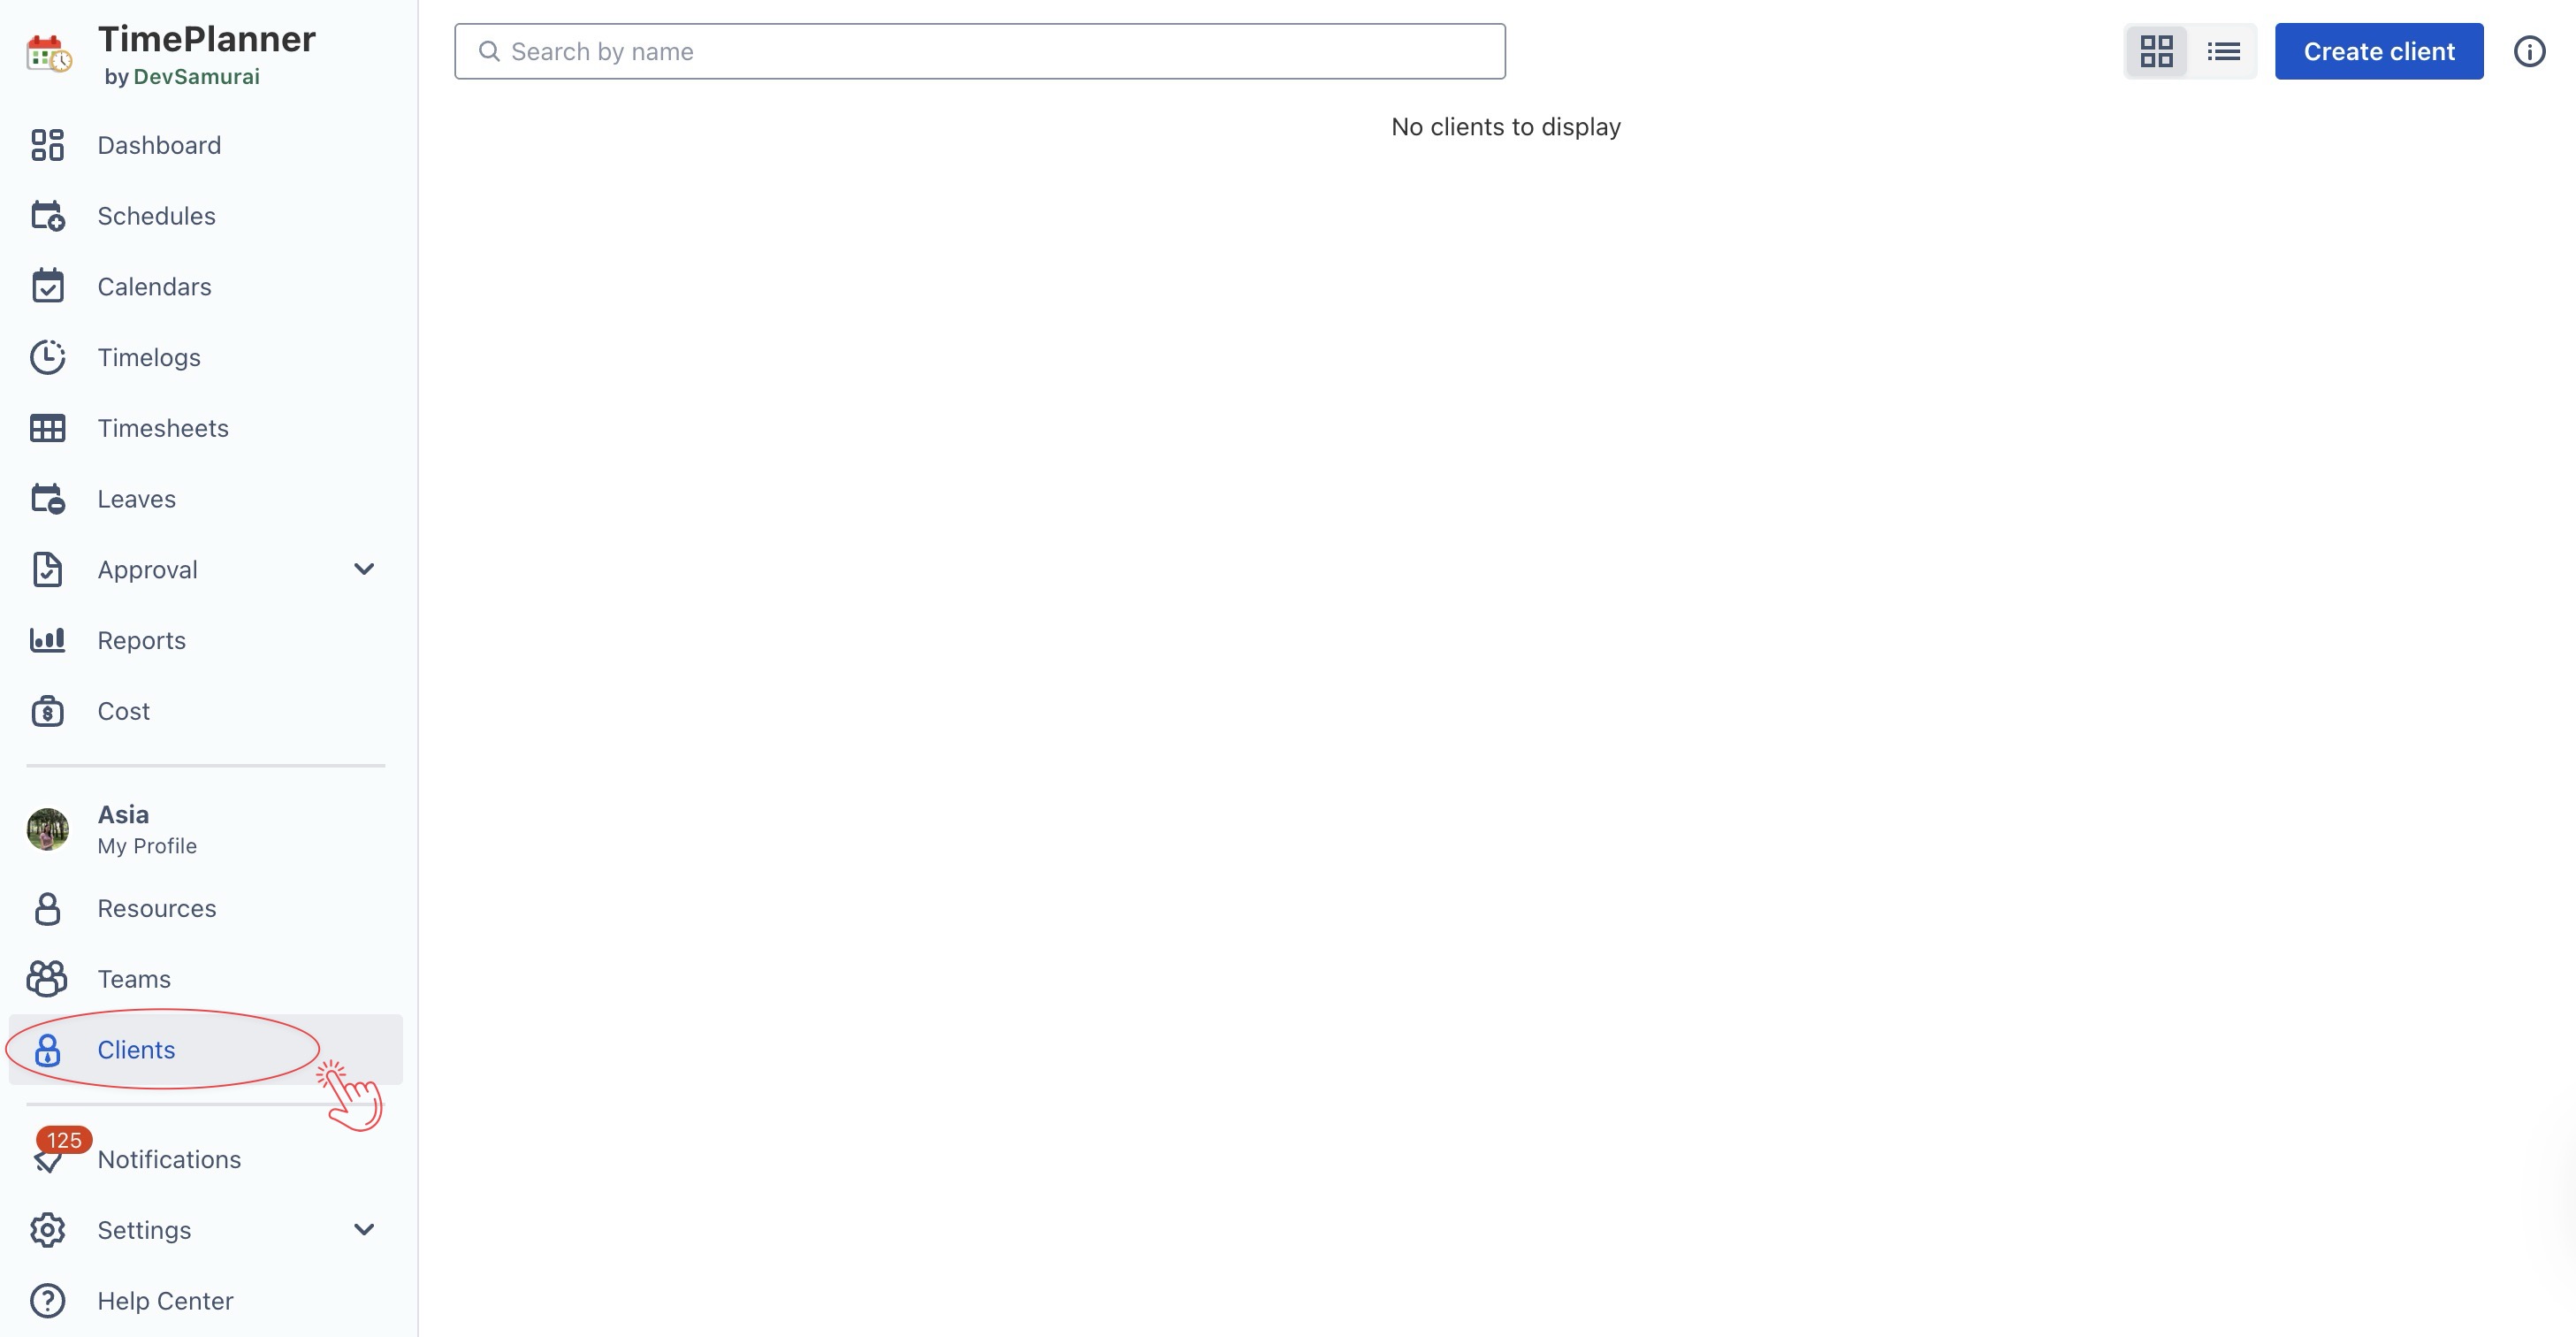
From the left sidebar, click on the Clients tab to access the client management page.
-
On the Clients page, click

-
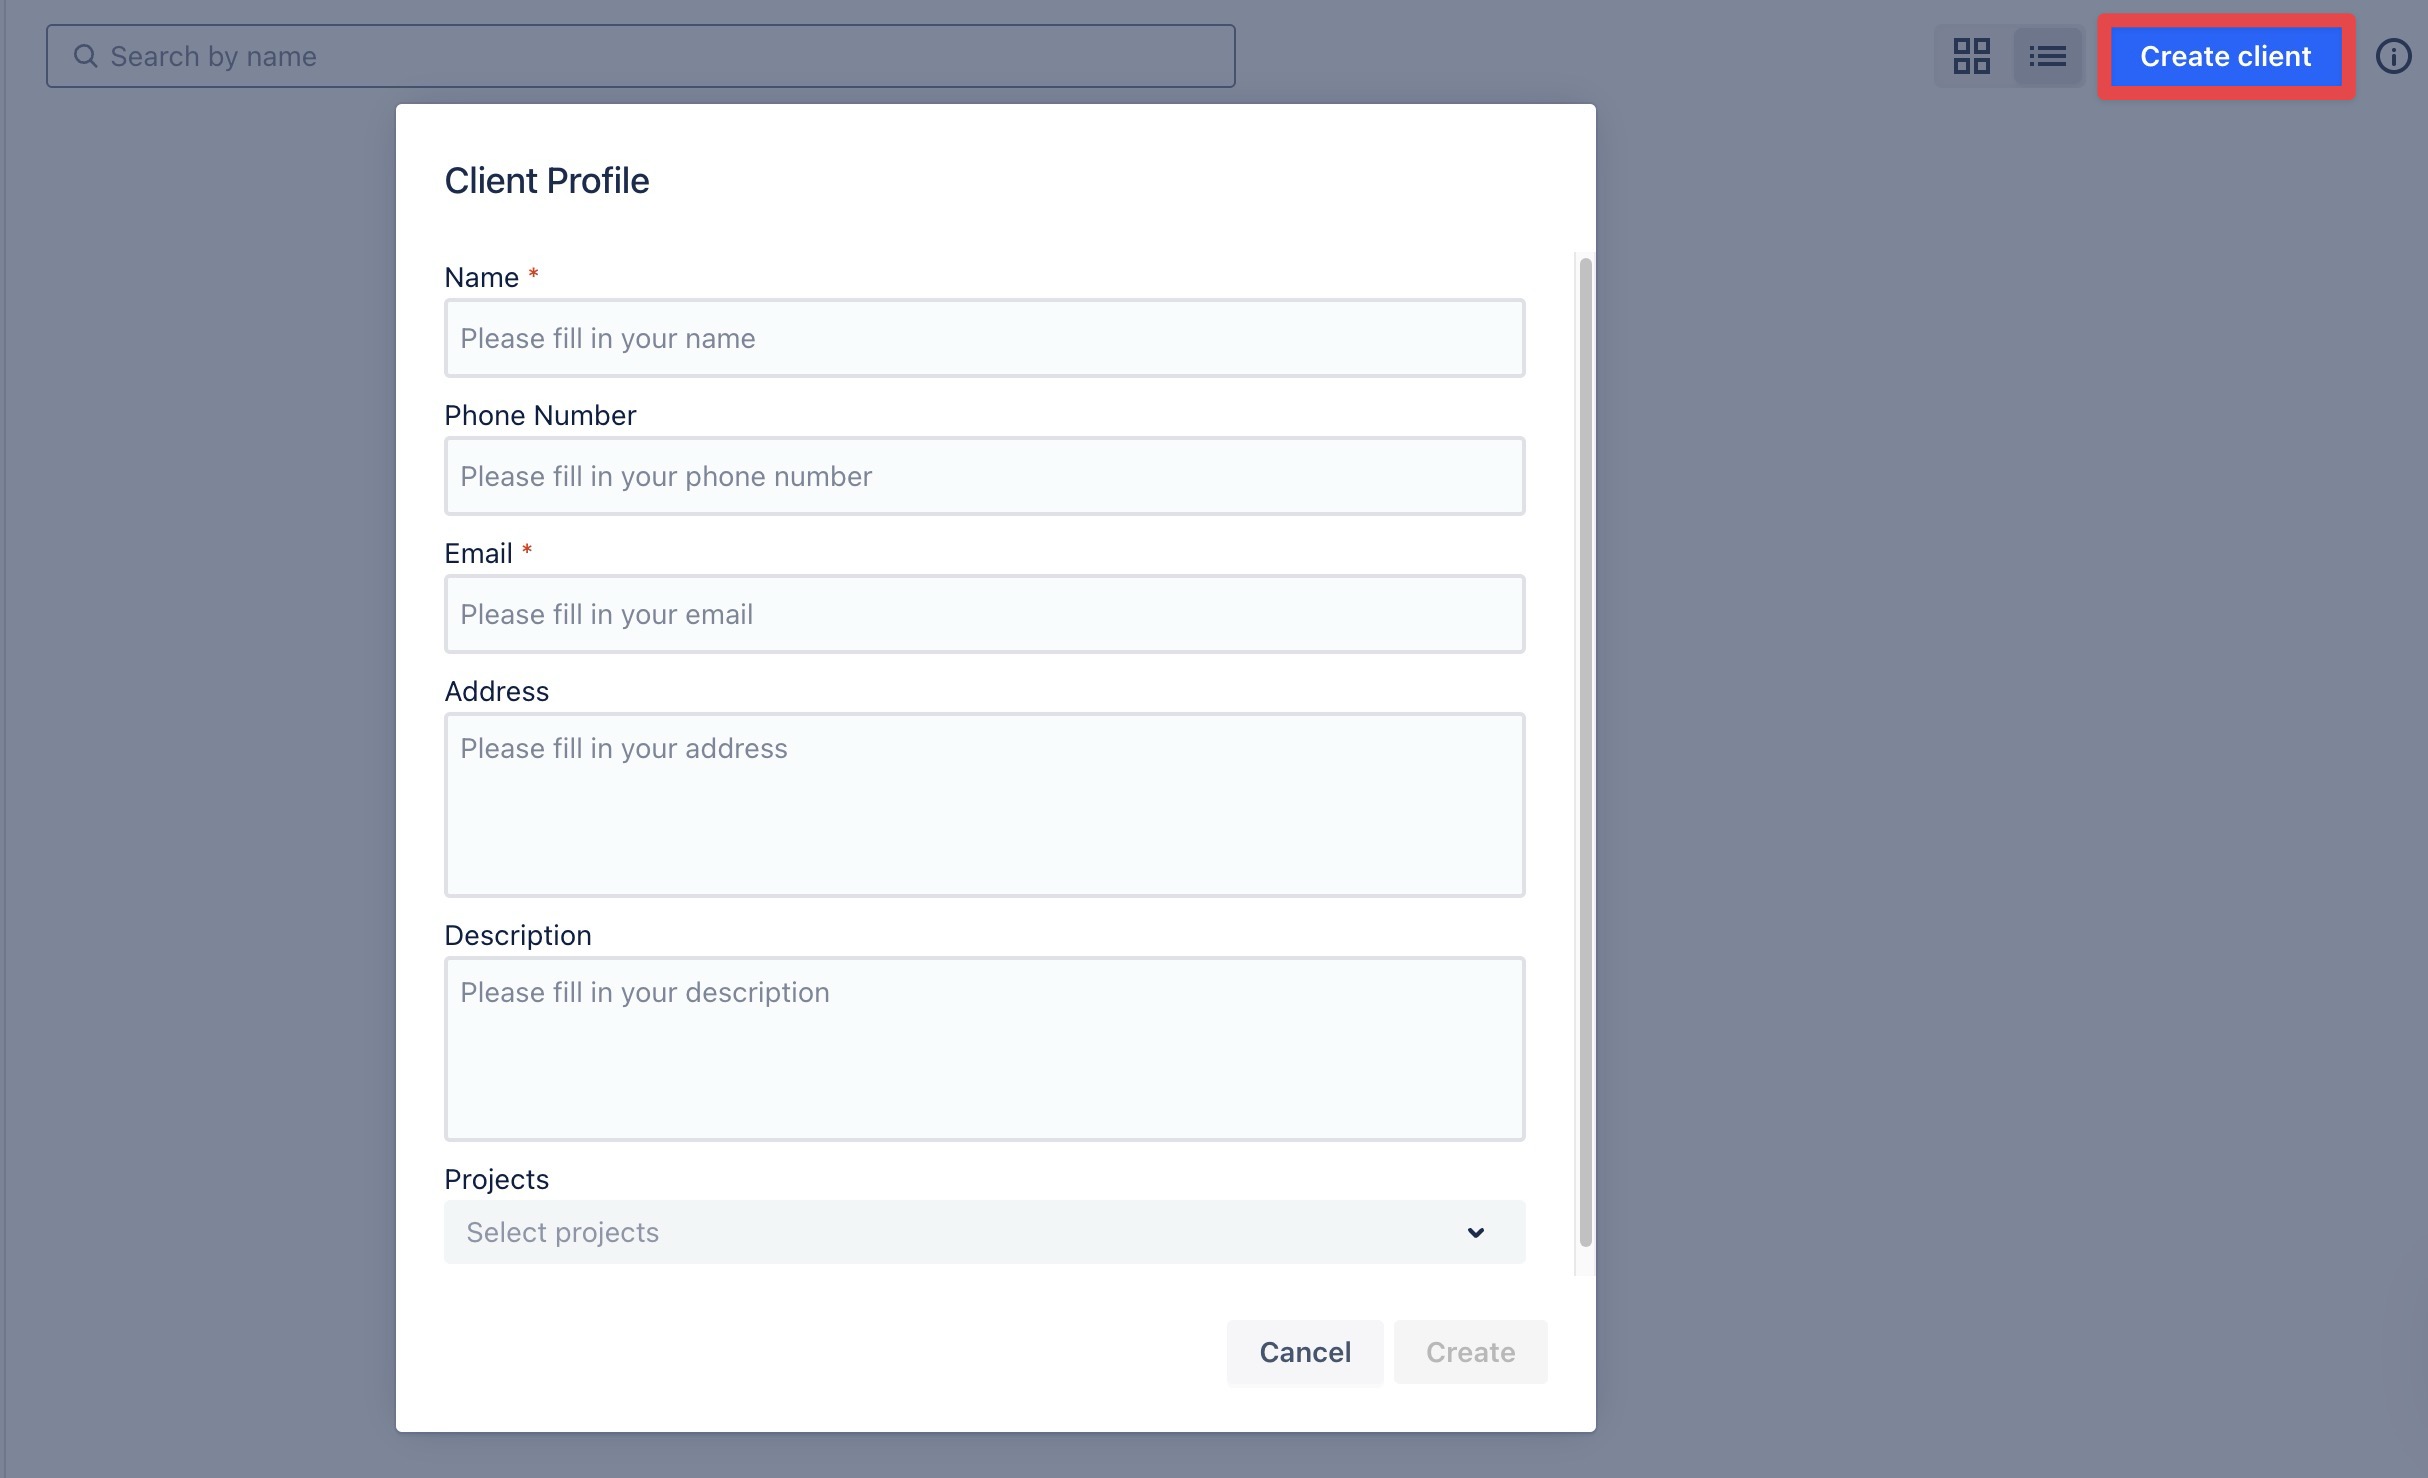
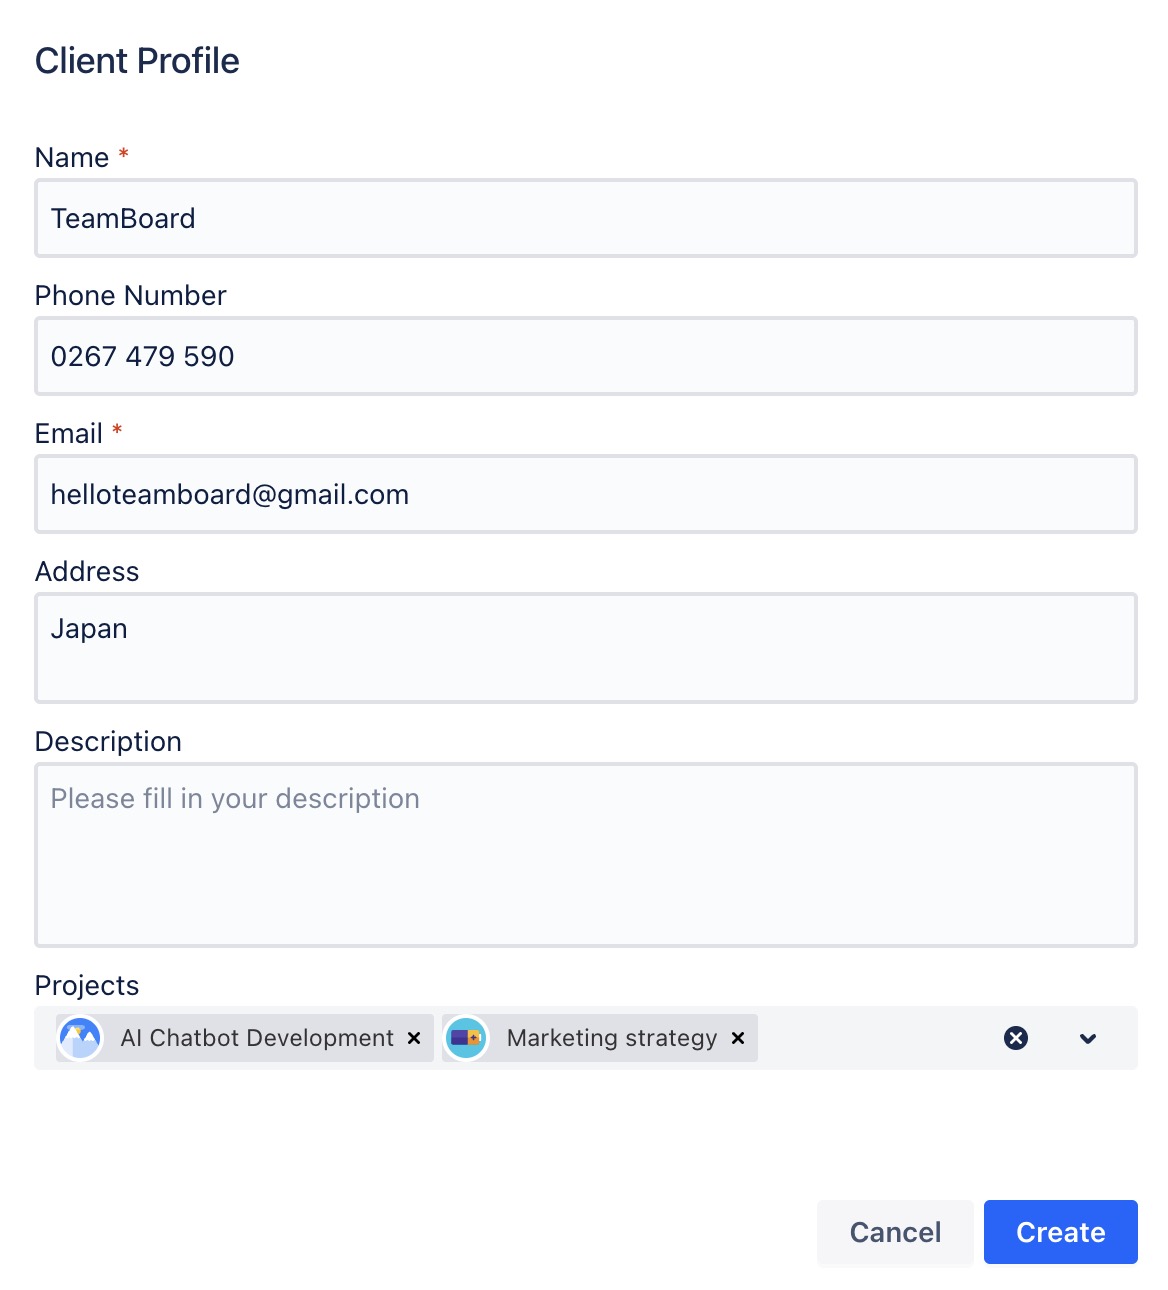
In the form, enter the following information for the new client:
-
Name: Enter the client’s name or the company name.
-
Phone: Provide a contact number for the client (either mobile or office phone).
-
Email: Enter the client’s email address.
-
Address: Input the client’s physical or mailing address.
-
Description: Add any additional notes or relevant information about the client (optional).
-
Link Projects: Don’t forget to link any projects associated with this client to keep everything organized.
-
Once the information is entered, click

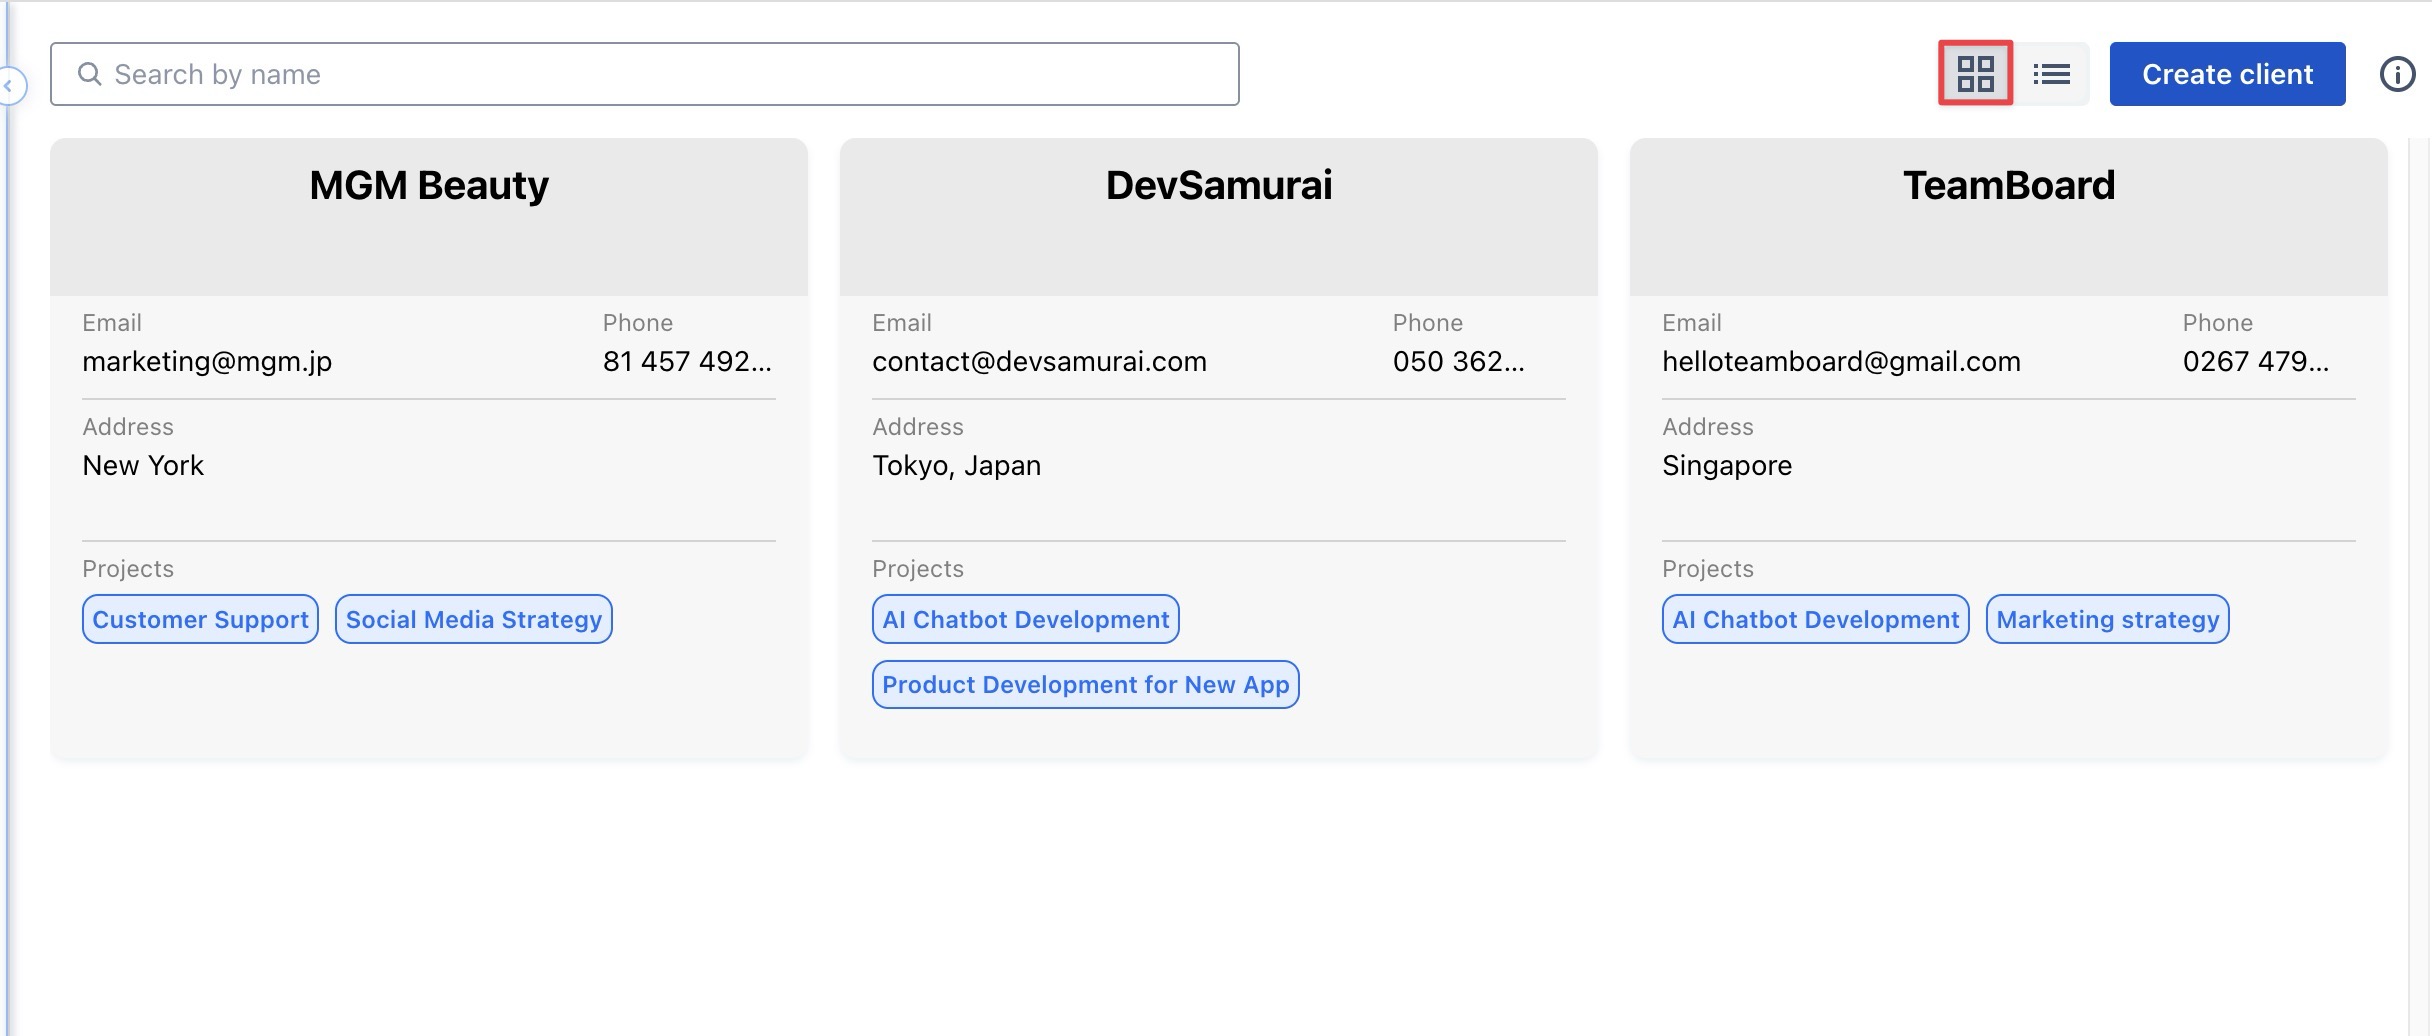
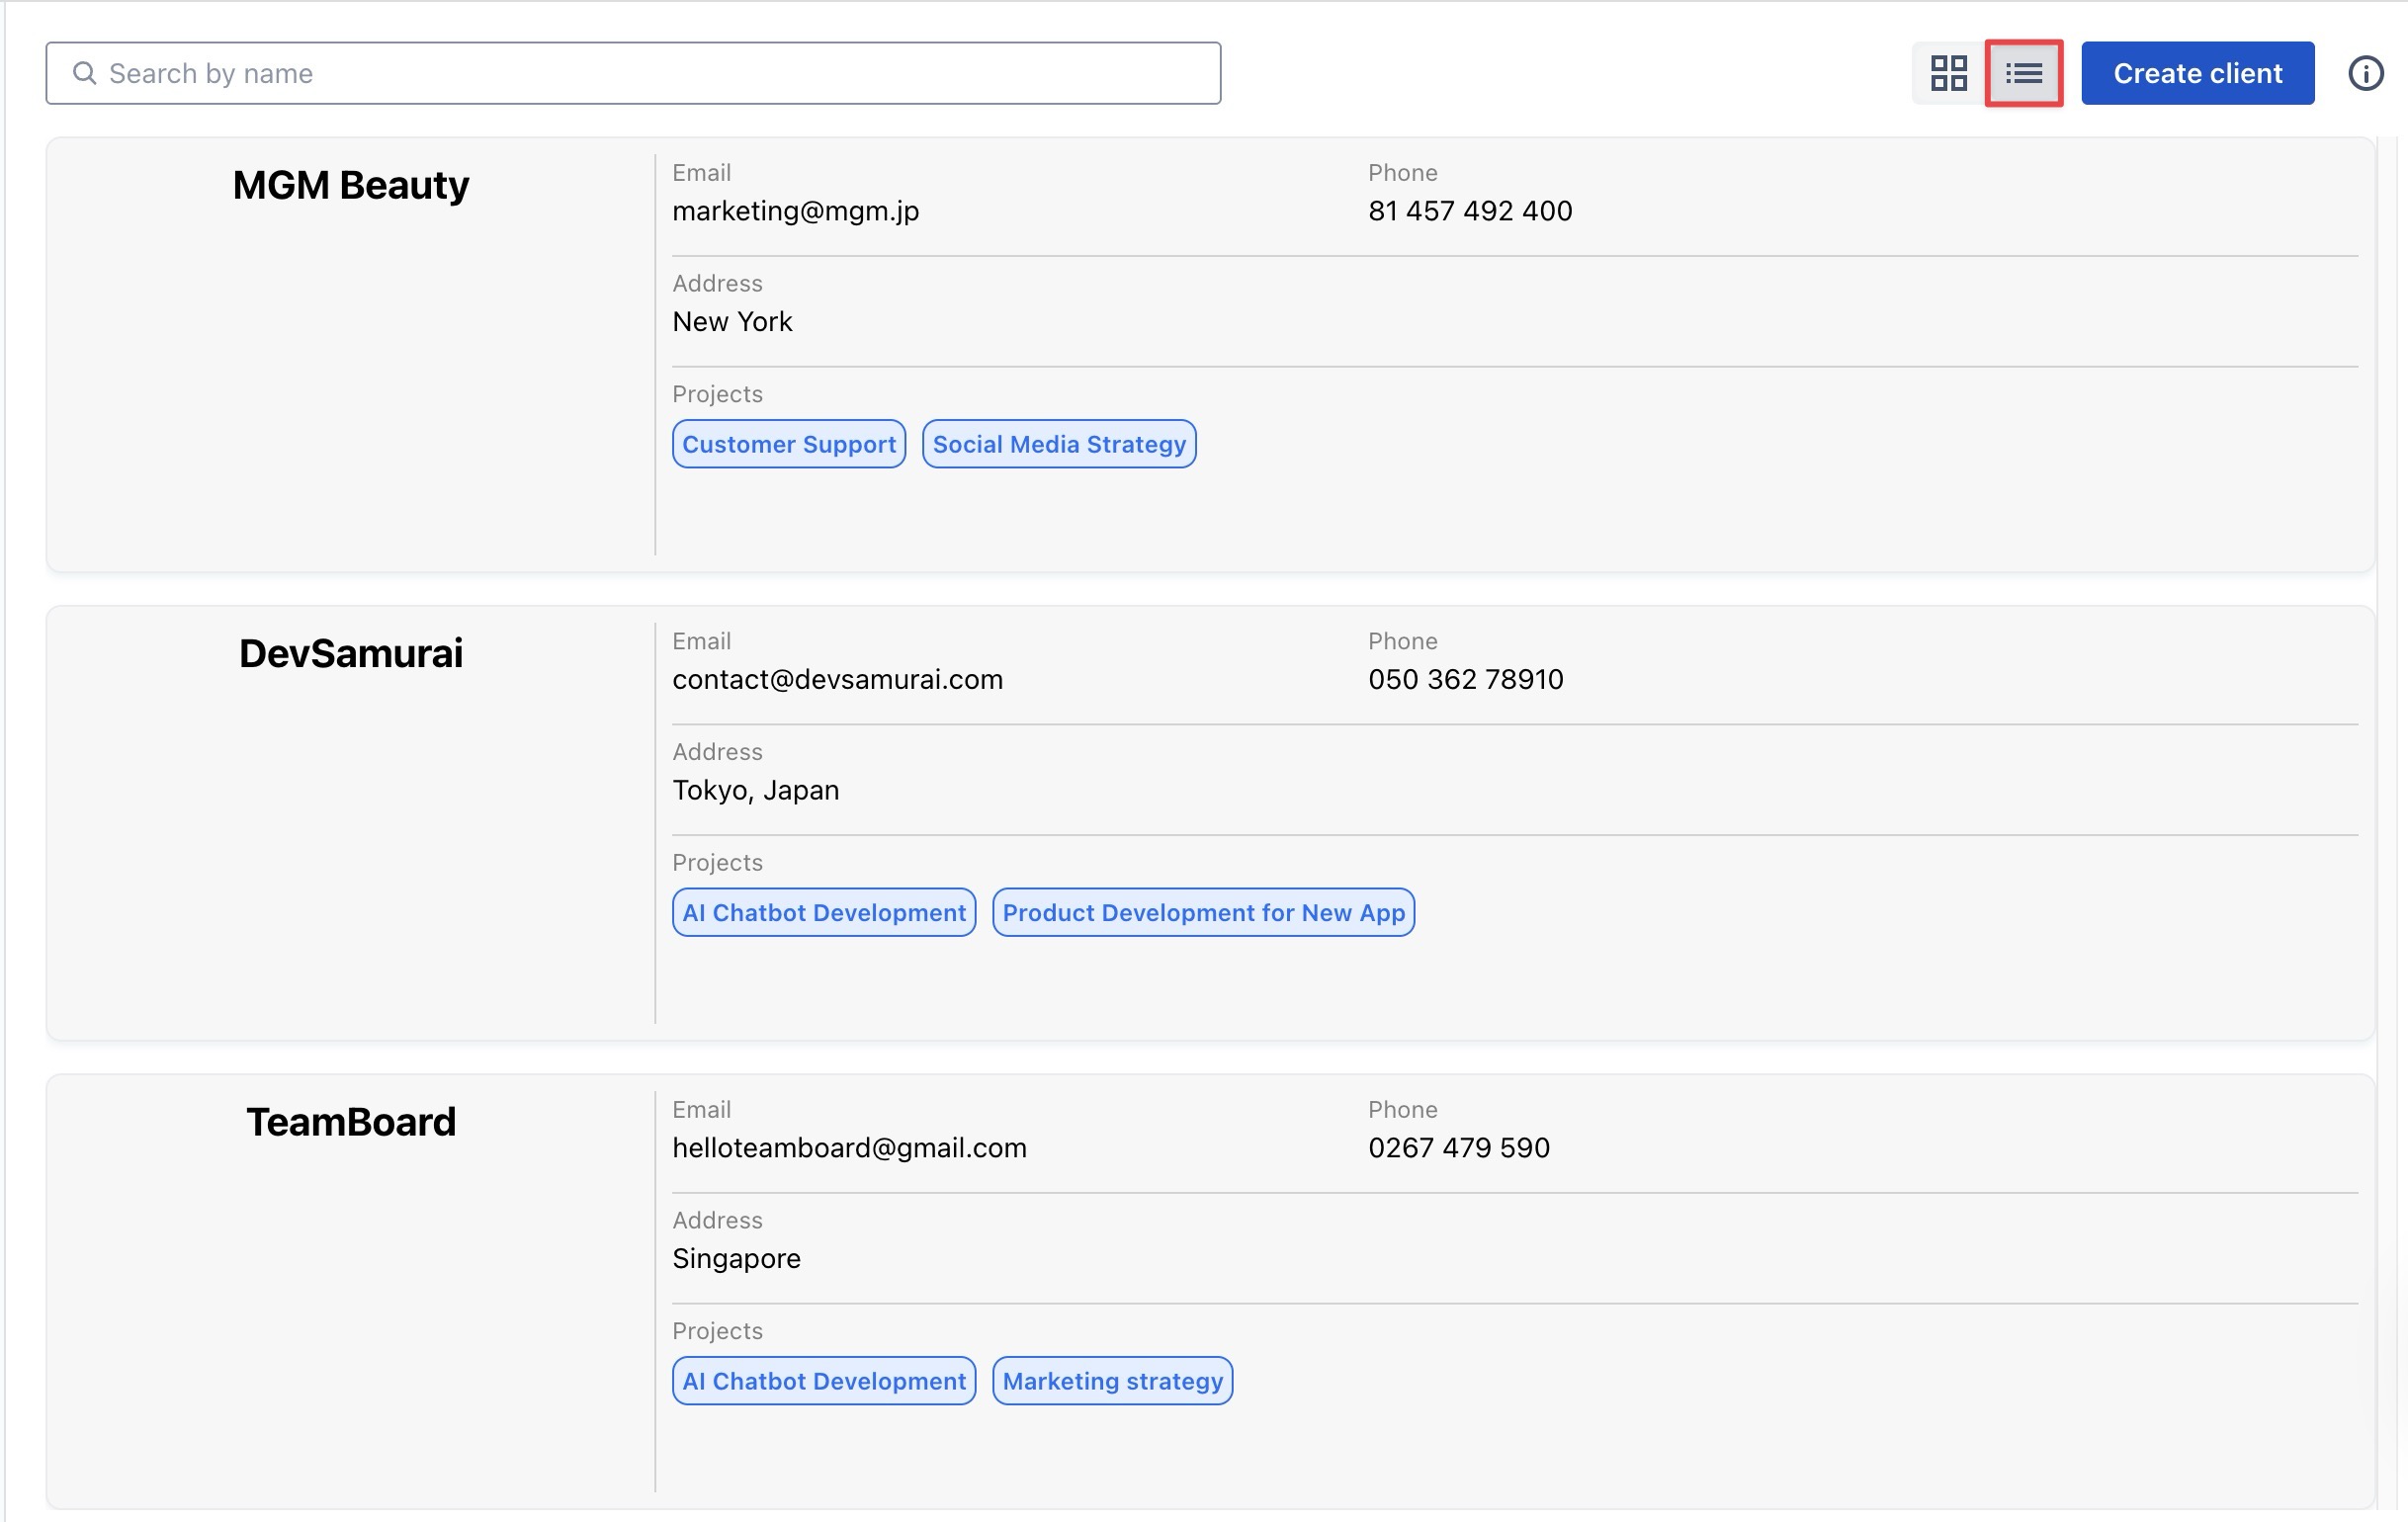
👉 After creating the profile, you can view it in either List View or Grid View.