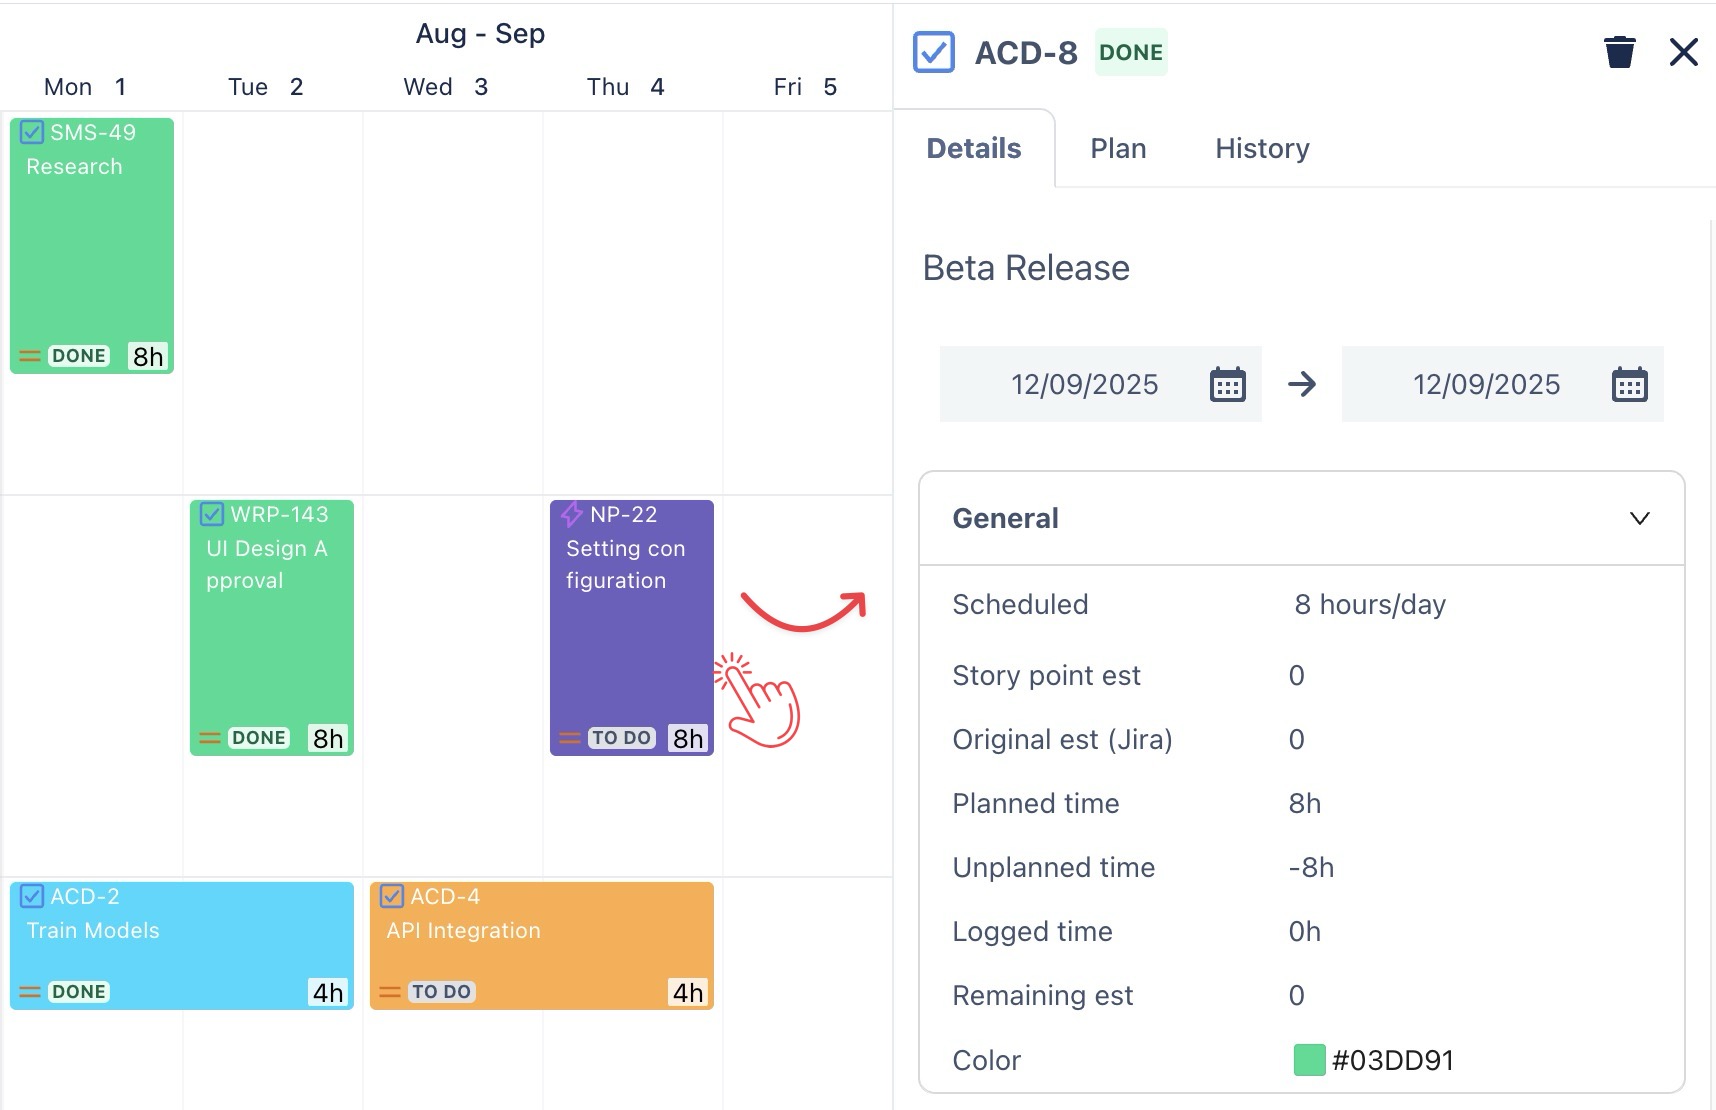
.png)
Only App Admins or Client Admins can schedule tasks for clients. To grant these permissions, please visit here.
Scheduling tasks for clients in TimePlanner ensures that your projects remain organized, on track, and aligned with client expectations. It also gives you greater control over managing client-related work.
Assigning Clients for the new task
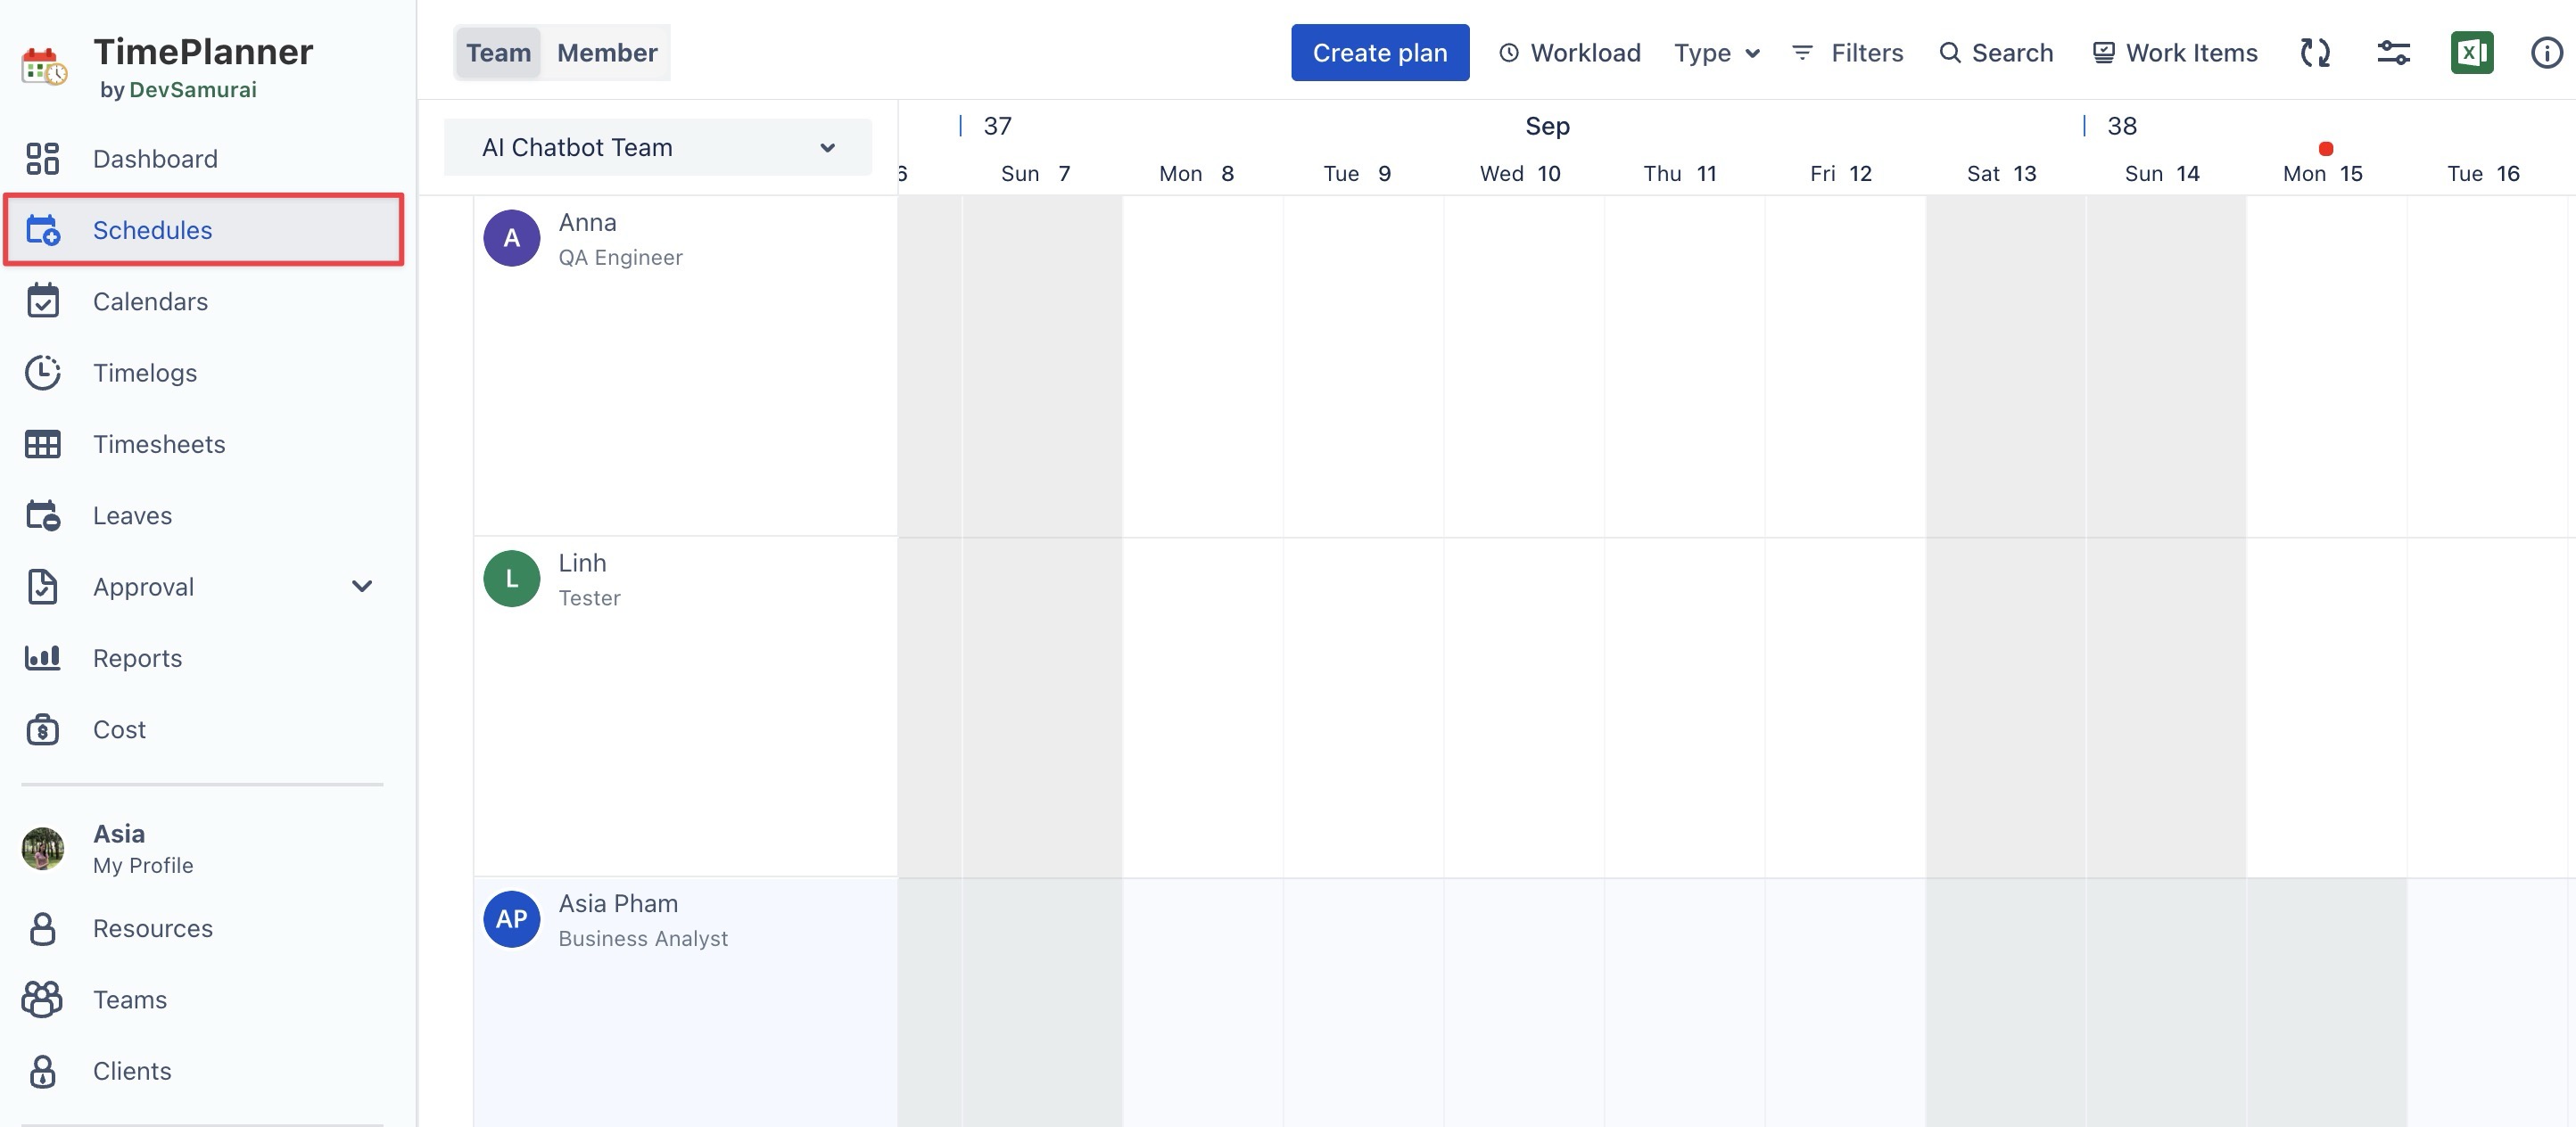
step 1 Go to the ![]()
step 2 Open the Planning Dialog in two ways:
-
Click

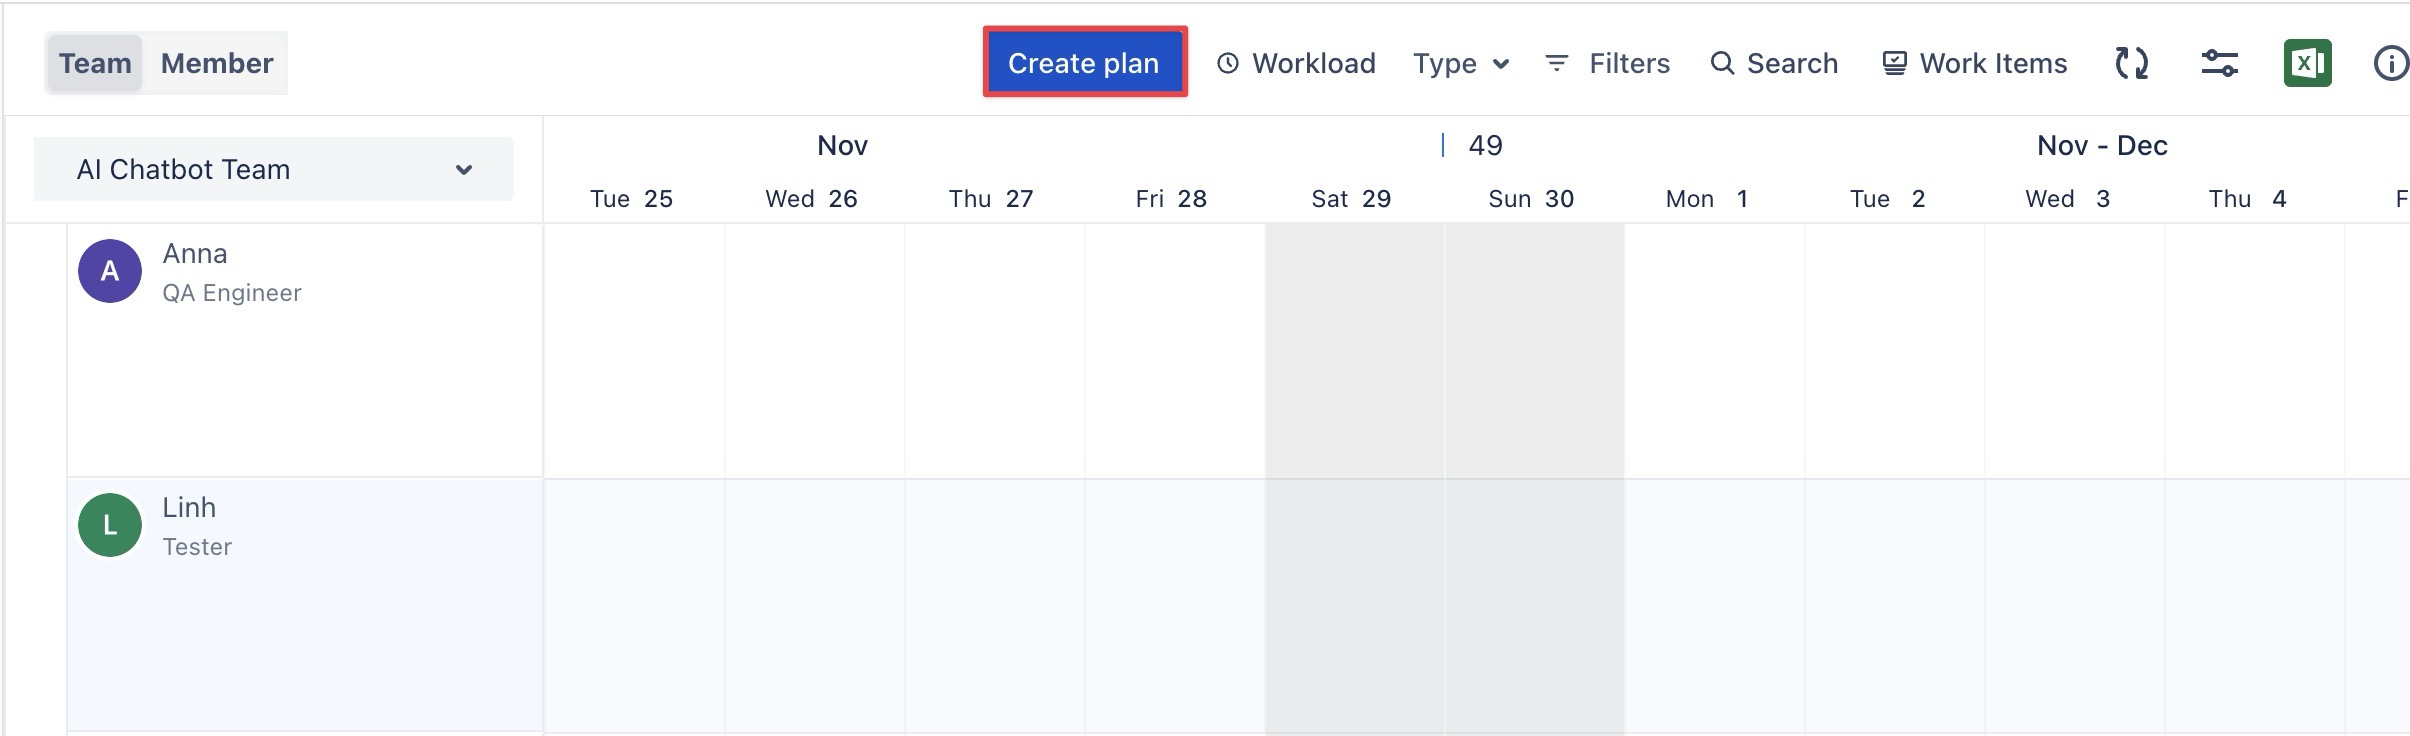
-
Click on a specific date or drag across a range of dates to open the Planning Dialog.

step 3 In the Planning Dialog:
-
Plan the Task for a Resource:
Follow the steps outlined here to assign the task to the appropriate resource. -
Assign Clients:
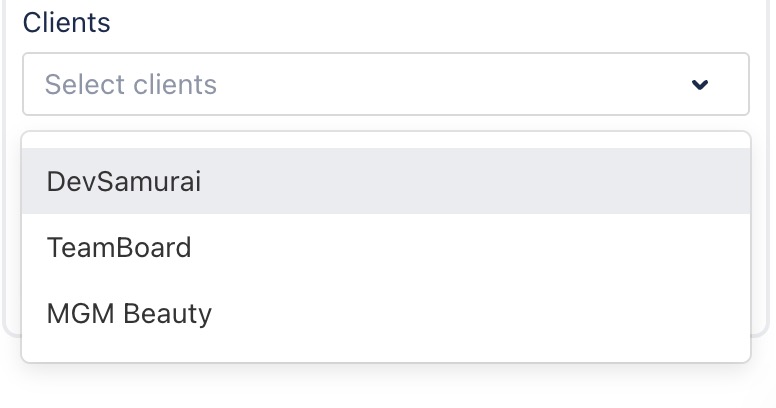
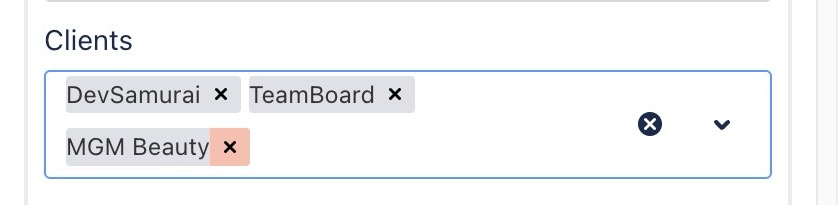
In the Client field, select the relevant client(s) for this task. You can assign multiple clients to the same task if needed.
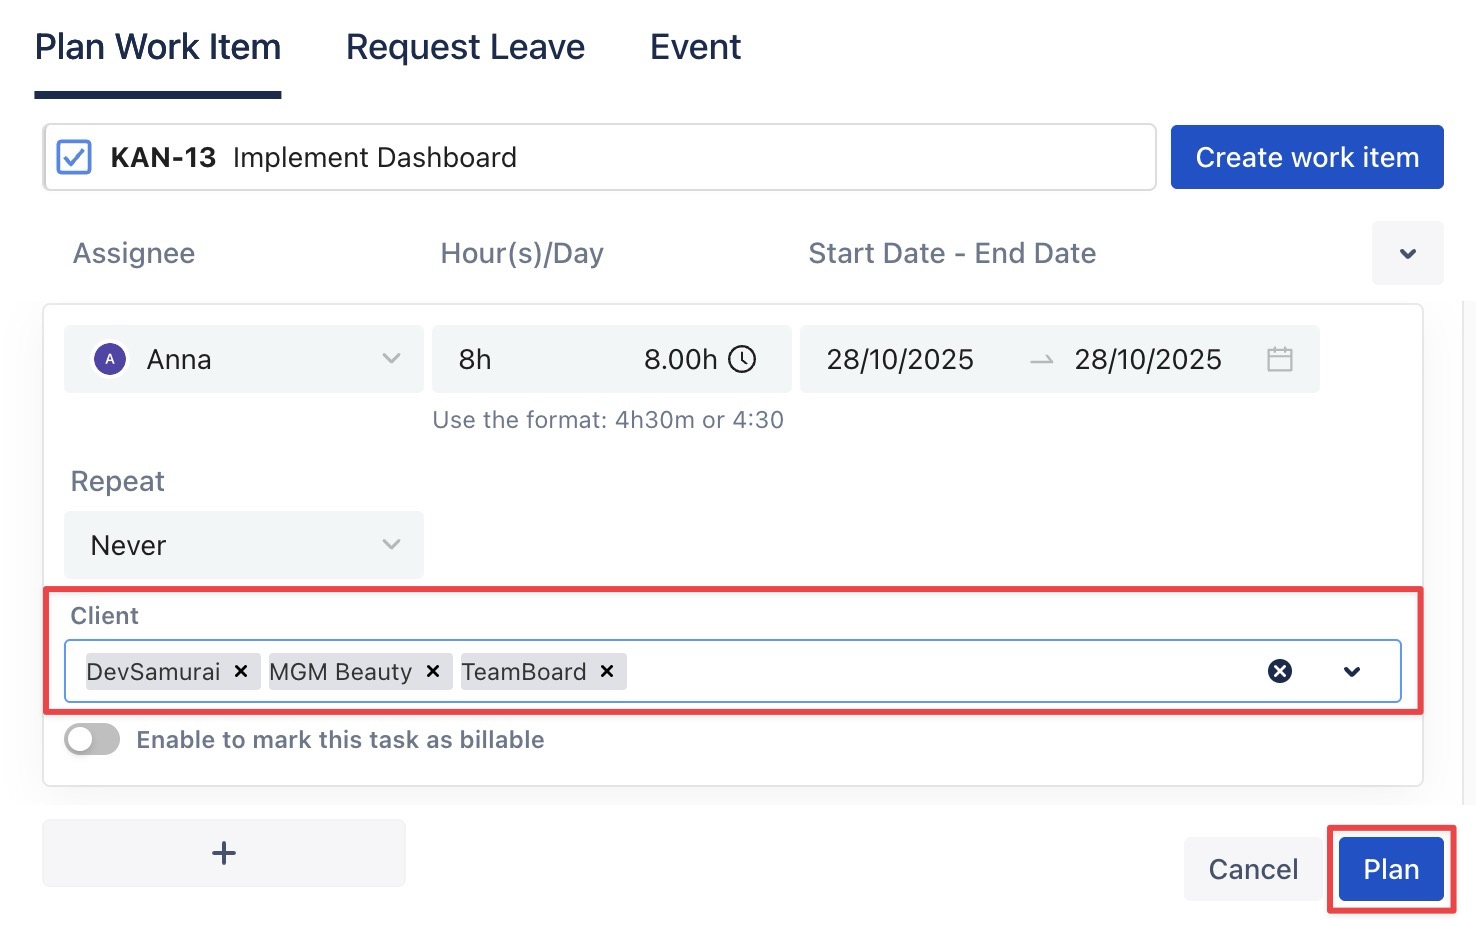
step 4 Click ![]()
Assigning/Updating Clients for the existing task
To assign or update clients for an existing task in TeamBoard TimePlanner, follow these steps:
step 1 Open the Planning Detail Panel
-
Go to the

-
Open the Planning Detail panel in one of two ways:
-
Right-click on the task card and select

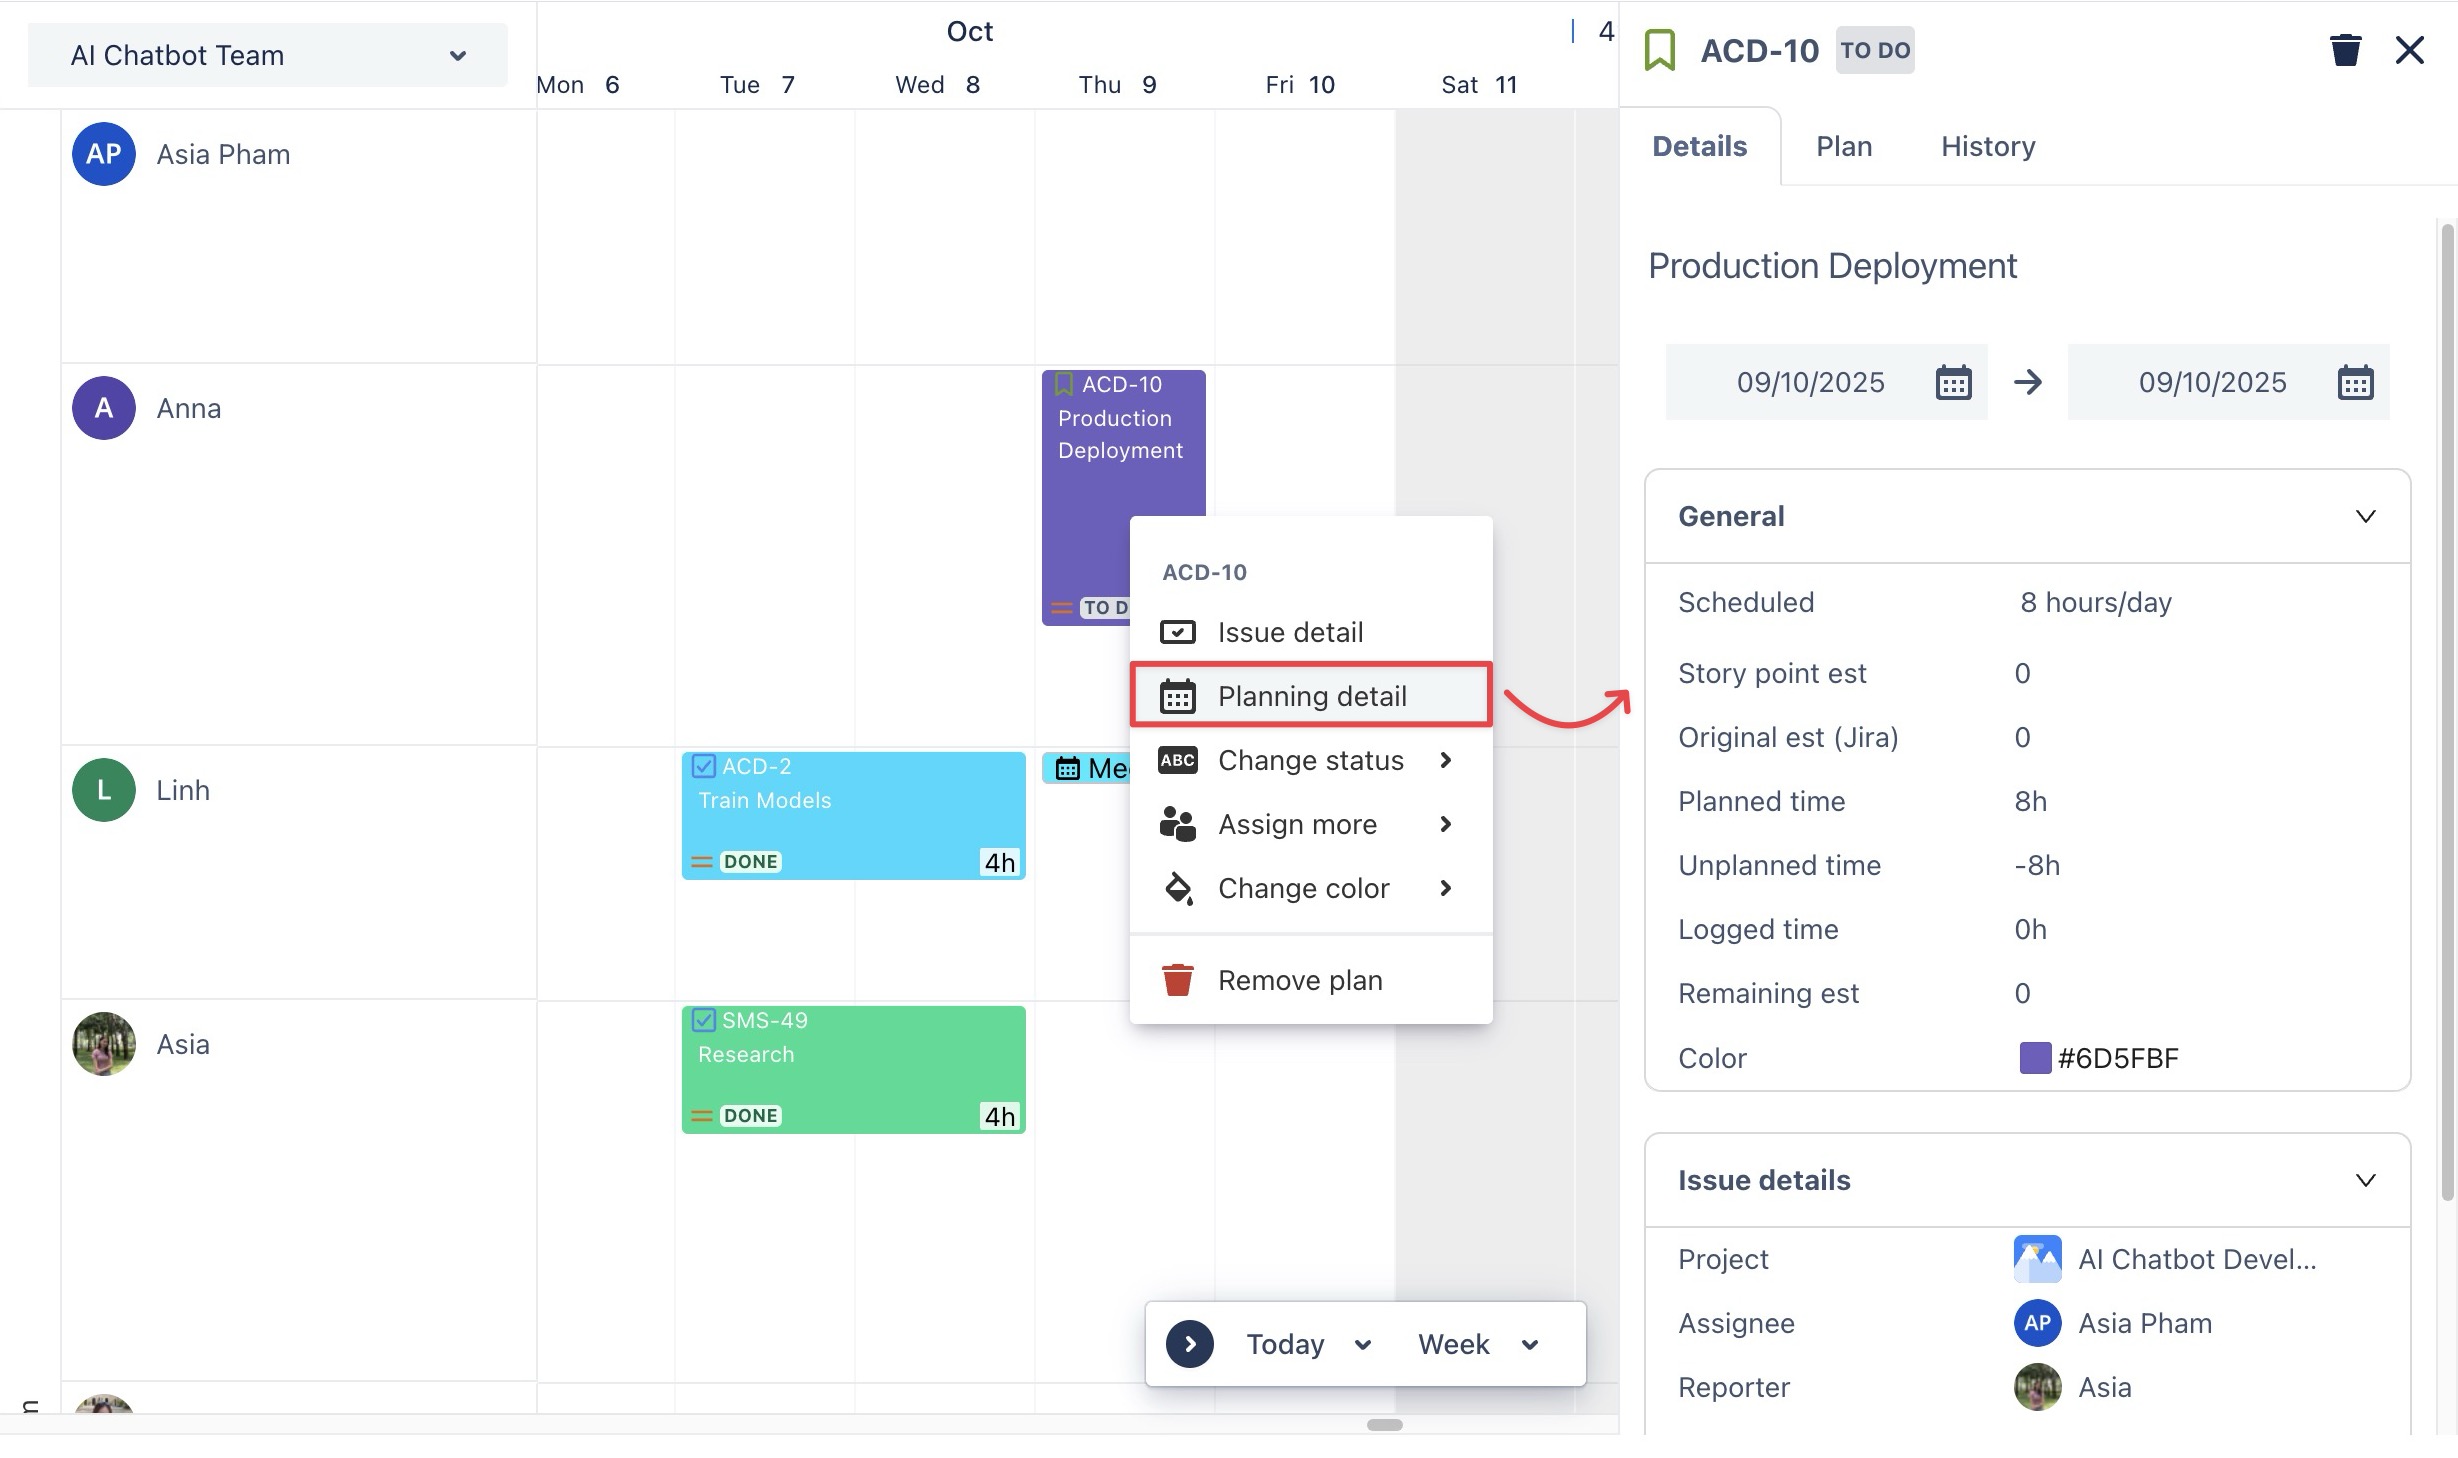
-
Simply click directly on the task card to open the Planning Detail panel.
You can also open the Planning Detail Panel from the Calendar Board.
step 2 Select the ‘Plan’ tab > locate the Clients field:
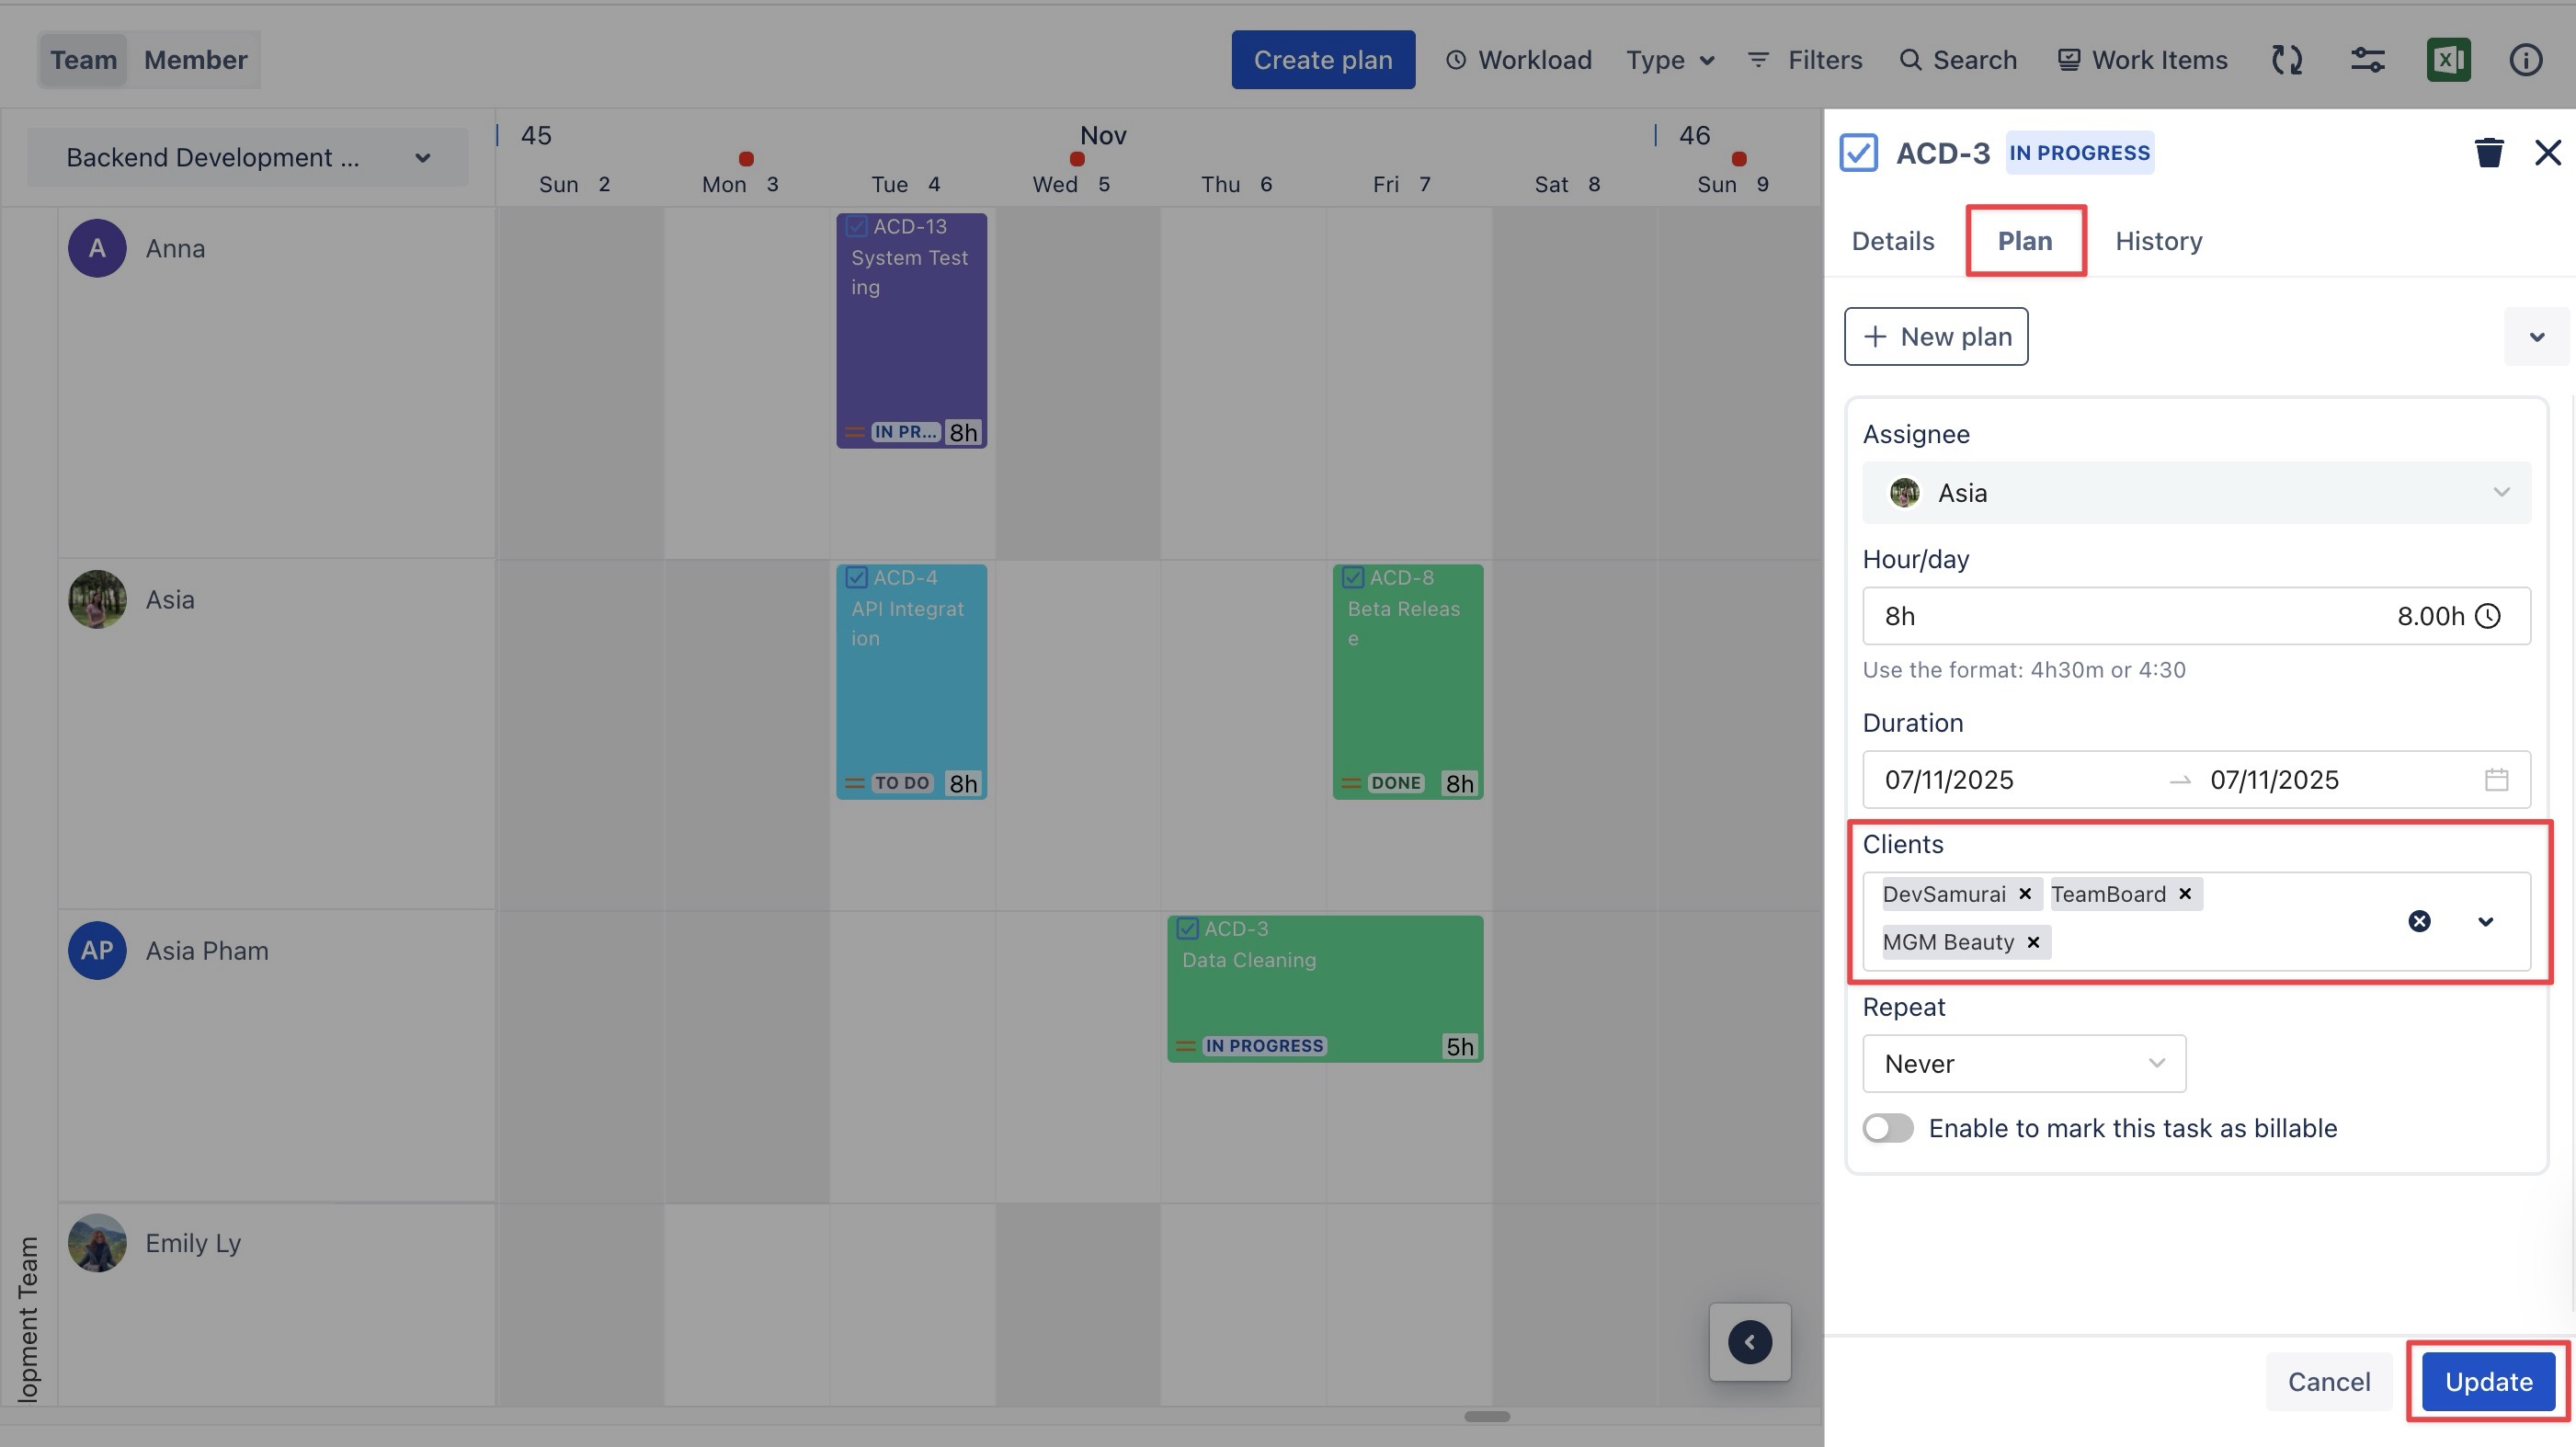
-
Add Clients: Type the client’s name in the Clients field and select it from the dropdown list.
-
Remove Clients: Click the X next to the client’s name to remove them from the task.
step 3 Click