.png)
1. Planning Directly on a Specific Date
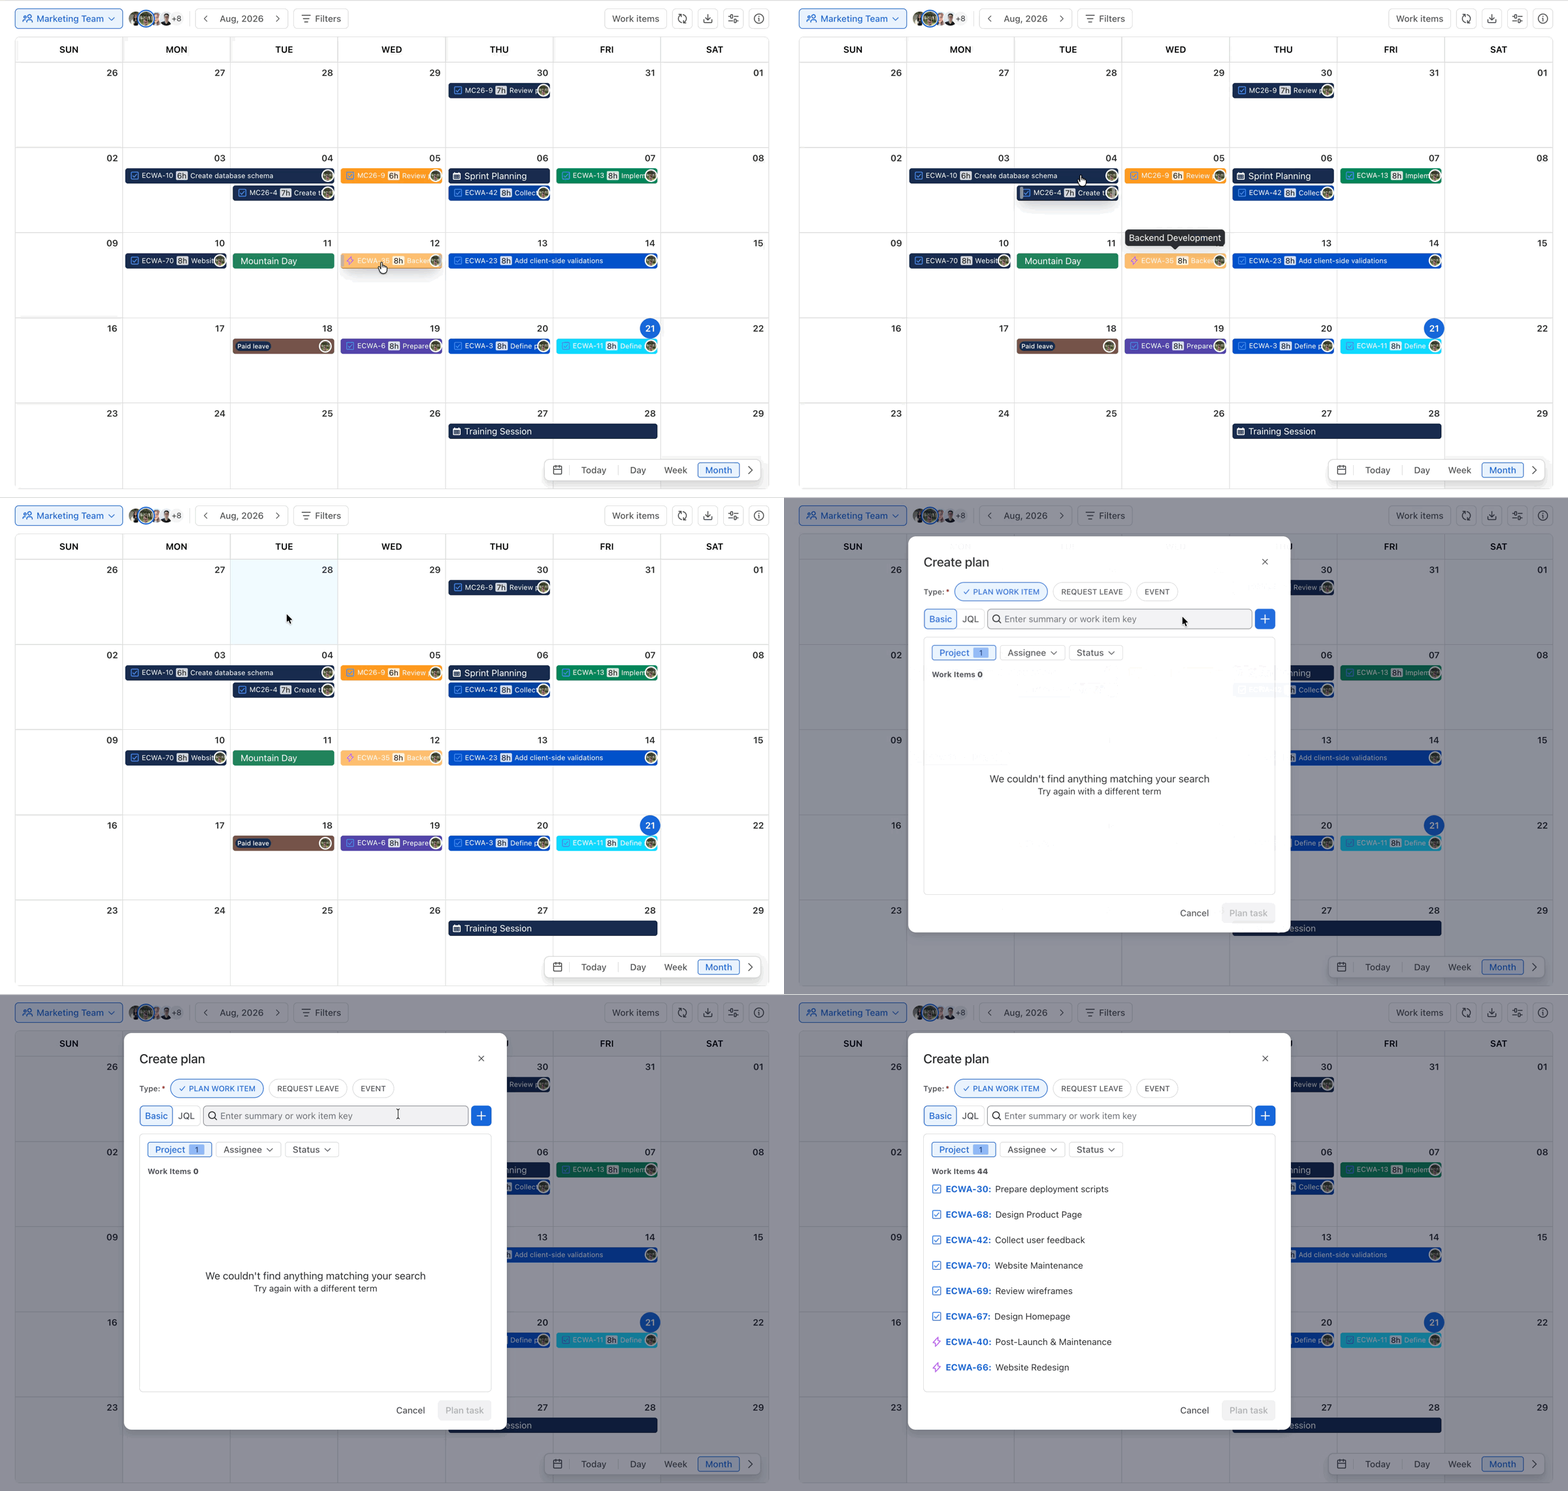
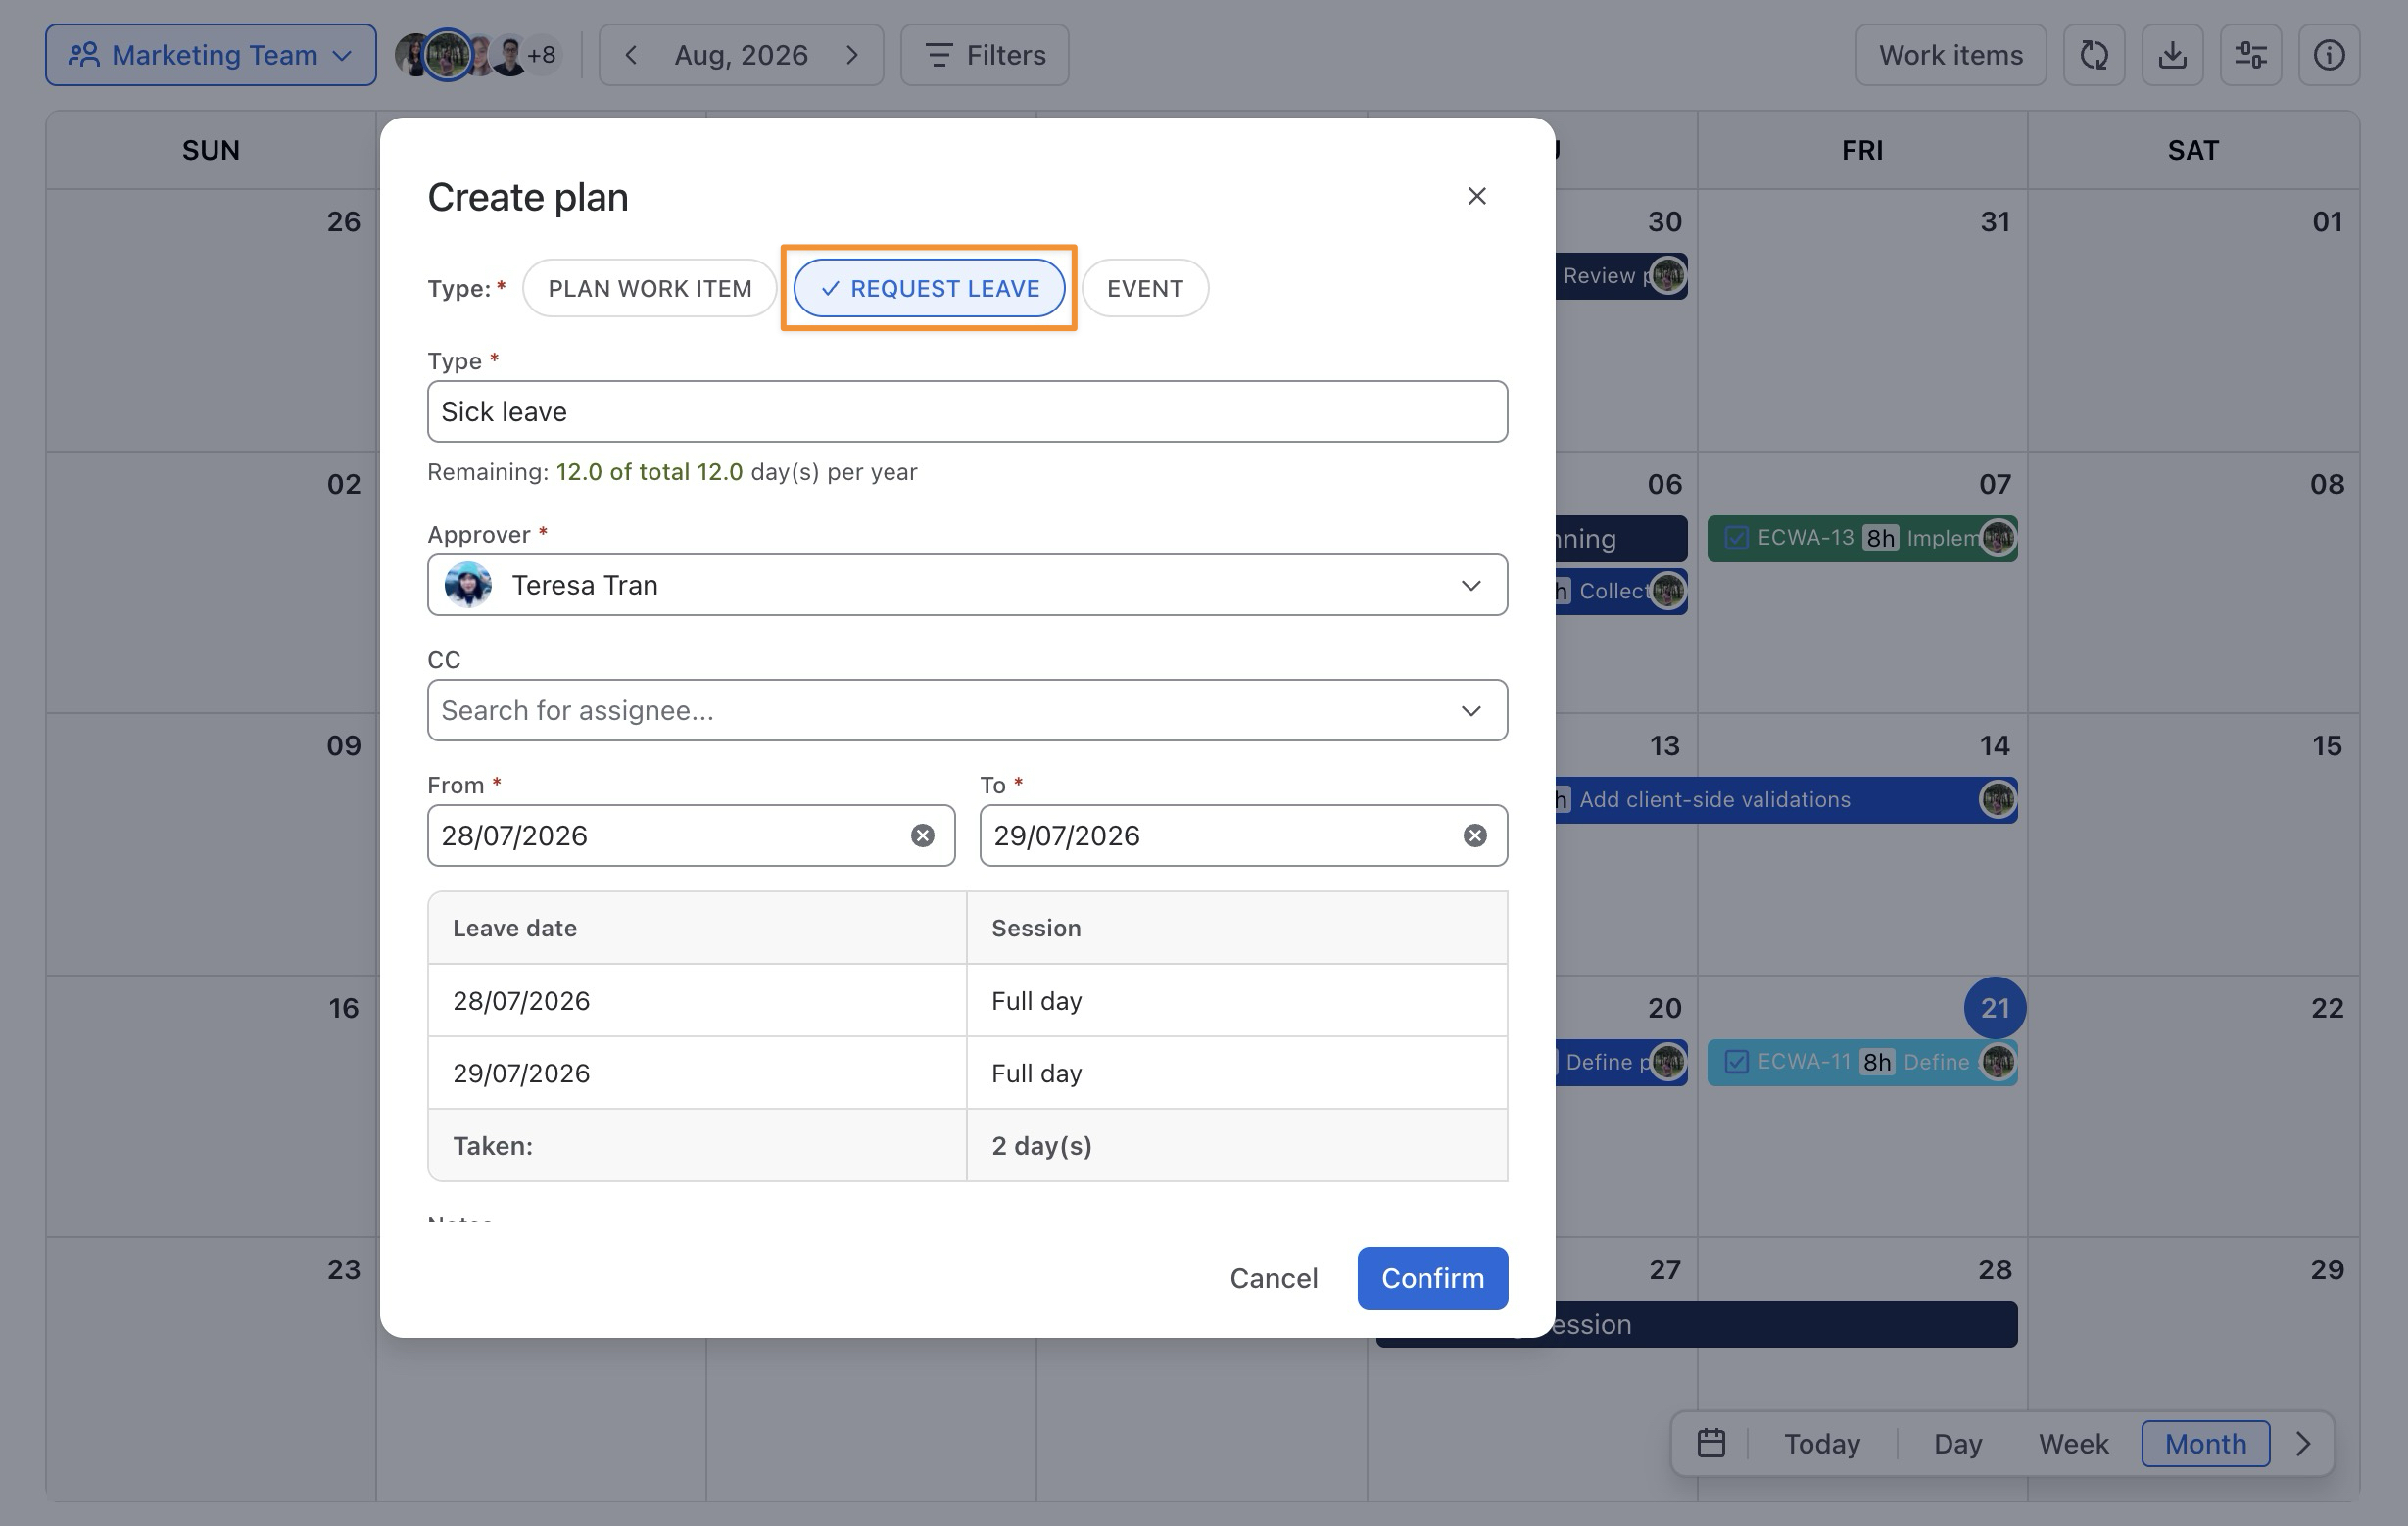
You can create a plan directly from the Calendar by selecting the date or date range you want to schedule.
-
Click a date or drag across a range of dates on the Calendar.
-
The Planning Dialog opens with the selected date range applied.
-
From the dialog, you can:
-
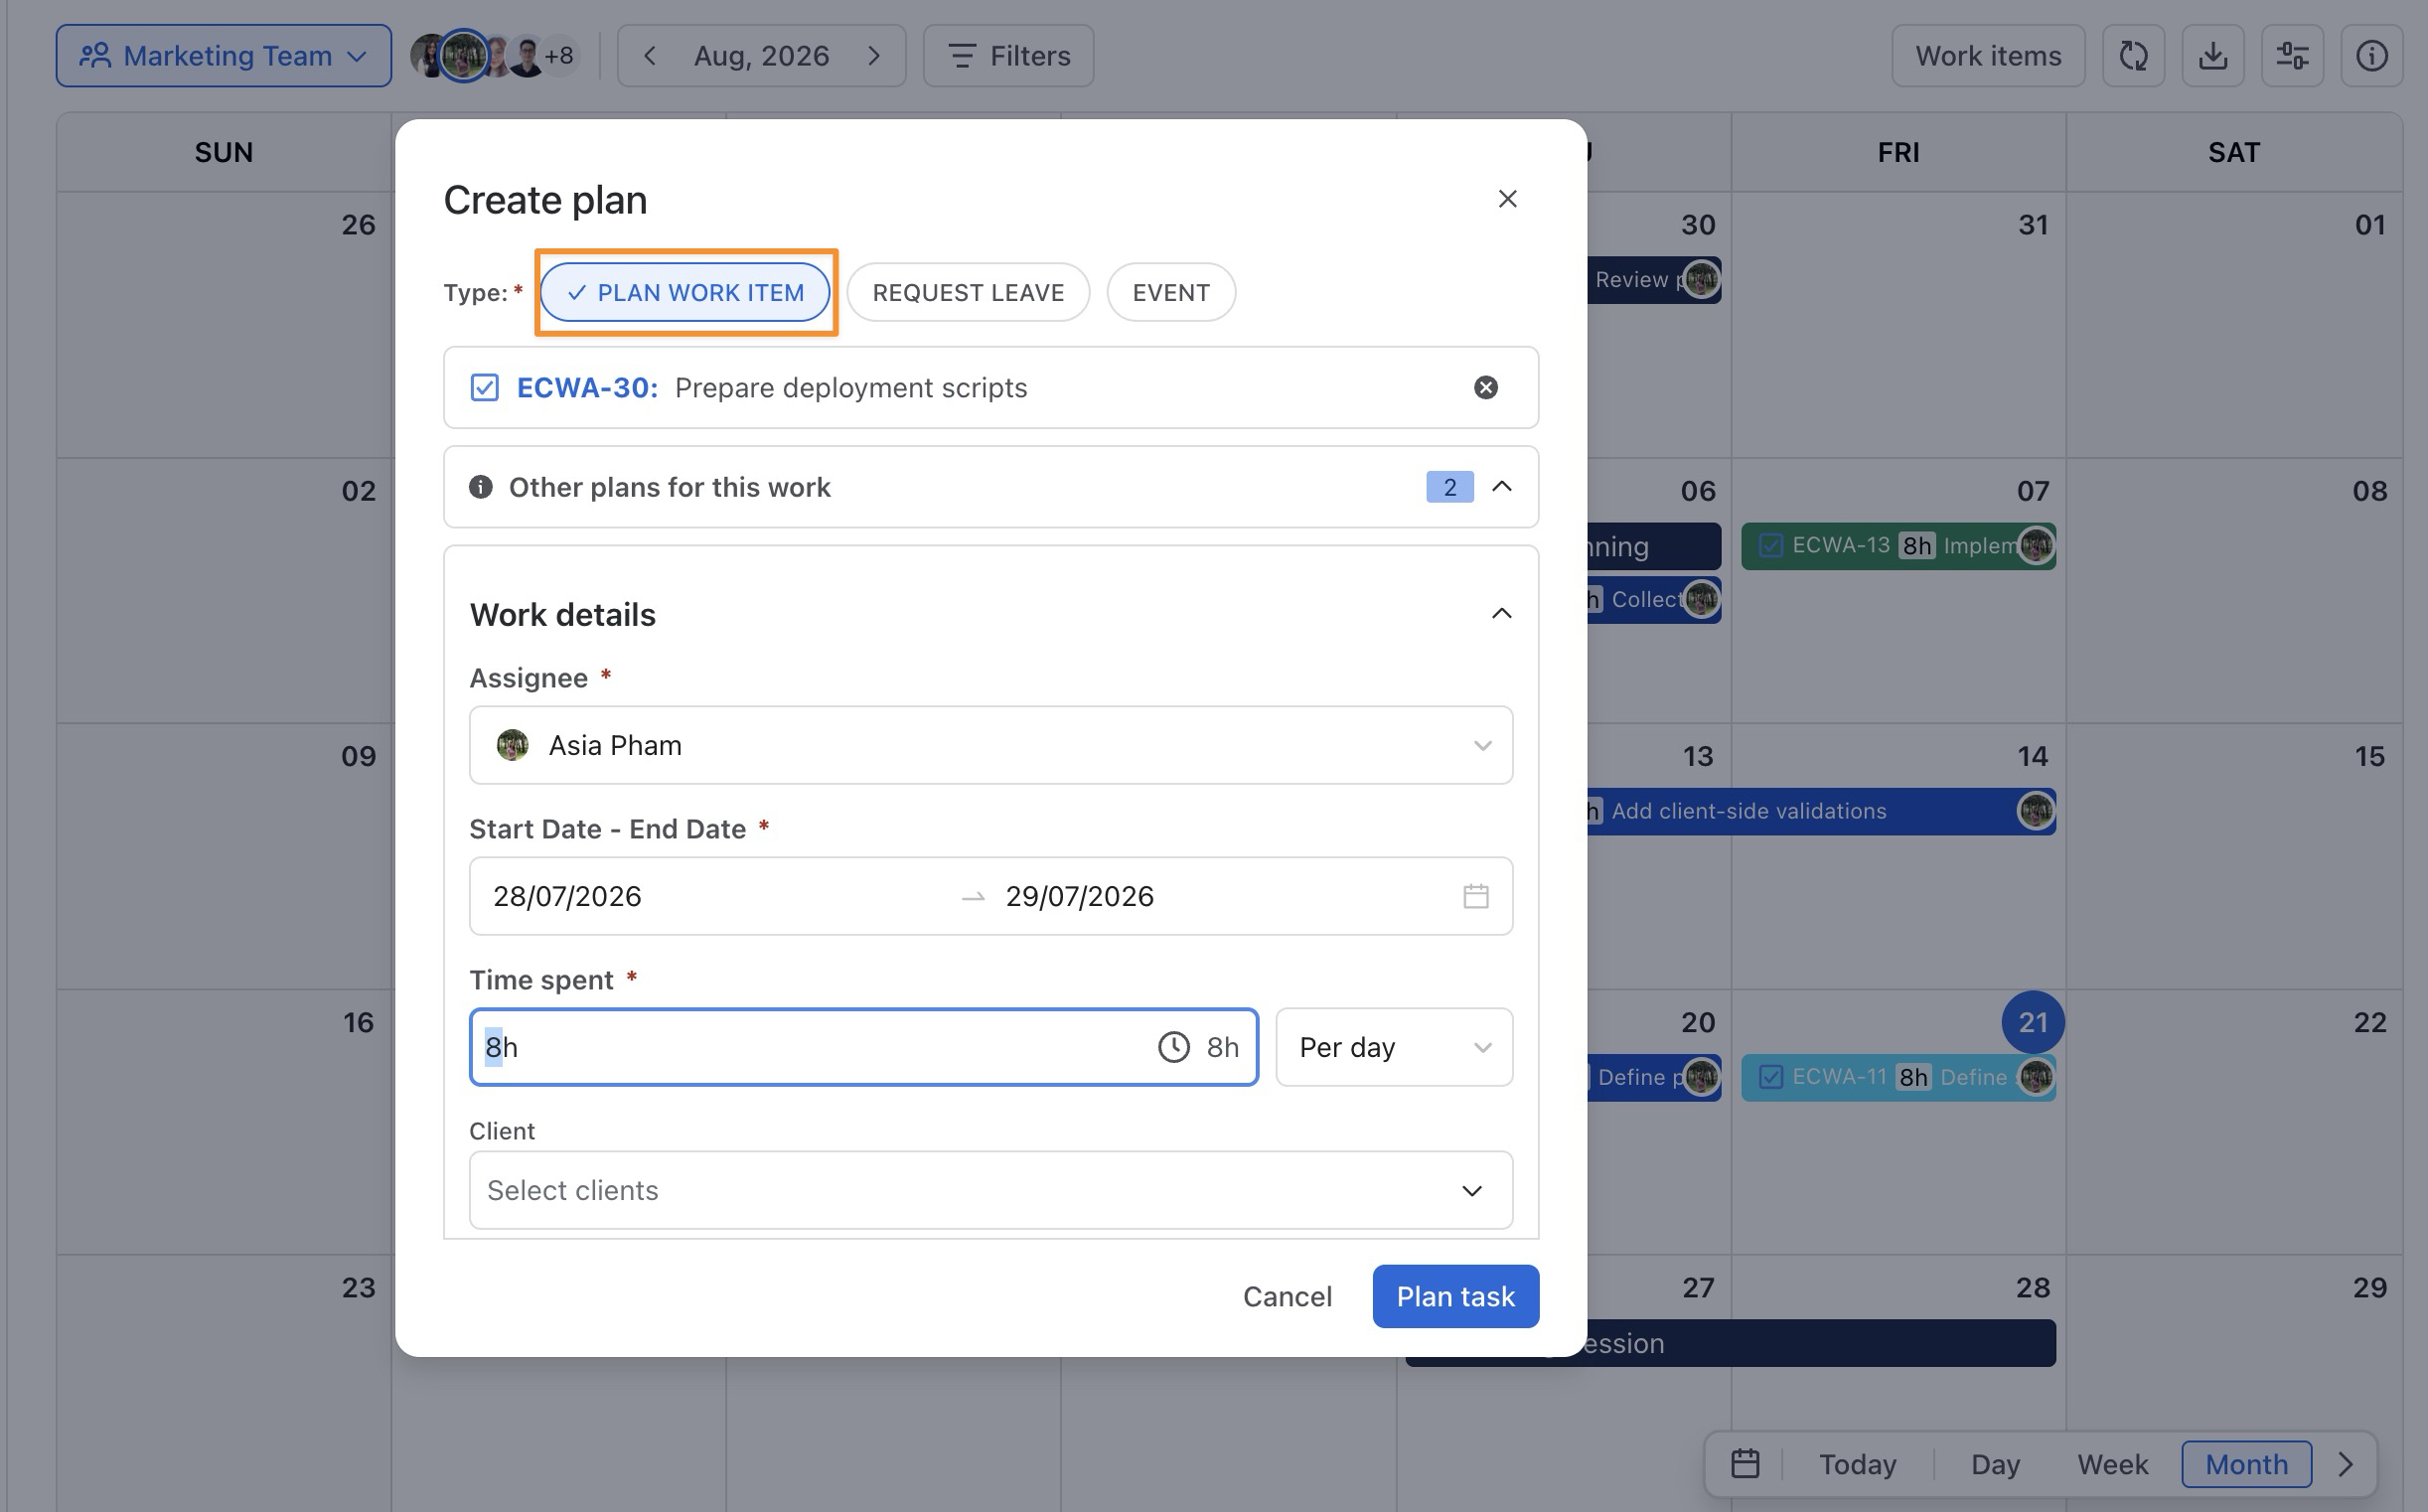
Plan an existing work item: Search by work item summary or key.
-
Create a new work item: Create a new Jira work item, then add it to the Calendar.
-
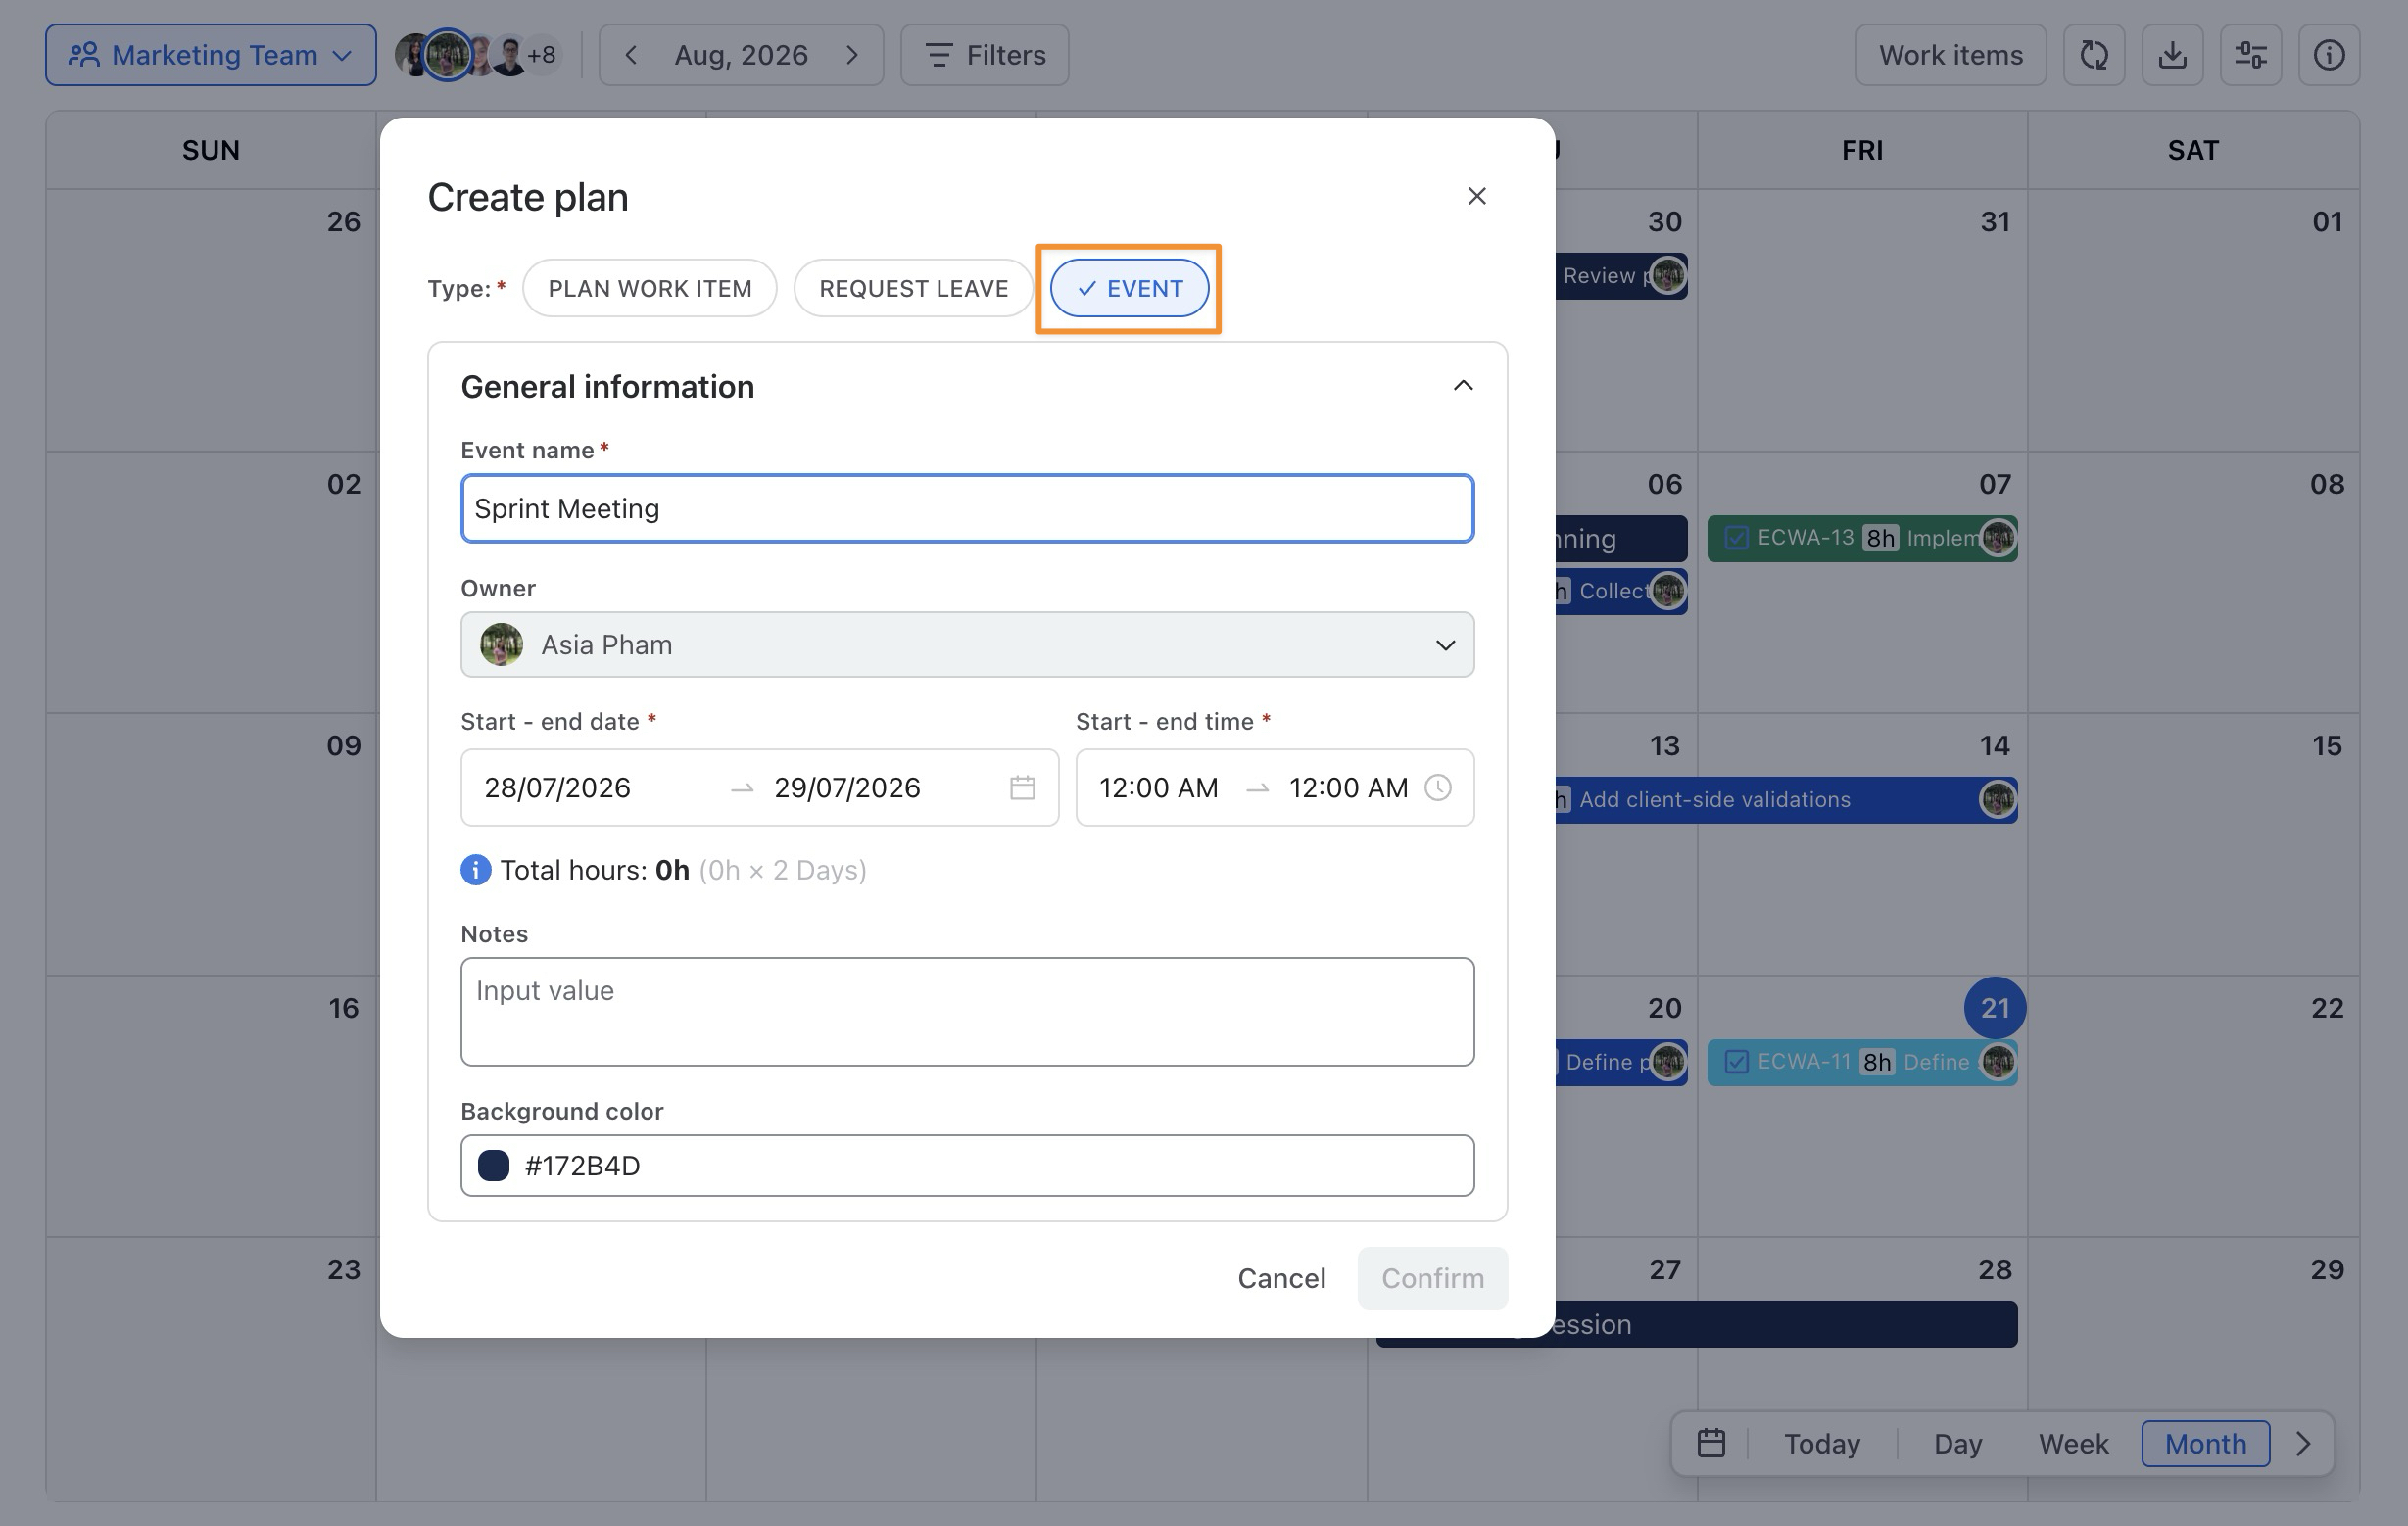
Create an event: Add a non-Jira activity to the Calendar.
-
Create a Leave Request or Time Off: Plan time away from work, depending on whether the Leave Approval Workflow is enabled.
-
Complete the required details and click Confirm. The selected activity is added to the Calendar for the chosen date or date range.
2. Planning from the Work Item Box
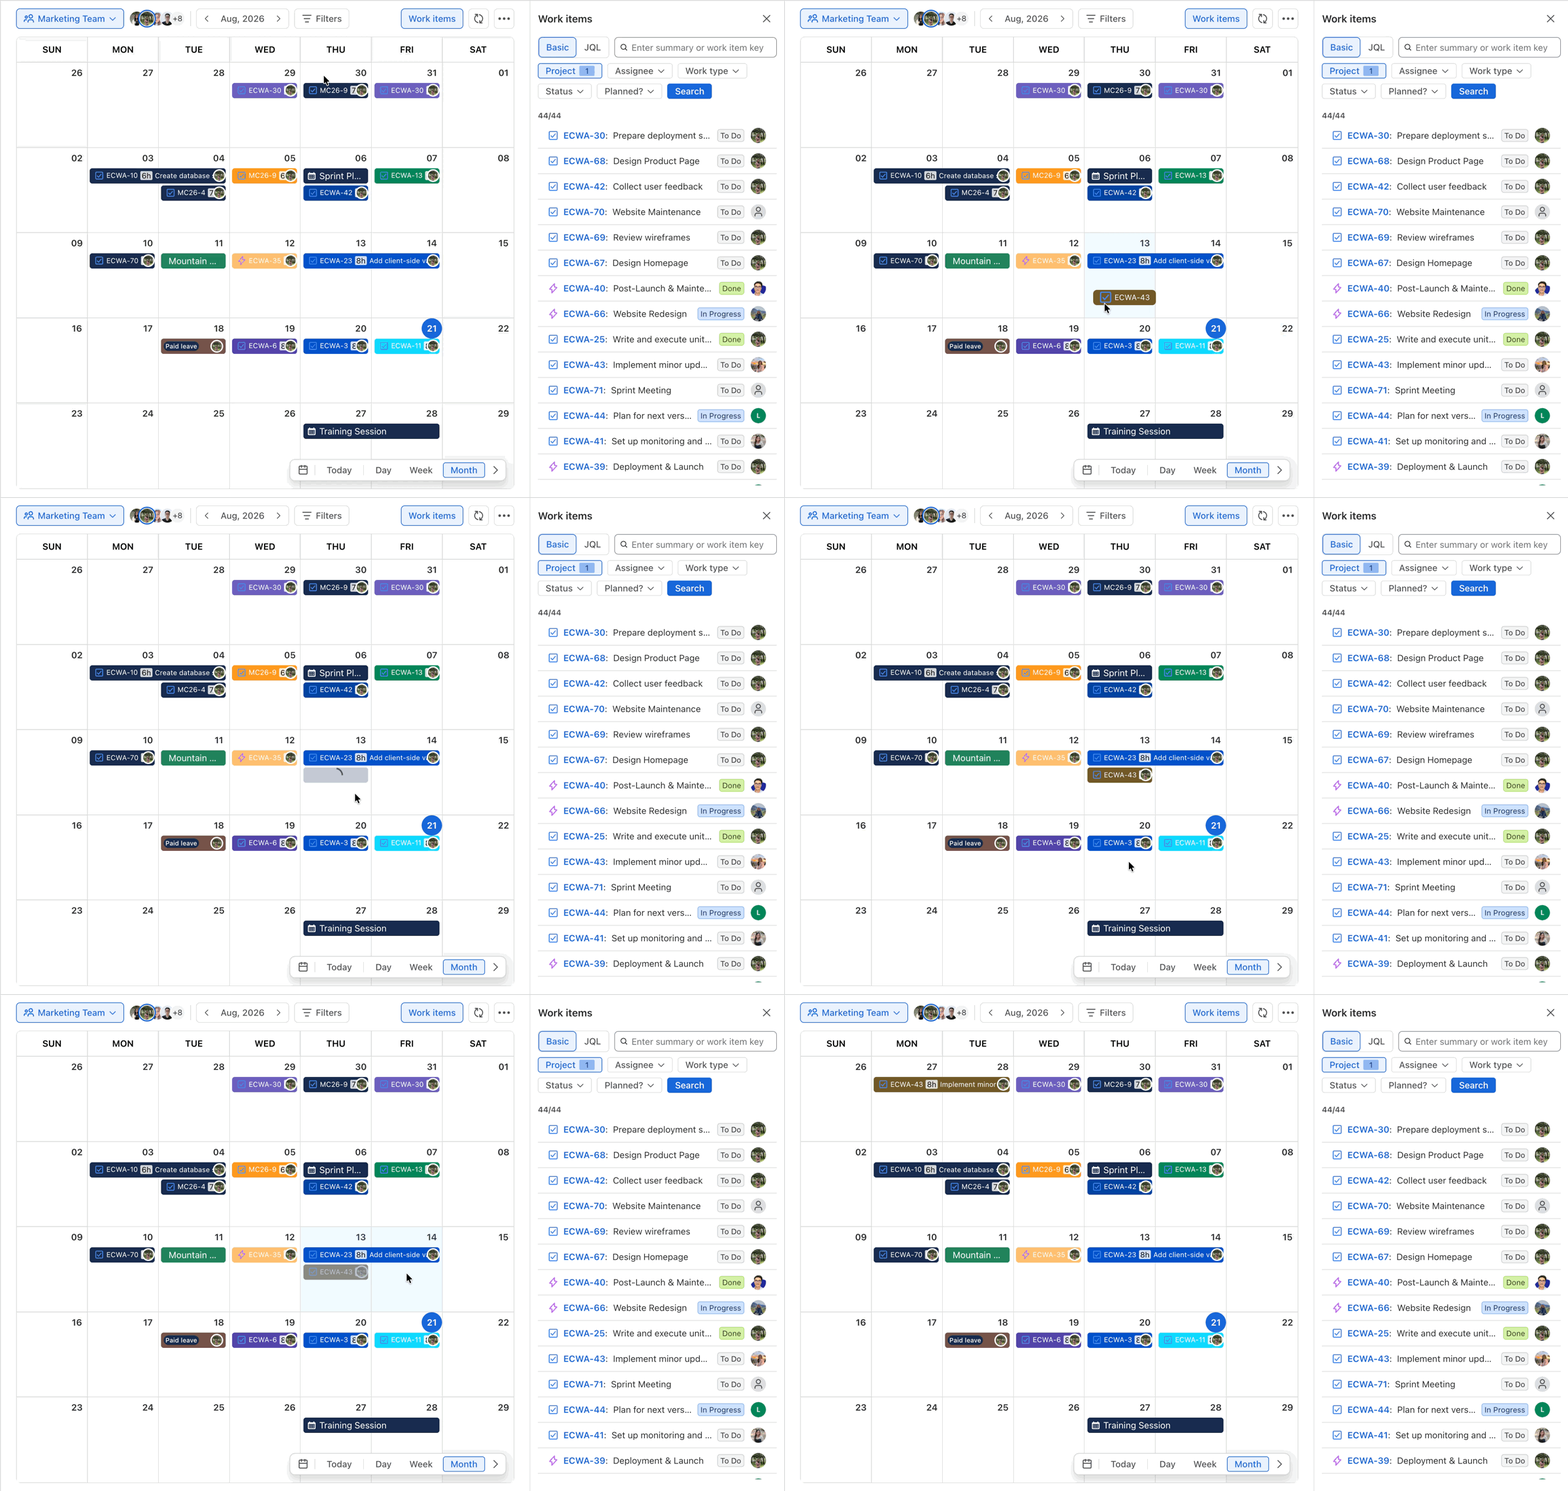
You can also plan existing Jira work items using the Work Item Box.
-
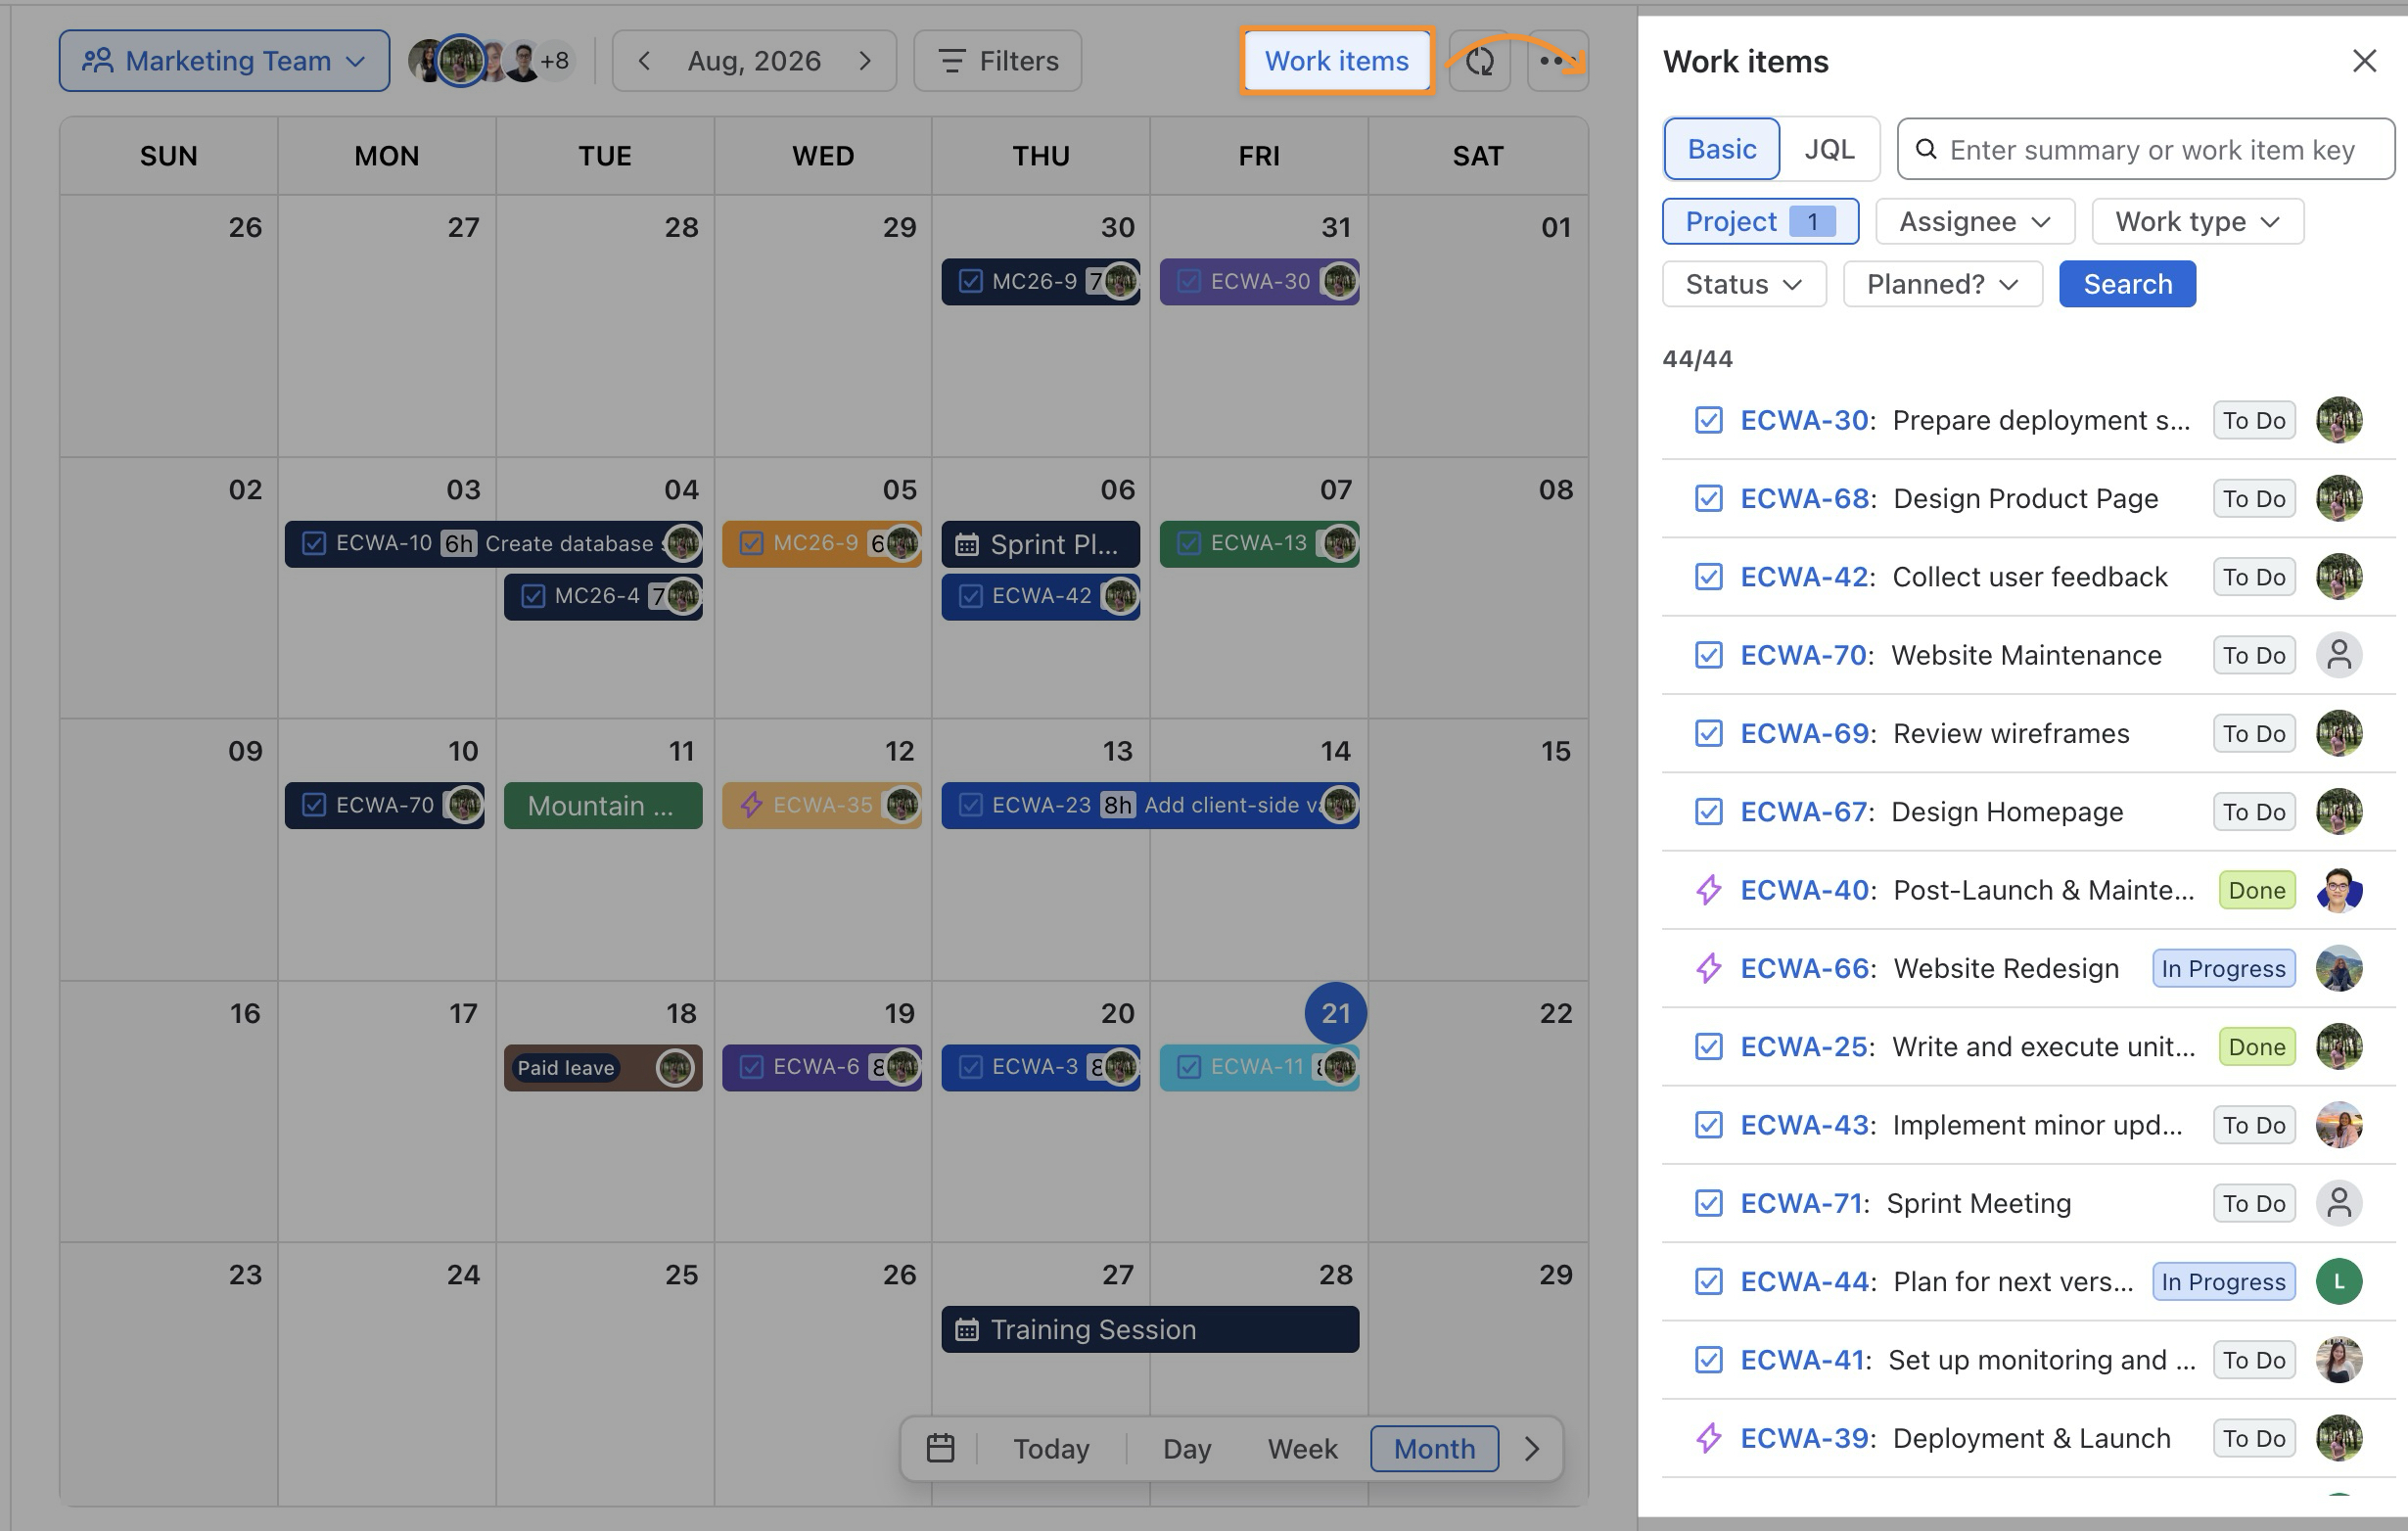
From the Calendar, click Work items to open the Work Item Box.
-
Find the work item you want to plan:
-
Enter the work item key or summary in the search field.
-
Or use the available filters to narrow the results.
-
-
Drag and drop the work item onto the desired date on the Calendar.
You can also drag the work item onto another member to assign or reassign the plan when applicable.