.png)
Understanding your users is important for developing products that truly meet their needs. User personas are powerful tools that bring your users to life, helping your team to visualize and empathize with them.
When combined with user story maps in Jira, personas can guide your development process, ensuring that every feature you build is aligned with your users’ goals and challenges.
Steps in this use case:
-
Create a user persona
-
Create a user story map from the user persona
-
Attach user persona to the user story map
-
Keep your persona and story map up to date
Step 1: Create a user persona
2 ways to access the persona creation page
Create a user persona
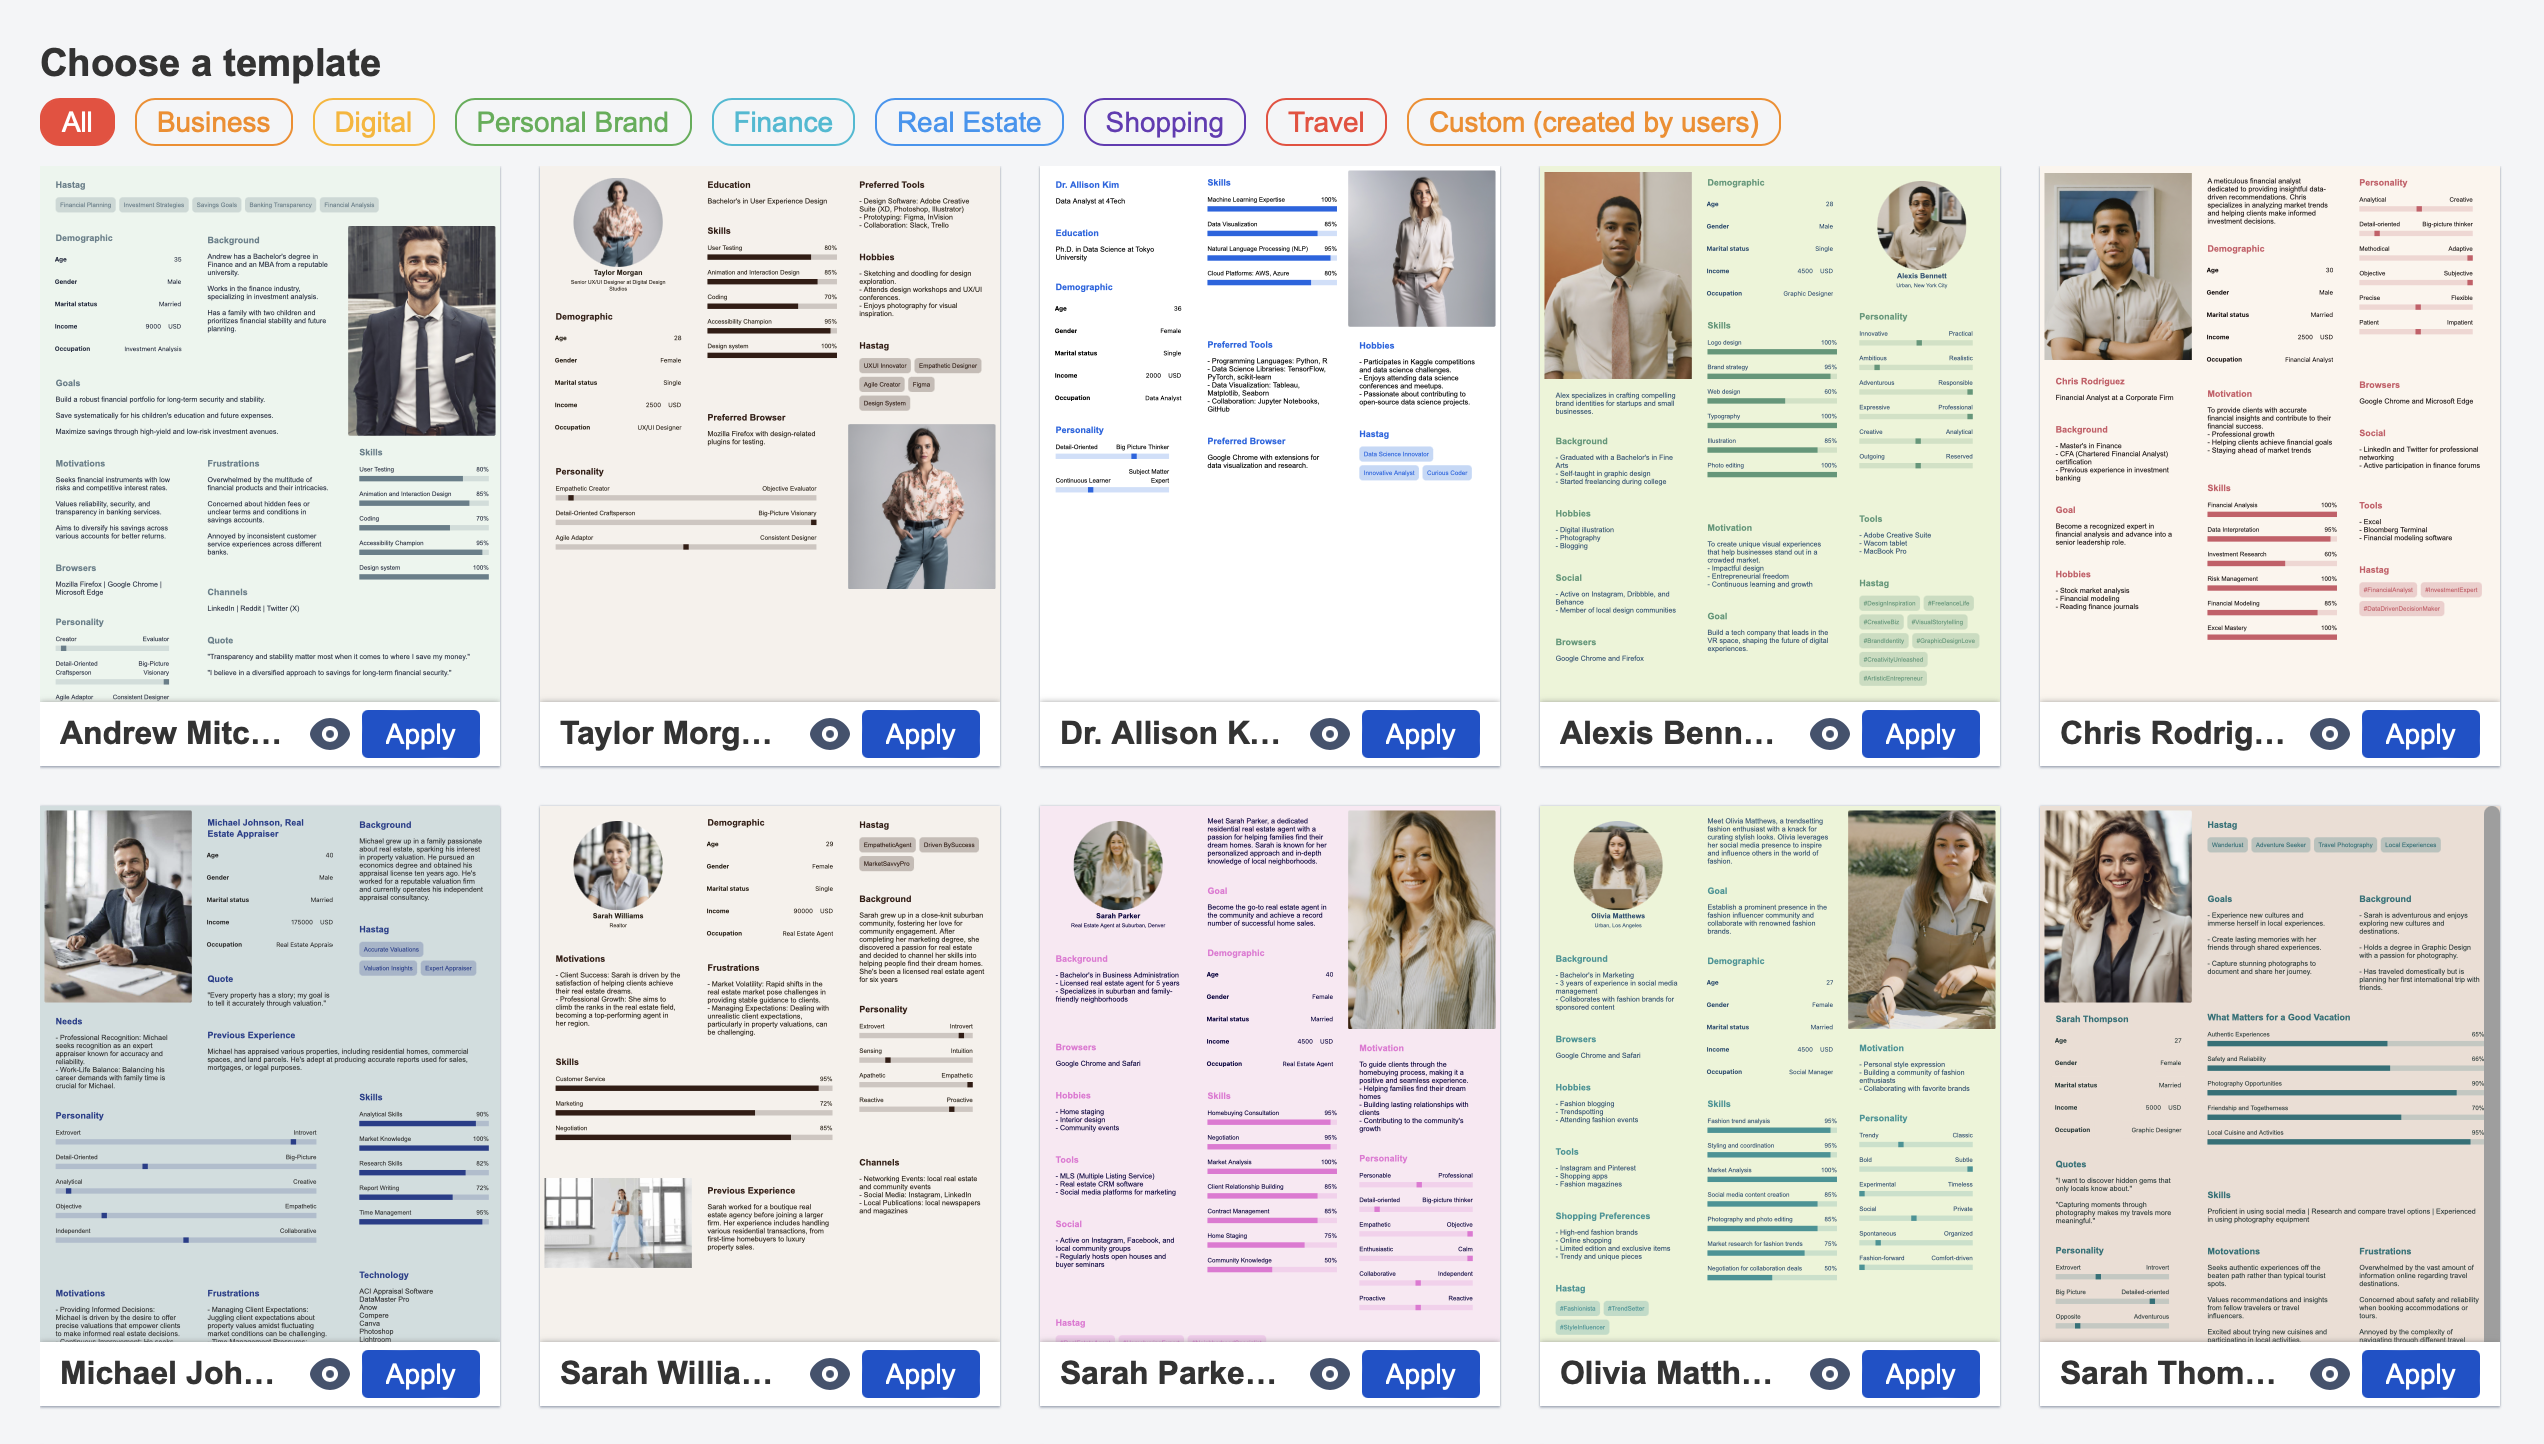
1. Start with a Template or Blank page
Choose from our available templates or start from scratch
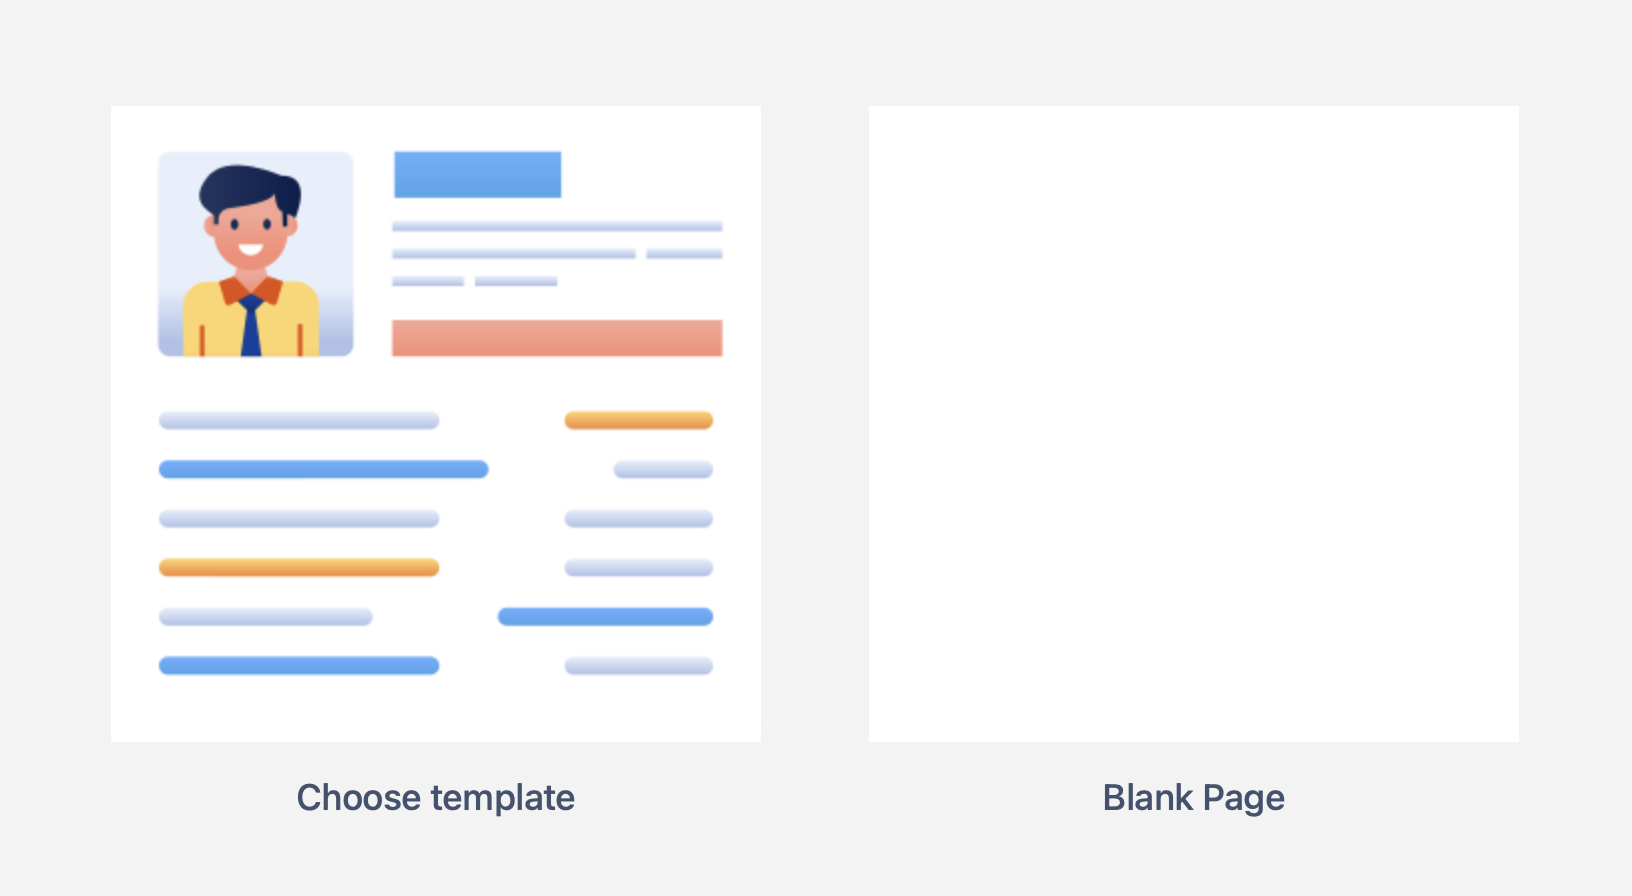
Pick from available templates: Users have abilities to make changes or edit any components on the persona
Start with a blank page: Using the provided component from the sidebar to represent the persona
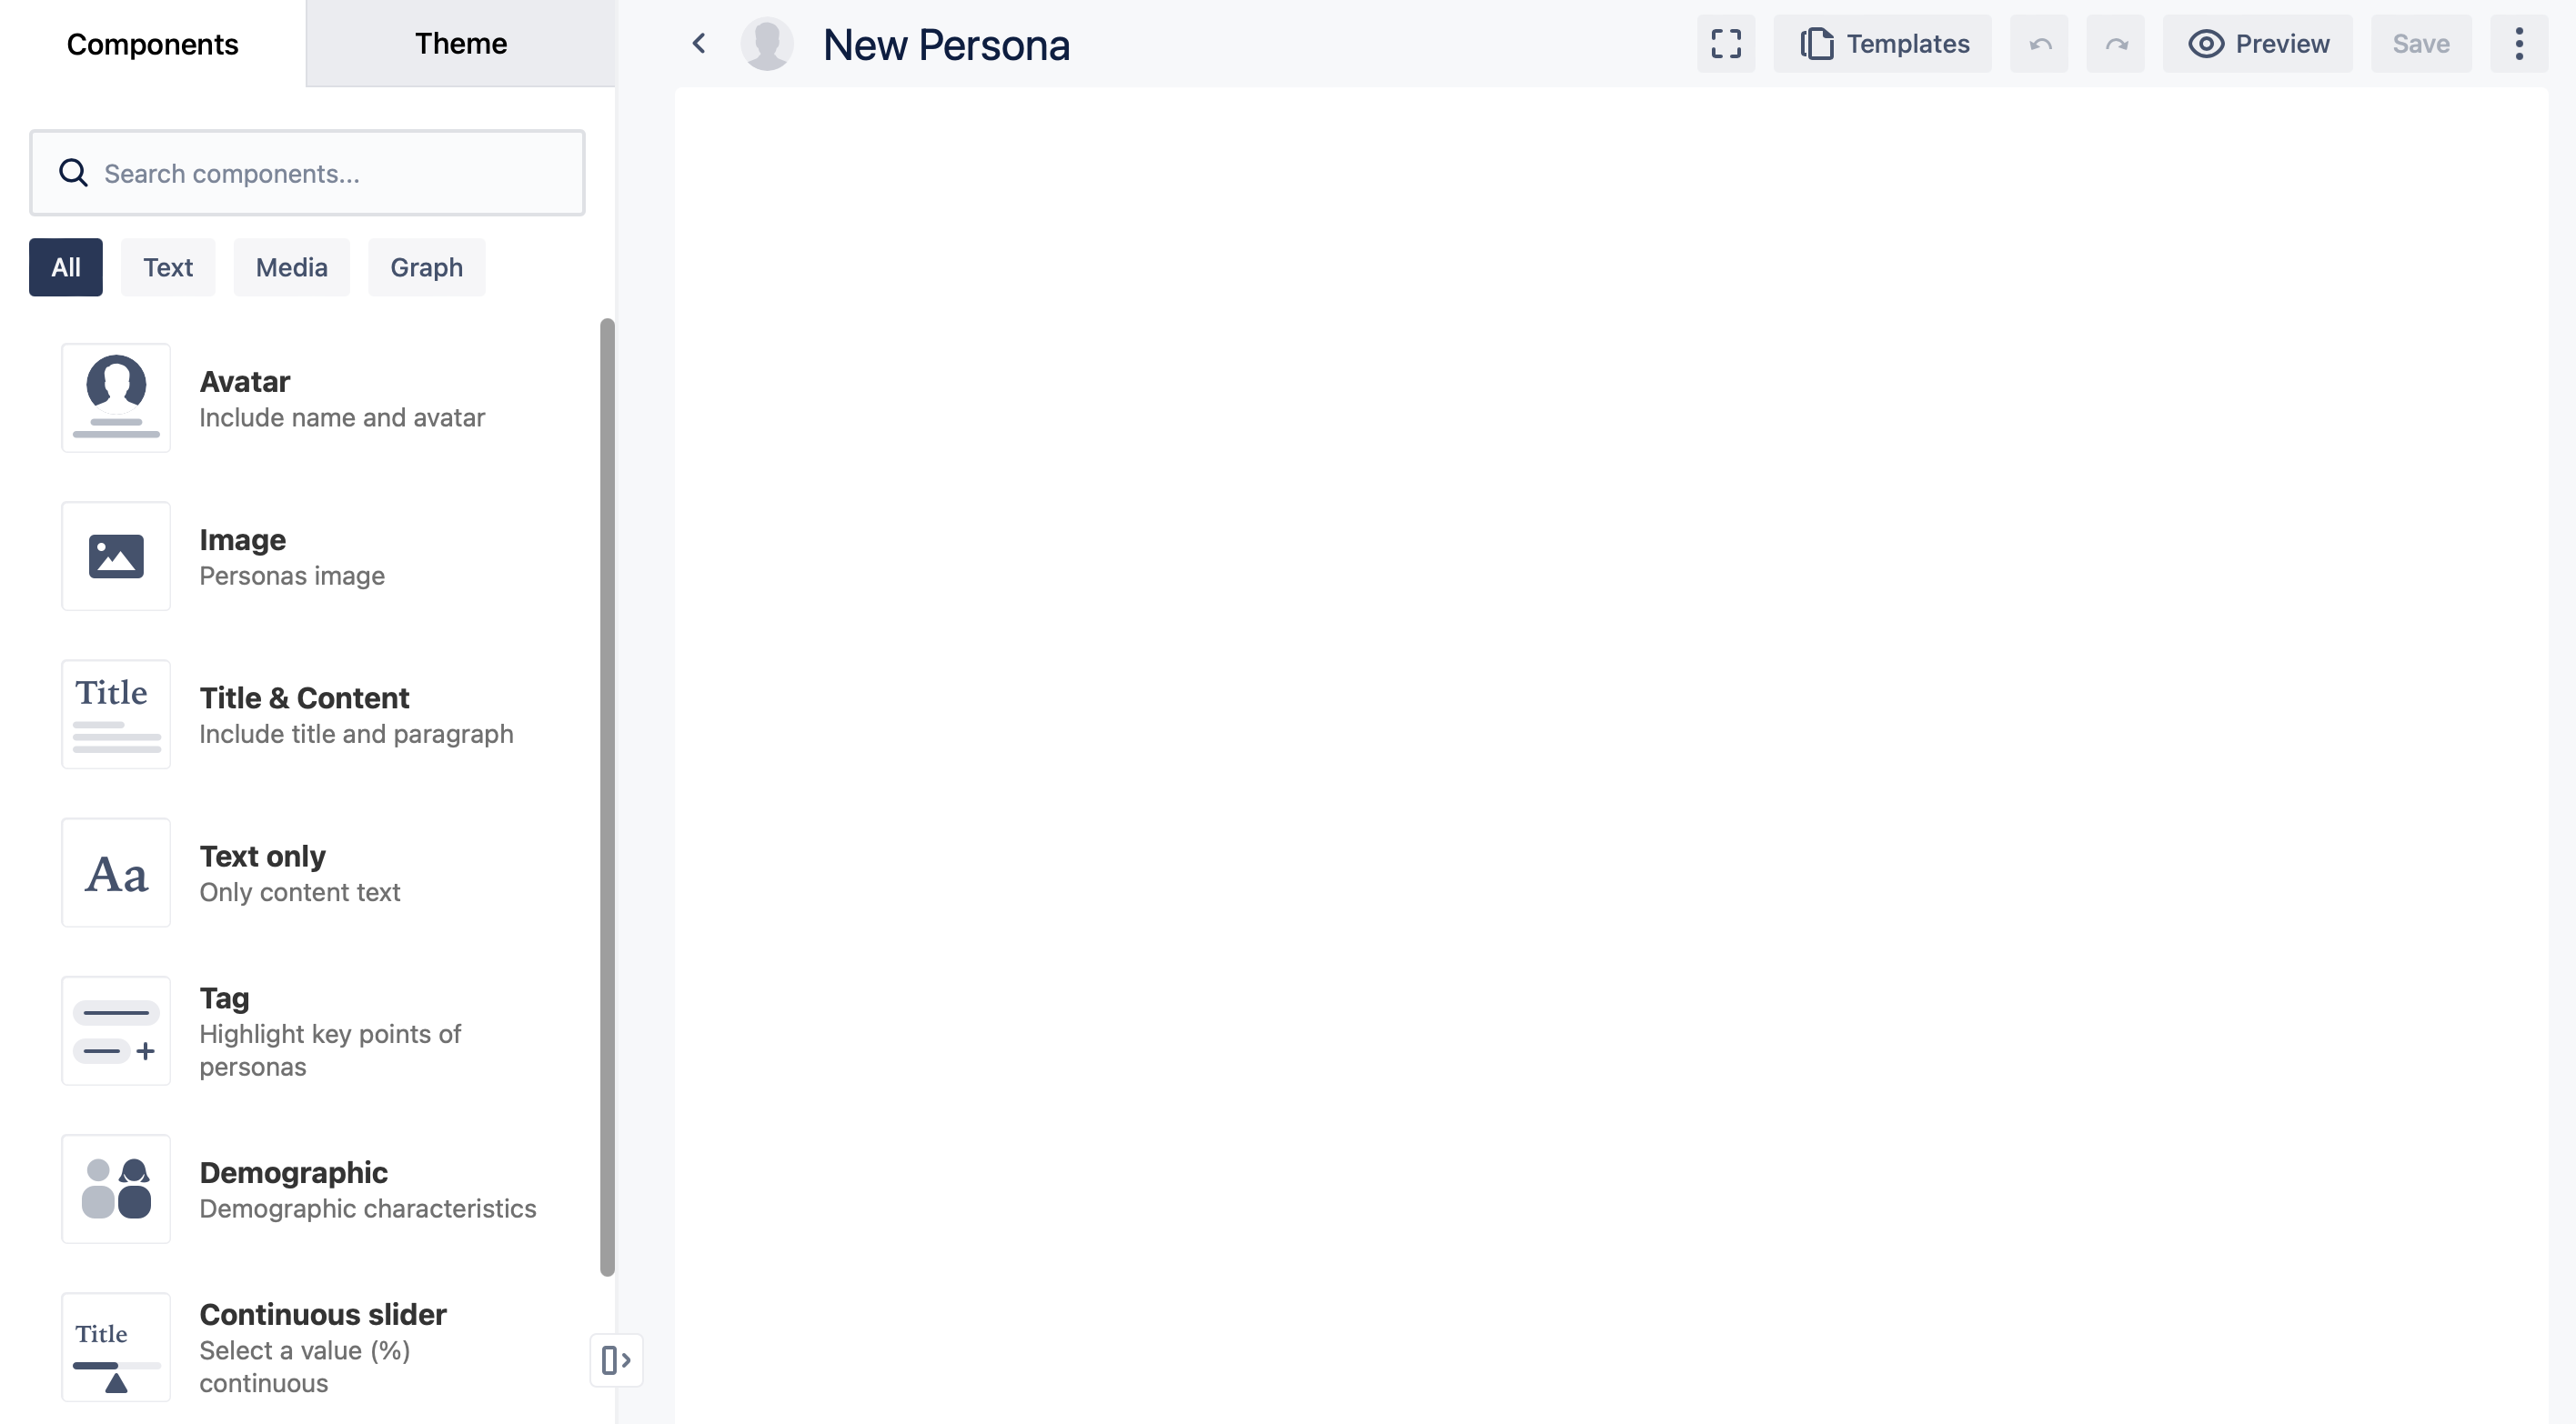
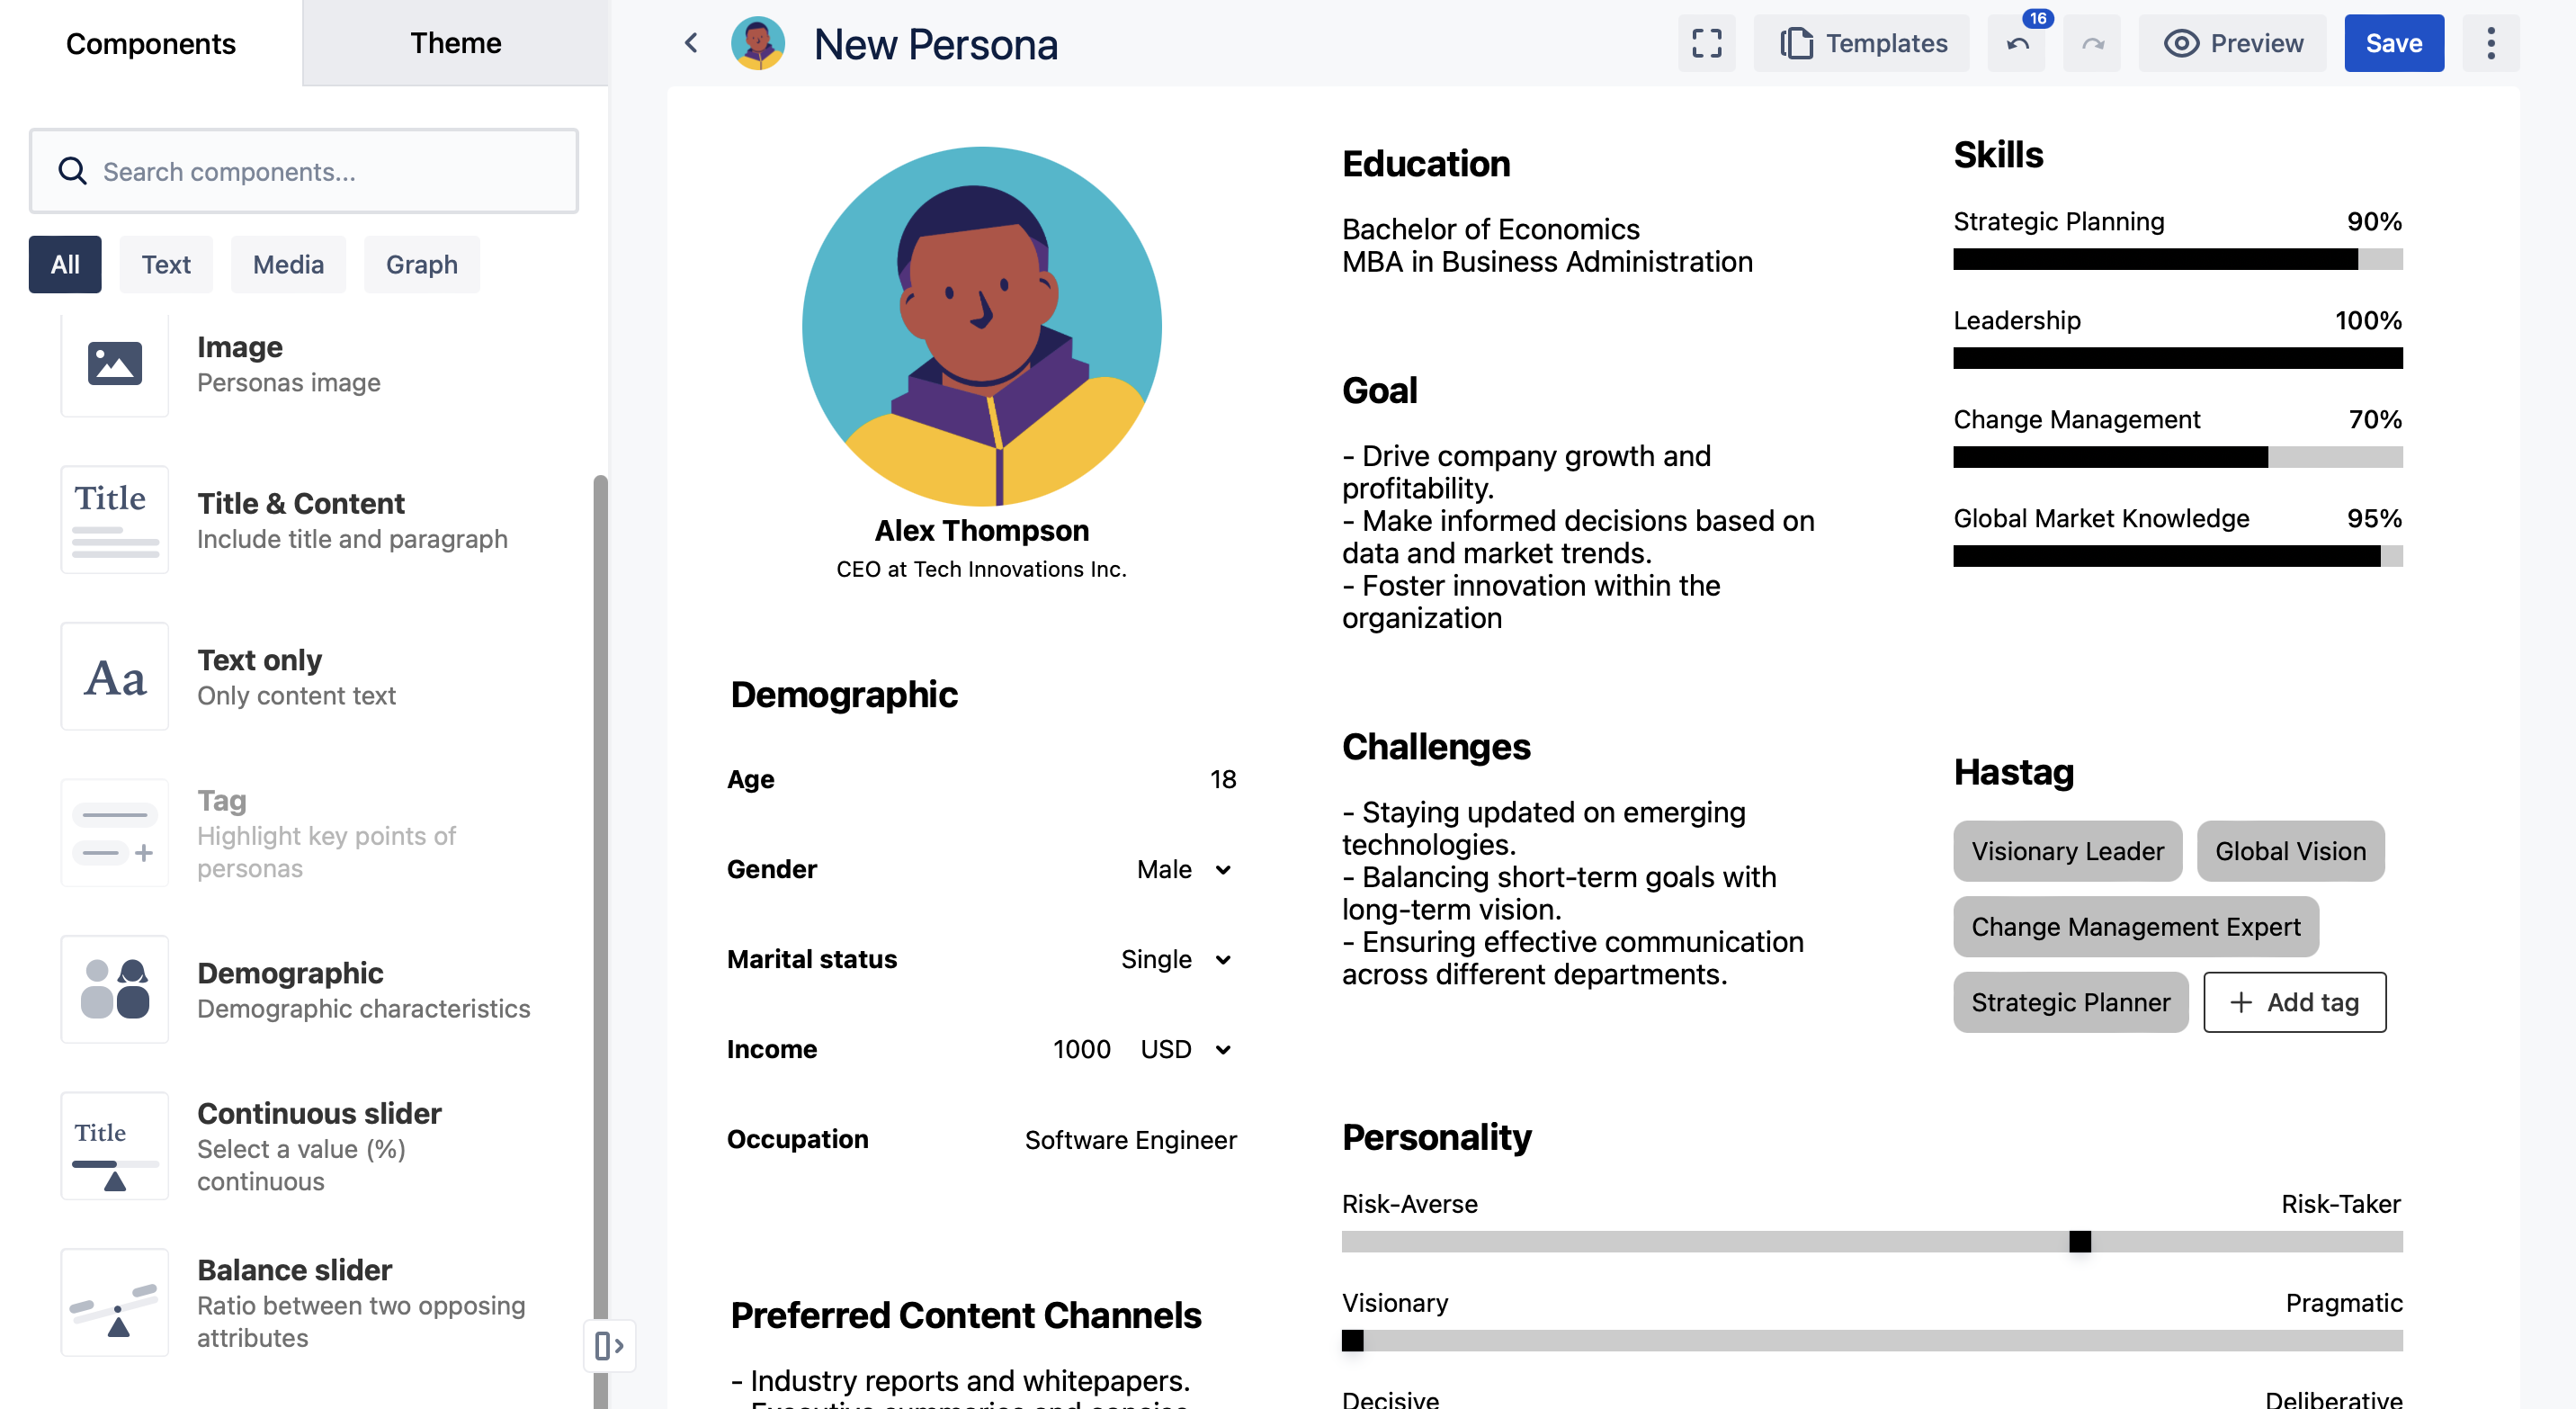
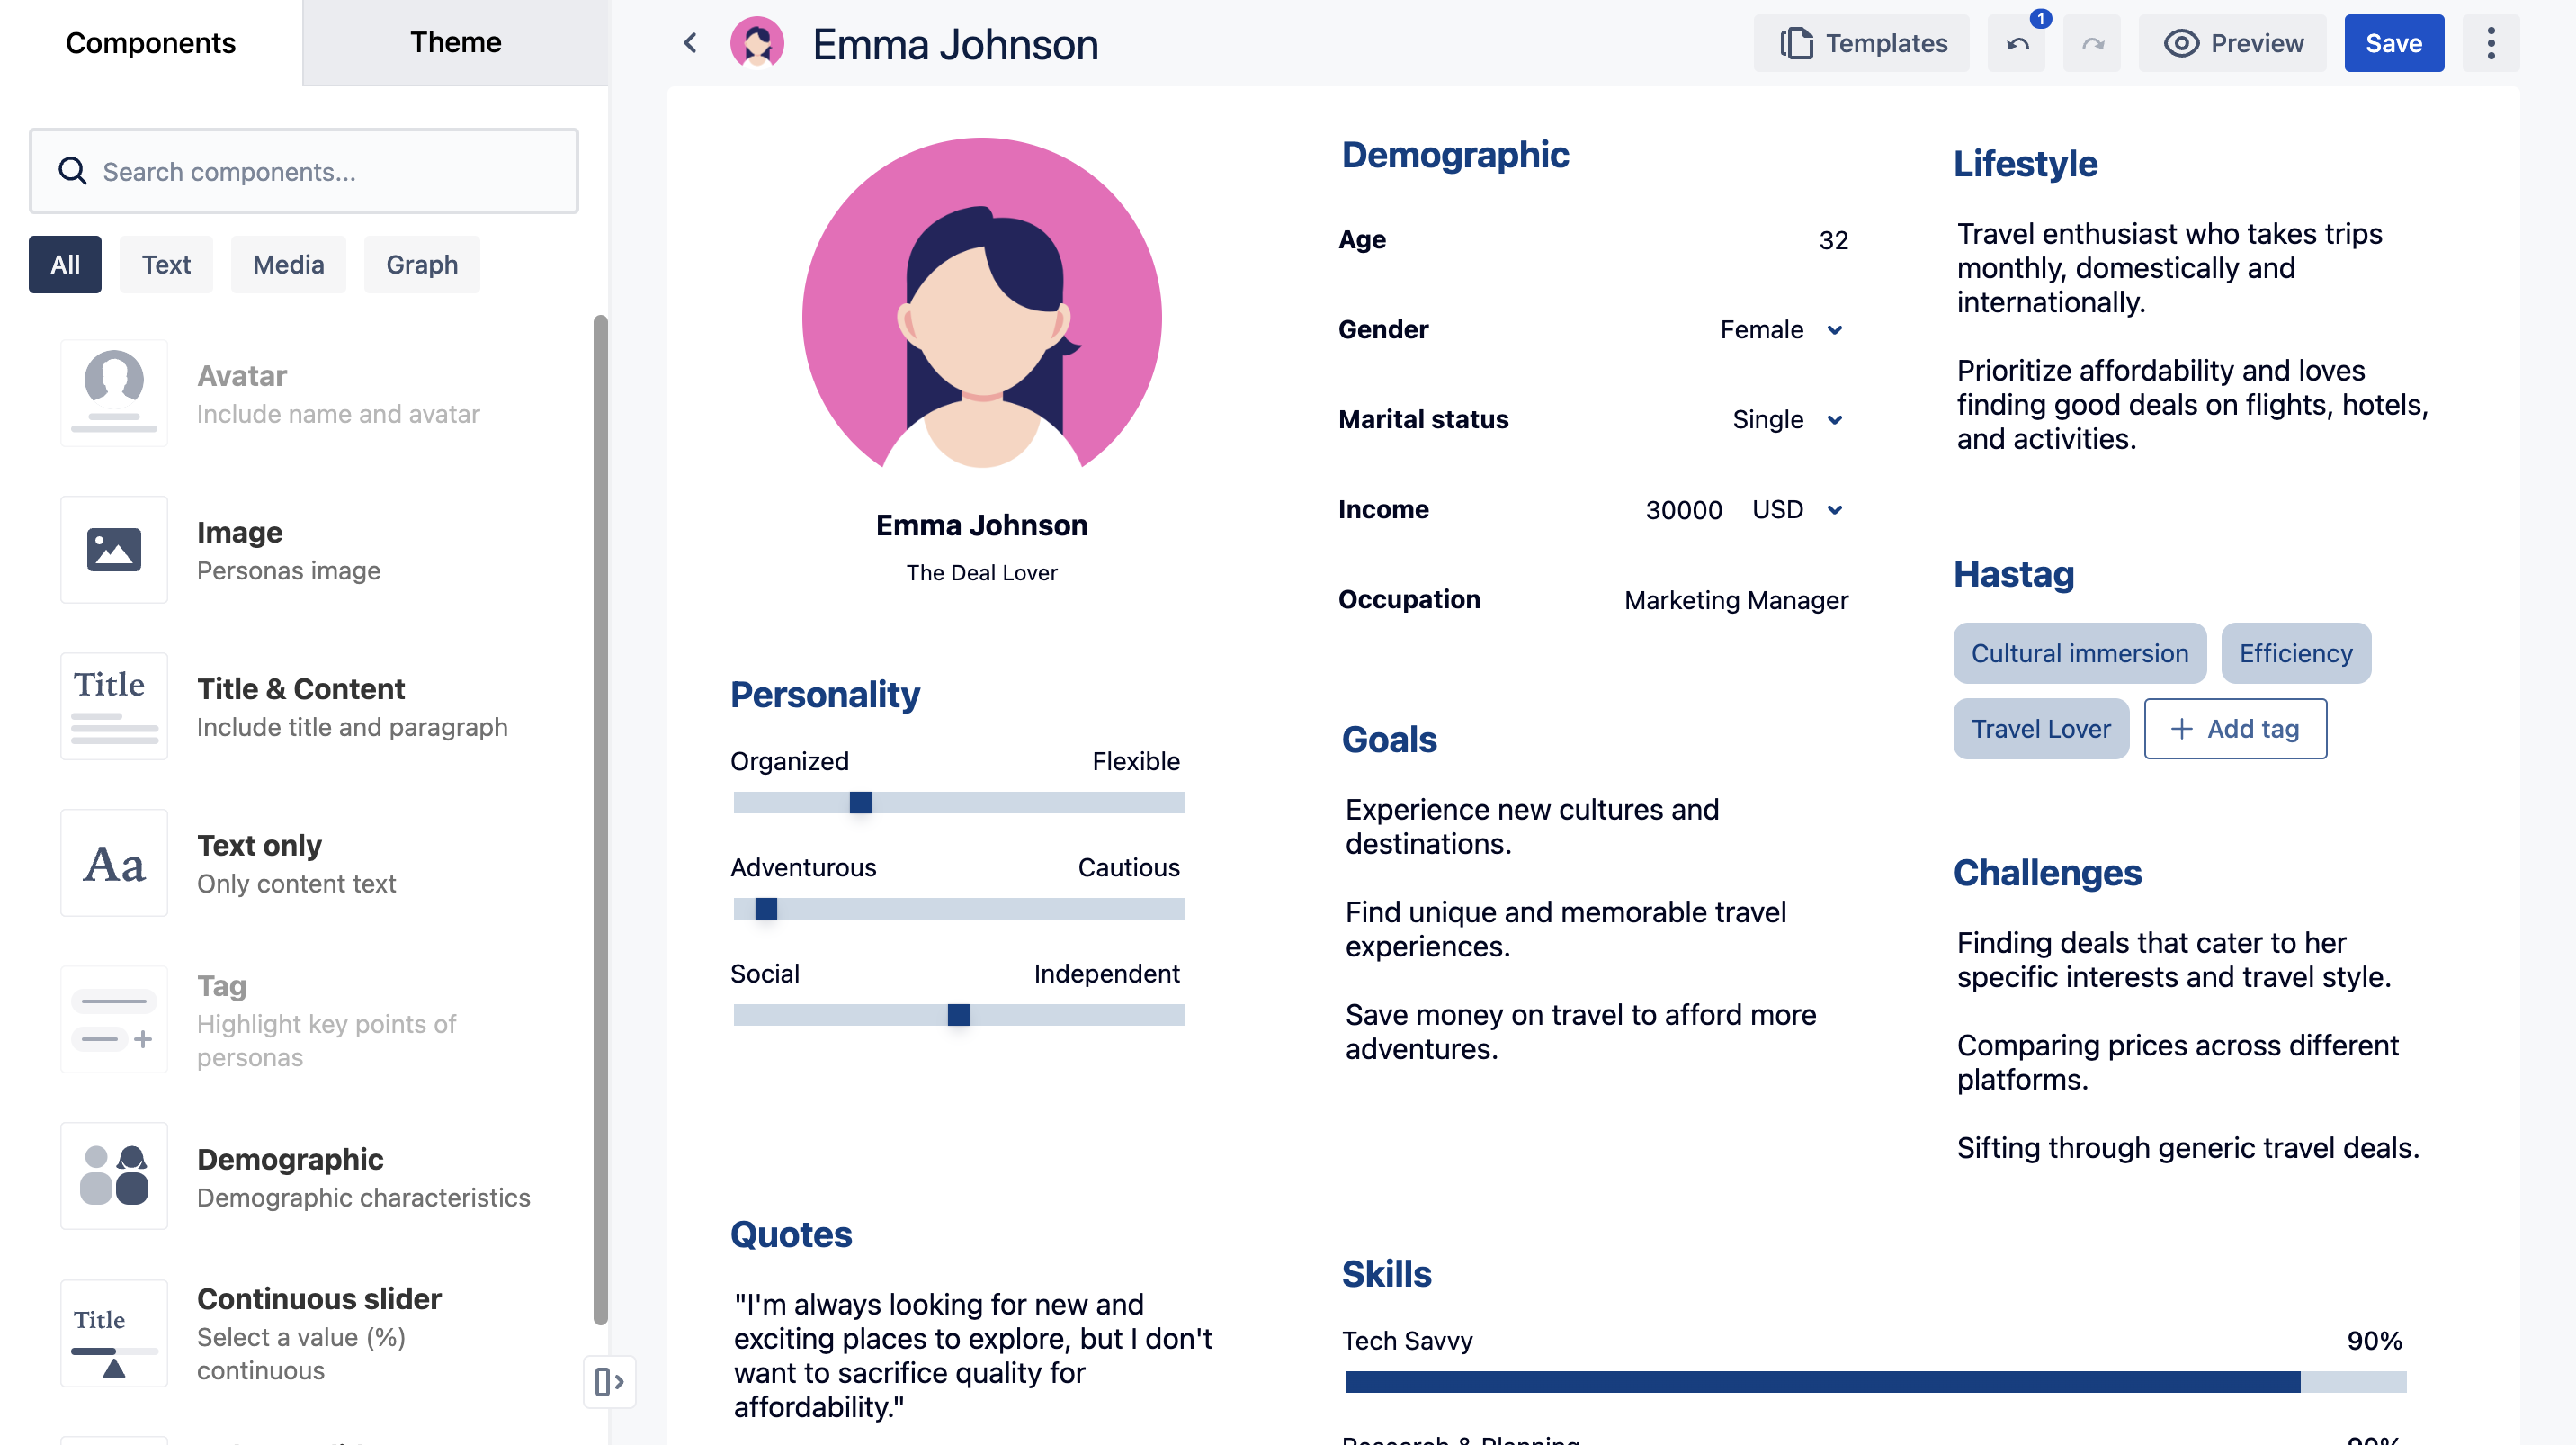
2. Use available components and themes to build your user persona
Drag and drop components from the sidebar to the persona page
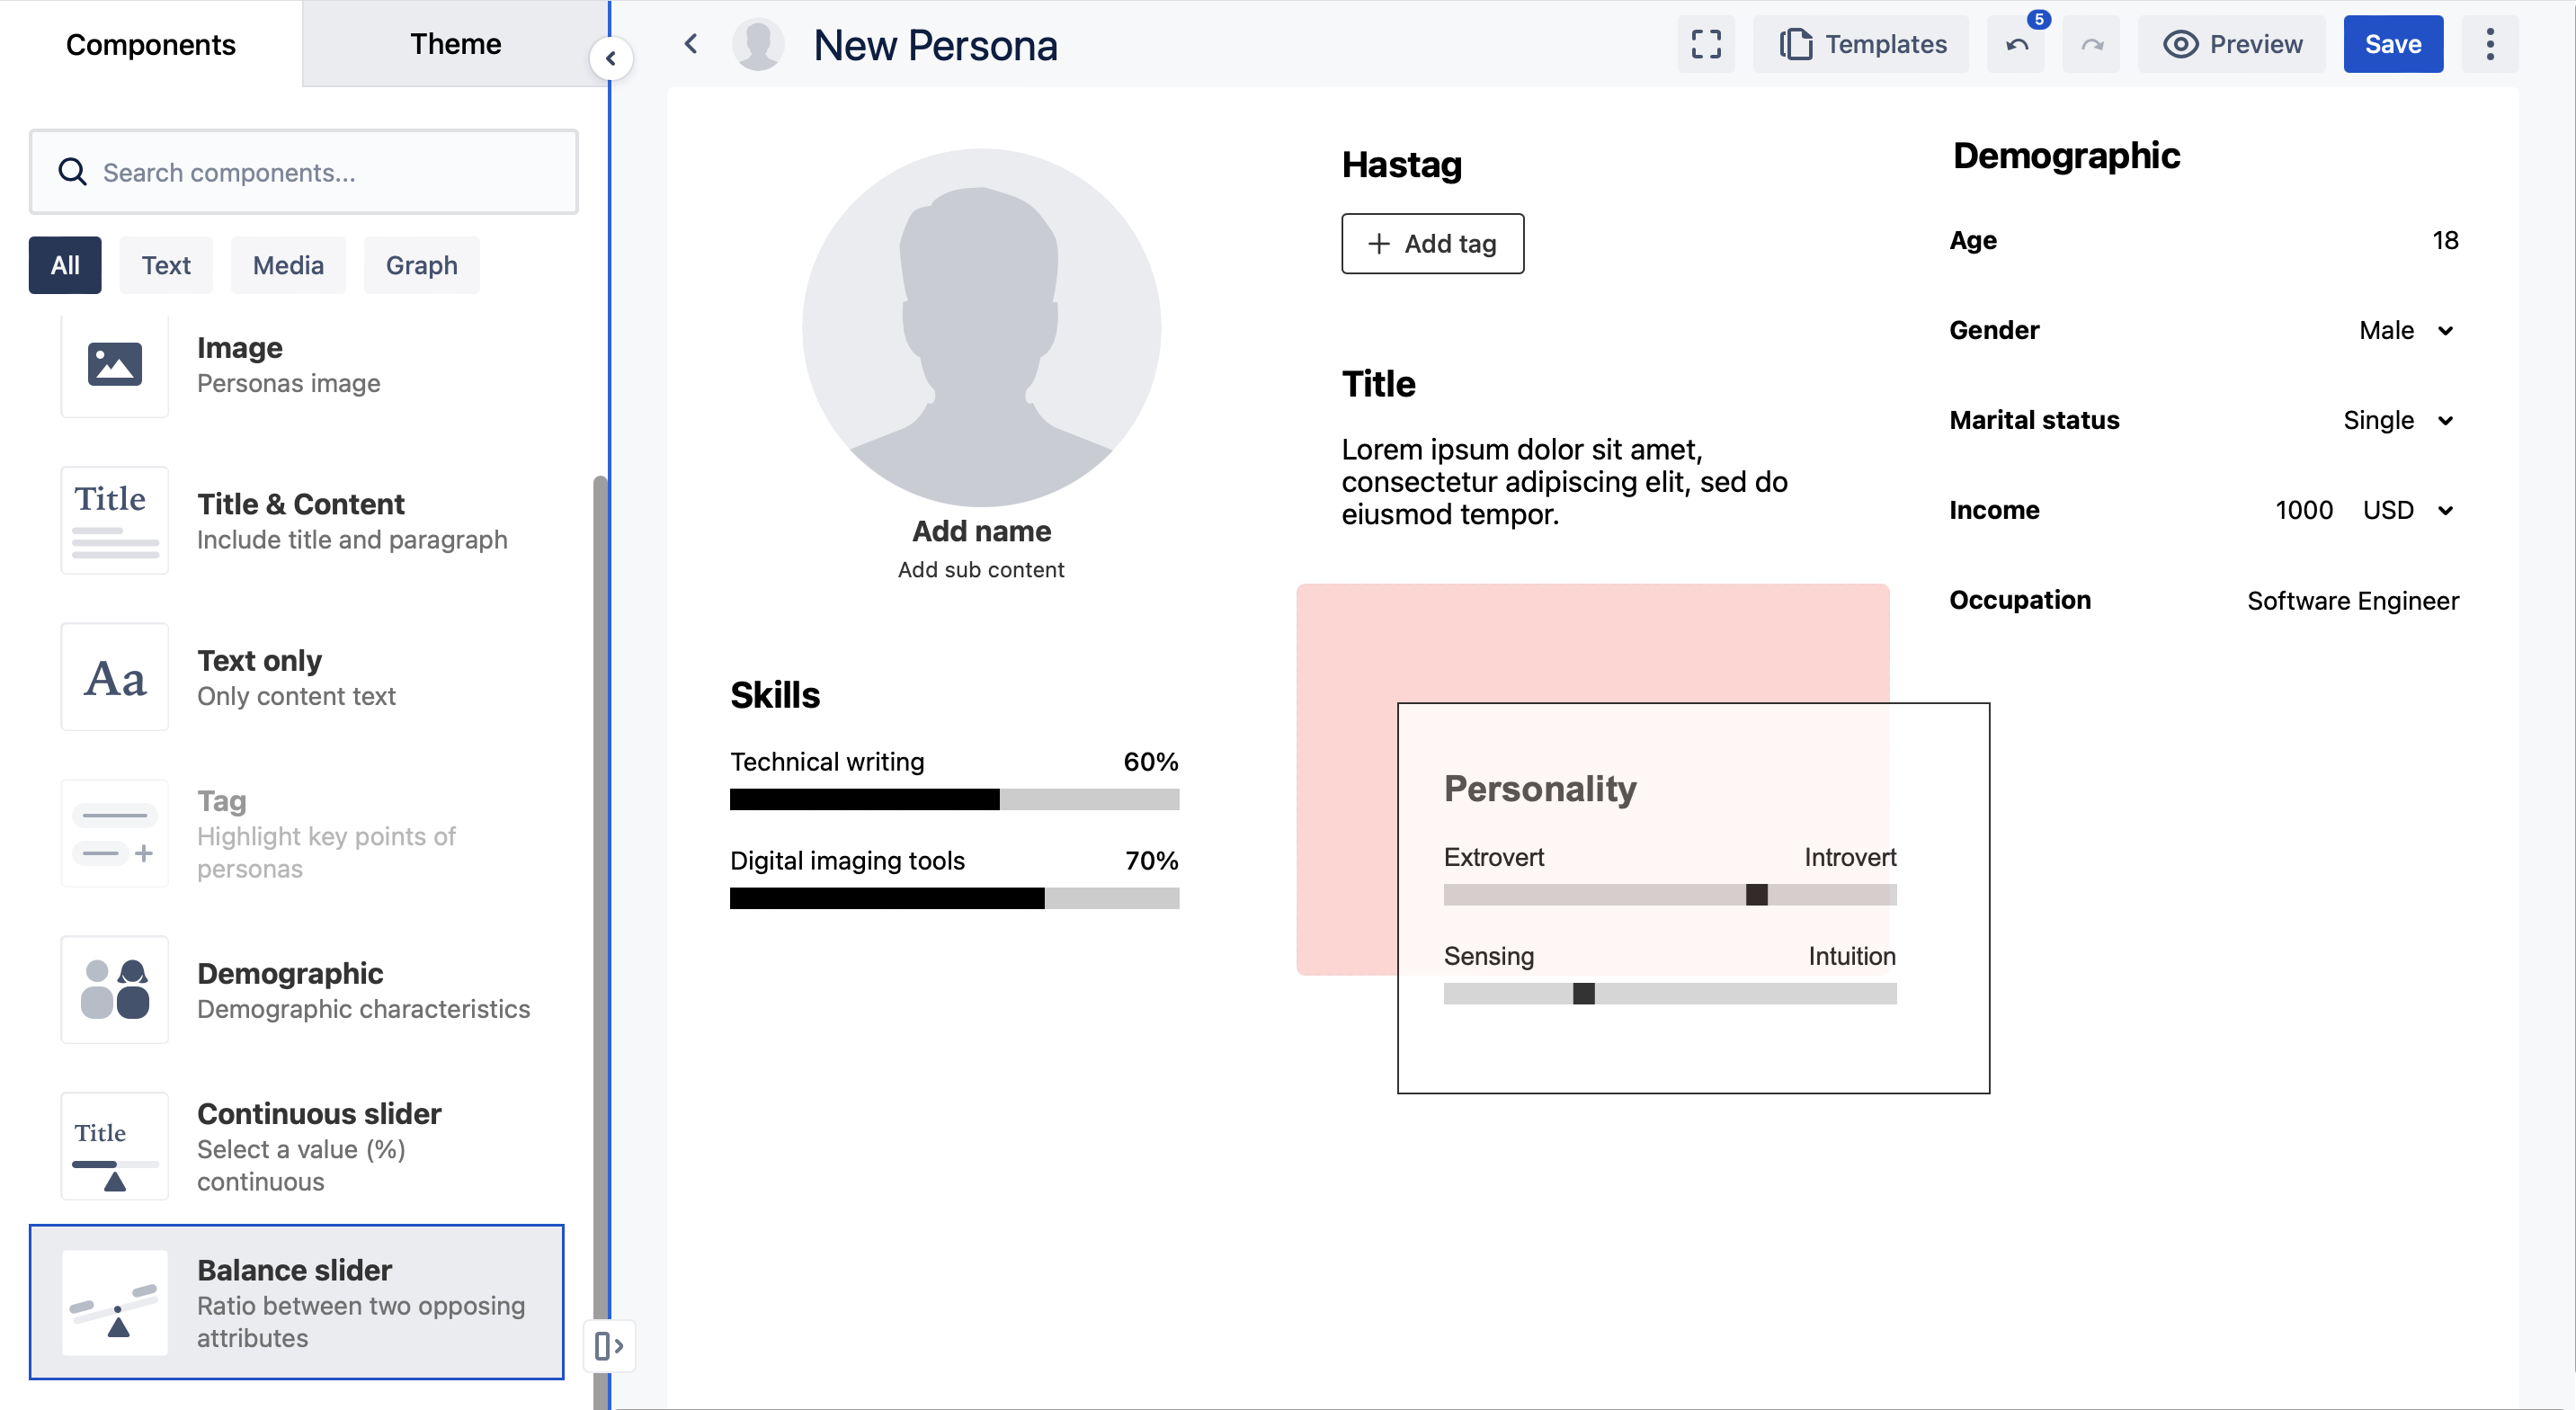
Customize each component by editing the text, image, and slider until it meets your needs
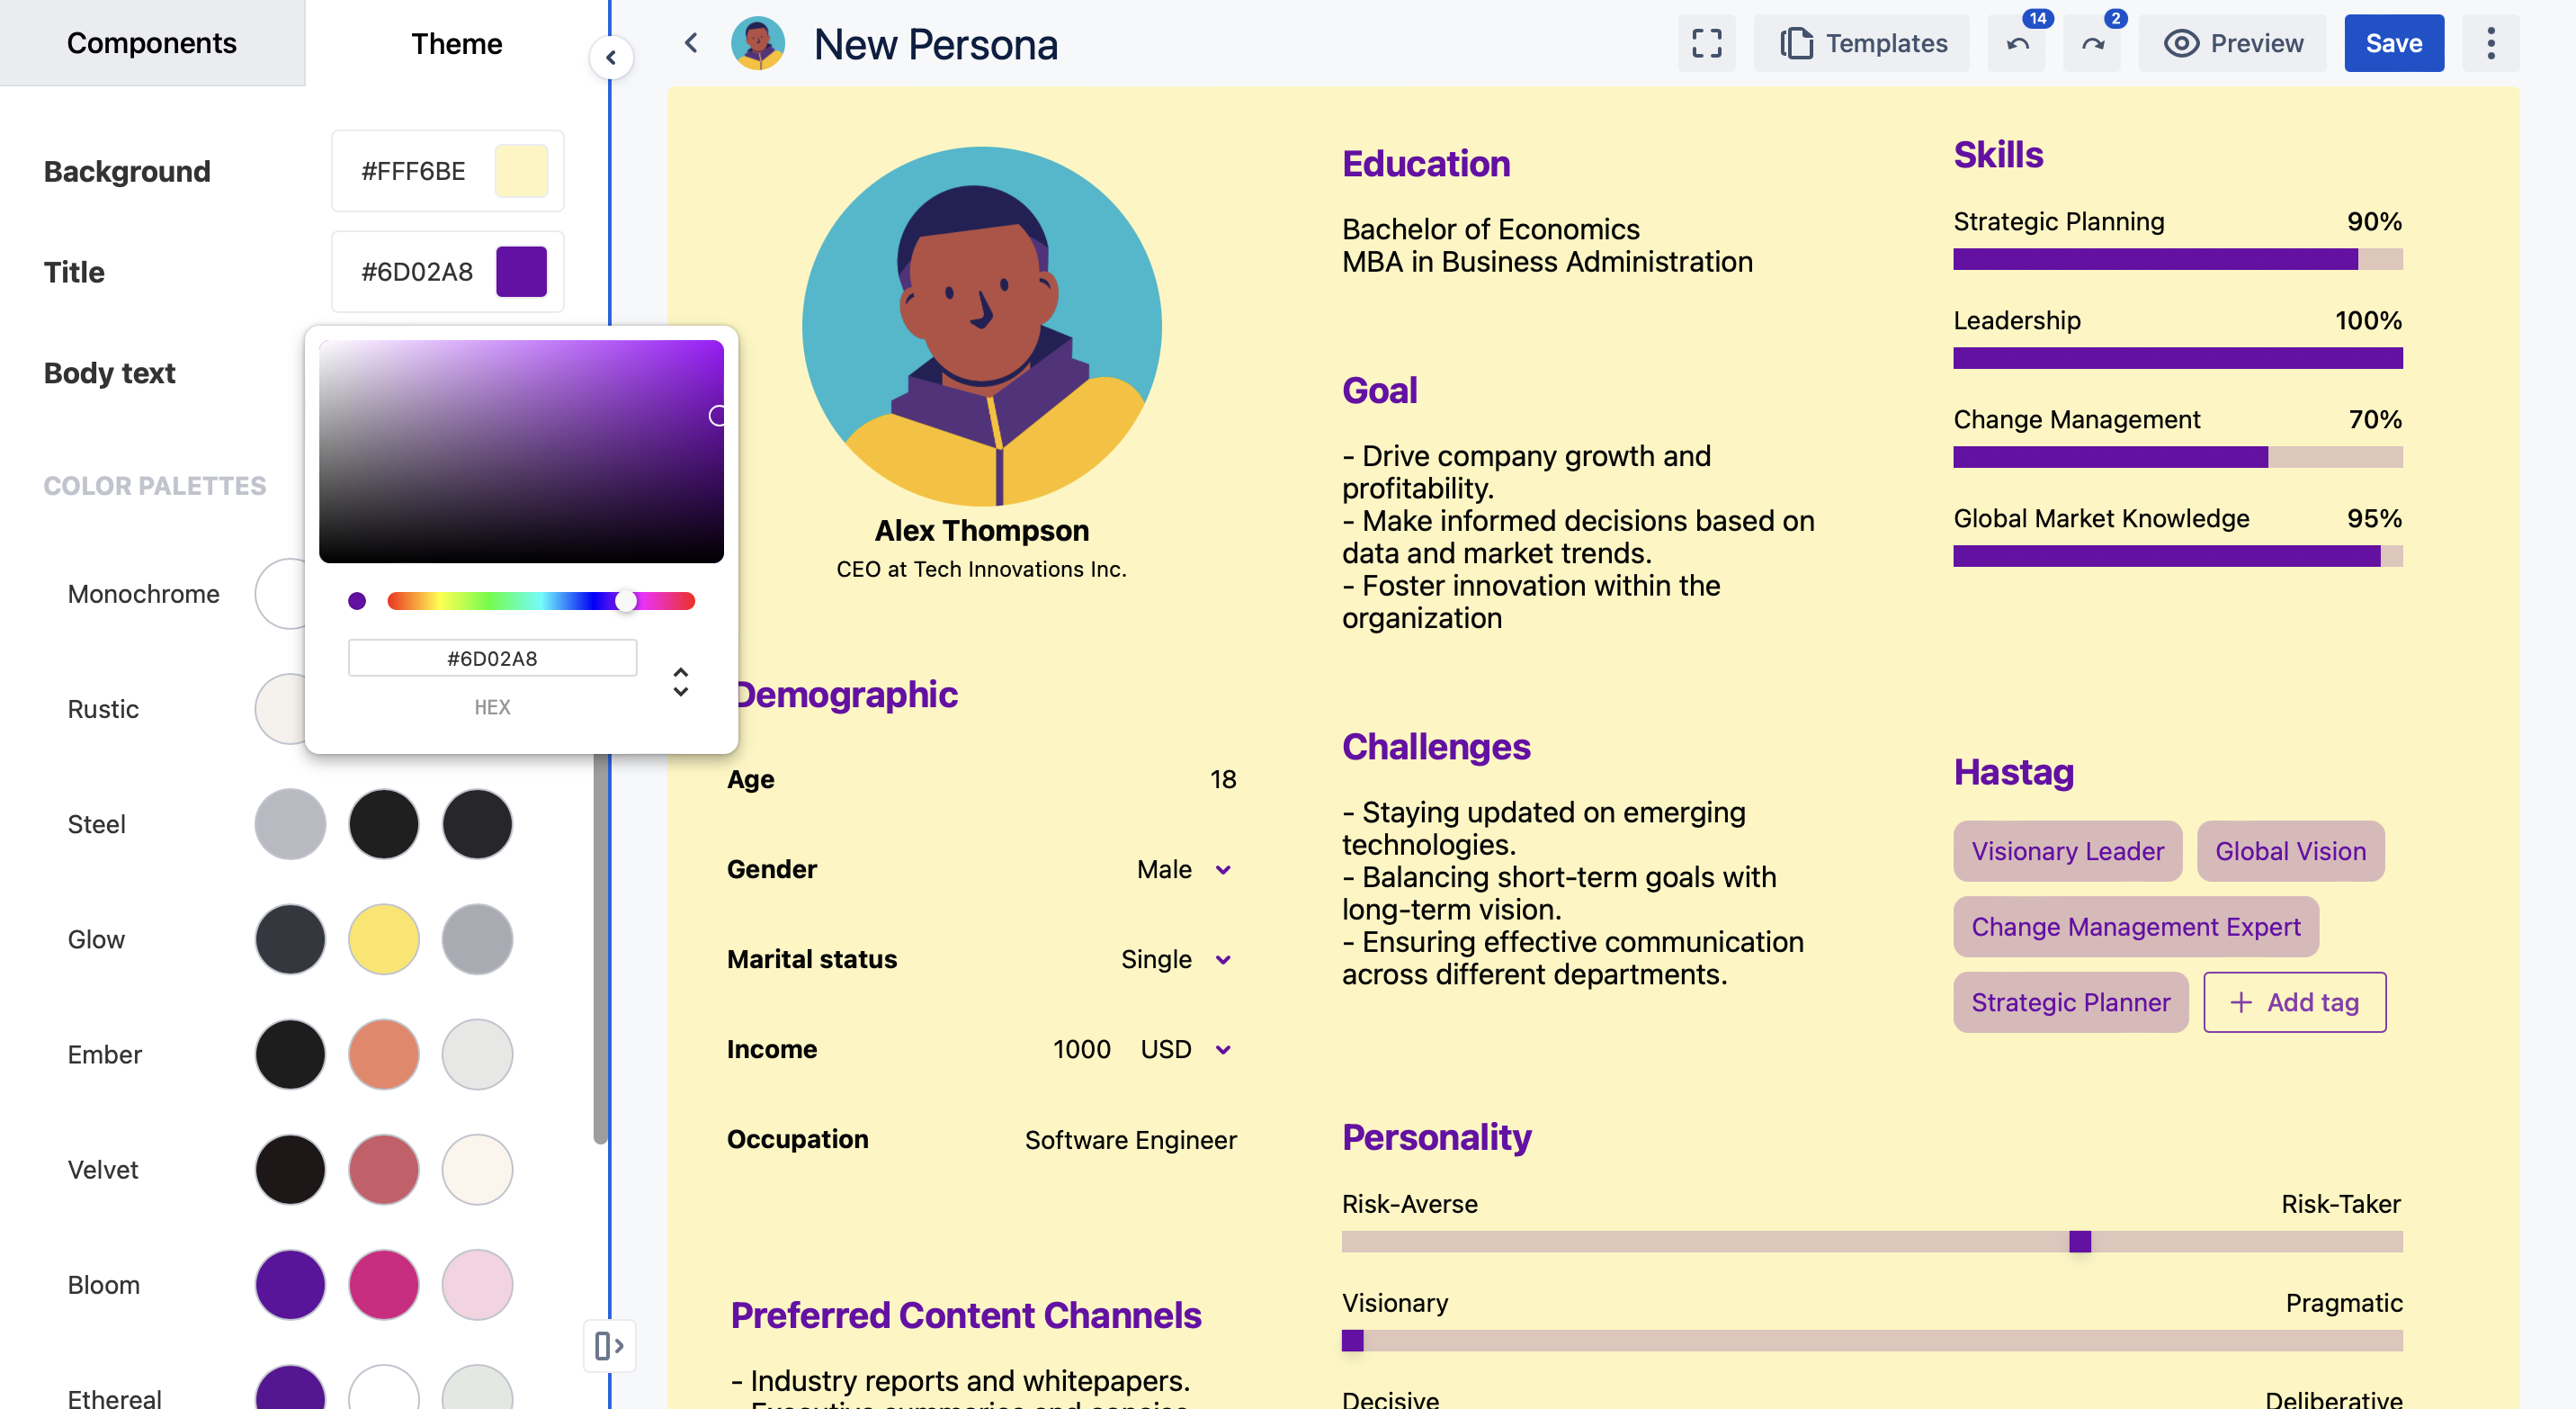
Choose a theme for your persona or create one by switching to the Theme tab in the sidebar
3. Save & export persona
See how your persona looks by clicking the Preview button
Click Save to save your edits. Find Export image option to export it as an image
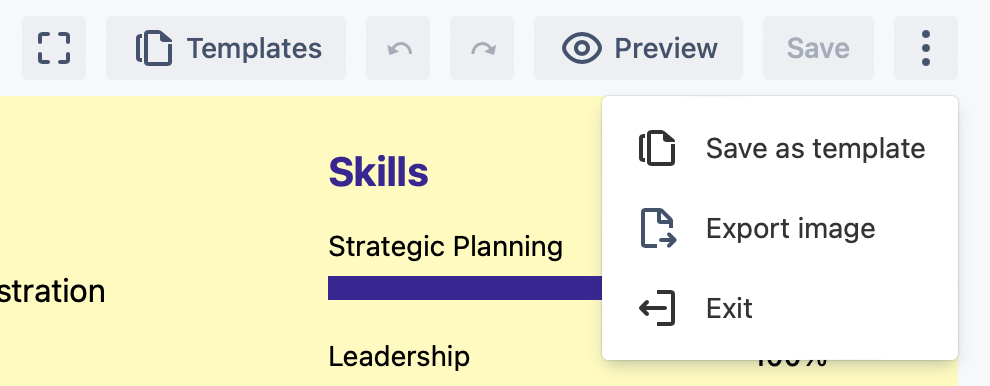
Use the Save as template option to make this persona a custom template, you can find it in the Custom category on the template selection page
Step 2: Create a user story map from the user persona
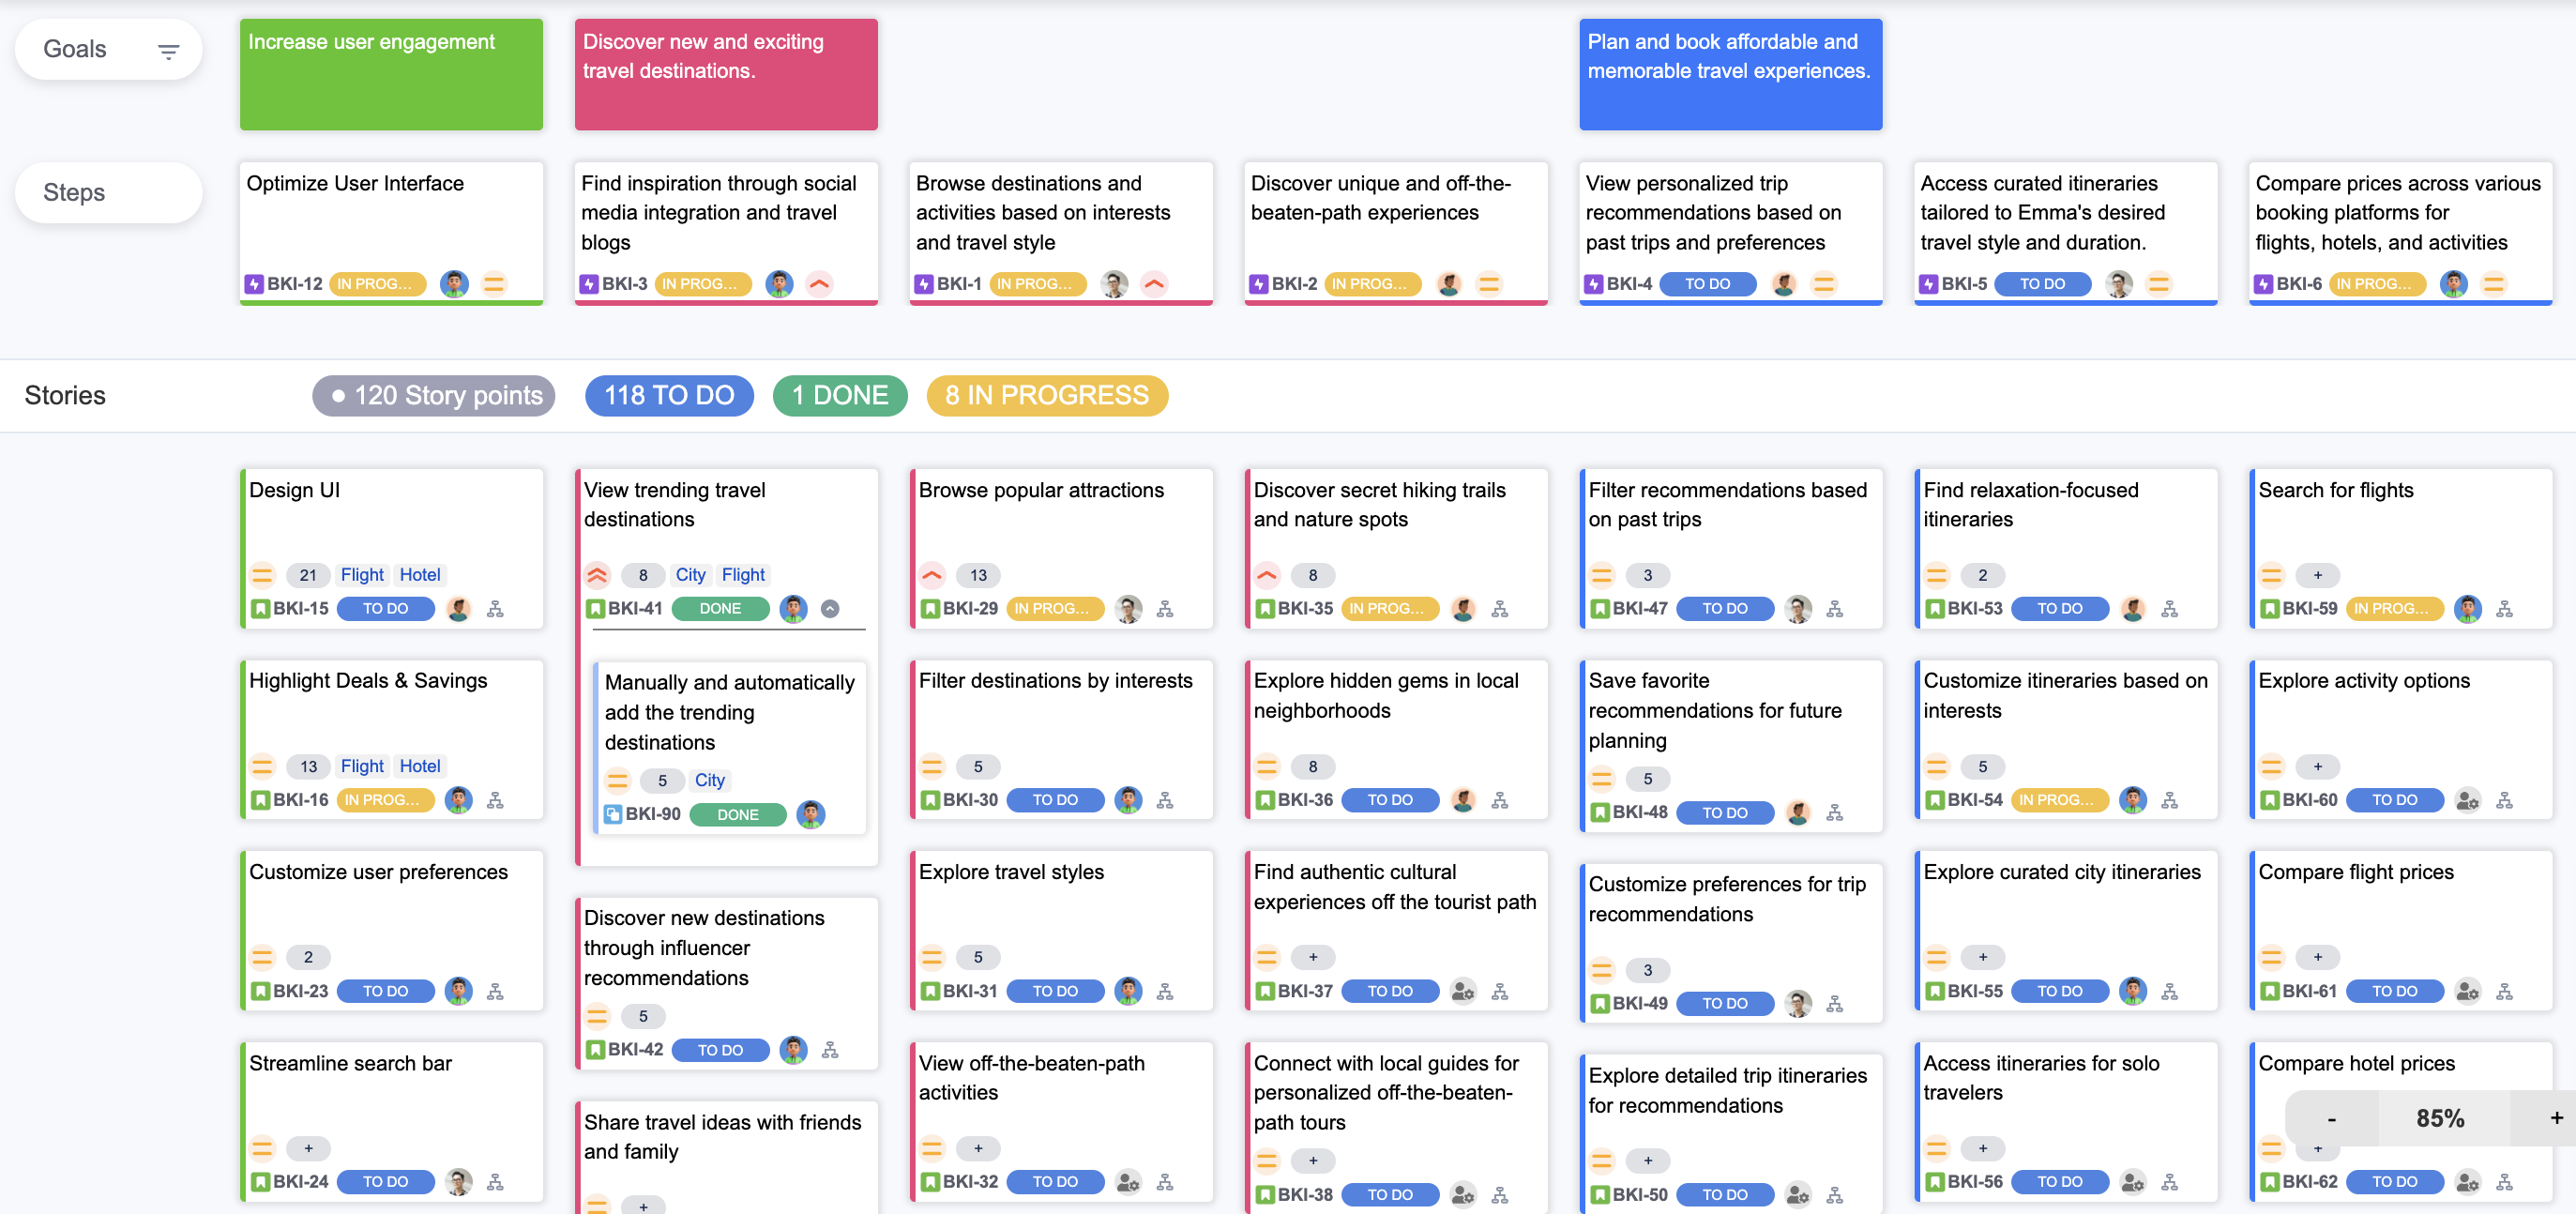
Creating a user story map from personas helps you visualize the user journey and identify what your product needs to deliver.
Here’s how you can create one, starting from goals, moving to steps, and breaking down into stories.
Goals
Start by identifying the primary goals of your persona. What are they trying to achieve with your product?

Steps
Next, outline the steps would take to achieve these goals. This involves breaking down the user journey into specific actions.

Stories
Finally, break down each step into detailed user stories. These stories describe specific tasks or features that will help you accomplish each step.
Step 3: Attach user persona to the user story map
Integrating personas into your user story map in ProductGo is a straightforward process that enhances the relevance and focus of your development efforts.
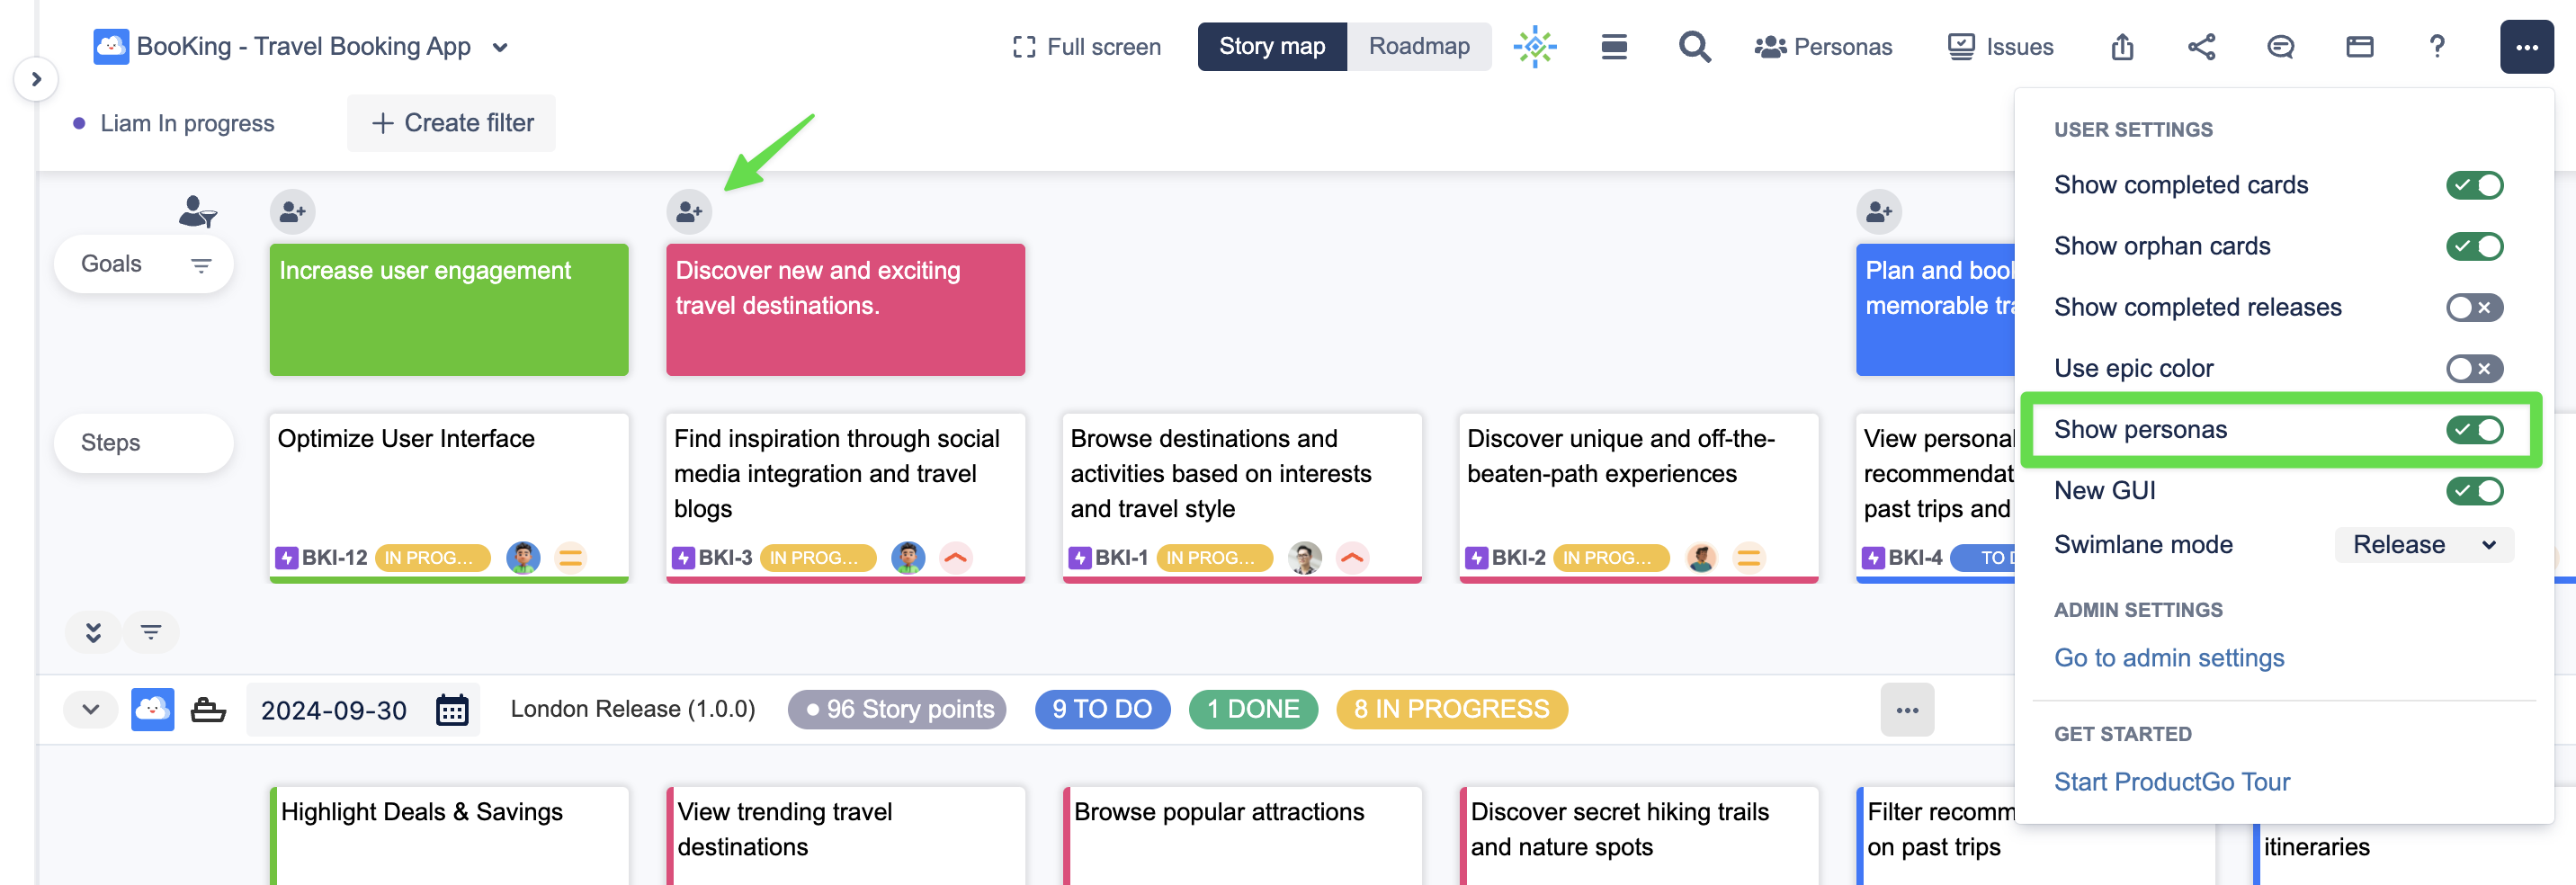
1. Turn on the Show personas option in your user story map
Go to the User Settings in the top navigation bar and turn on the Show personas option. This will add a persona icon above each goal at the Goals level.
2. Browse and manage all personas in your project
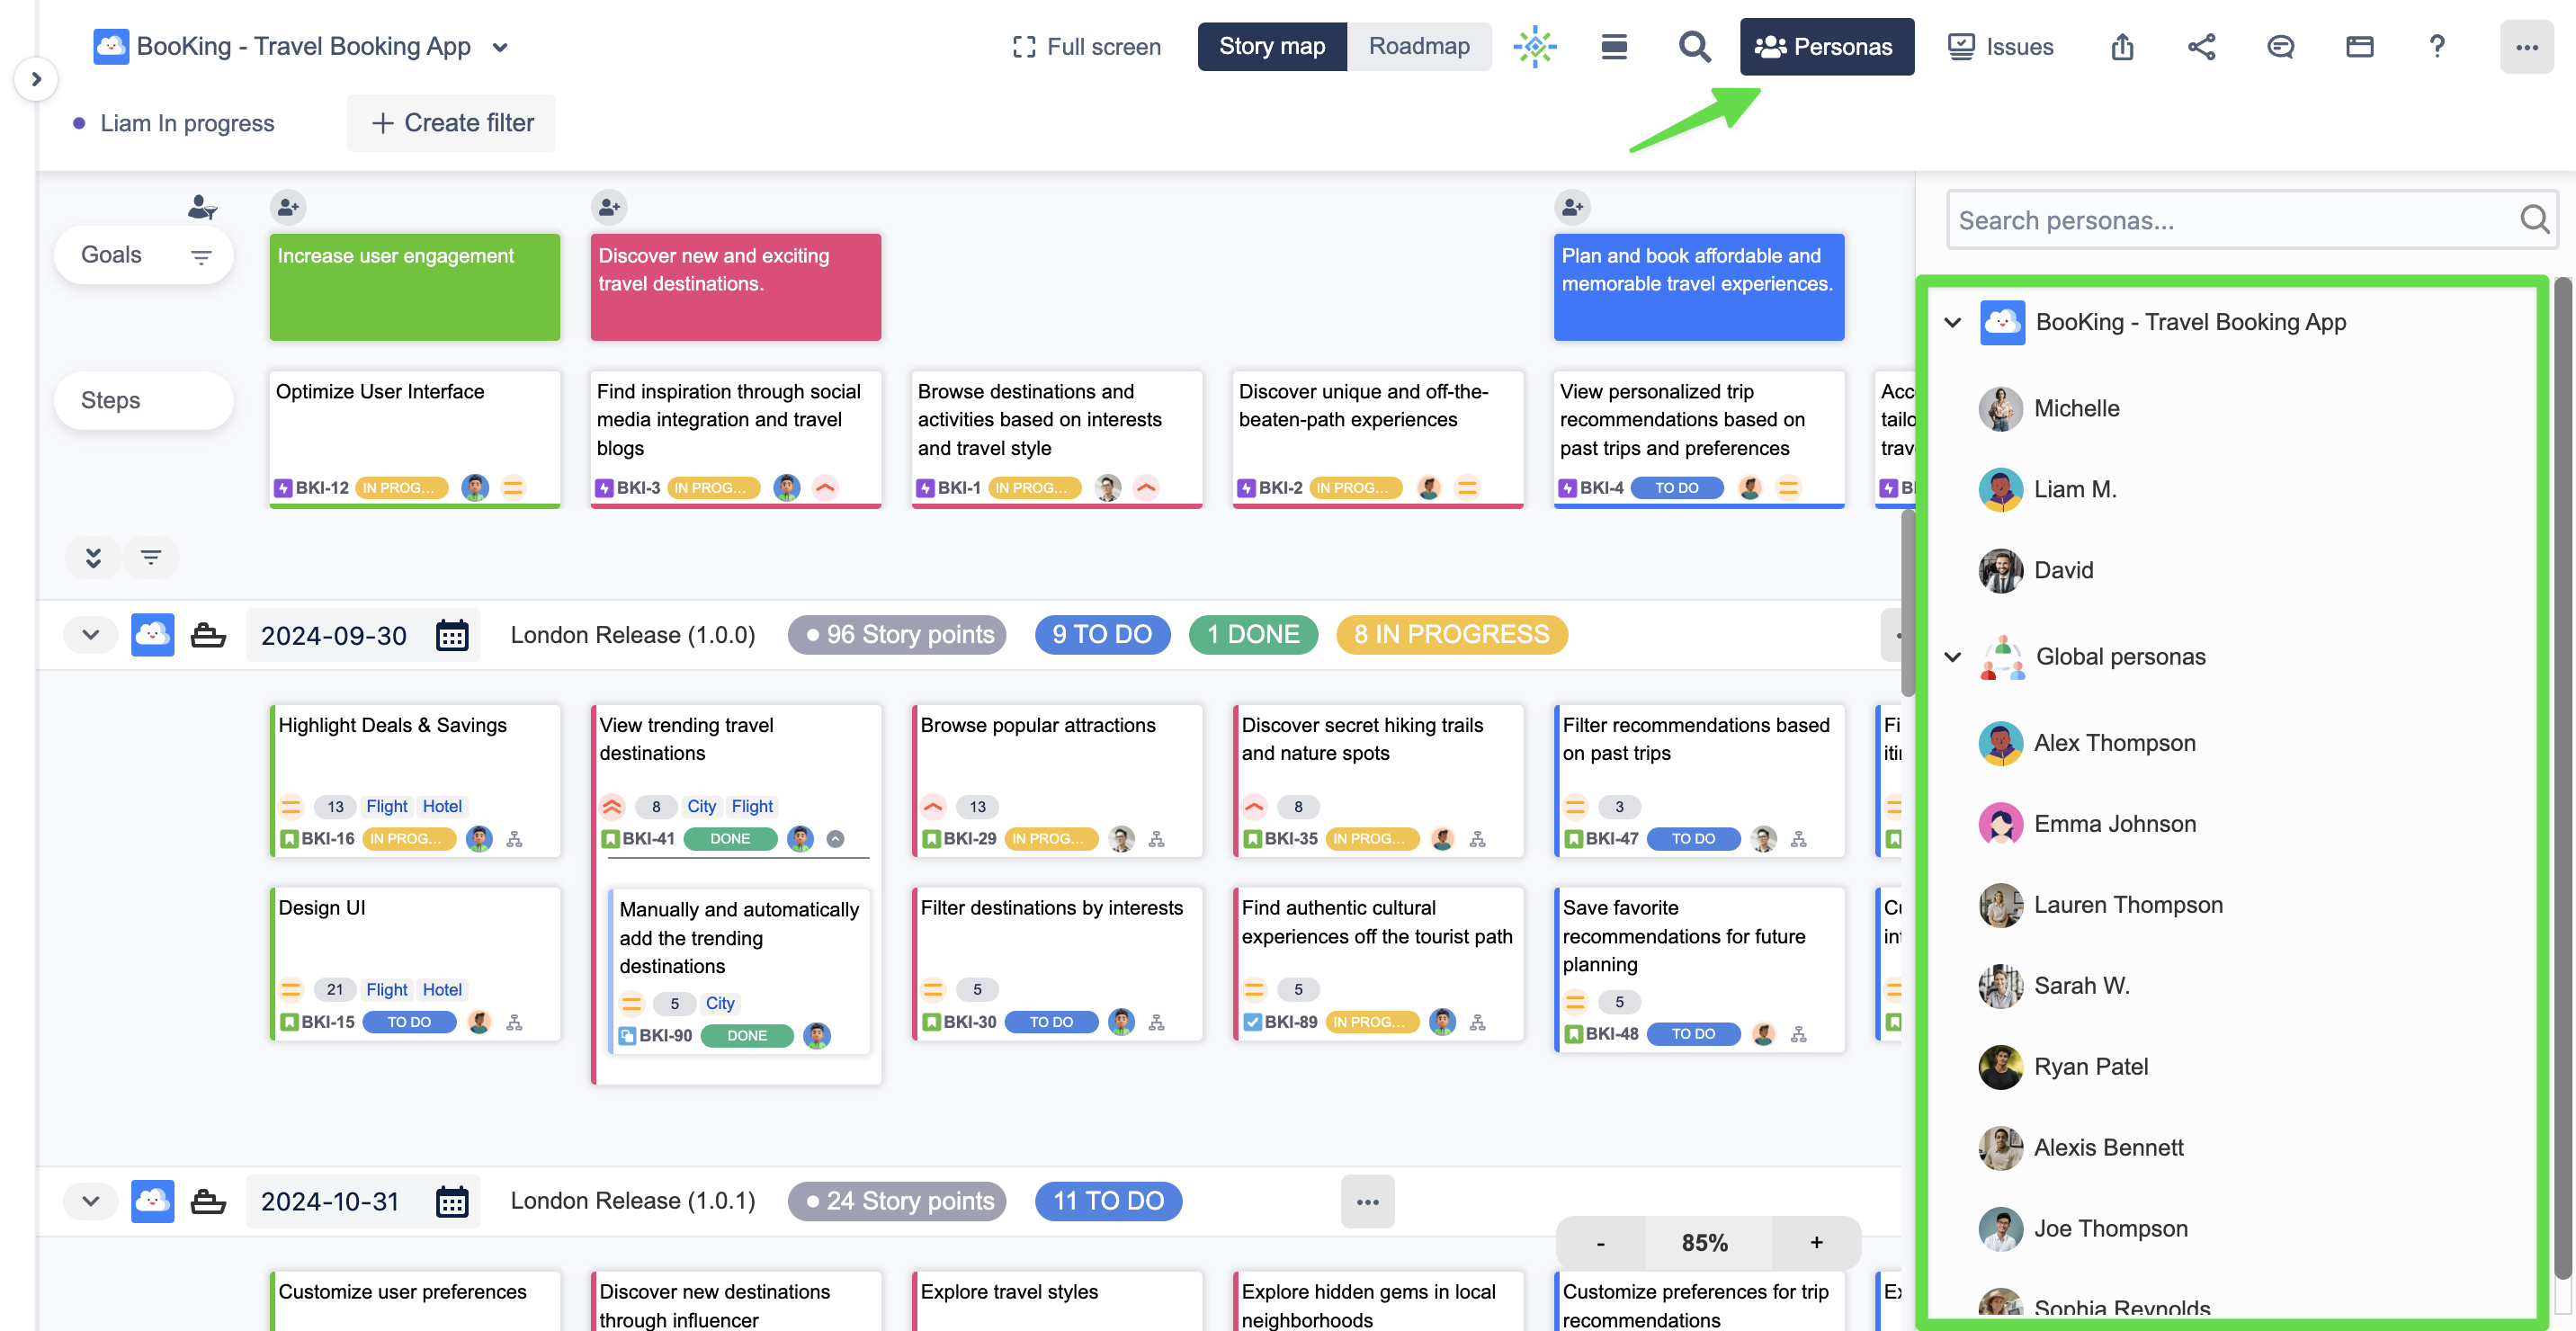
Discover all available personas on your board by going to the Personas option on the top navigation bar.
Click on each persona to preview it or make edits.
Users can add or remove personas from this view.
There are 2 types of personas:
-
Project persona (can only be used in the current project)
-
Global persona (can be used in all projects/boards)
3. Add personas to the story map
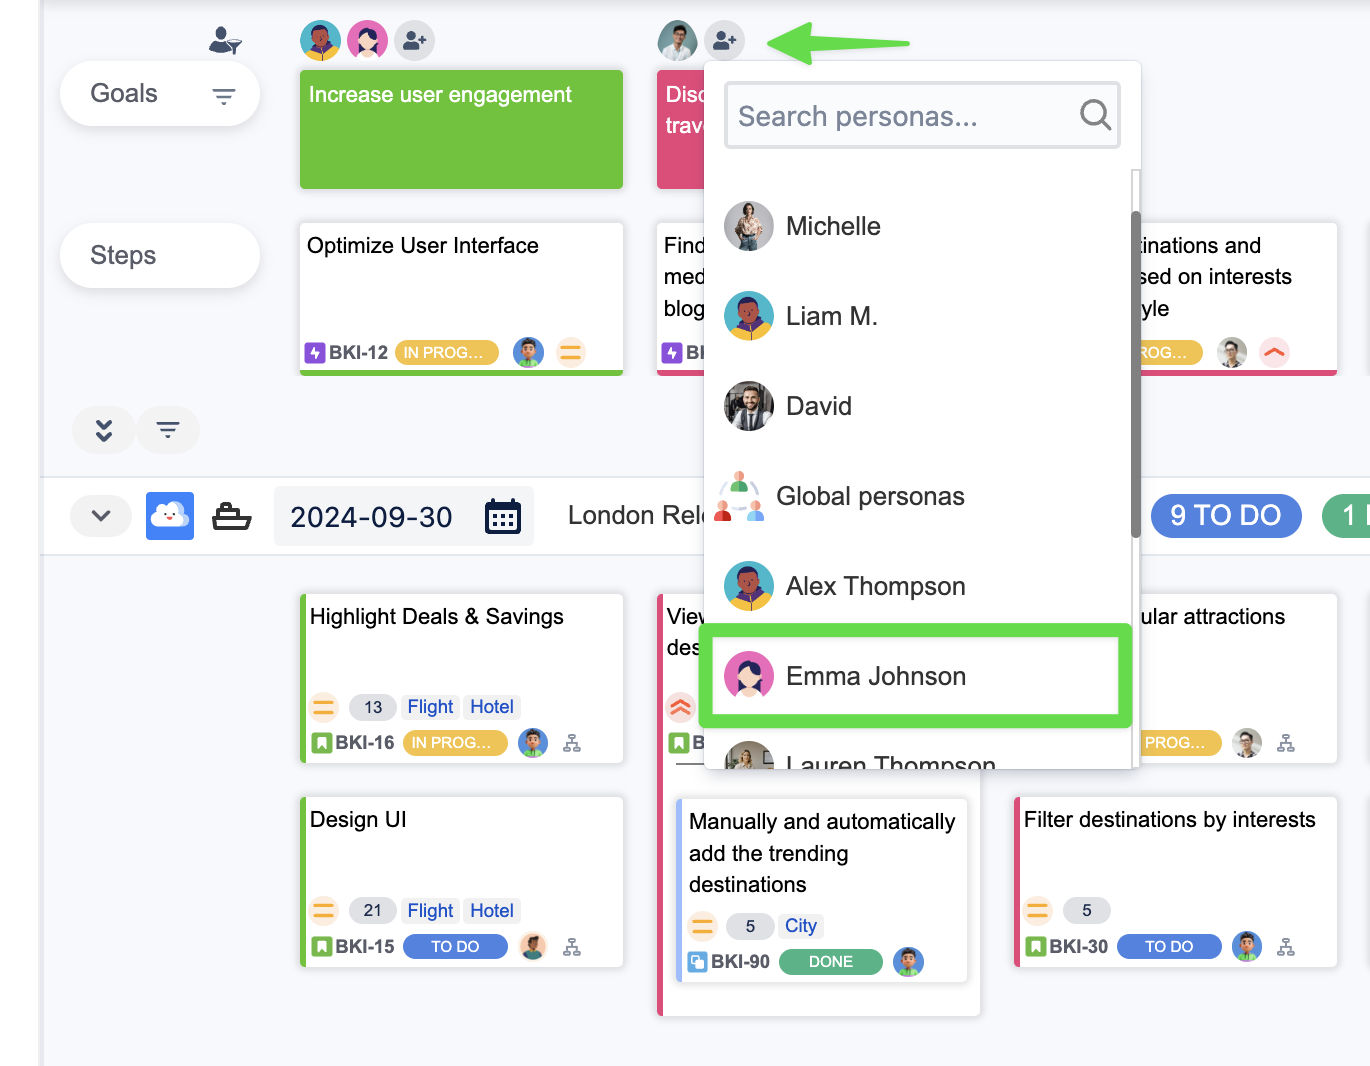
To add personas to the story map, click on the persona icon above the goals. Choose the appropriate personas to add to each goal.
Step 4: Keep your persona and story map up to date
1. Update your persona
To update your persona, choose the persona you want to update in the story map then go to the Open editor button
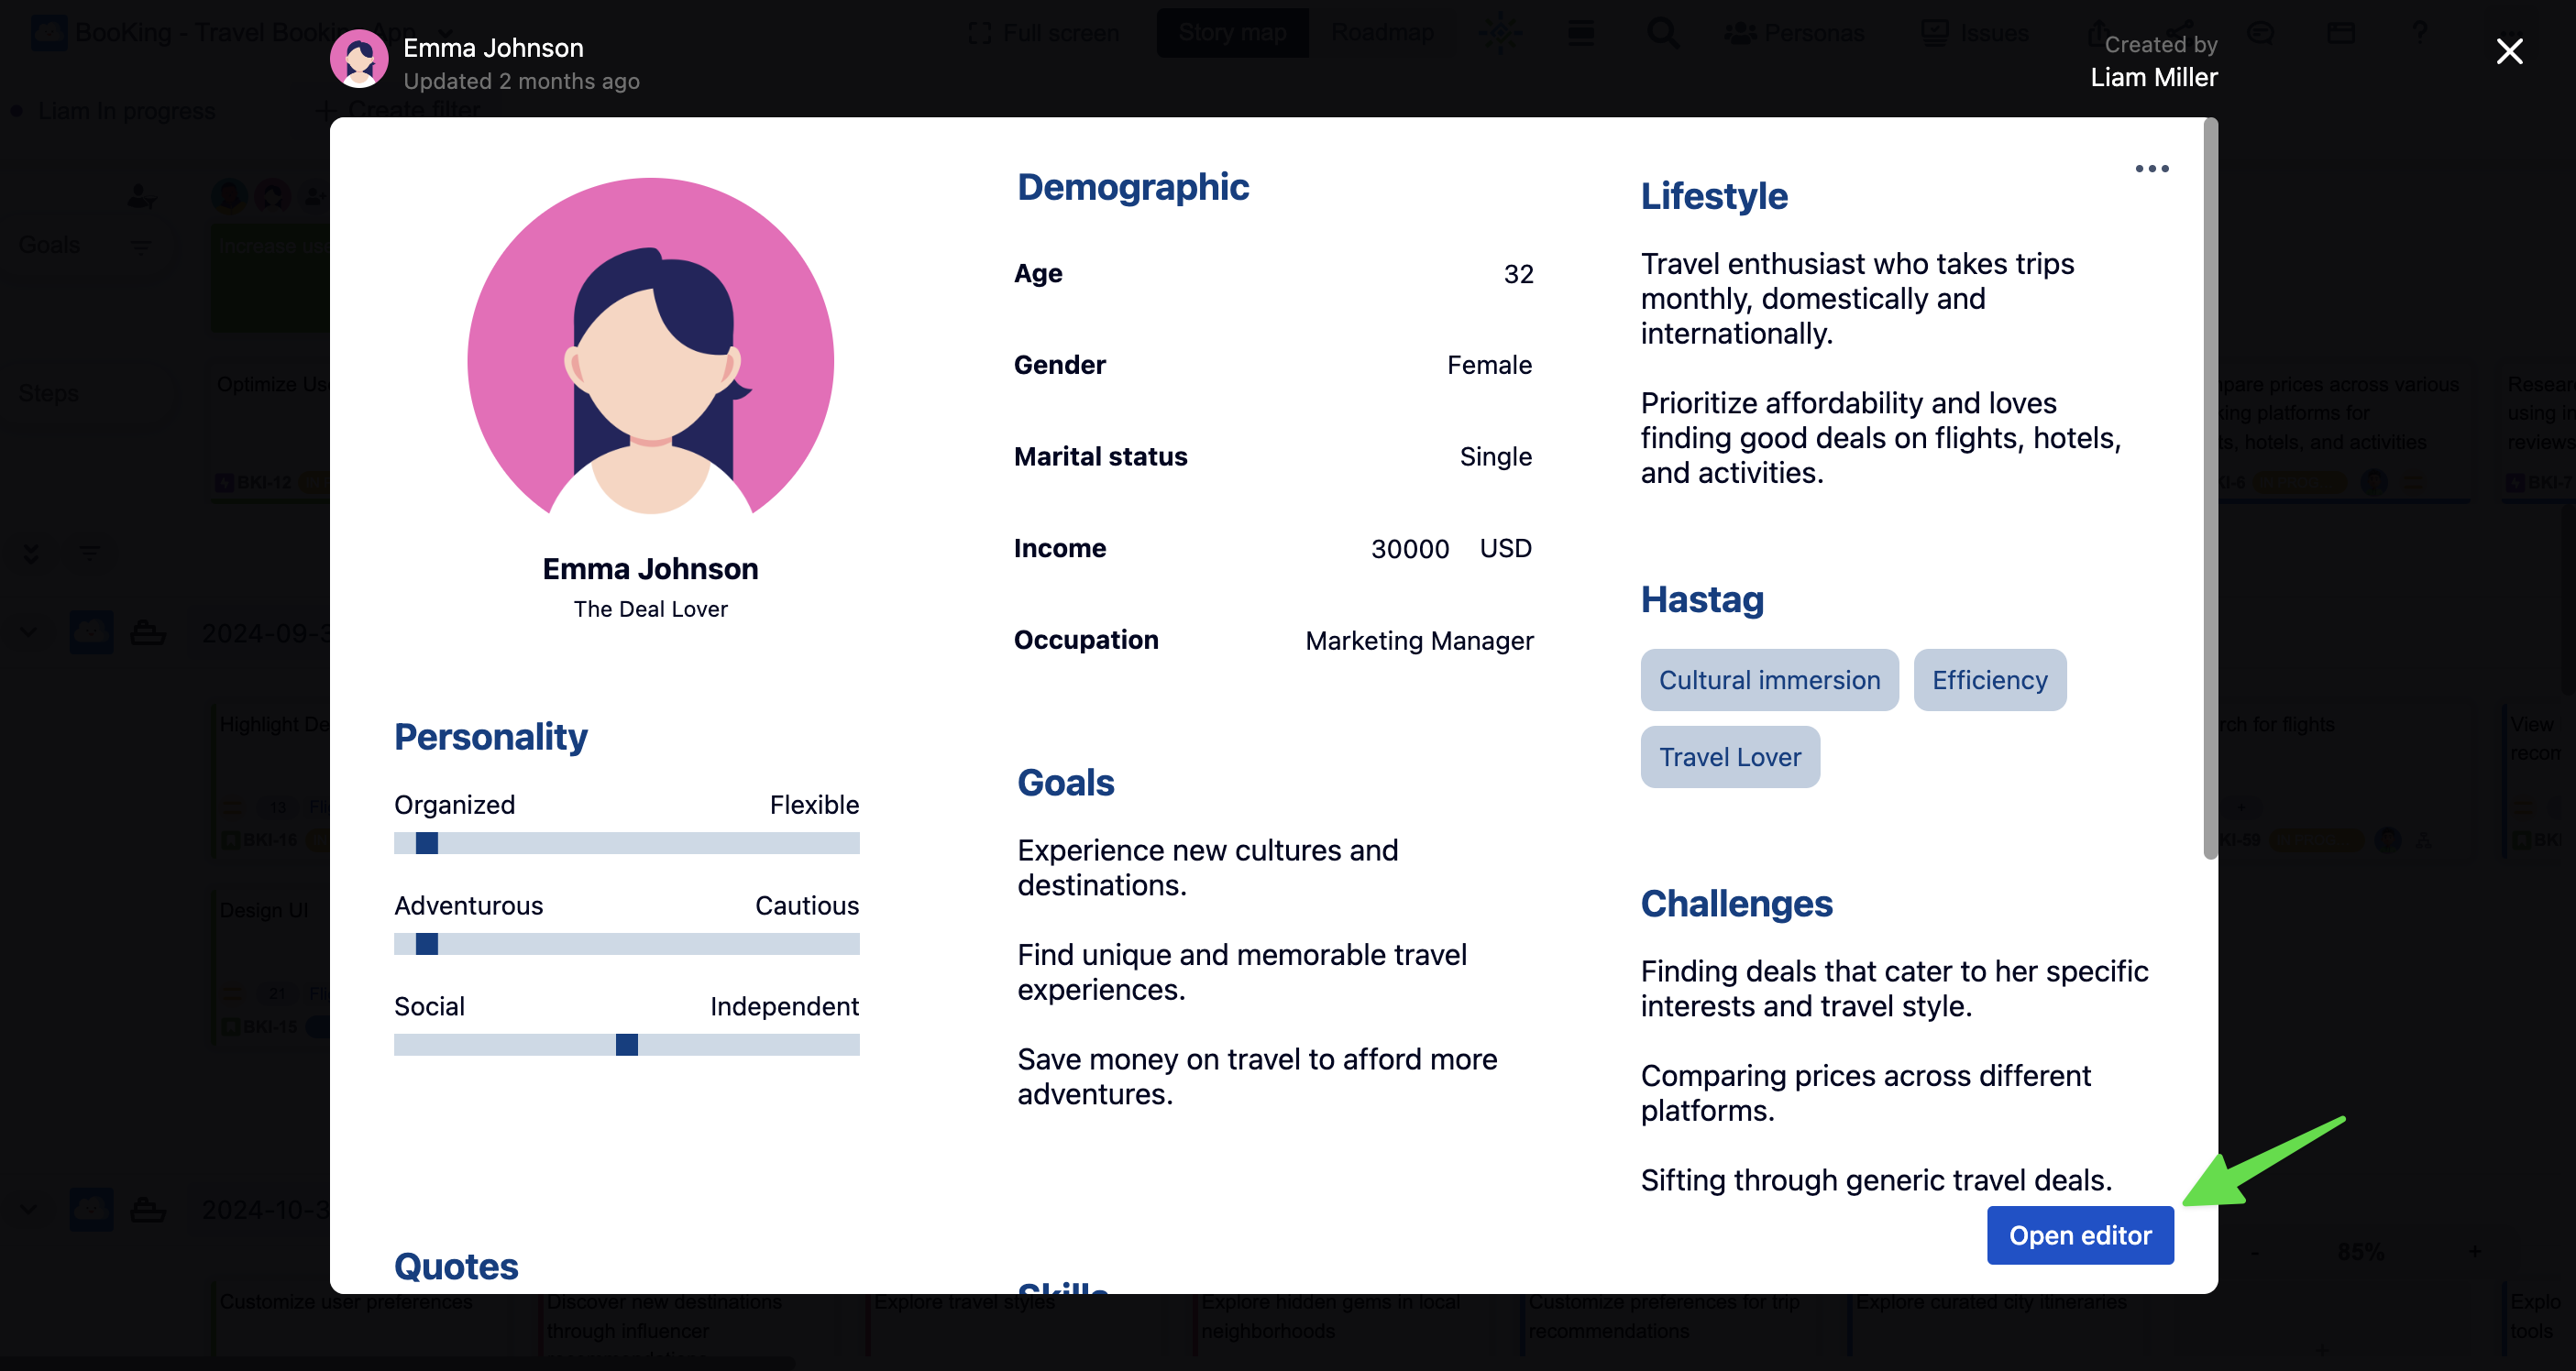
Update the information in the persona then click the Save button
2. Update the story map
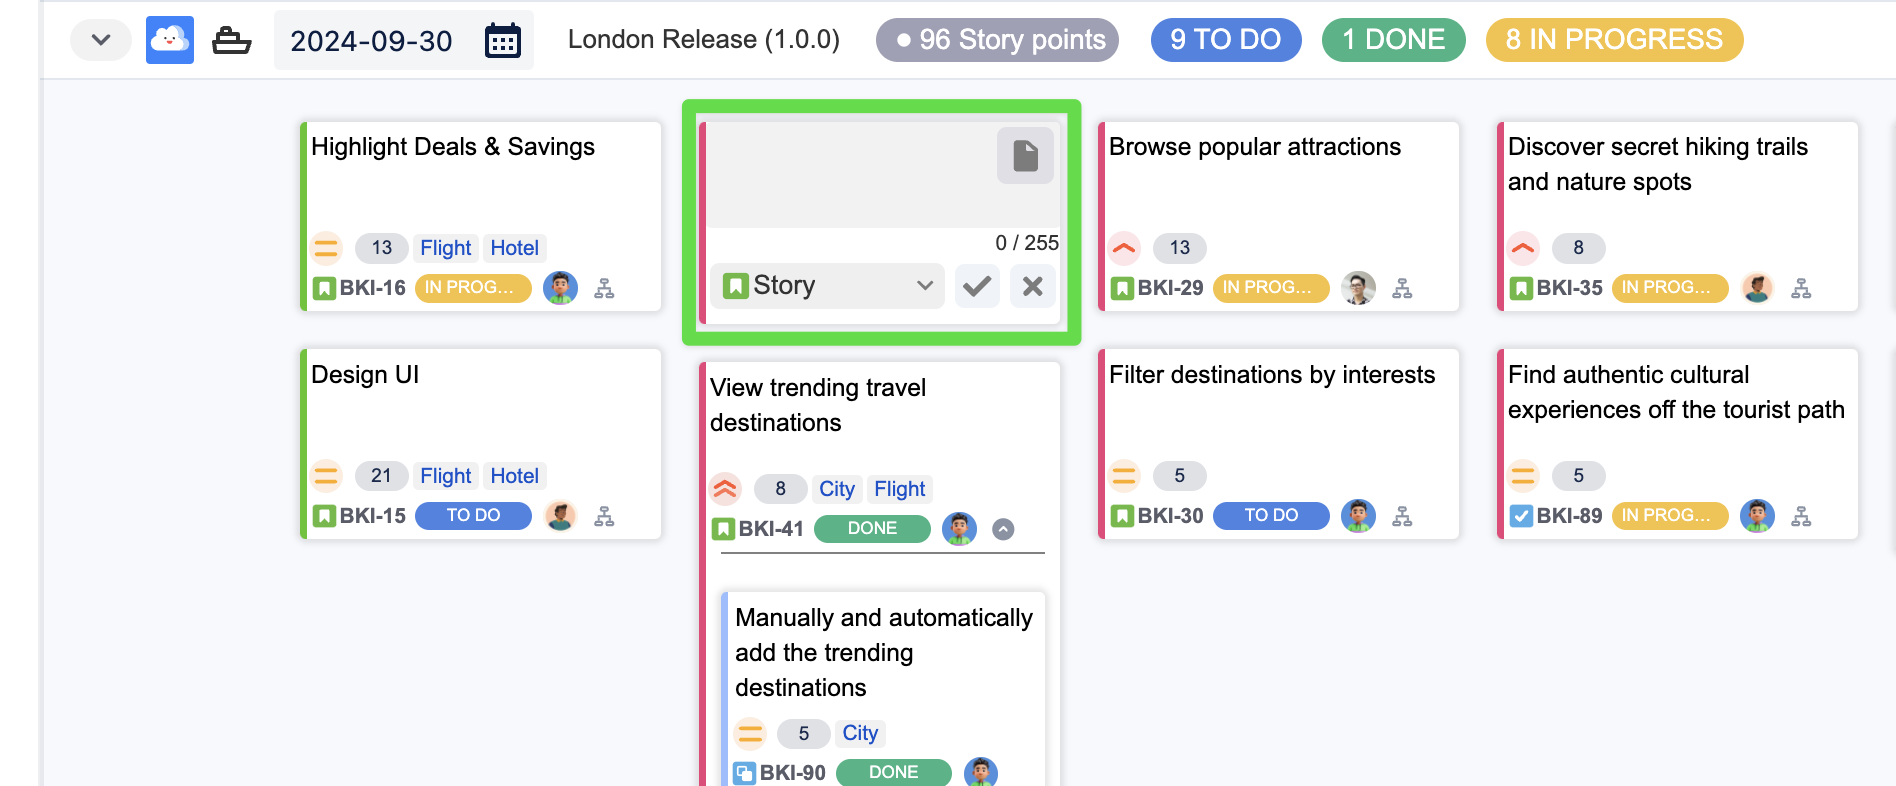
Users can reflect the changes on the user story map by editing tickets or adding/removing tickets directly on the user story map
By continuously updating your personas, you ensure that your product remains relevant and user-focused, ultimately leading to greater user satisfaction and engagement.
Incorporating personas into your product development process is more than just a one-time task; it’s an ongoing commitment to understanding and serving your users better
That’s all about using persona in the user story map. If you have any concerns about this use case or want to know more about our app, feel free to contact us via our Support Desk or atlassian@devsamurai.com.
Additional Resources of ProductGo: