.png)
-
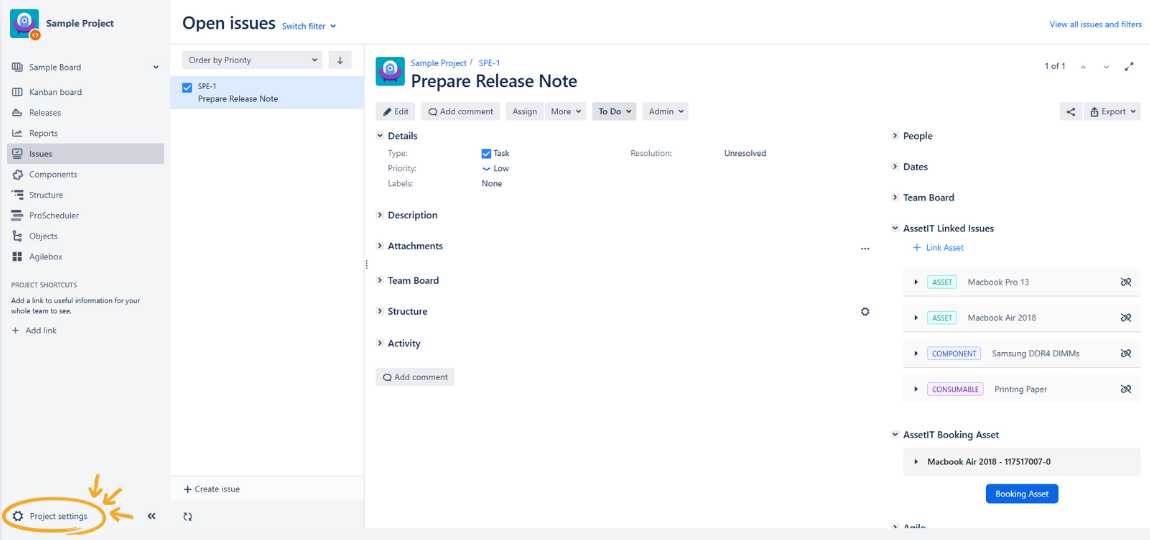
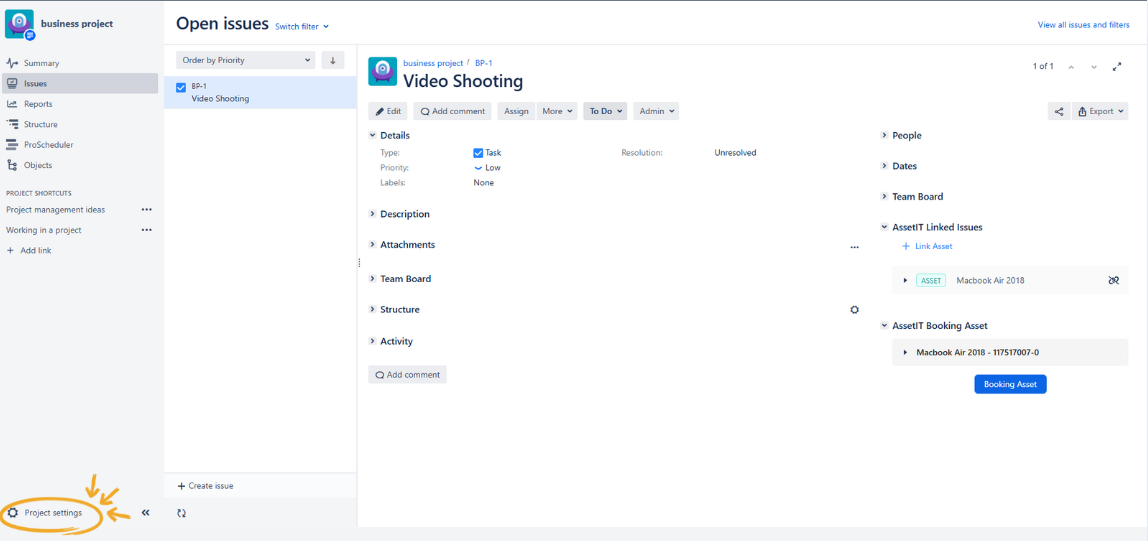
Locate the Jira project that you want to add AssetIT panels.
-
In the project view, click on

-
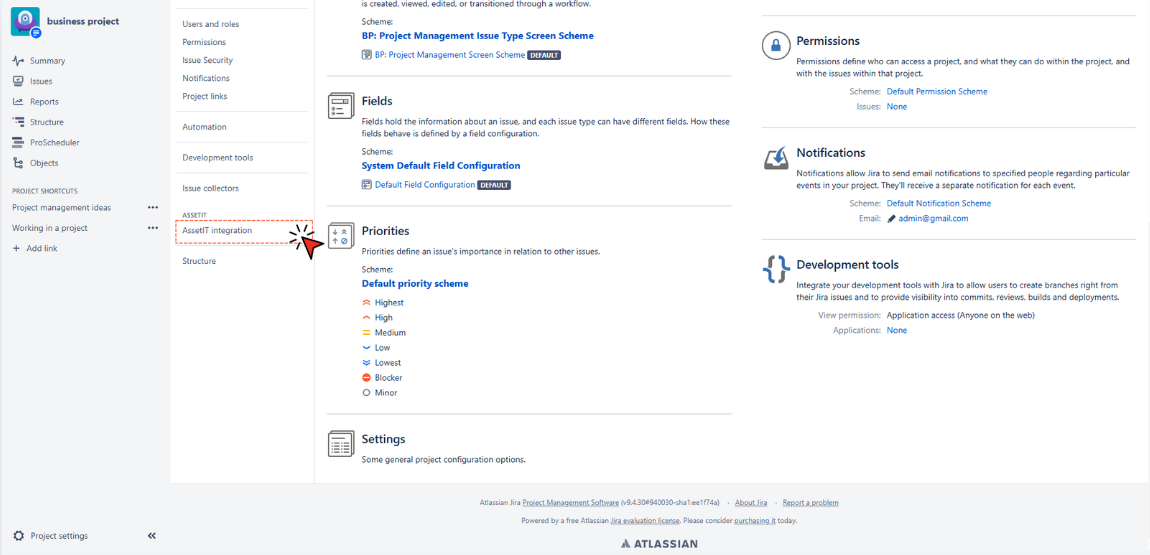
Access AssetIT Integration
-
In Project Settings, scroll down to locate the AssetIT section on the left sidebar.
-
Click on AssetIT Integration.
-
-
Enable AssetIT Integration
-
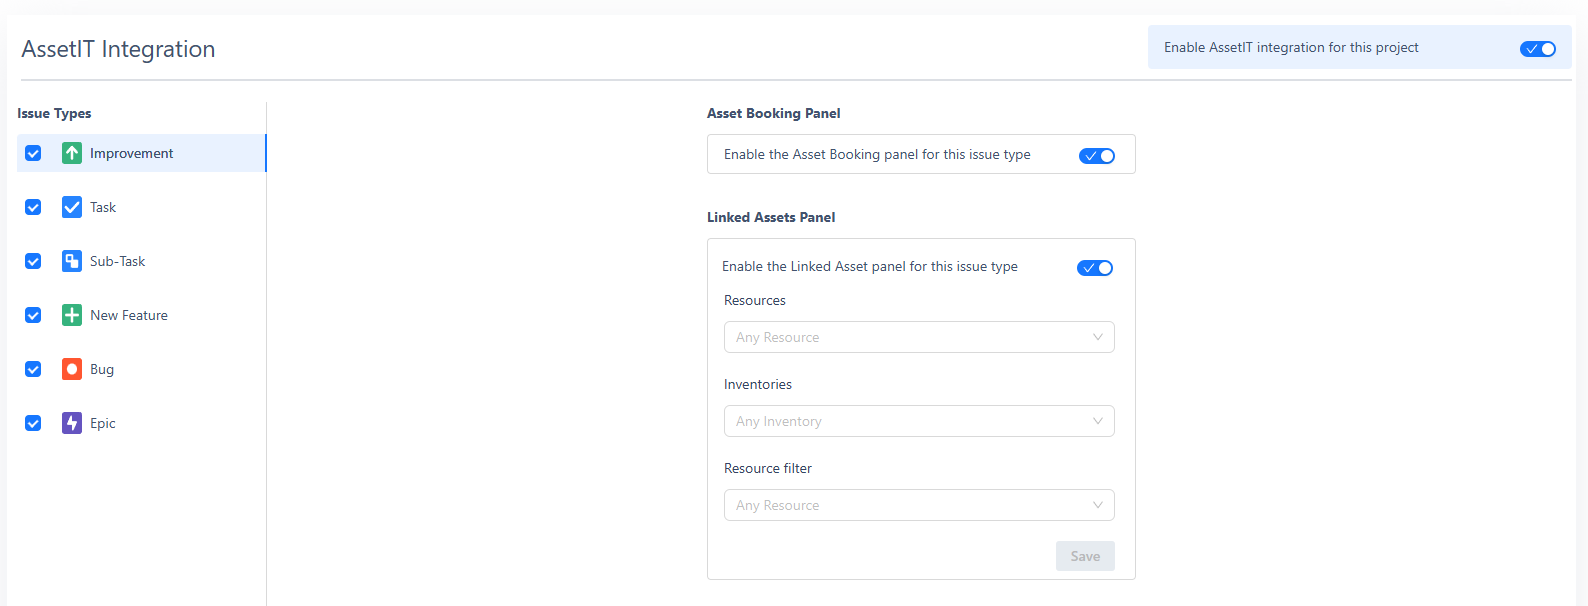
In the AssetIT Integration settings, toggle on Enable AssetIT integration for this project to activate the panels for this project.
-
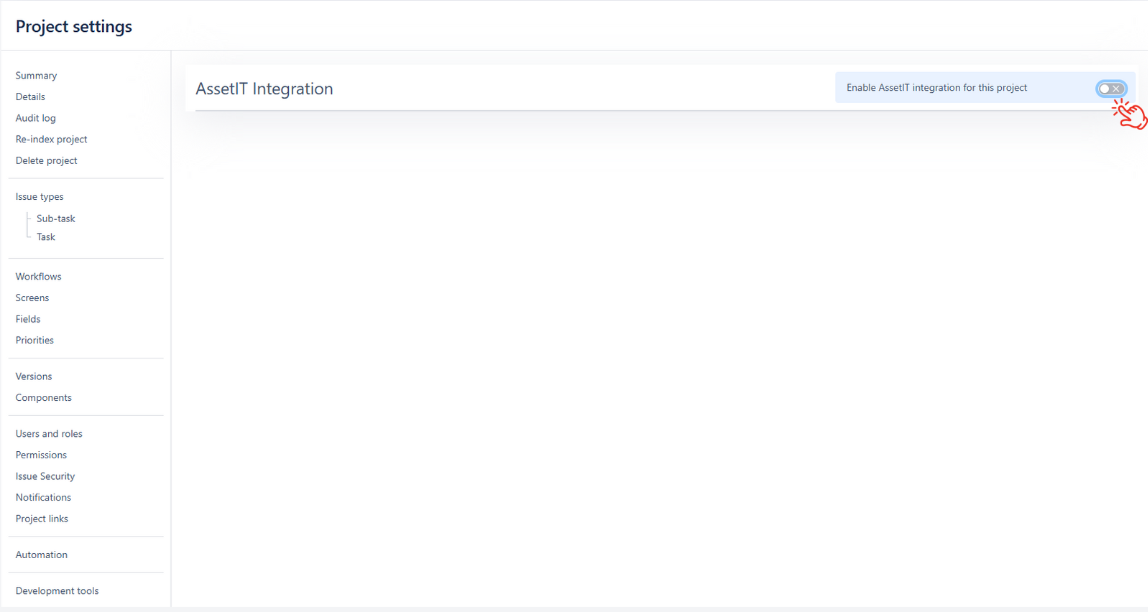
Enable AssetIT integration for this project is disabled by default. Toggle it on to start using AssetIT panels.
-
Selecting Issue Types for Configuration
-
On the left side of the AssetIT Integration screen, you’ll see a list of Issue Types (e.g., Task, Epic, Subtask). Use this section to select which issue types you want to configure for AssetIT panels.
-
Check the box next to each issue type where you want the AssetIT panels to be enabled. Only the selected issue types will display the configured panels in their Jira issues.