.png)
Creating, editing, and deleting tasks
After installing and creating the board, you can now begin to work with the Jira issues or tasks. However, if, for some reason, you cannot create, edit, or delete issues from the board, that is because you do not have the permission for the current projects used in GanttTable.
To fix this, please follow (or tell your Jira admins to) the instructions to add the permission to do so.
1. Adding a new issue
In your board, you can edit or create a new Jira issue inline in the app.
Locate the ➕ Create button in the bottom row → Click it to see options, then choose project → Select an issue type → Fill in the issue name.
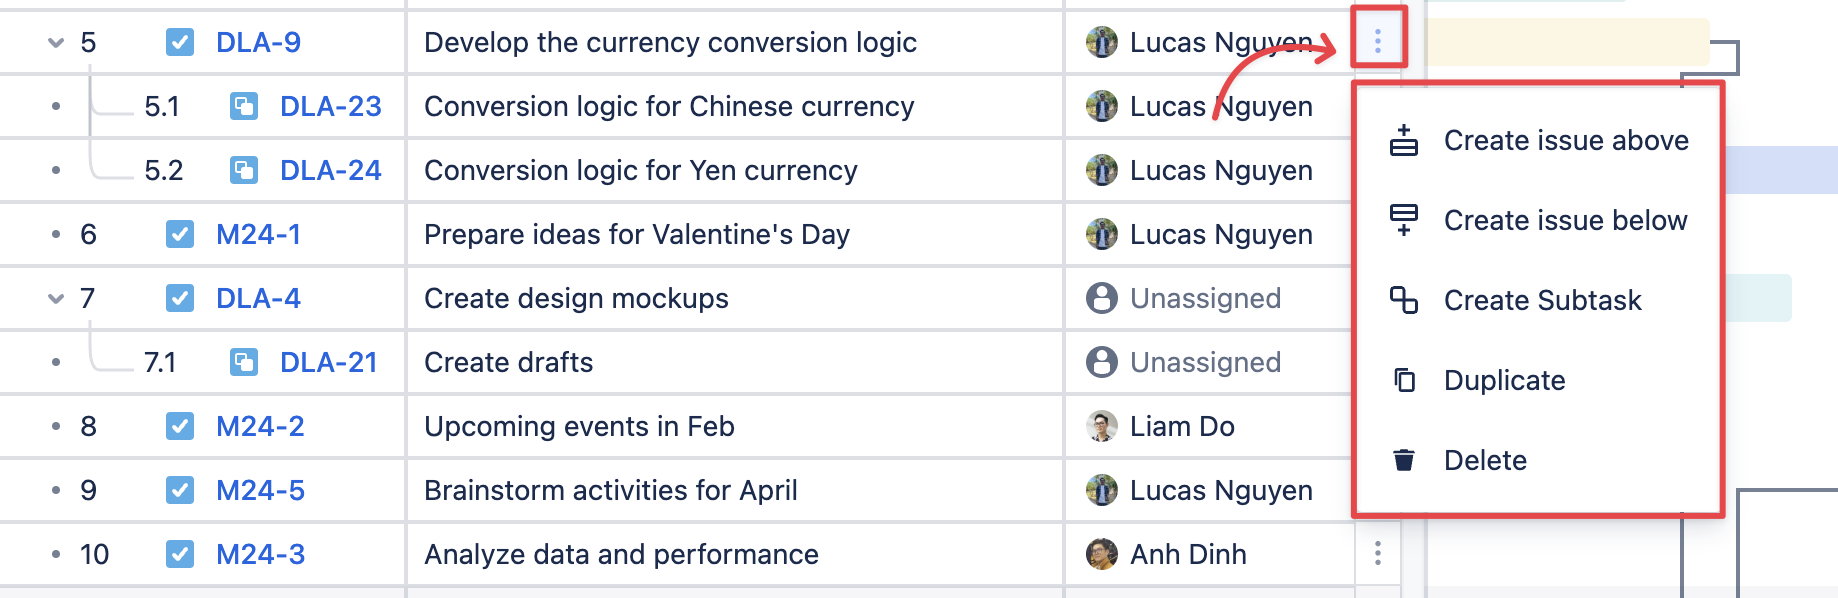
You can also locate the Action menu to quickly create an issue above or below a specific issue.
2. Action menu
*Action menu for Epic/Story/Task/Bug issue types:
You will find this menu at the end of each issue row. You can:
-
Create issue above: Add a new Jira issue above the selected issue.
-
Create issue below: Add a new Jira issue below the selected issue.
-
Duplicate: Make a copy of the selected issues.
-
Create Subtask: Add a Subtask issue type that belongs to the selected issue.
-
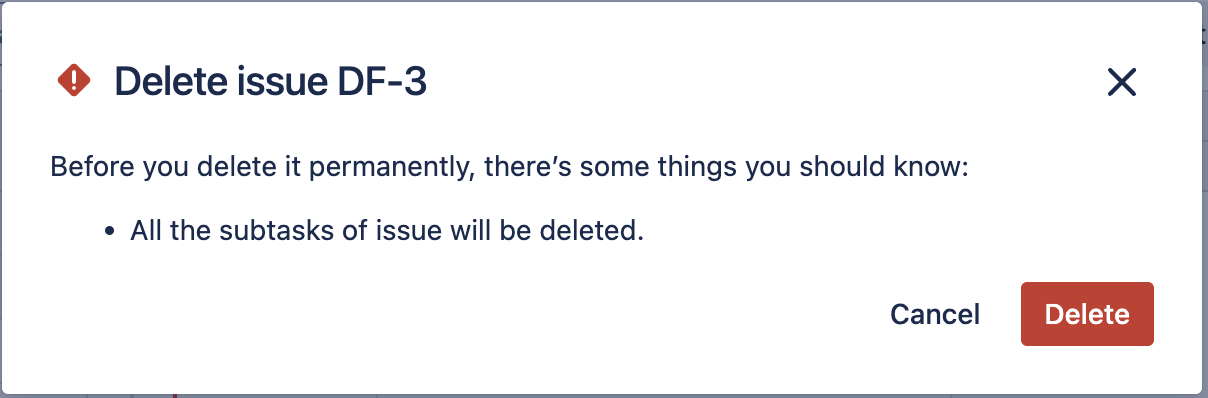
Delete: Remove the selected issue from the GanttTable.
When deleting an issue, all subtasks relating to it will also be deleted. There will be a popup notification to warn you about that.
*Action menu for Subtask issue type
The Action menu for Subtask issues is a bit different since the option for creating a subtask has been removed.

Plan issues on the Gantt chart
Your planned issues across Jira projects will be automatically synchronized on the Gantt timeline if they have already had been planned with Start date and End date.
*For unplanned Jira issues:
Click on the white space in the task area, then drag each end of the issue bar to adjust the task’s duration.
Drag and drop an issue bar in the Gantt chart to quickly adjust its timeline.
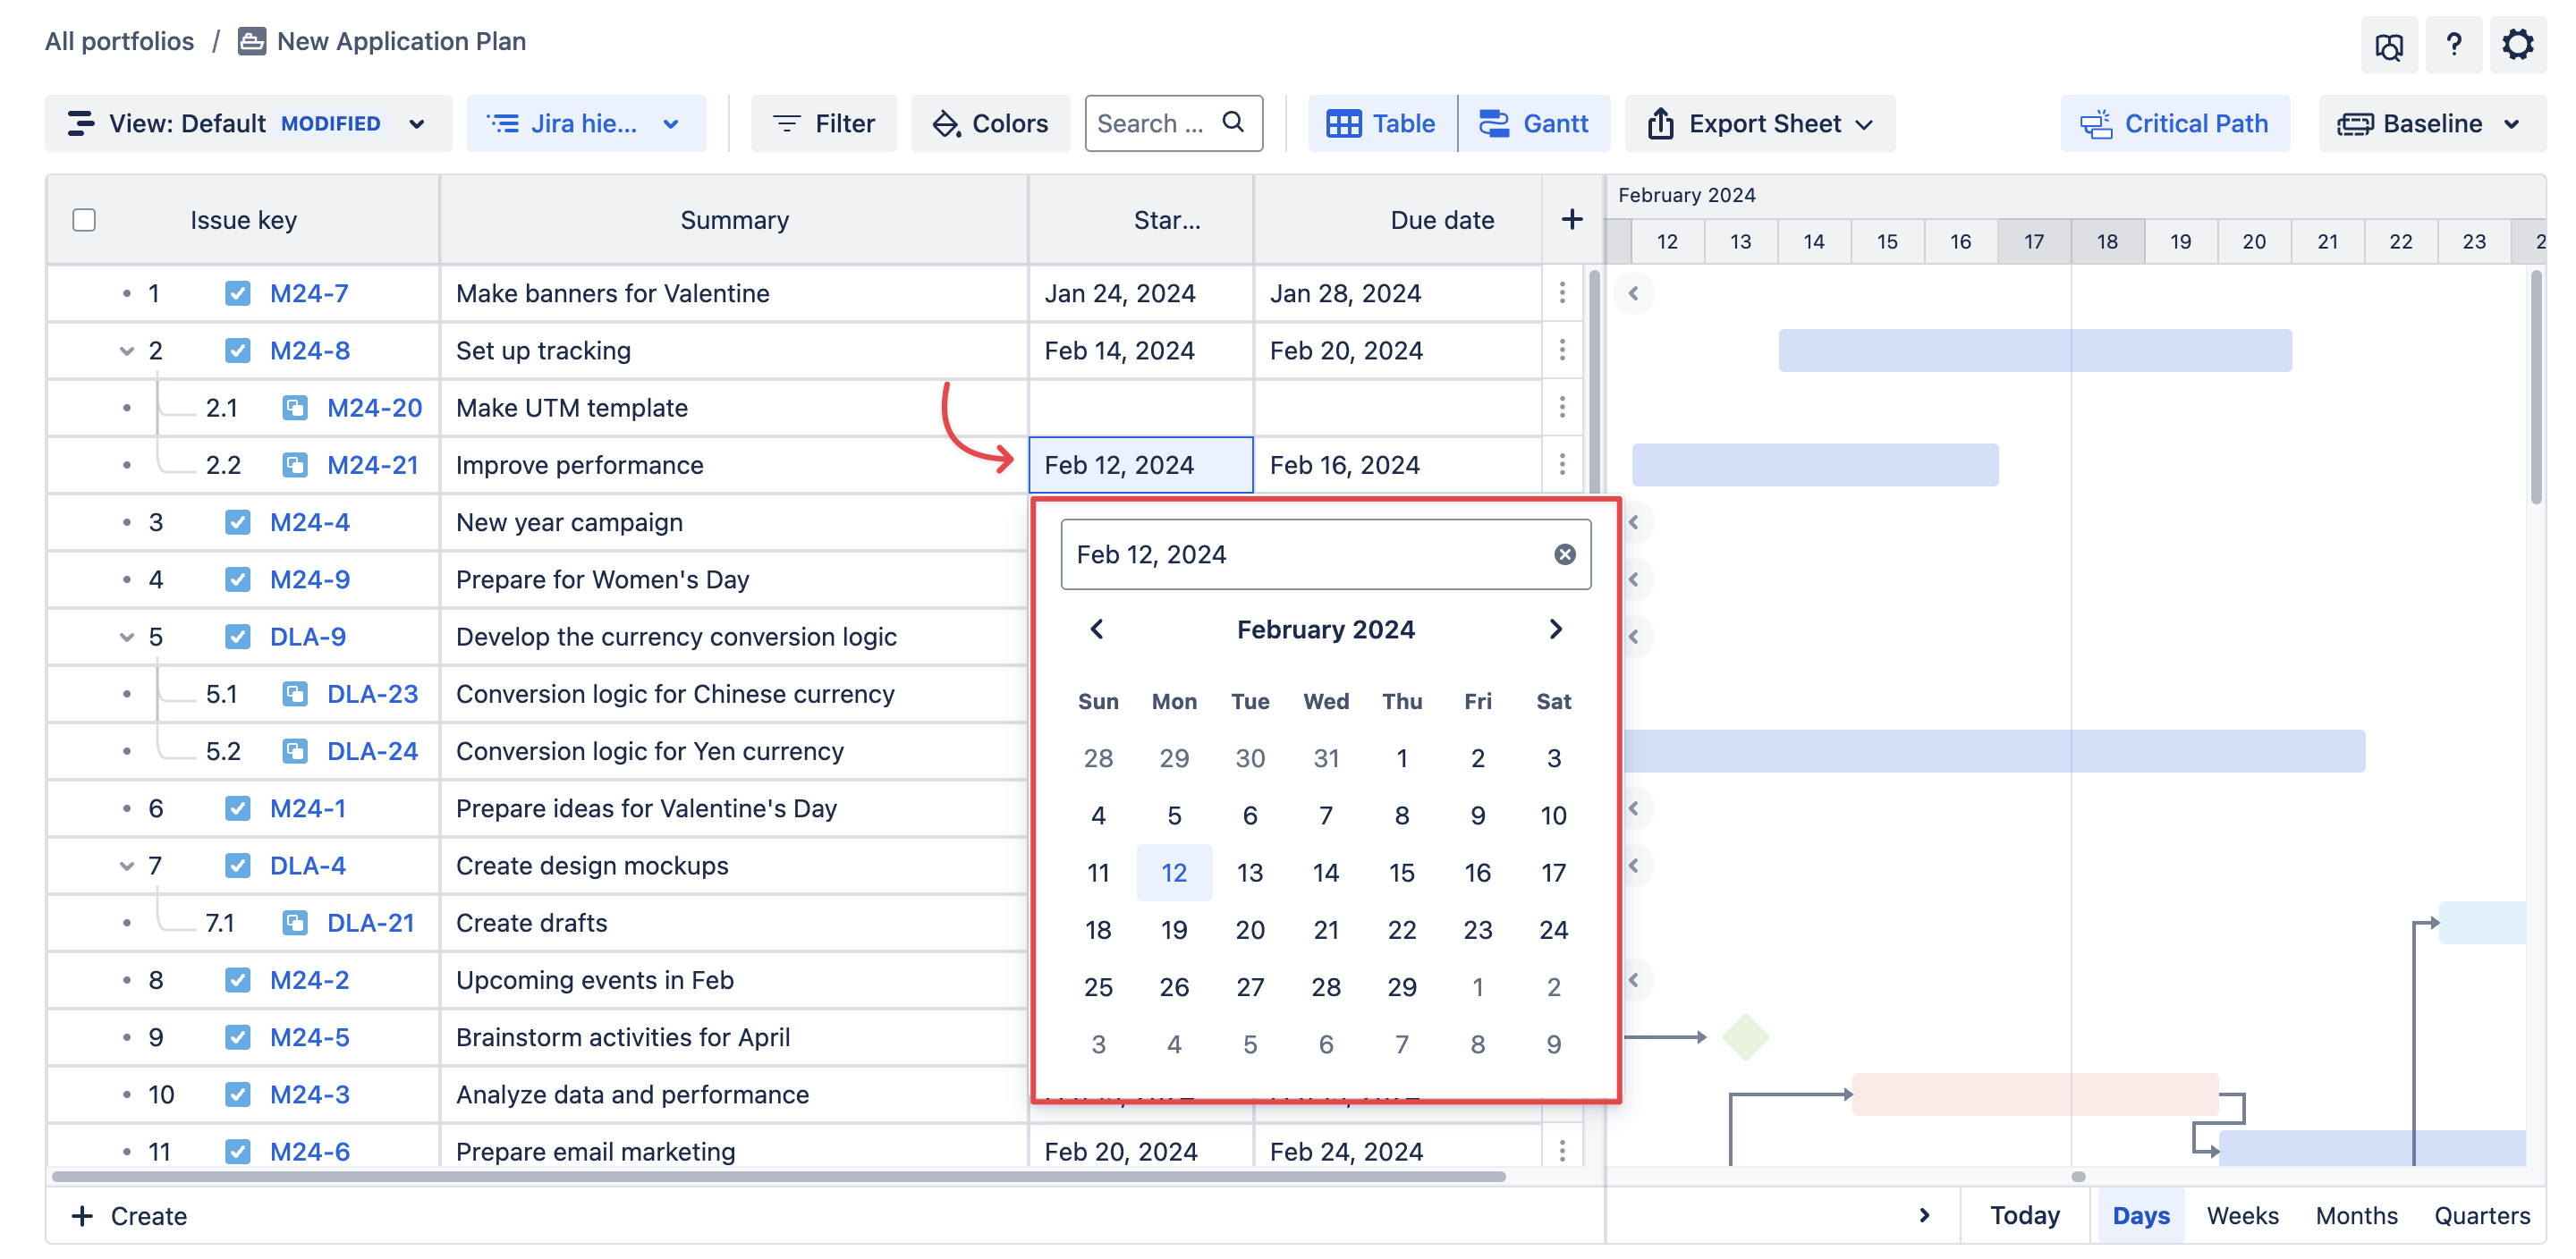
Alternatively, you can also input the dates to Start and End dates in the Table to plan issues in the Gantt chart.
Milestones
What is a Milestone in project planning?
A milestone is a specific point in time on a Gantt chart that represents a significant event, achievement, or decision point in a project. Milestones are typically used to track key deadlines and to indicate the completion of major project phases or deliverables.
Unlike tasks, milestones have NO duration; they are represented as a single point in time.
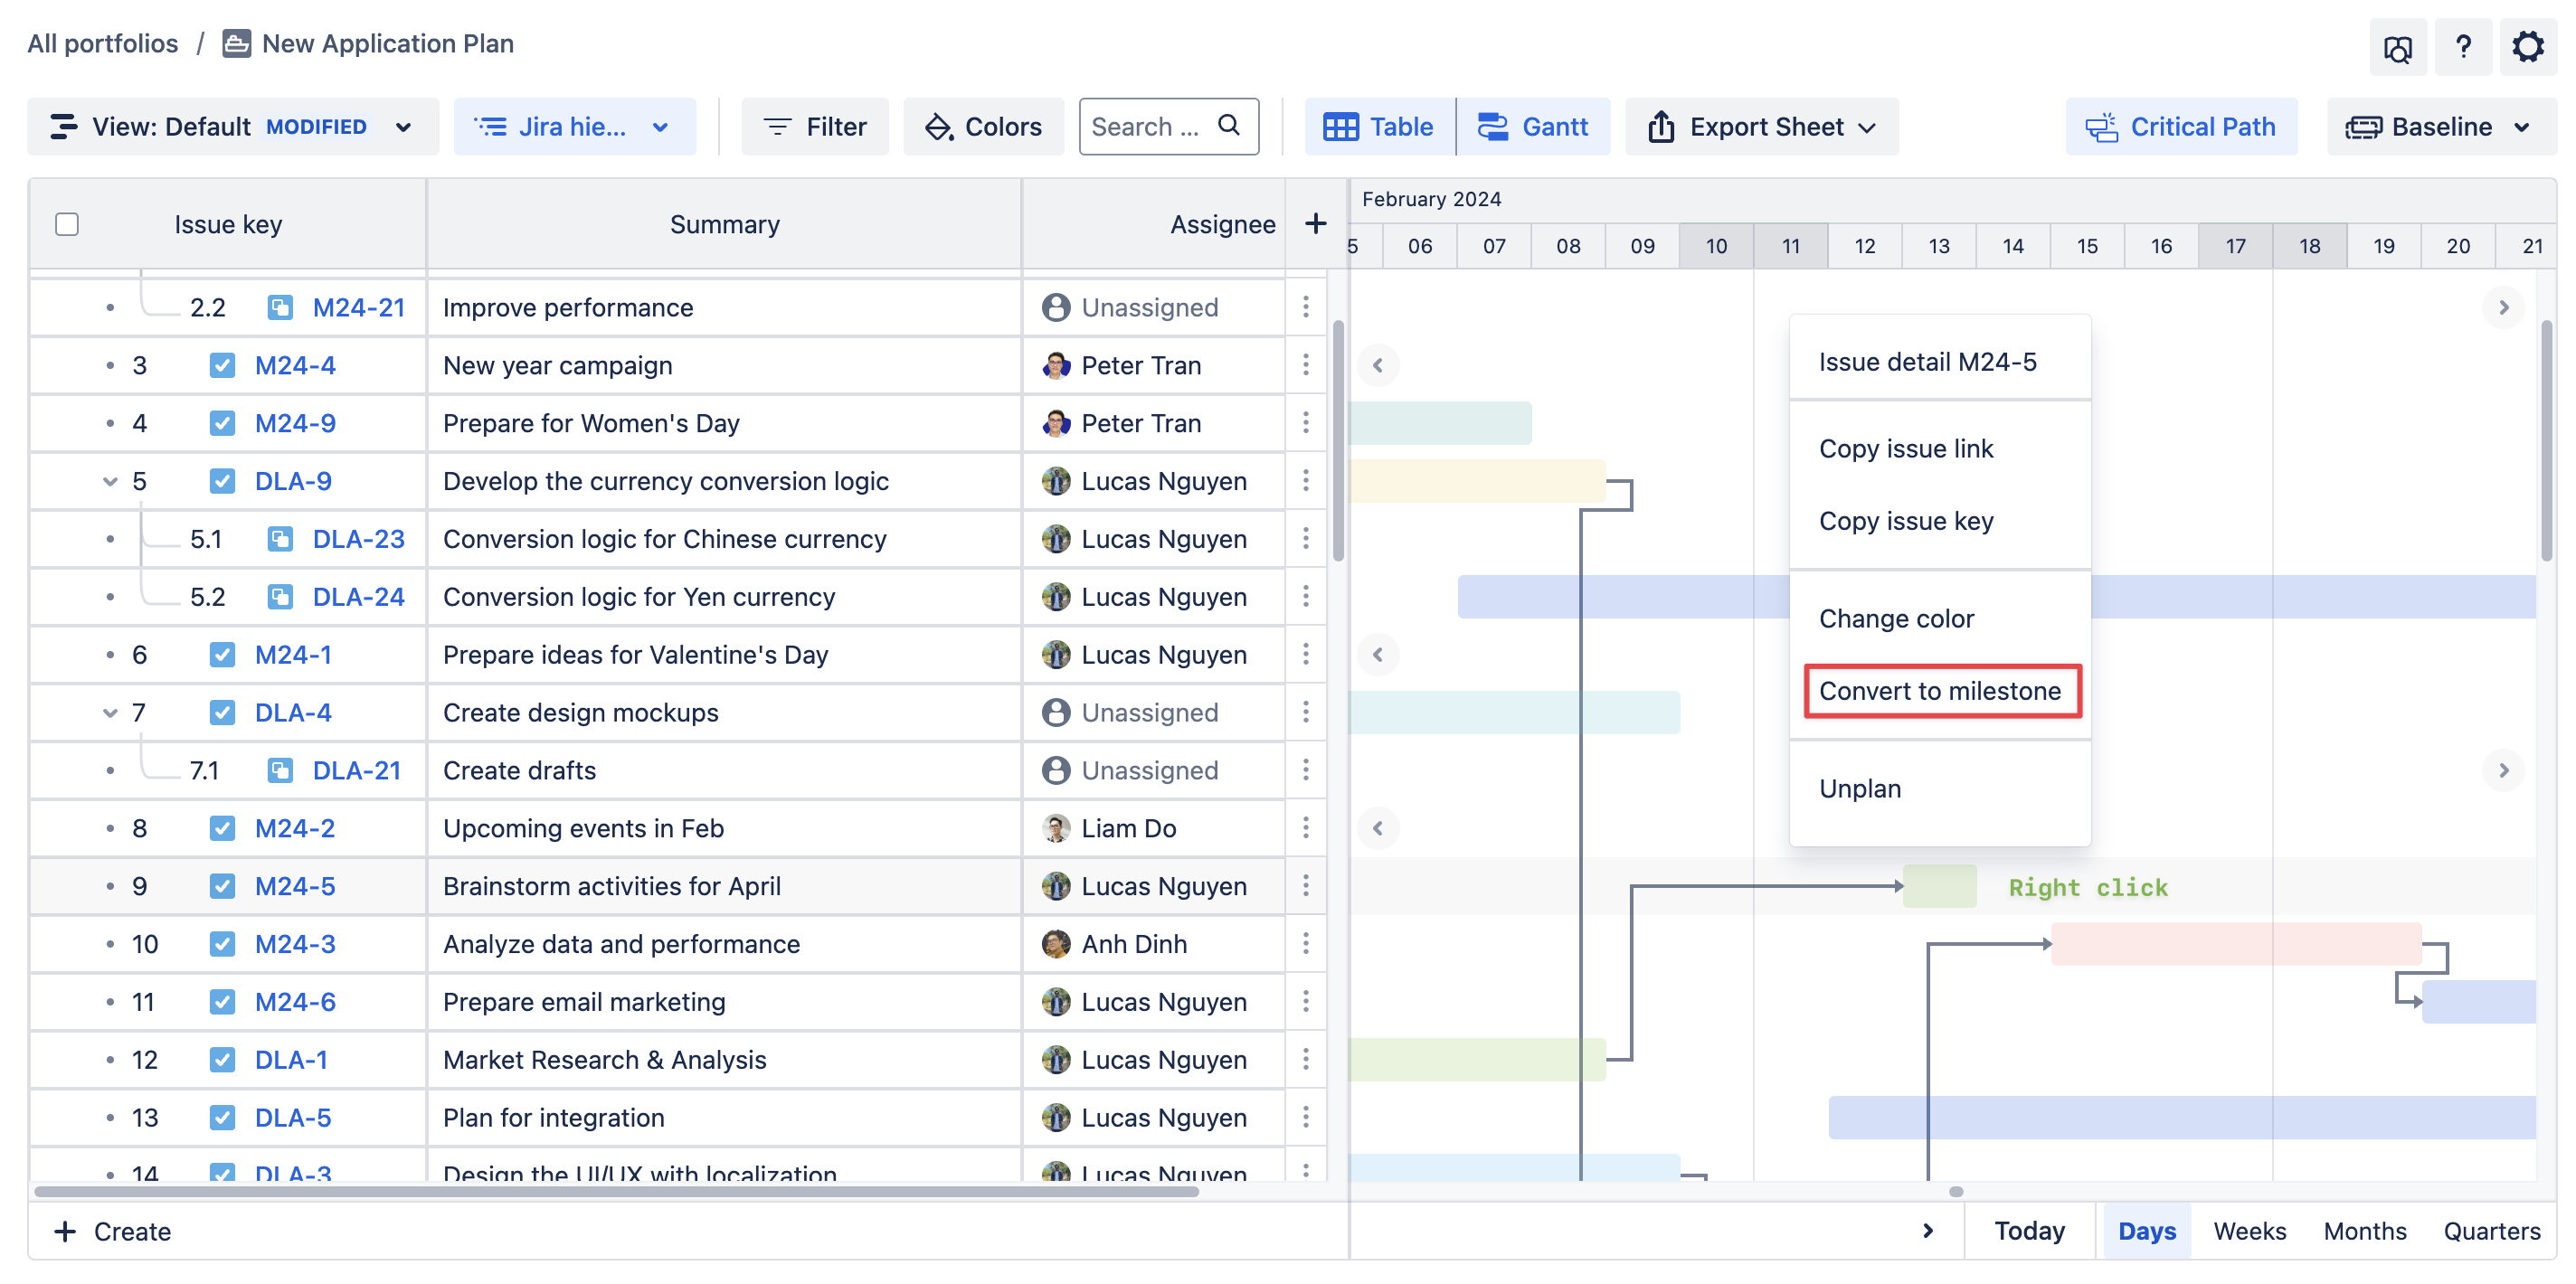
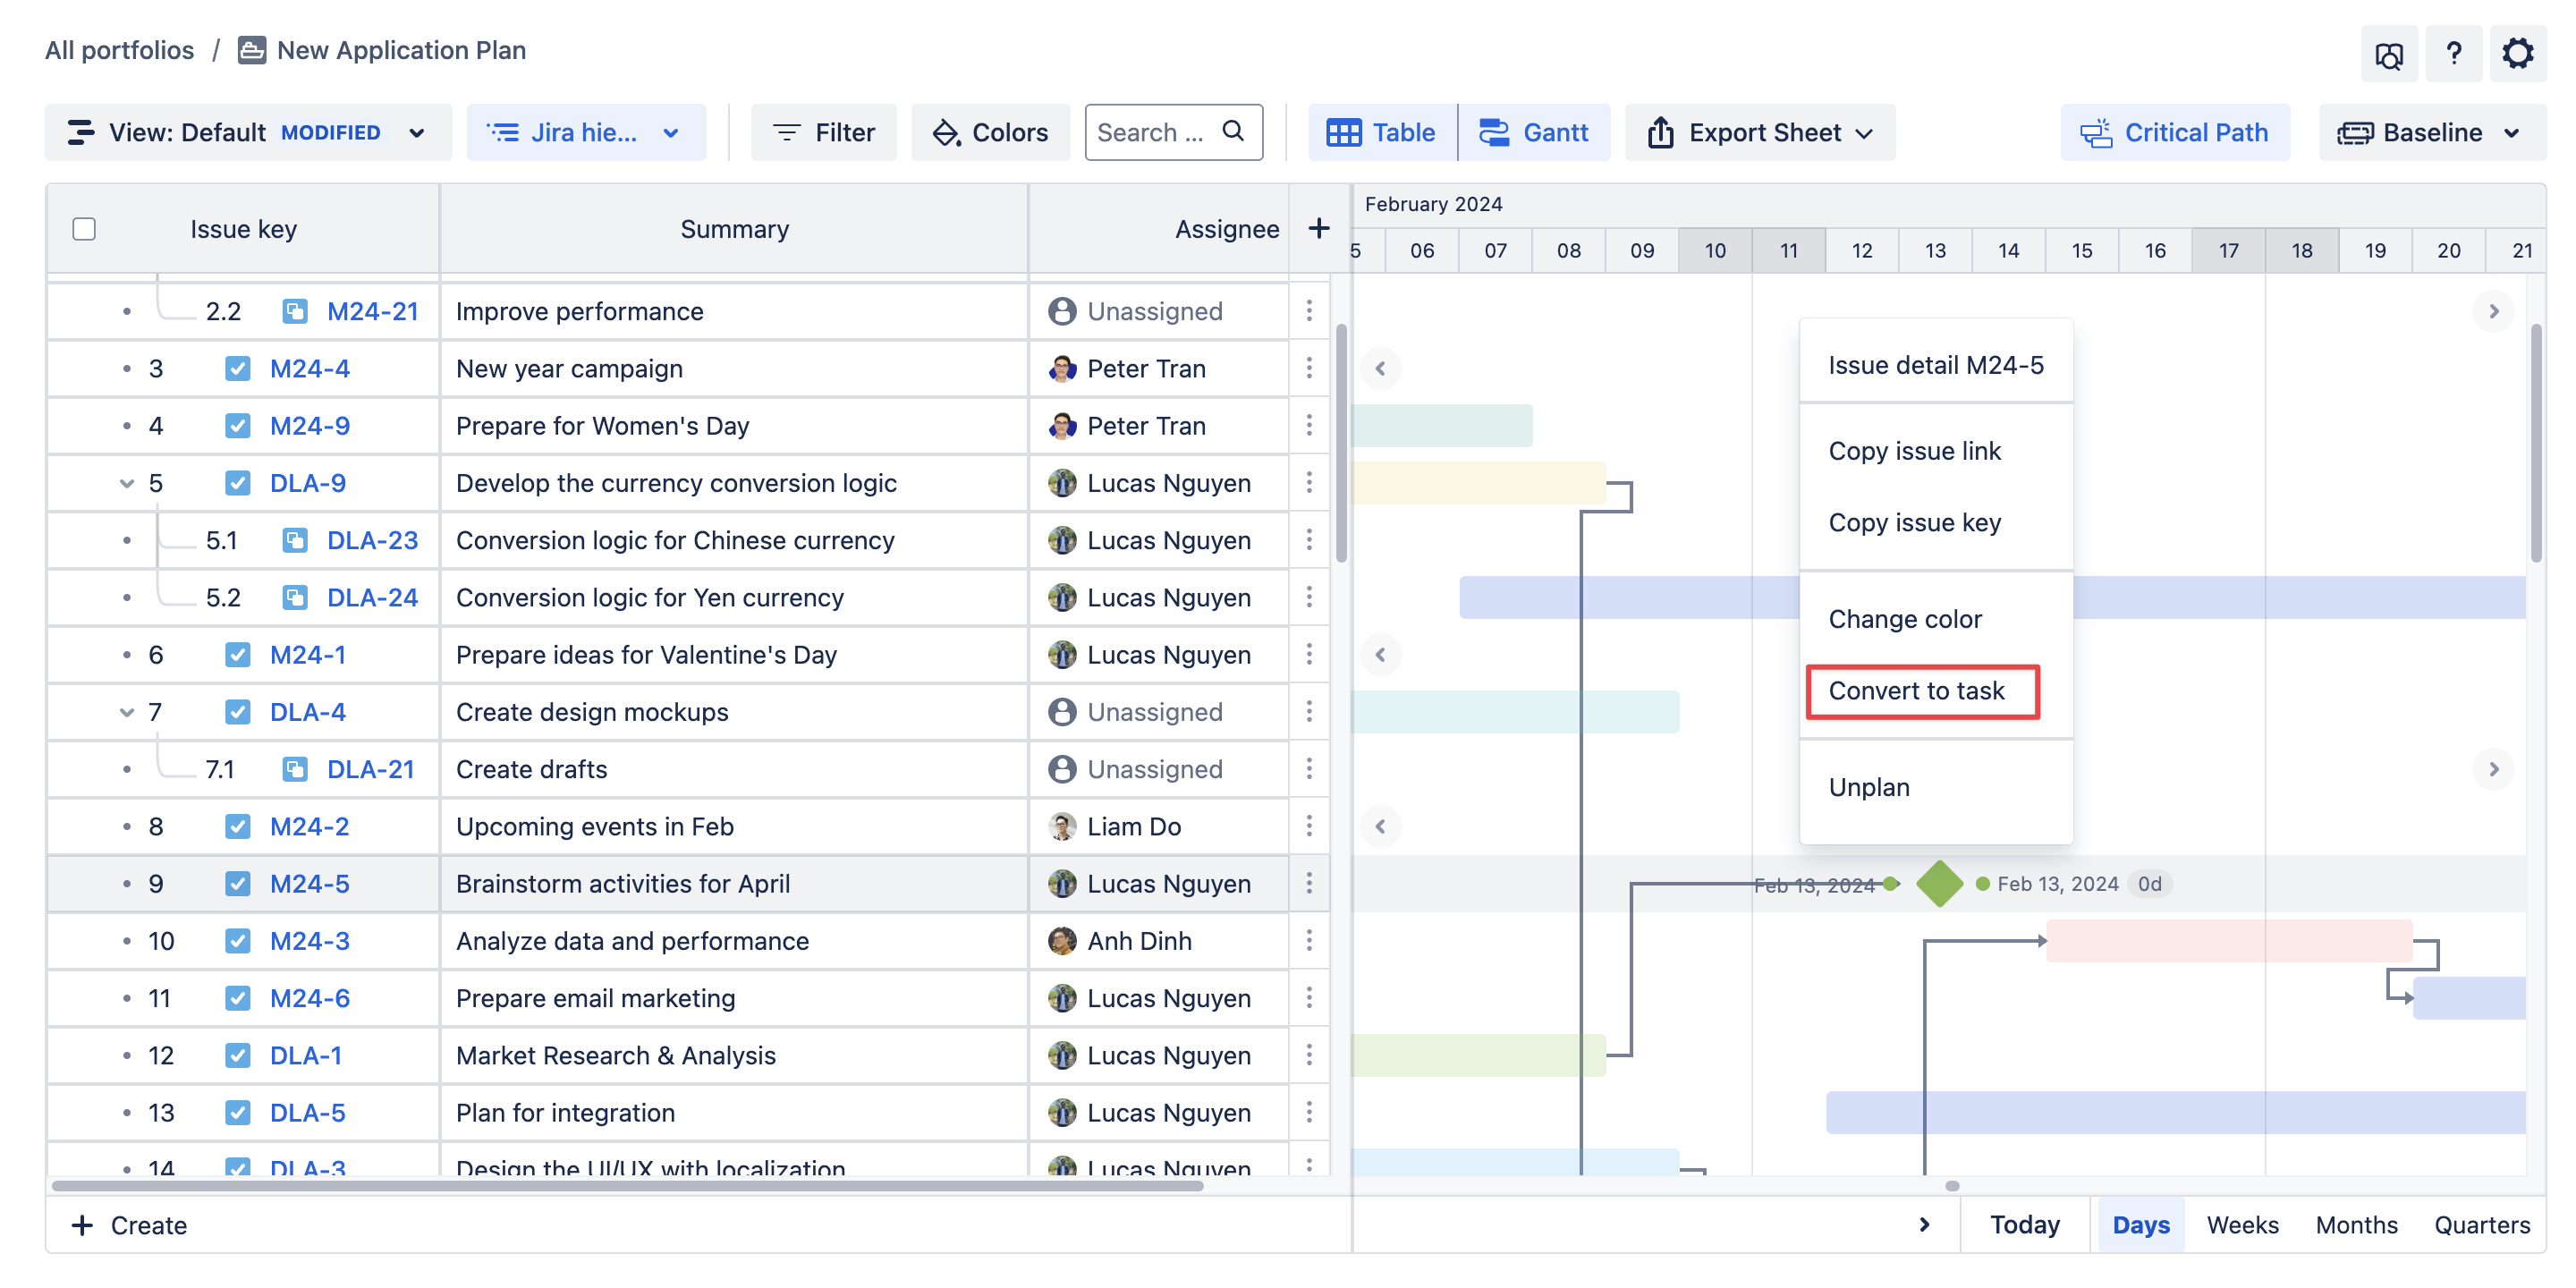
1. Convert a task to a Milestone
To convert a task to a milestone, right-click on the issue bar → Choose Convert to milestone.
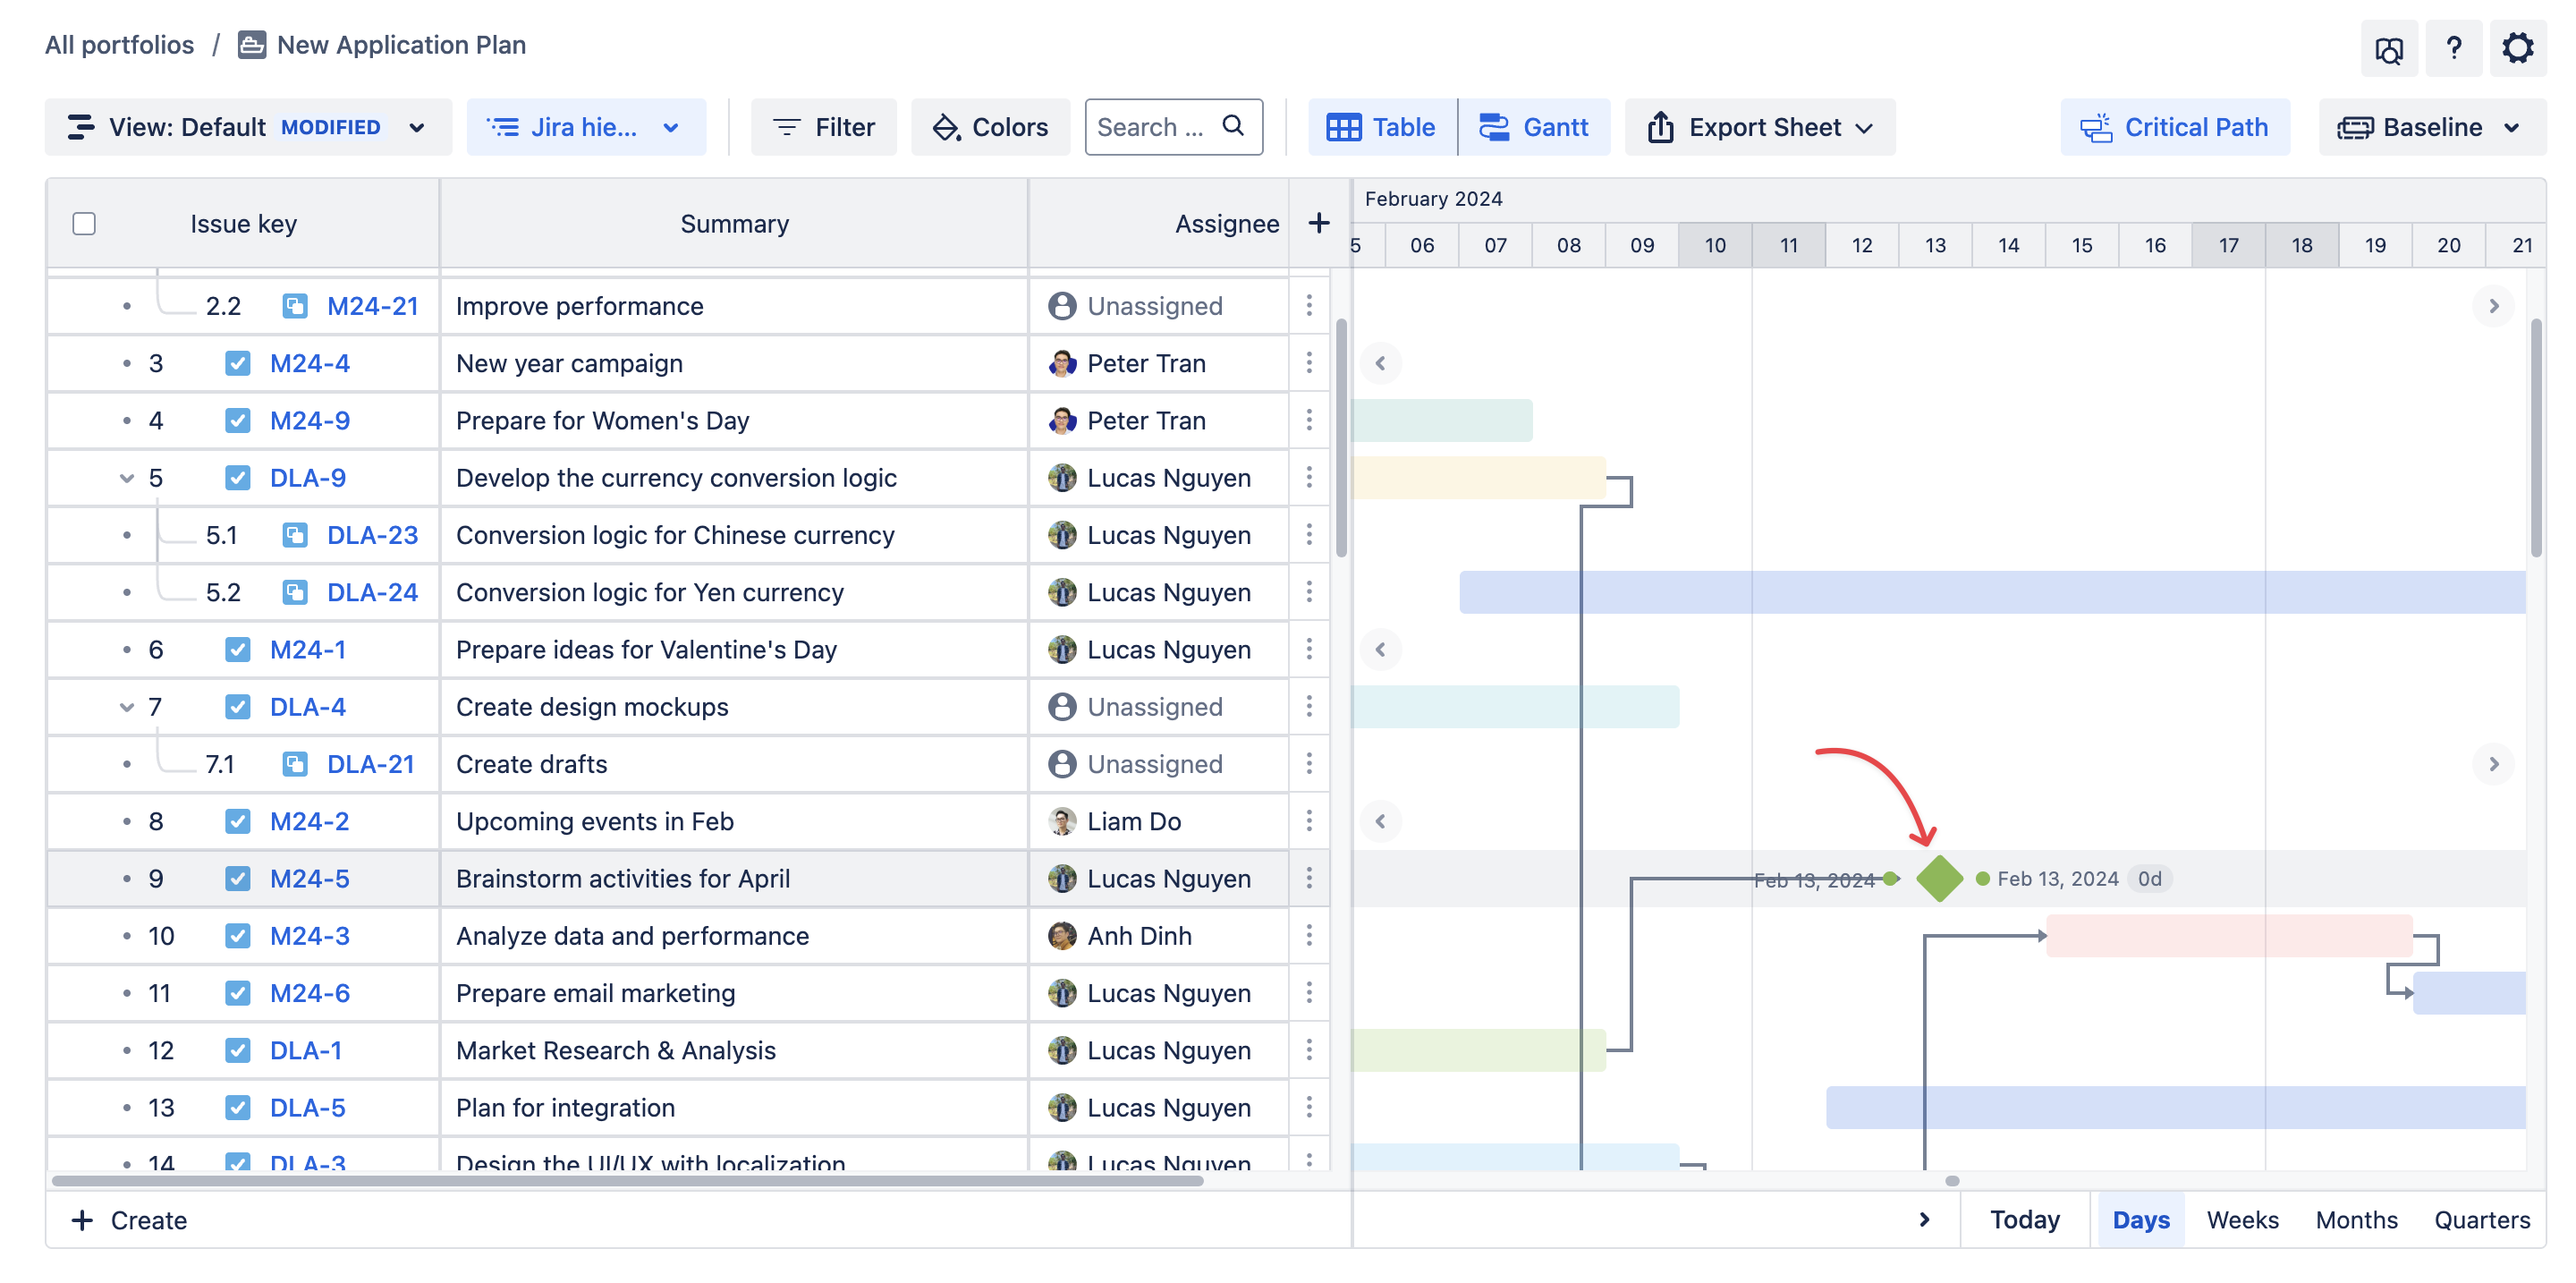
Once clicked, the issue bar will automatically turn into a 🔷 diamond shape representing a milestone in the Gantt chart.
2. Convert a milestone to a task
Vice versa, you can convert a milestone back to a task by:
Right-clicking on the milestone 🔷 (diamond shape) → Select Convert to task.
Managing dependencies
1. What are Dependencies?
Gantt dependencies are relationships between tasks in a Gantt chart that define the sequence in which tasks must be completed. They help in visualizing and managing the workflow of a project by showing how one task is dependent on another.
In Jira, you can also create custom (or configure) work item linking to suit your project’s requirements. For more details, please visit https://support.atlassian.com/jira-cloud-administration/docs/configure-issue-linking/
GanttTable supports 4 common types of task dependencies:
|
Finish-to-Start (FS)
|
This is the most common type in project management. It signifies that a successor task (Task B) cannot begin until its predecessor task (Task A) is completed. |
|
Start-to-Start (SS)
|
In a Start-to-Start dependency, a task cannot begin until a preceding task has started. |
|
Finish-to-Finish (FF)
|
This dependency dictates that a task cannot be completed until its predecessor task is finished. In other words, both tasks must be completed at the same time. |
|
Start-to-Finish (SF)
|
This relationship indicates that a task cannot be completed until a preceding task has started. |
You need to map dependencies in the Settings & Preferences with the issue links in your Jira projects for this feature to work properly.
2. How to Visualize and Manage Dependencies
To visualize a dependency between 2 issues, please follow these steps:
-
Step 1: As mentioned above, go to the Settings & Preferences to map your Jira issue links to the GanttTable’s dependencies first.
-
Step 2: Hover the cursor over an issue → From either dot of the issue bar, click and drag to connect to another issue to form a dependency between them.
TIP
Make sure to connect to one of the end of the issue to clearly define the type of dependency as SF, SS, FS, or FF.
You can check and manage issue link in GanttTable by clicking on the dependency line. In the dialog, you can see:
-
Which issues are being linked together
-
Type of the issue link
-
A 🔗 break icon to delete this issue link.

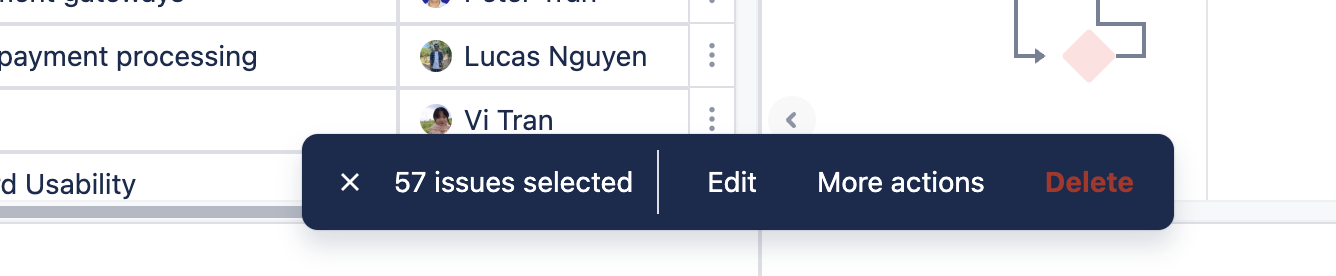
Multiple Selections & Bulk Editing
In GanttTable, you can edit multiple Jira issues at the same time:
-
Select issues to edit one by one, or you can select all existing issues in your board.
-
Then, you can:
-
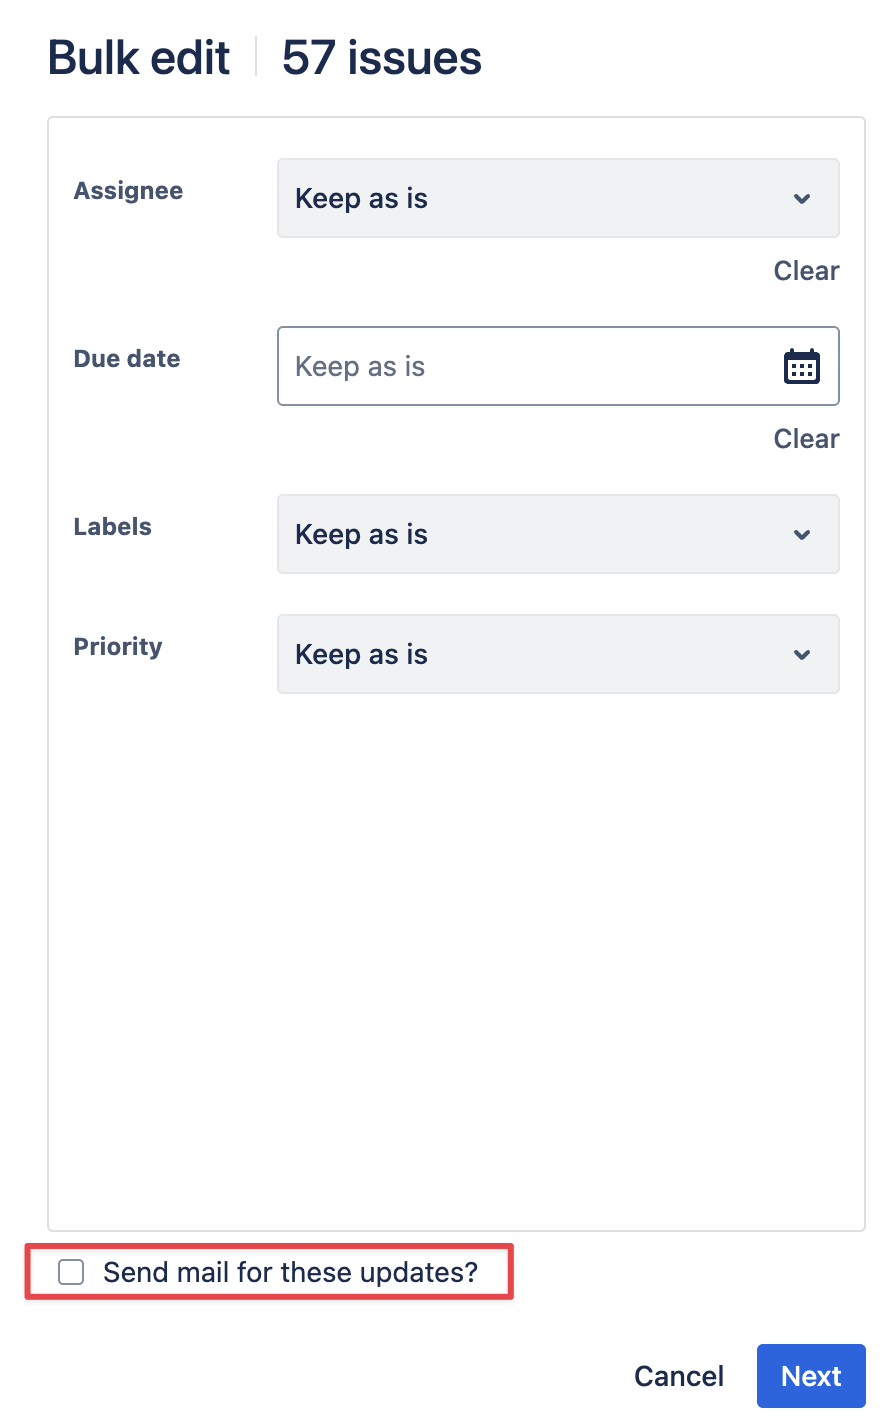
Edit: once clicked, you can bulk edit selected issues based on Jira fields like Assignee, Due date, Labels, Priority, and Flagged.
-
Send mails for these updates: when checked, these changes to the issues will notify their assignees via email.
-
More actions: it will direct you to Jira's Bulk Operation page to have more actions for bulk editing issues.
-
Delete: allows you to remove selected issues in bulk.
-20250519-175425.png?cb=dd1a374c92a9105813fa4a18063fa13c)