.png)
Let’s get started with configuring a new board for your Jira project.
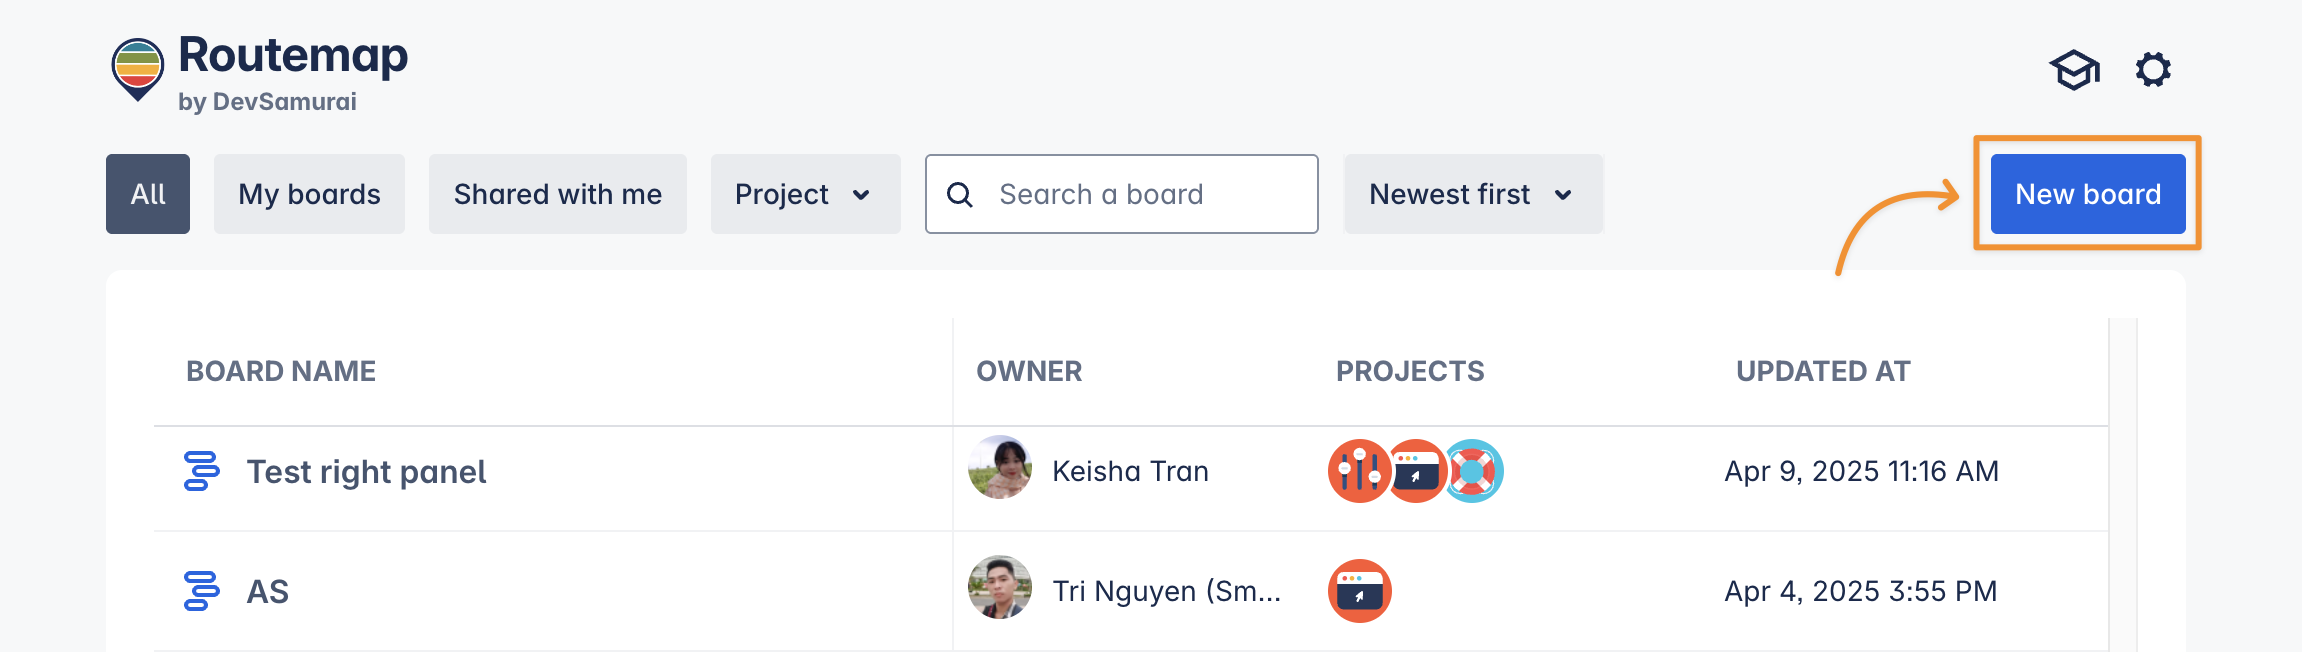
Step 1: Locate the New board button
From your board list, click the “New board” button.
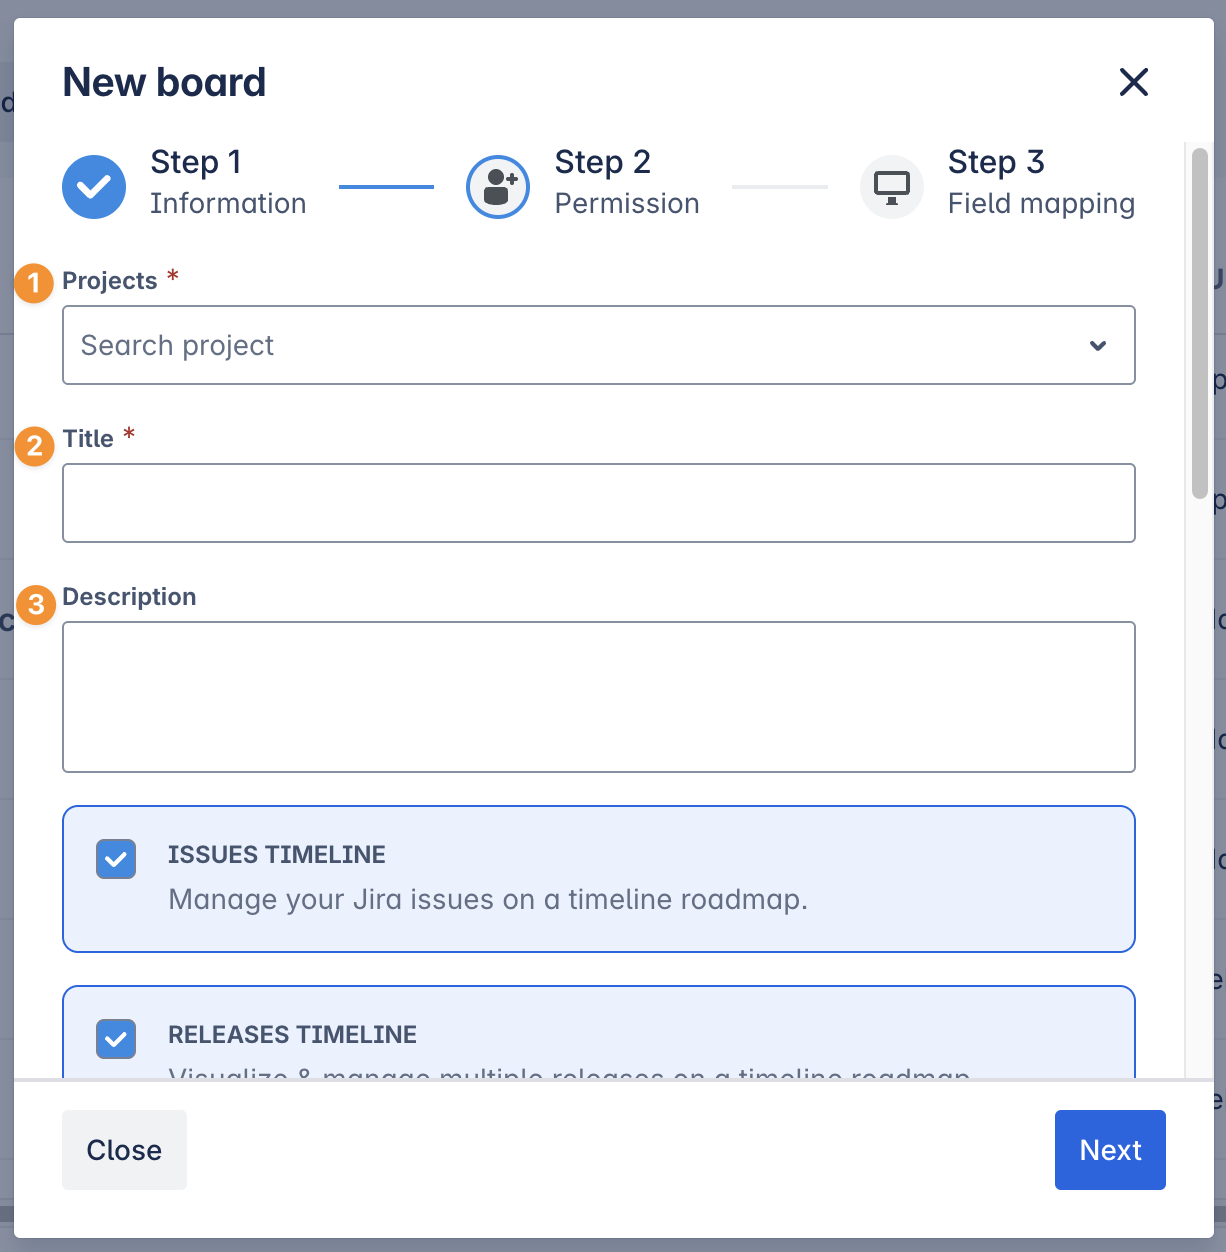
Step 2: Fill in the board information
1. Projects: regarding the projects that you’re working on. You can add multiple projects to one roadmap for ease of management.
2. Title: this is the name of the roadmap.
3. Description: provide additional information to better describe the roadmap. You can leave this box empty if your roadmap does not need any clarification.
Step 3: Select features for your new Routemap board
This shows which features will appear in the roadmap.
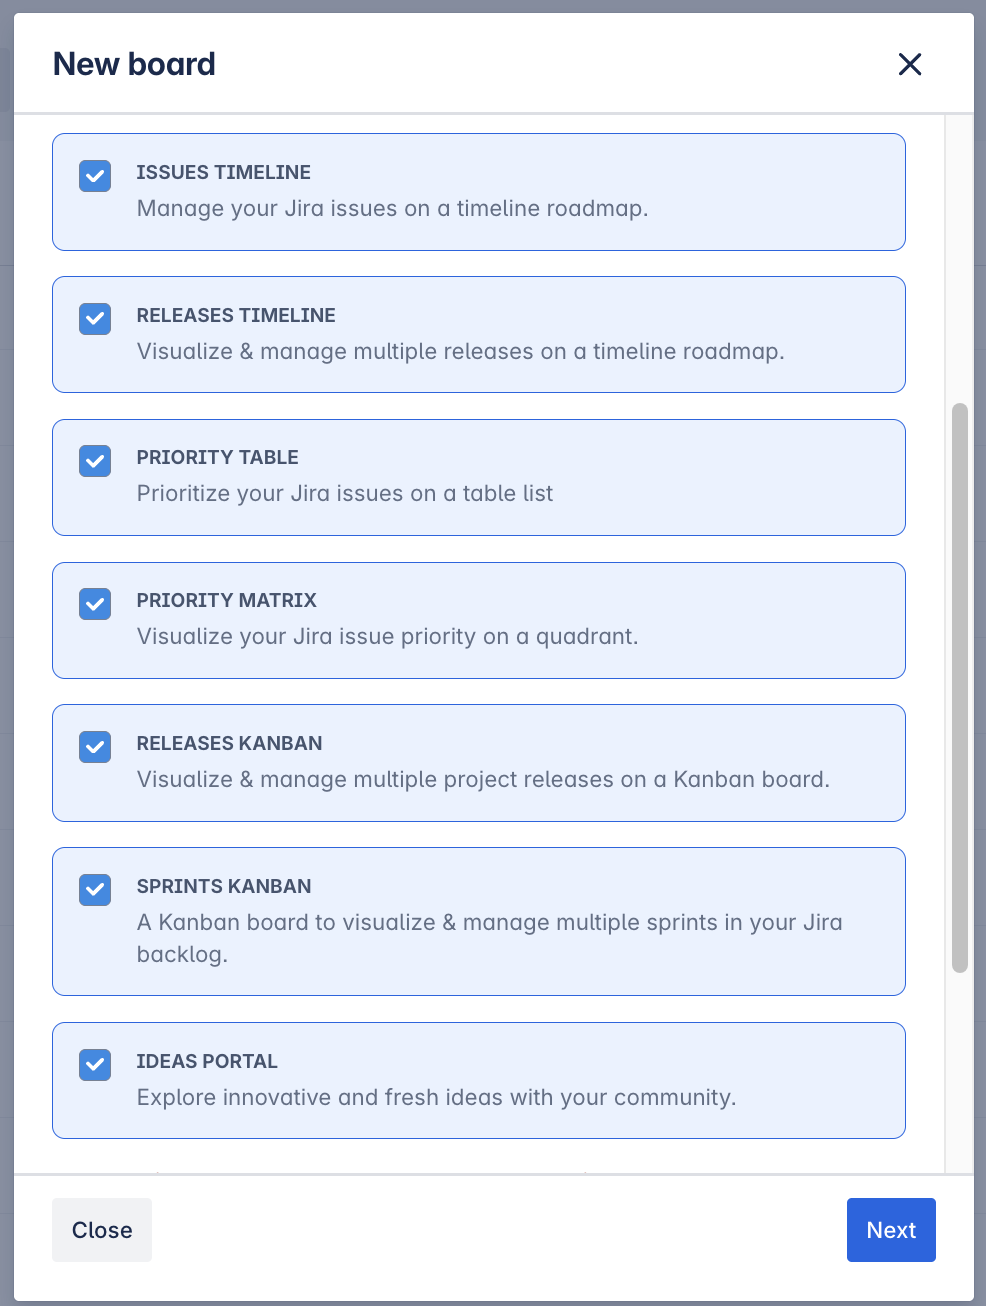
At default, all features are selected. If you don’t want to use a specific feature and keep your roadmap tidy, just uncheck the feature box accordingly.
However, we suggest you leave all features checked for a complete experience!
Learn More: all .
Step 4: Set the Start date & End date for the board
You can decide how long this board lasts to represent the starting date and ending date of your projects.

NOTE
If you want to have a wider range view of all your projects, it is recommended to pick dates far before or after the actual timeline.
Step 5: Decide whether to toggle on Isolated mode or not
If you check this box, this new roadmap will NOT synchronize its planned date with other roadmaps of the same project. Instead, it will have its own planned date as a standalone roadmap.

Warning
Once you finish creating the board, this option cannot be modified.
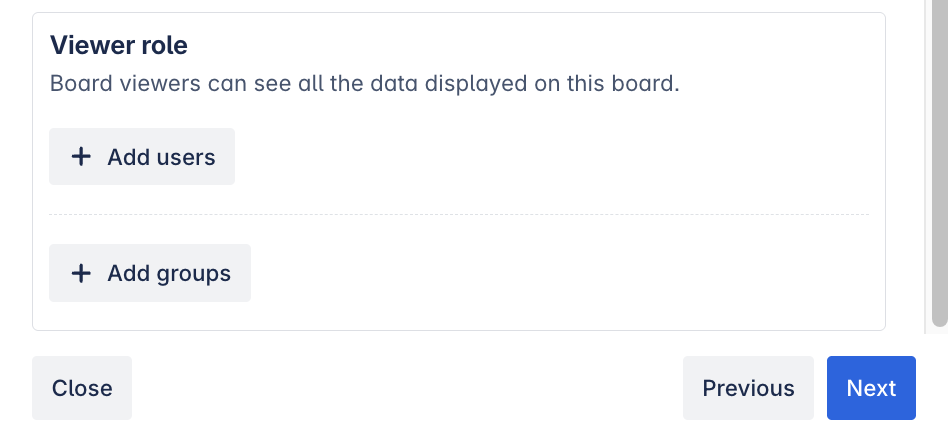
Step 6: Set permission
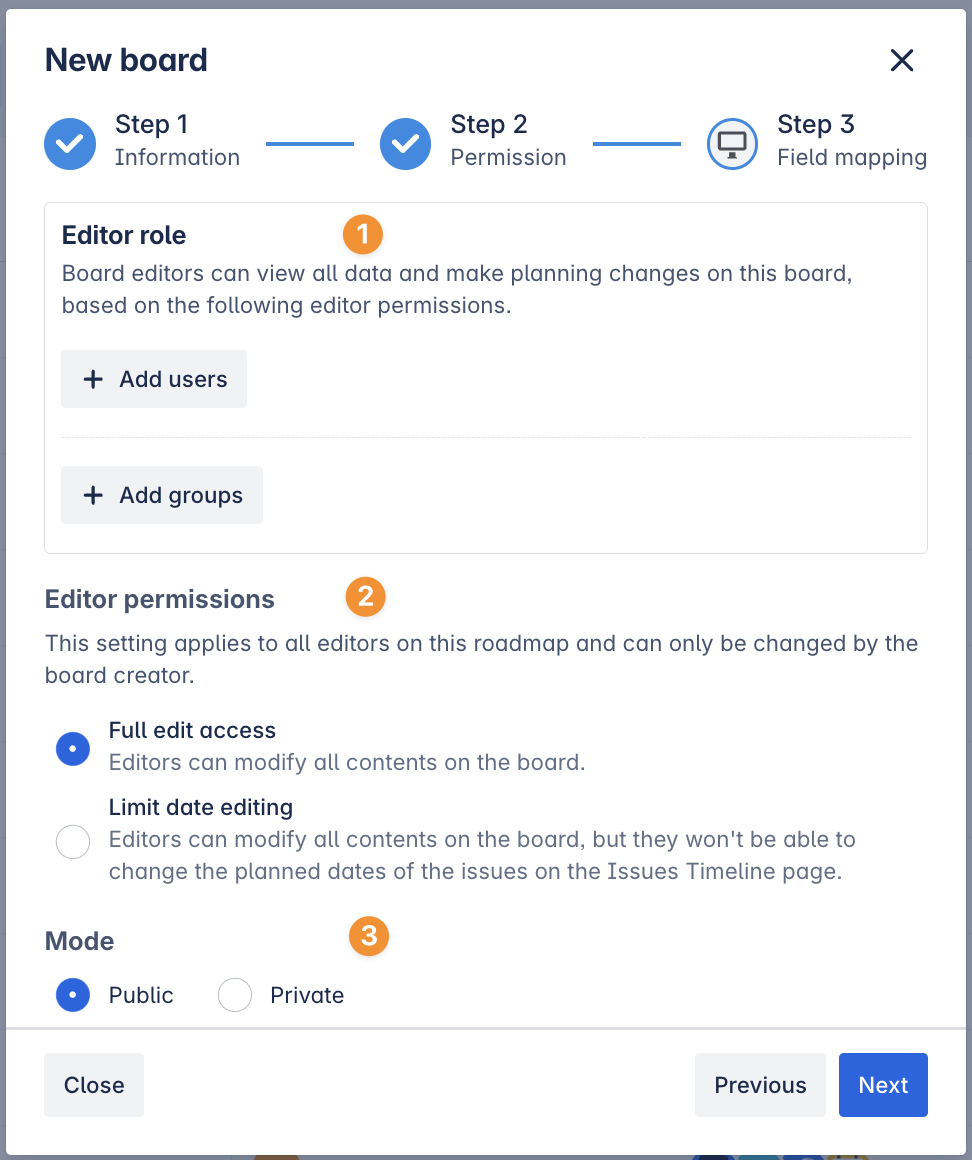
1. Editor role: this will allow users or groups that you add to have full permission to edit this roadmap like you.
2. Editor permissions: this option allows you to decide if all users (who are added to the Editor role) have either full edit access or limited date editing capabilities.
3. Mode:
-
Public: this will allow other members of your team to see this roadmap in the roadmap board list.
-
Private: this mode will make this new roadmap visible to ONLY its creator and invited users in the Viewer role.
Step 7: Fields mapping
The Start date, End date, and Progress of the roadmap can be mapped with the Jira fields when creating a new roadmap or editing it after that.
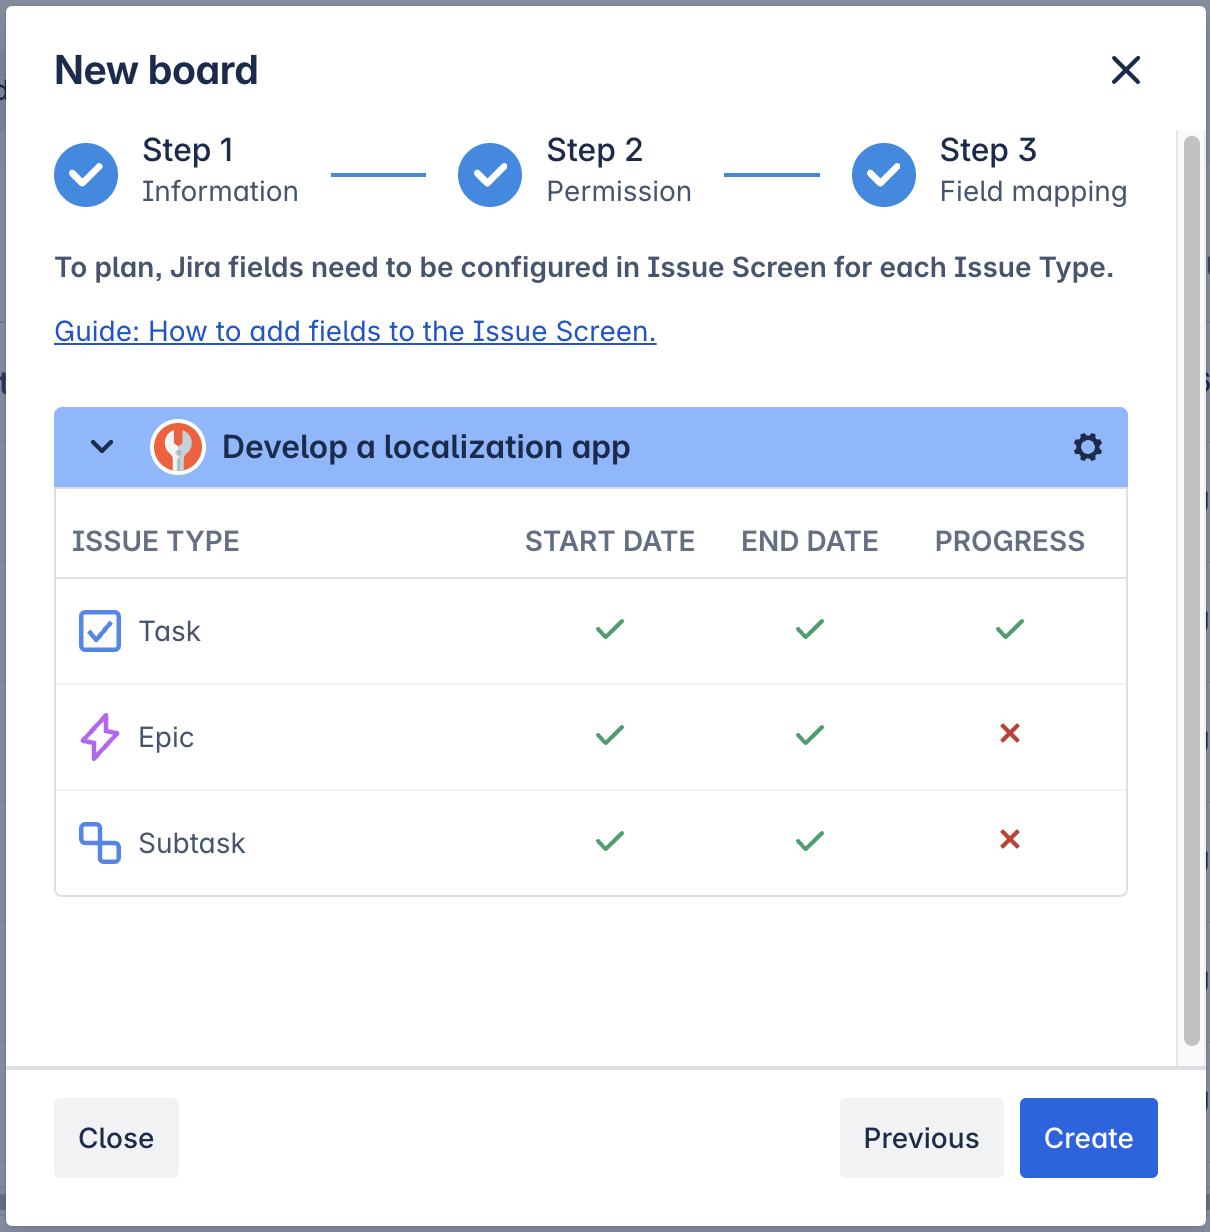
Additionally, you can also decide to add multiple projects to one roadmap for better management.
Currently, Routemap supports users to make field mapping with Date time.
REMINDER: Please note that the mapped fields must be present on the Jira issue screen. If not, the data of the project CANNOT synchronize with Jira.
Although you can still use Routemap without field mapping, the setup process is recommended to avoid losing any data.
For more details
Please go to the Fields mapping section for more information.
Congratulations! You’ve gone through all the basics of Routemap for Jira.
To learn more about the details of each feature, please visit the step-by-step User Guide.
Happy roadmapping!