.png)
Once your work types are configured, the next step is to create a CRM project. A CRM project functions as an actual Jira business project, providing dedicated CRM boards for managing your data. This means you can use all Jira features — boards, workflows, reports, and permissions — while also managing CRM-specific items.
Start a New Project
On the Sales & CRM homepage, click ![]()
-
Project Name – Enter the name of your CRM project (e.g., Sales Team Pipeline).
-
Project Key – A short, unique key that will prefix all issue IDs (e.g., Sales Team Pipeline → STP).
Begin Managing CRM Data
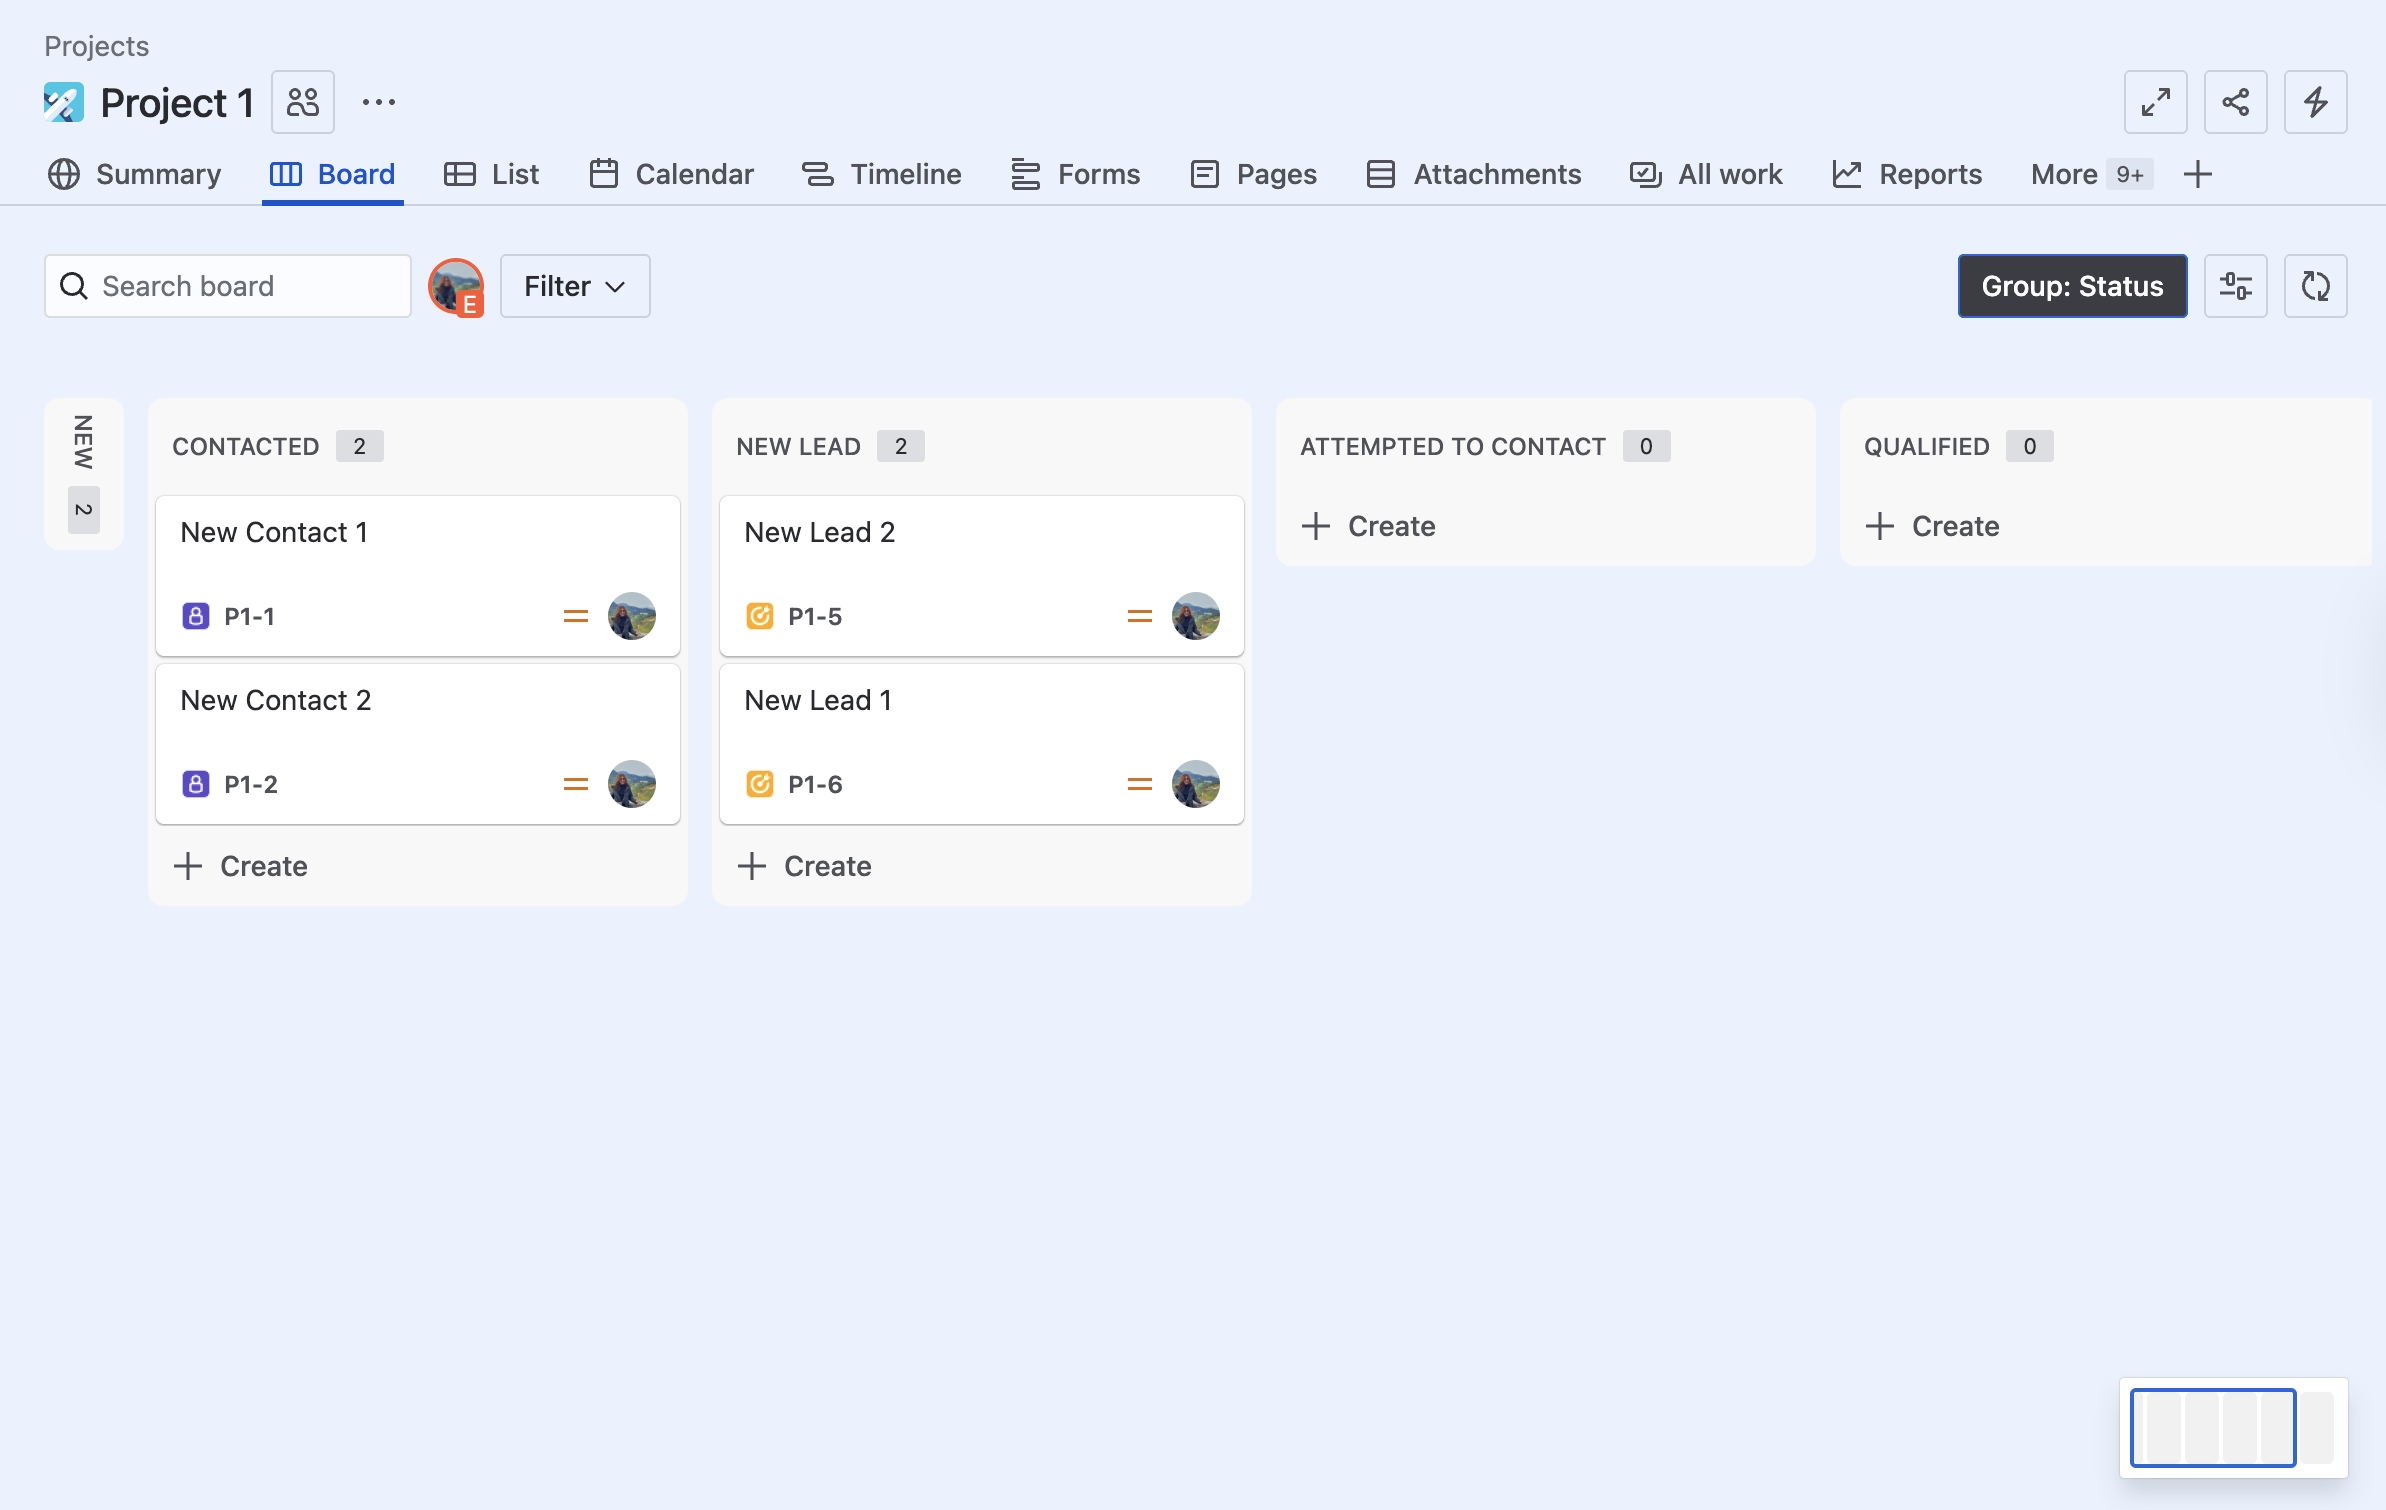
Once created, within the project, you’ll find four dedicated CRM boards that align with your work types:
-

-

-

-

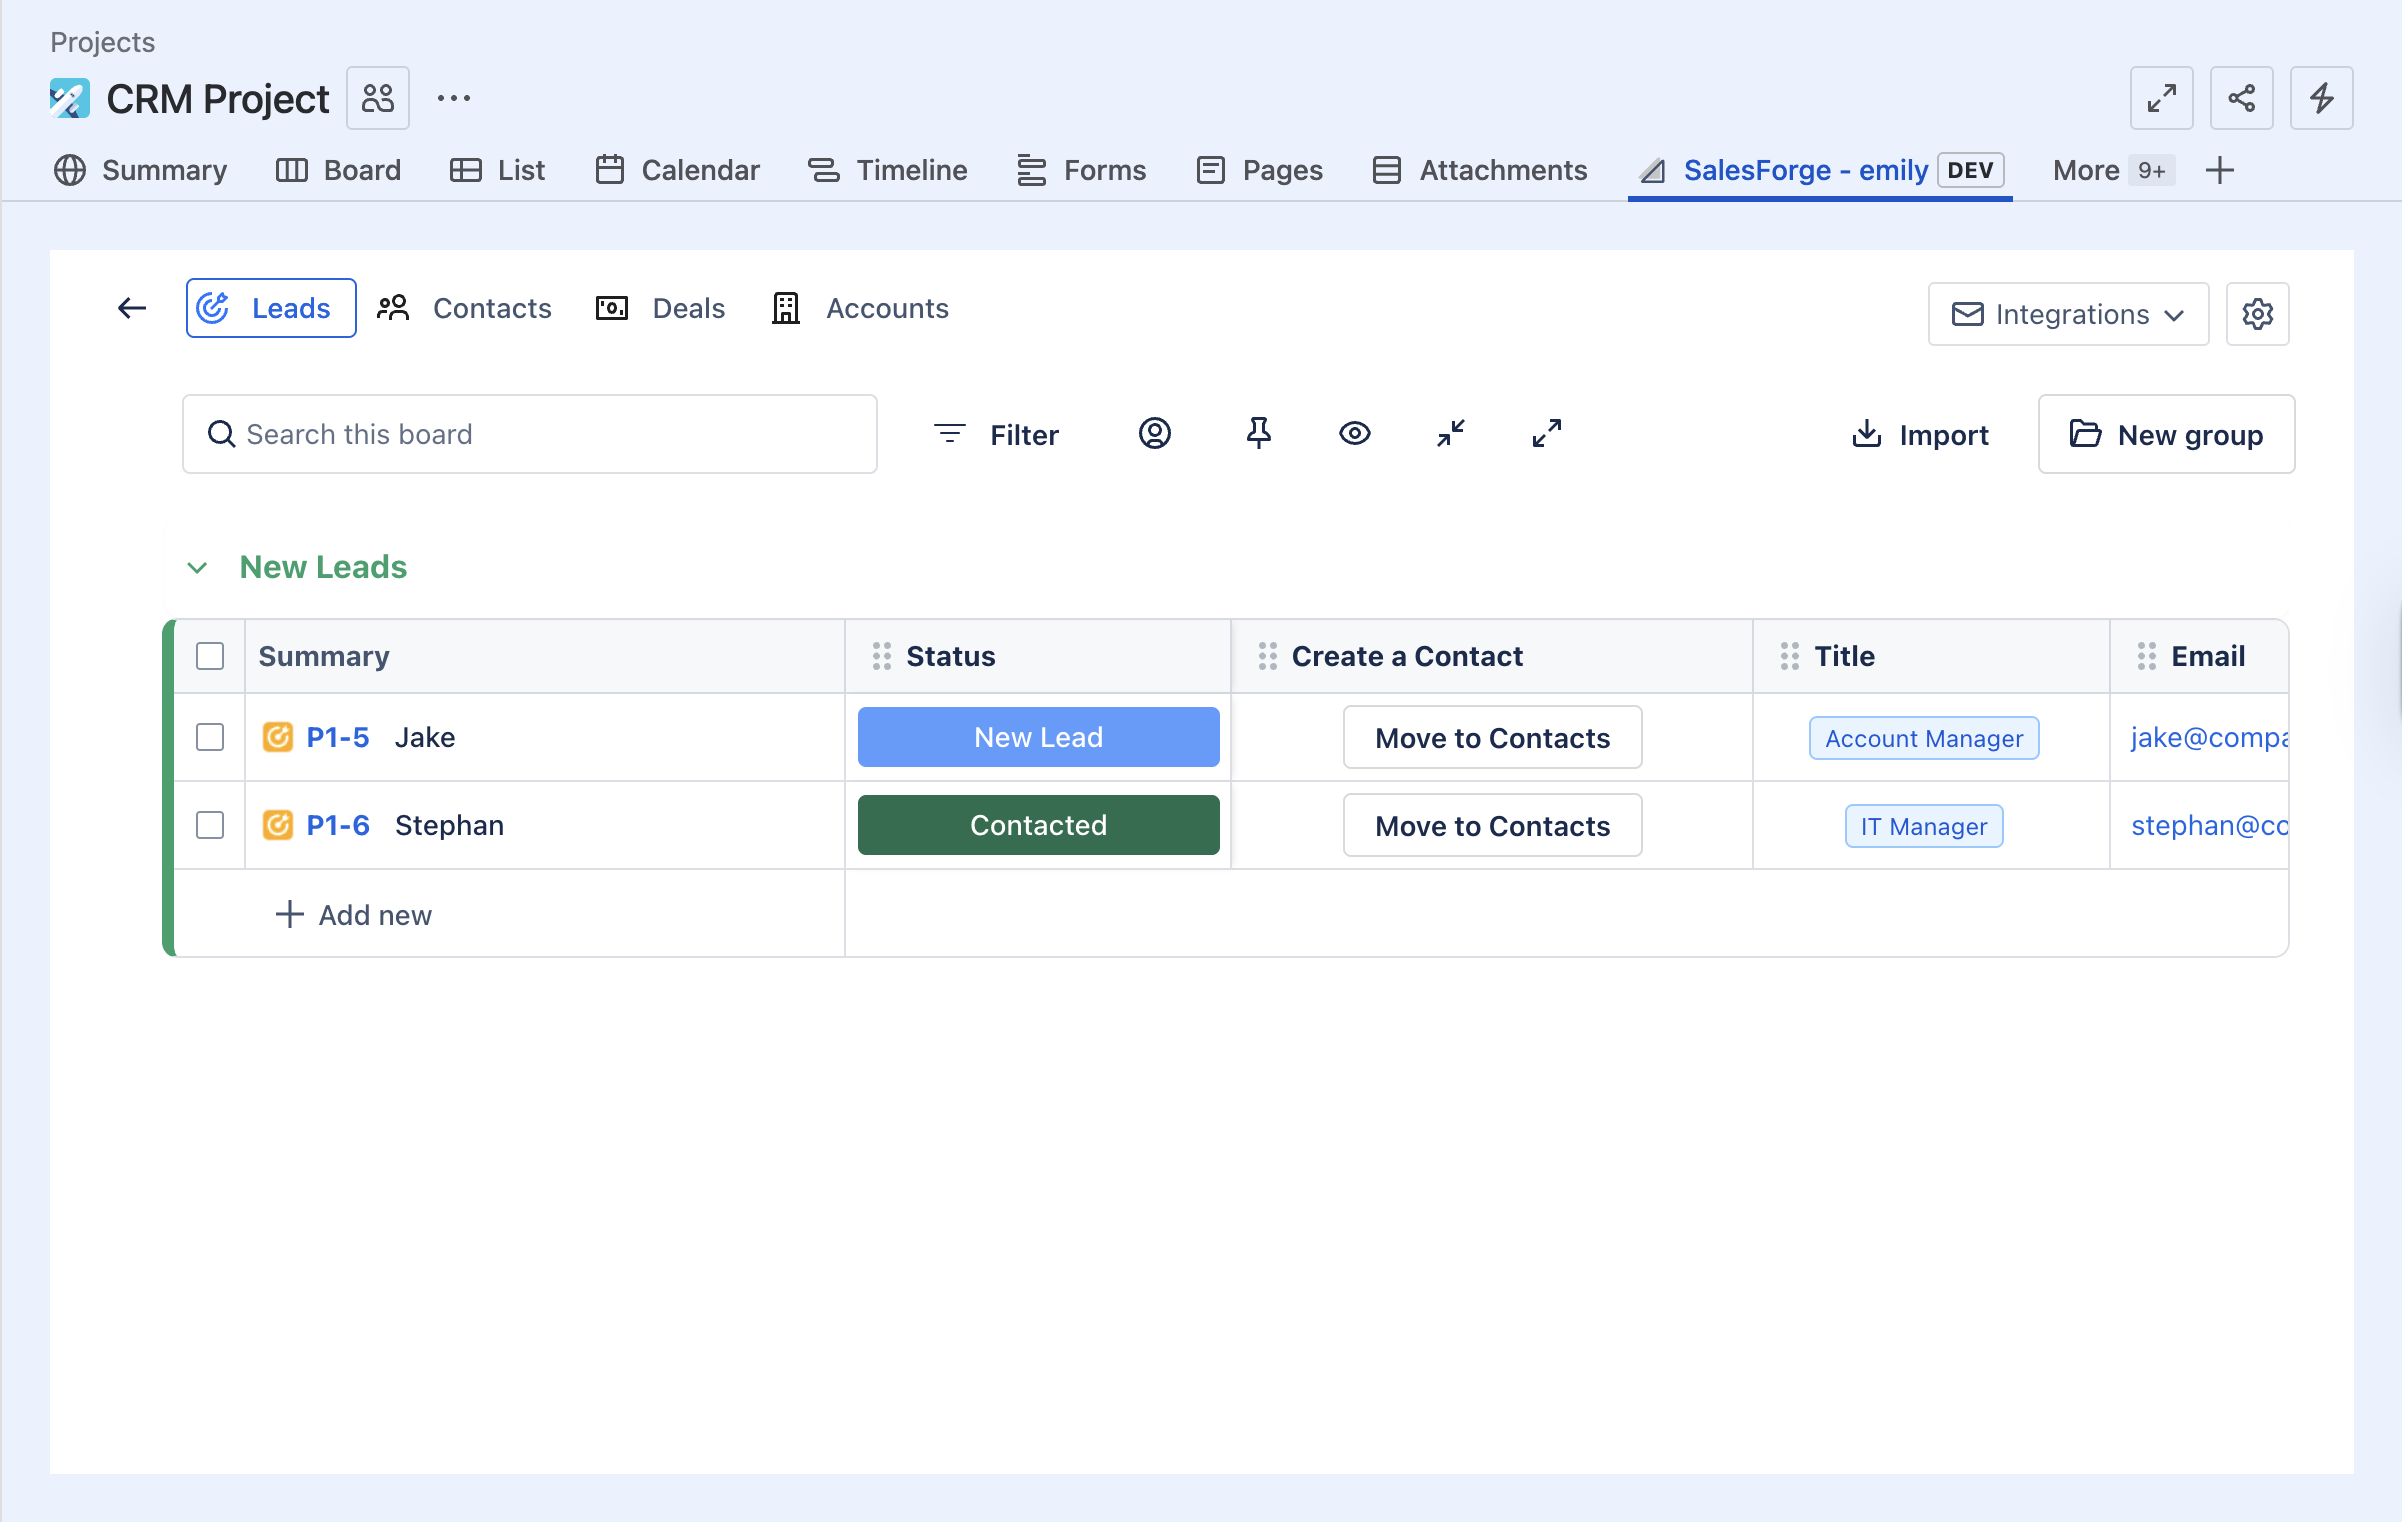
From here, you can start adding items to any of the CRM boards.
Tip: Each CRM item you create ( ![]()
![]()
![]()
![]()
For example, Leads move through stages such as New Lead → Attempted to Contact → Qualified , giving you full visibility into your pipeline directly within Jira.