Personal Settings
Personal Settings in TimePlanner allow you to update your personal and professional information, which is used across TimePlanner. It also helps define how you work, who manages your timesheets and leave requests, and how you receive important updates. These settings ensure your schedule, availability, and communication preferences are aligned with your actual work habits and team structure.
Access Your Personal Settings
From the left-hand menu, click on "[Your name] - My Profile".
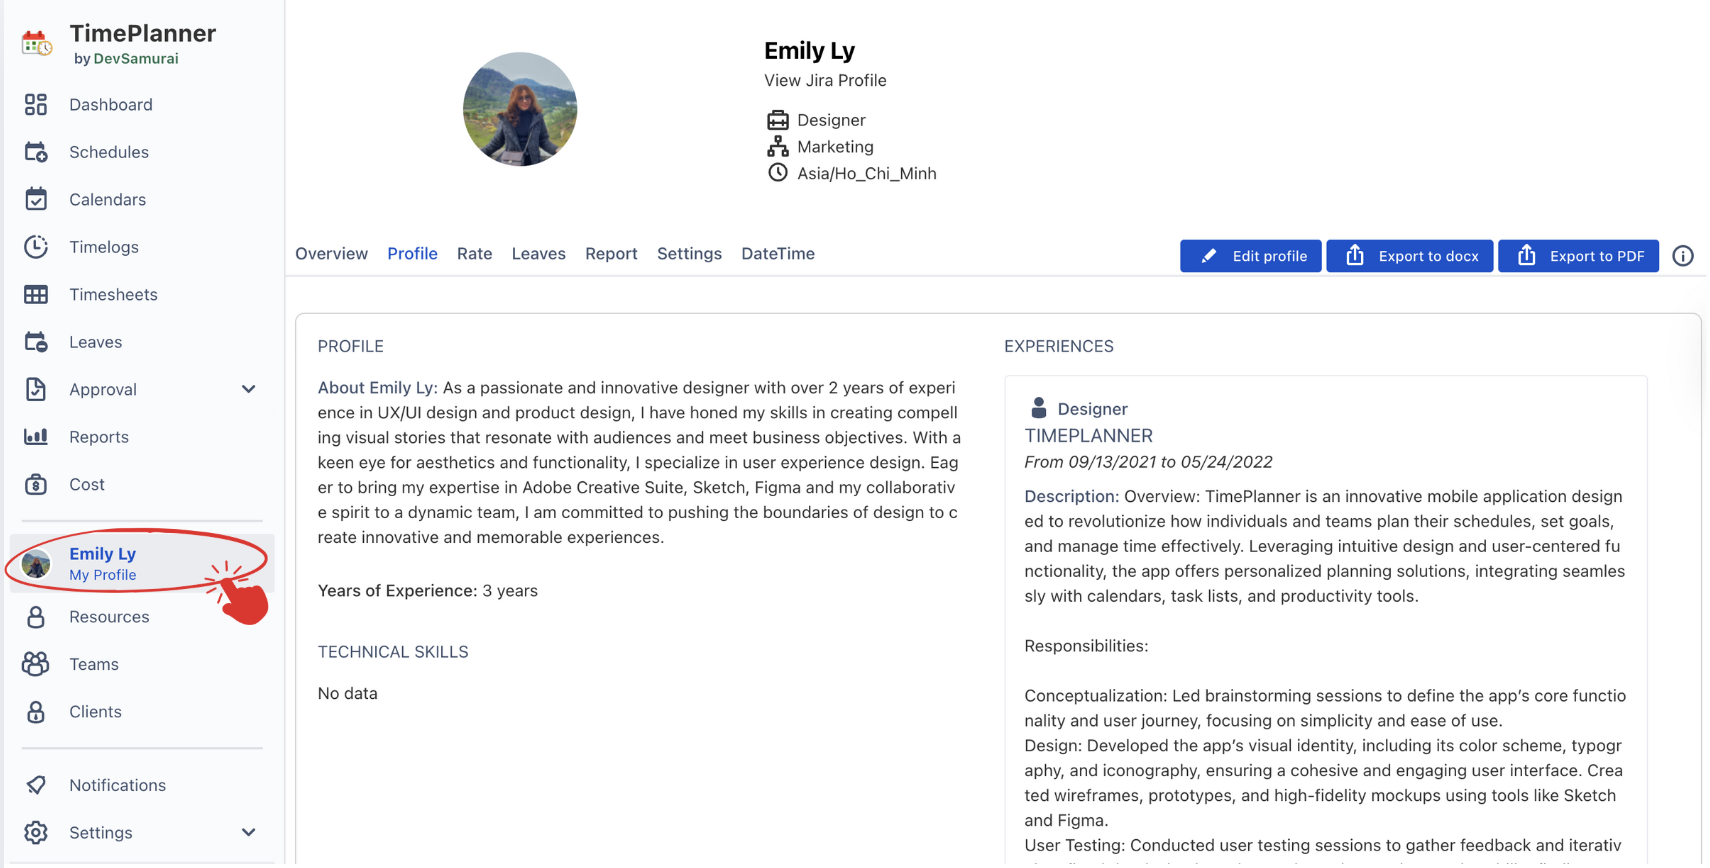
This will open your profile page with tabs including:
Overview: See your personal time usage across selected projects and dates, including scheduled, logged, and remaining capacity.
Profile: View and update your job title, department, years of experience, and technical skills.
Leaves: Submit new leave requests and track leave status, remaining days, and taken days.
Report: Access quick visual reports showing your scheduled hours, logged time, capacity, and any gaps.
Settings: Set your working hours, default approvers, holiday calendar, and notification preferences.
Configuring Personal Settings
1. Edit Profile Information
Navigate to the  tab to update your personal and professional details.
The Profile tab includes:
Years of Experience: Input your total experience to keep your profile up to date.
Technical Skills: Add relevant technical skills that describe your capabilities.
Experiences: Include job roles, responsibilities, or project highlights.
How to Update Your Profile:
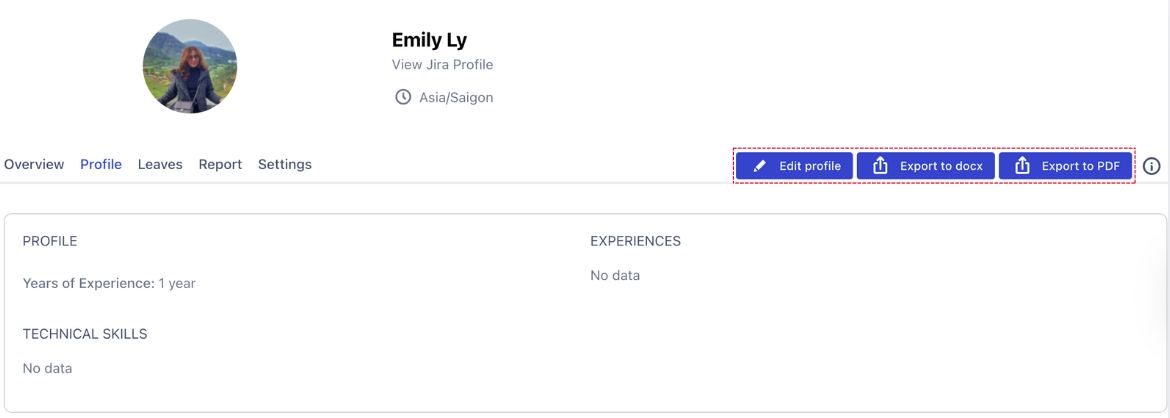
To update your profile information, click the  button on the top right to make changes.
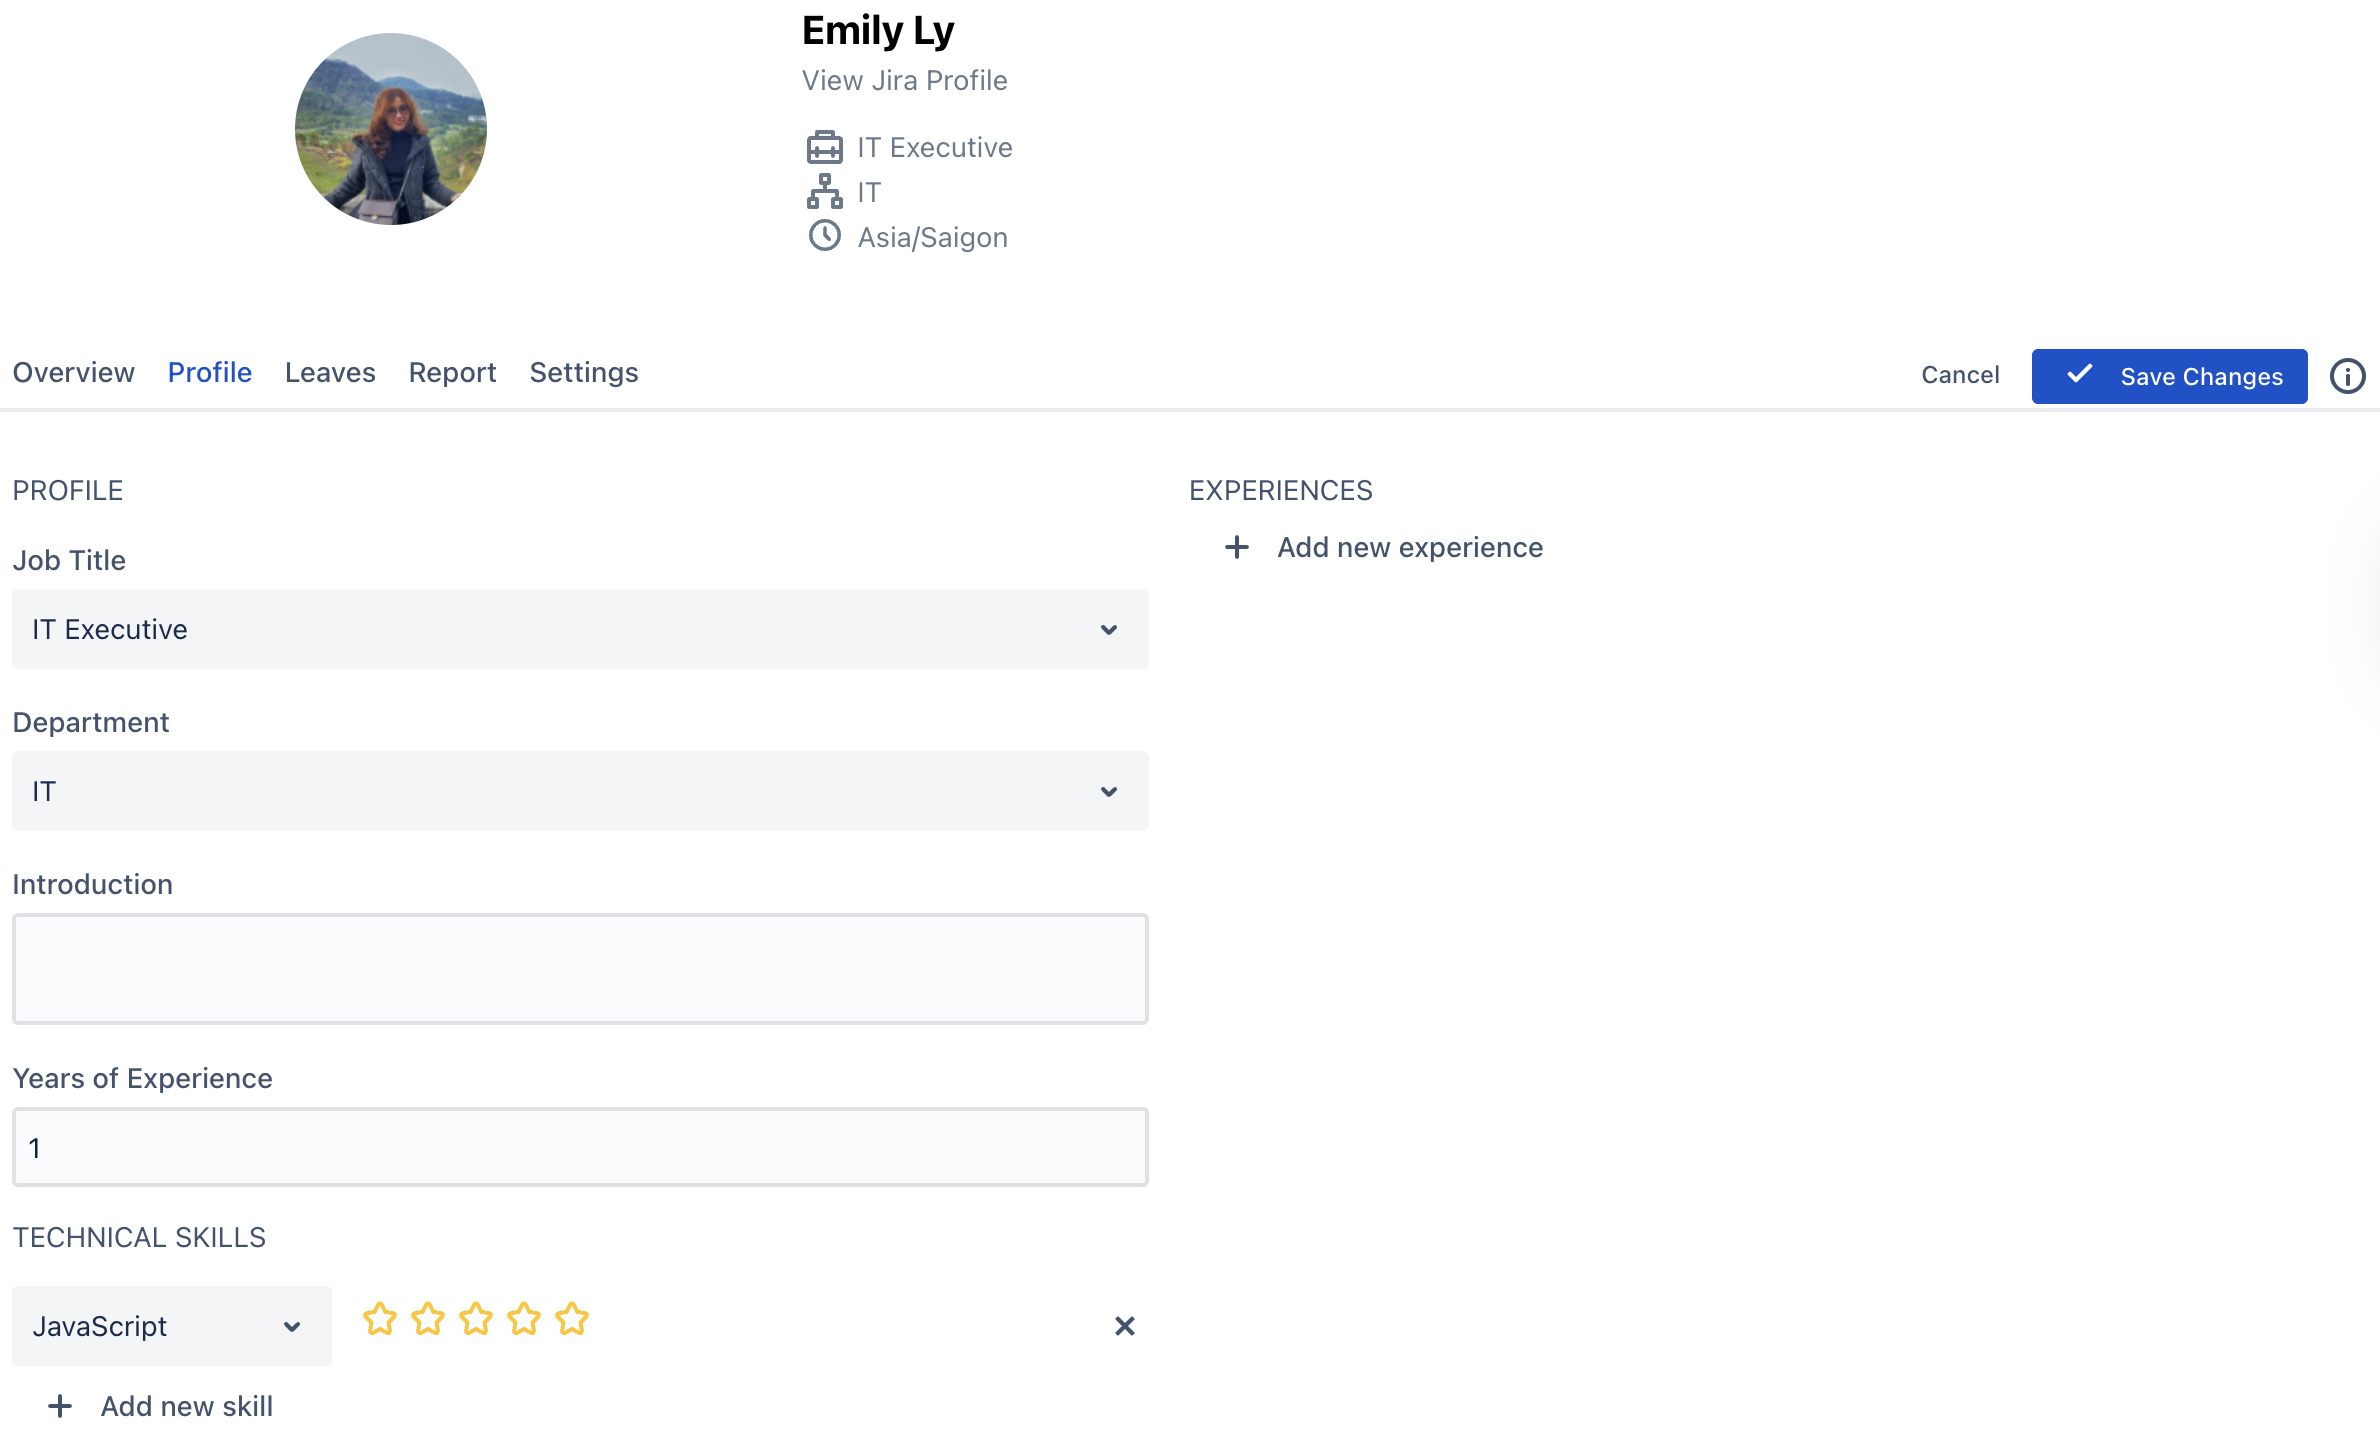
Job Title: Click the dropdown to select your current role (e.g., IT Executive).
Department: Click the dropdown to choose your department (e.g., IT).
Introduction: Optionally, add a short description or summary about yourself.
Years of Experience: Enter your total professional experience in years.
Under Technical Skills:
Use the dropdown to select a skill (e.g., JavaScript).
Rate your proficiency using the star icons.
Click
 to include additional skills as needed.
The options available in the dropdown menus—such as Job Titles, Departments, and Skills—are managed by users with App Admin permission, set up in the Data Field section under Settings.
To learn more about how this works, see the Data Field Guide.
Under Experiences (optional):
Click
 to enter relevant work or project history.
Once finished, click
 .
.
You can also export your profile by selecting Export to DOCX or Export to PDF.
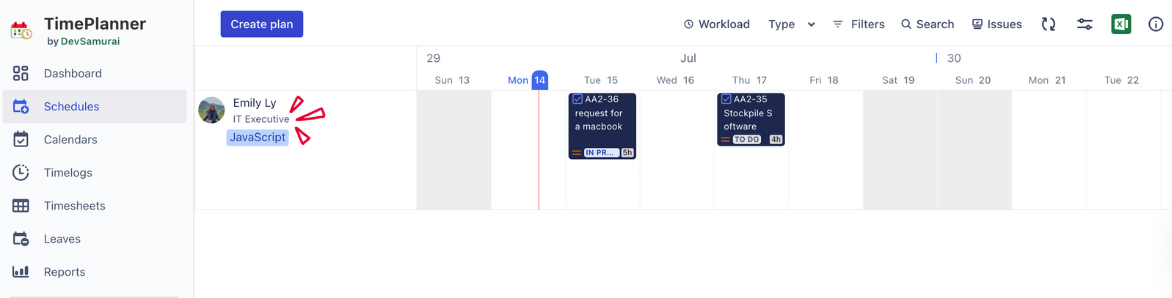
Did you know?
Your updated profile information will appear under your name on the Schedule Board:
2. Configure Settings
Go to the  tab to set your working schedule, notification preferences, and approvers.
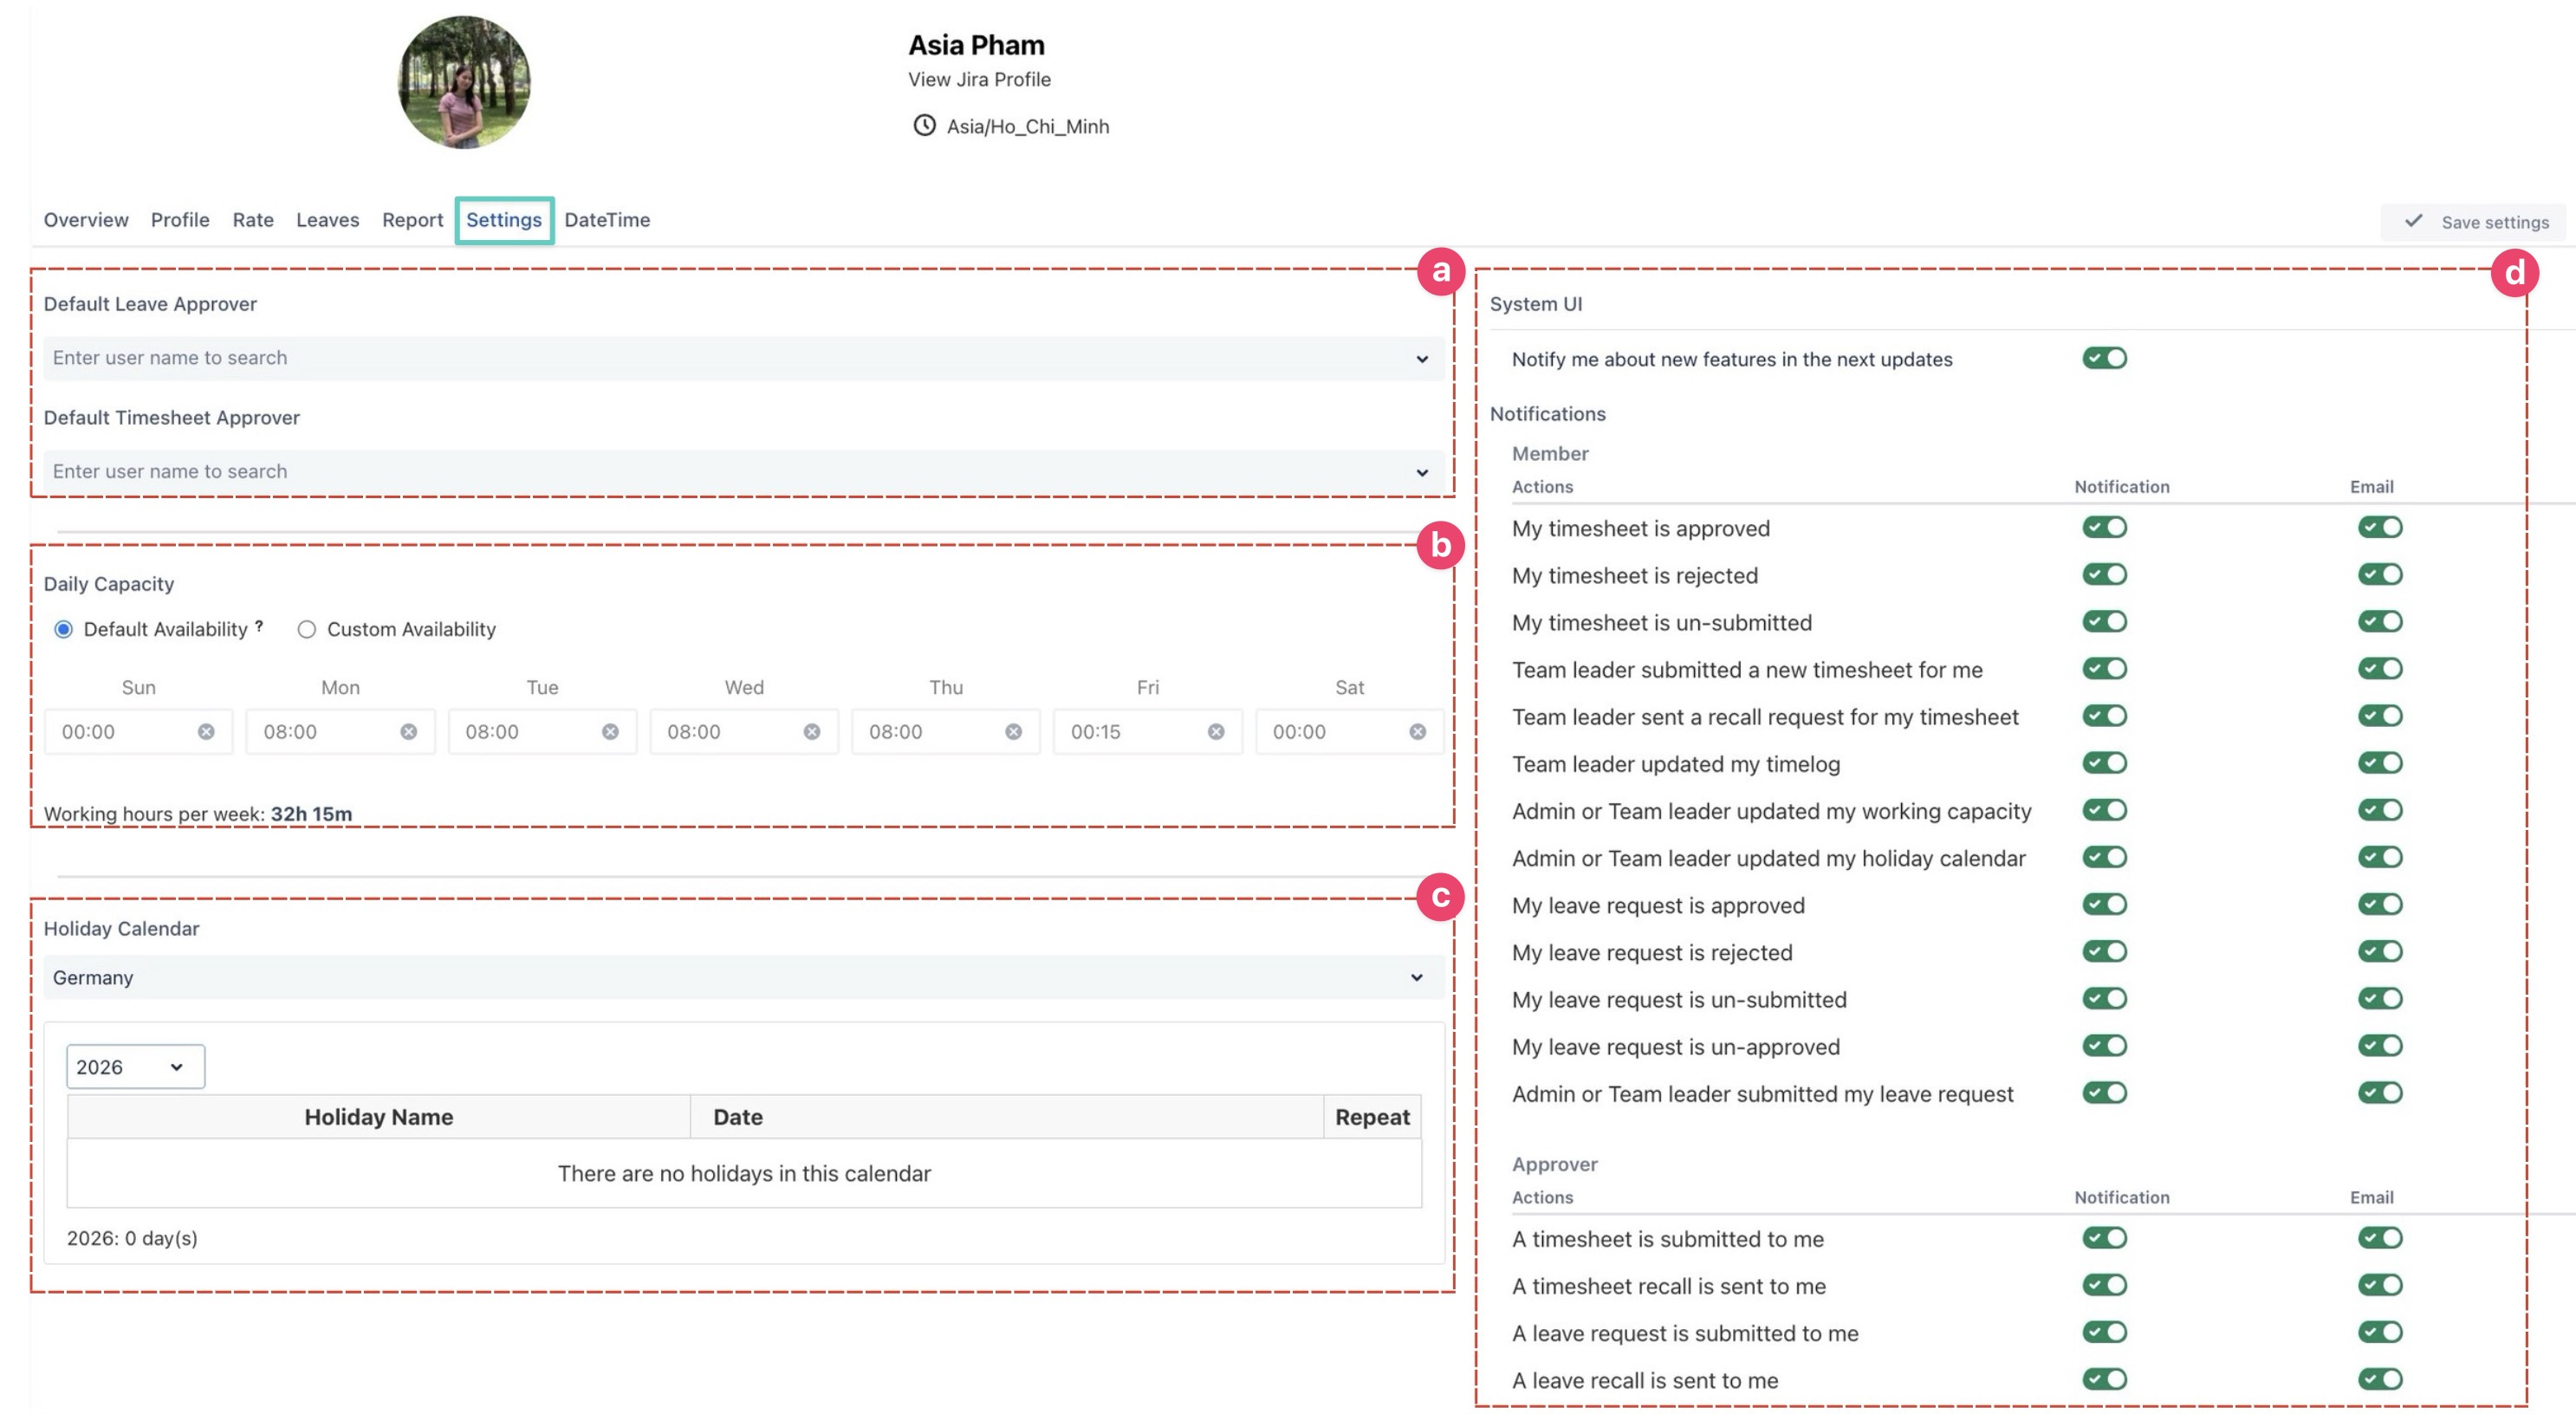
Key Settings:
a. Default Approvers
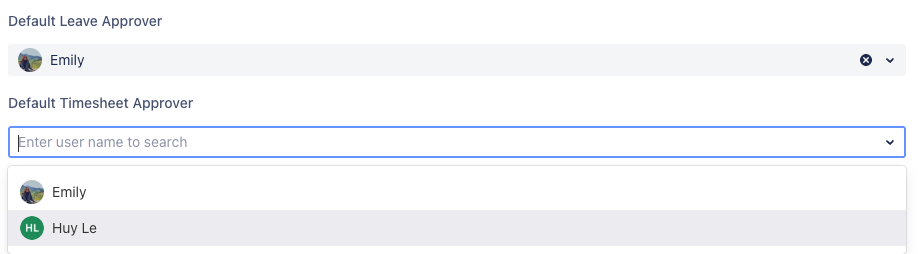
Leave Approver: Enter a username to set the default person who approves your leave requests.
Timesheet Approver: Enter a username to set the default person who approves your timesheet.
You can only search and assign users who have the Approver permission. For more information, refer to the Permission Guide.
b. Daily Capacity
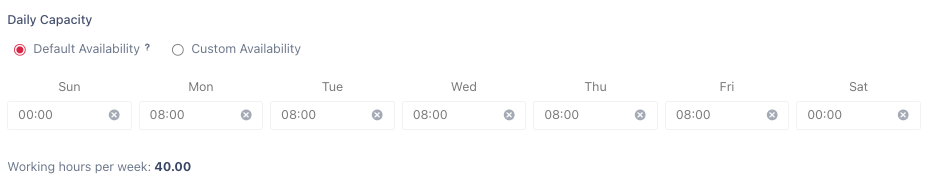
Choose between:
Default Availability: Standard working hours are set (e.g., 08:00 Monday–Friday).
Custom Availability: Set your own working hours per day.
Working hours are calculated weekly (e.g., 40.00 hours/week).
c. Holiday Calendar
This shows holidays based on the selected Holiday Calendar, which helps ensure your leave and availability are consistent with organizational expectations.
You can choose which holiday calendar applies to your working schedule.
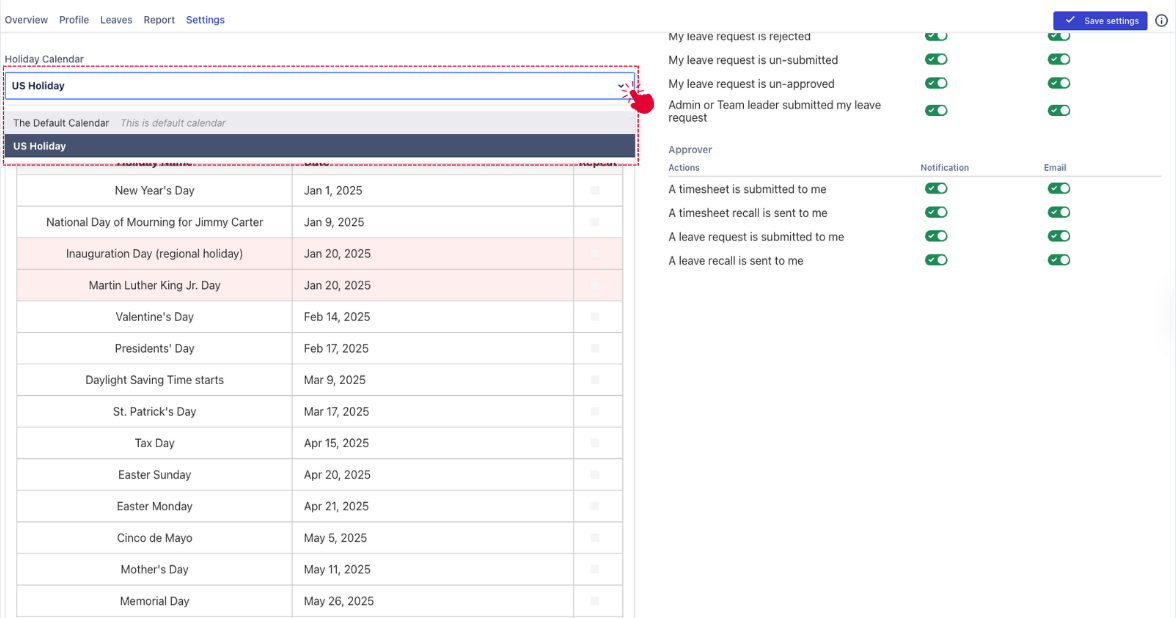
Select a holiday scheme (e.g., US Holiday) that matches your location or organizational policy.
Once selected, holidays from that calendar will automatically reflect in your time planning and capacity calculations.
Daily Capacity and Holiday Calendar are created and maintained by users with App Admin permission.
d. Notification Preferences
System UI
System UI that lets you enable or disable in-app “What’s New” updates.

Notifications
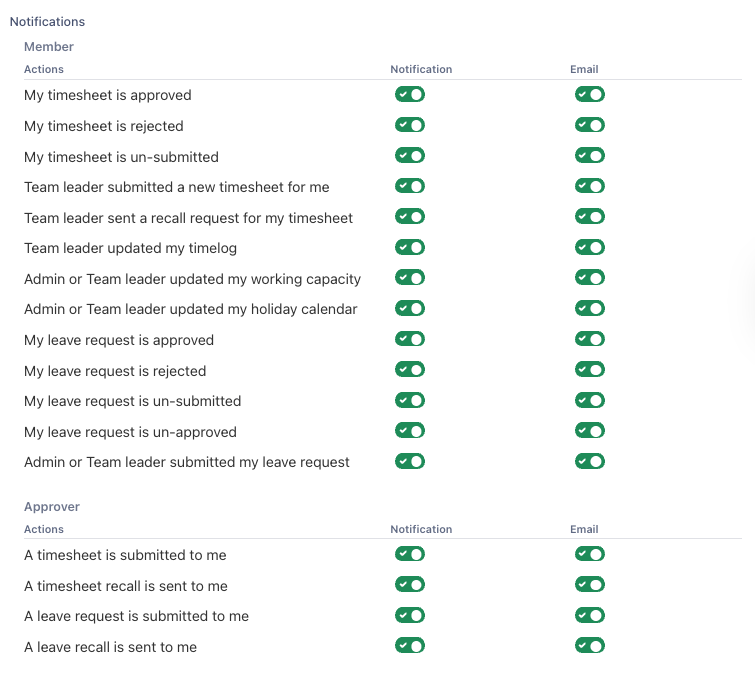
On the right side of the Settings tab, configure what events you want to be notified about and whether notifications should be sent via email.
Notification Types:
You can toggle notifications and emails for events such as:
Timesheet approvals, rejections, or recalls
Team leader updates
Leave requests and approvals
Capacity or holiday calendar changes
Each notification setting has two toggles:
Notification: In-app alerts
Email: Email alerts to your inbox
Review all options and turn on/off according to your preferences. After making any changes under the Settings tab, click ![]() in the top-right corner to apply your updates.
in the top-right corner to apply your updates.
3. Configure Date & Time
Individual users can control how their date, time, and duration values appear across the app.
Select the ![]() tab to customize the date and time format.
tab to customize the date and time format.

Choose between using the system-wide defaults set by the admin or applying your own preferences.
Choose Format Mode
Default Formats: Select this if you want to follow the app administrator’s global settings.
Custom Formats: Choose this if you prefer to see formats in your own style. This will enable dropdowns for you to configure Date, Time, and Duration individually.
Set Your Custom Formats (if selected)
Use the dropdown menu to configure the following options:
Date Format – Select your preferred date format. Here is the list of supported formats:
DD/MM/YYYYMM/DD/YYYYYYYY-MM-DDMMM DD, YYYY
Time Format – Choose between:
12-hour clock (
04:52 PM)24-hour clock (
16:52).
Duration Format – Select how duration is displayed:
Decimal with unit (
3.25h)Readable time (
3h 15m)
Click on
 in the upper right corner to finish.