.png)
In TeamBoard TimePlanner, an event refers to a task or activity that is not tracked as a Jira work item and is not associated with a specific scheduled time within the Jira system. These events are often used to represent non-Jira work, such as meetings, personal appointments, or other activities that need to be visible on the board but don't require detailed tracking as Jira work items.
Creating Events
You can create an event via the Planning Dialog. Follow these steps:
step 1 Open the Planning Dialog:
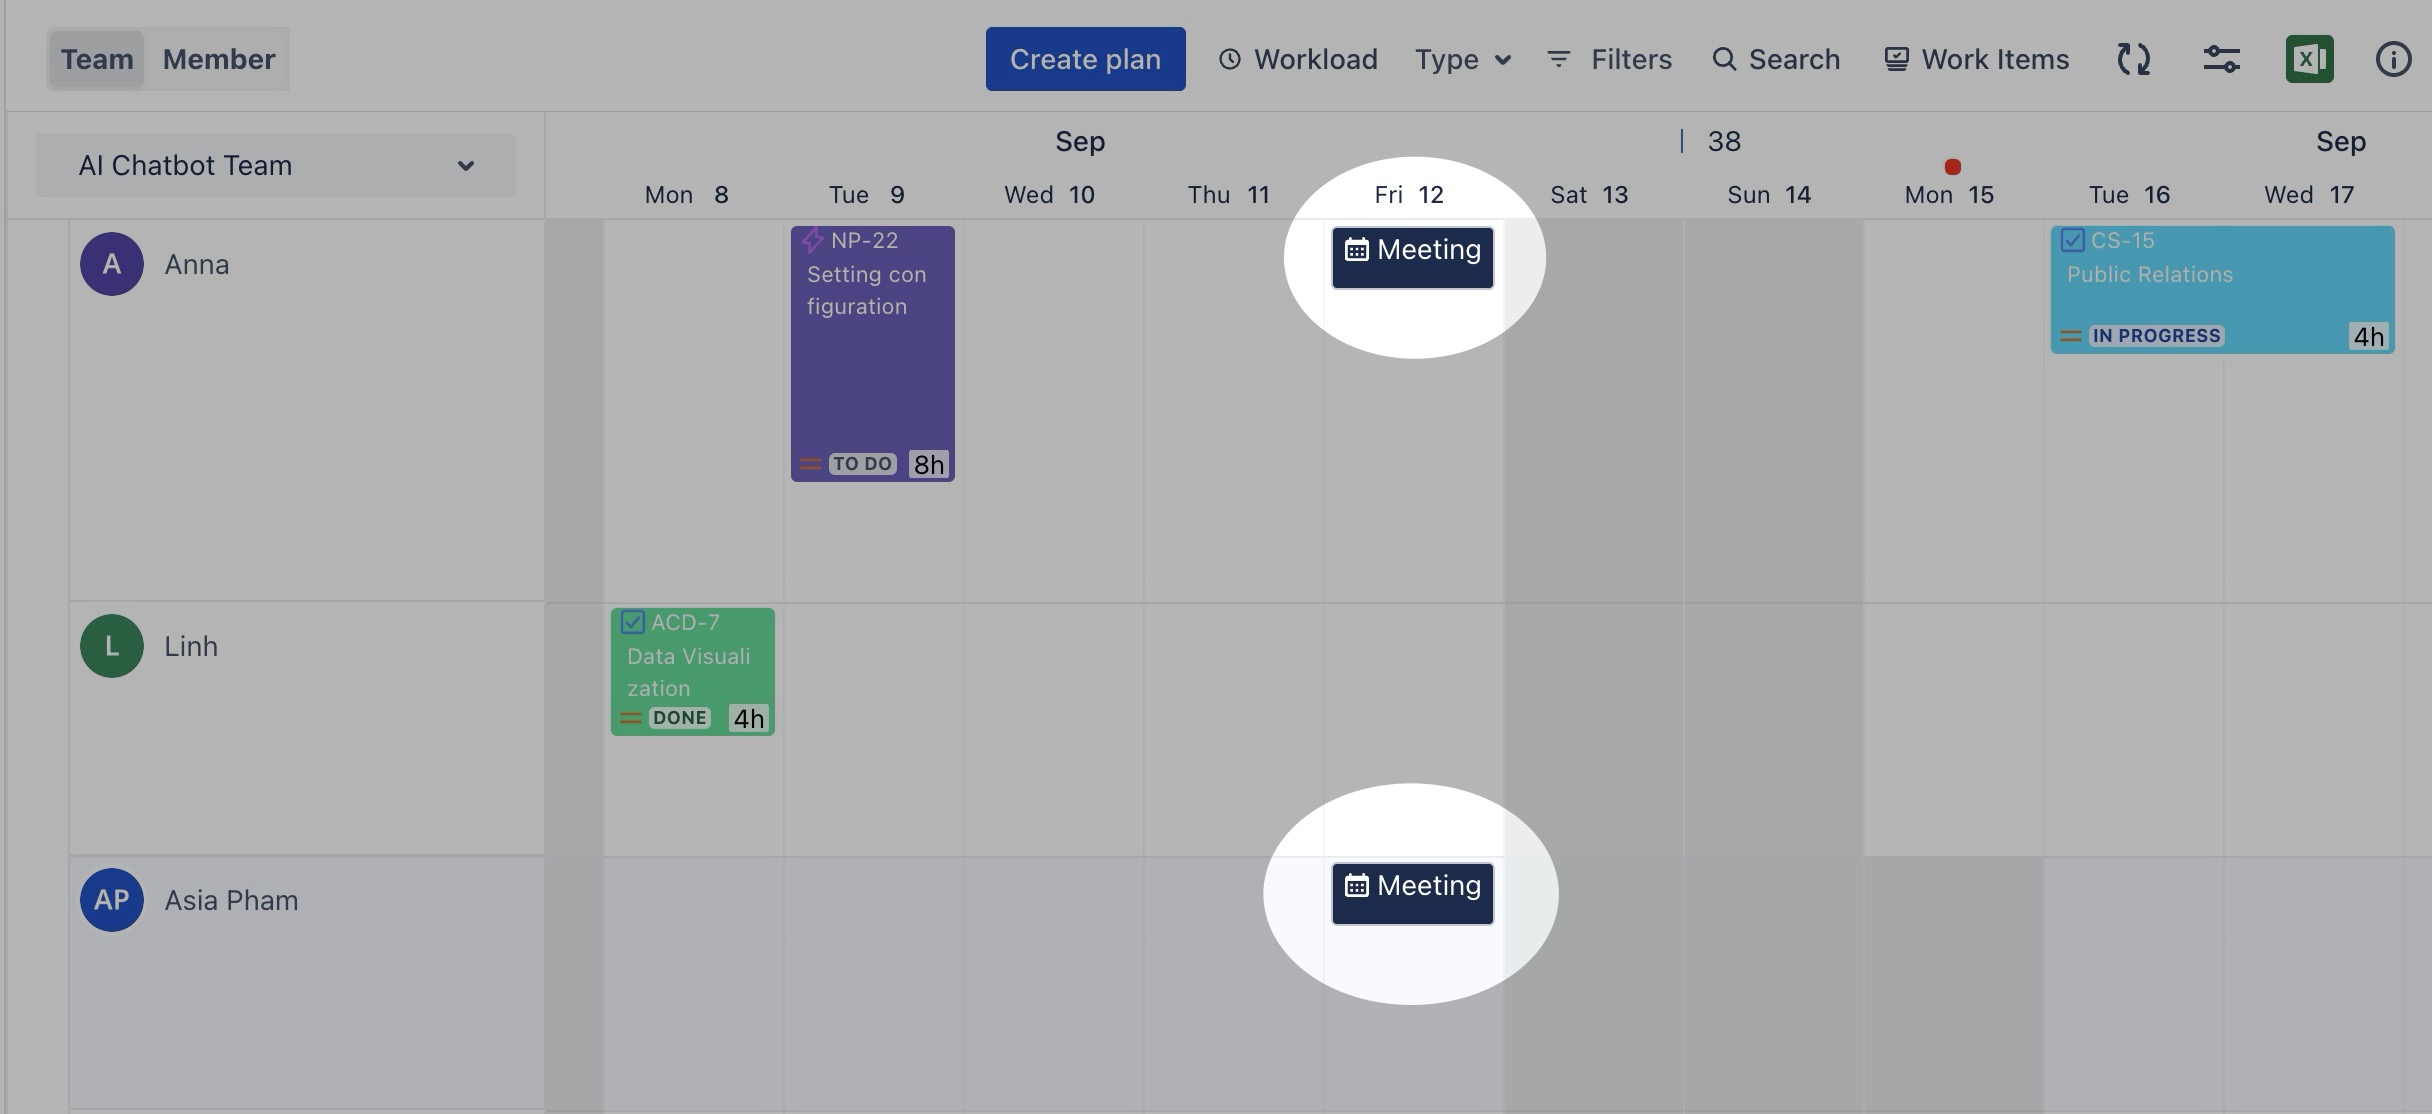
From the Schedule Board, you can open the Planning Dialog in two ways:
Click ![]()
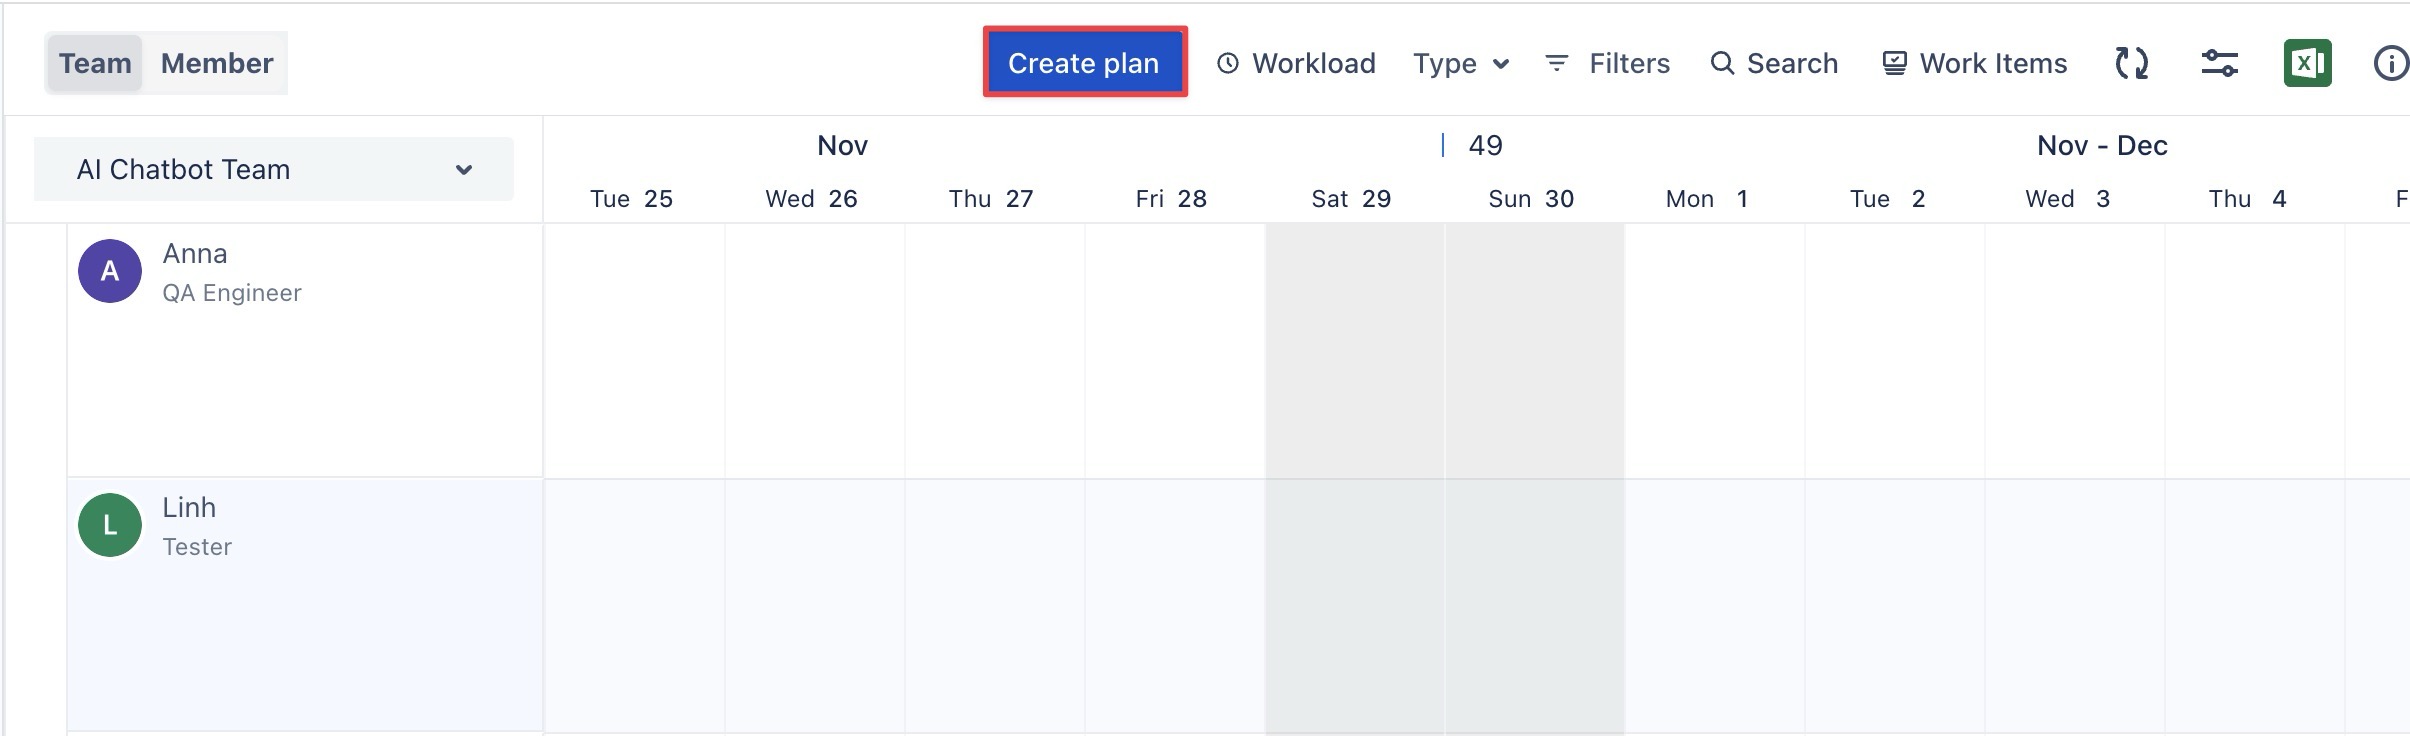
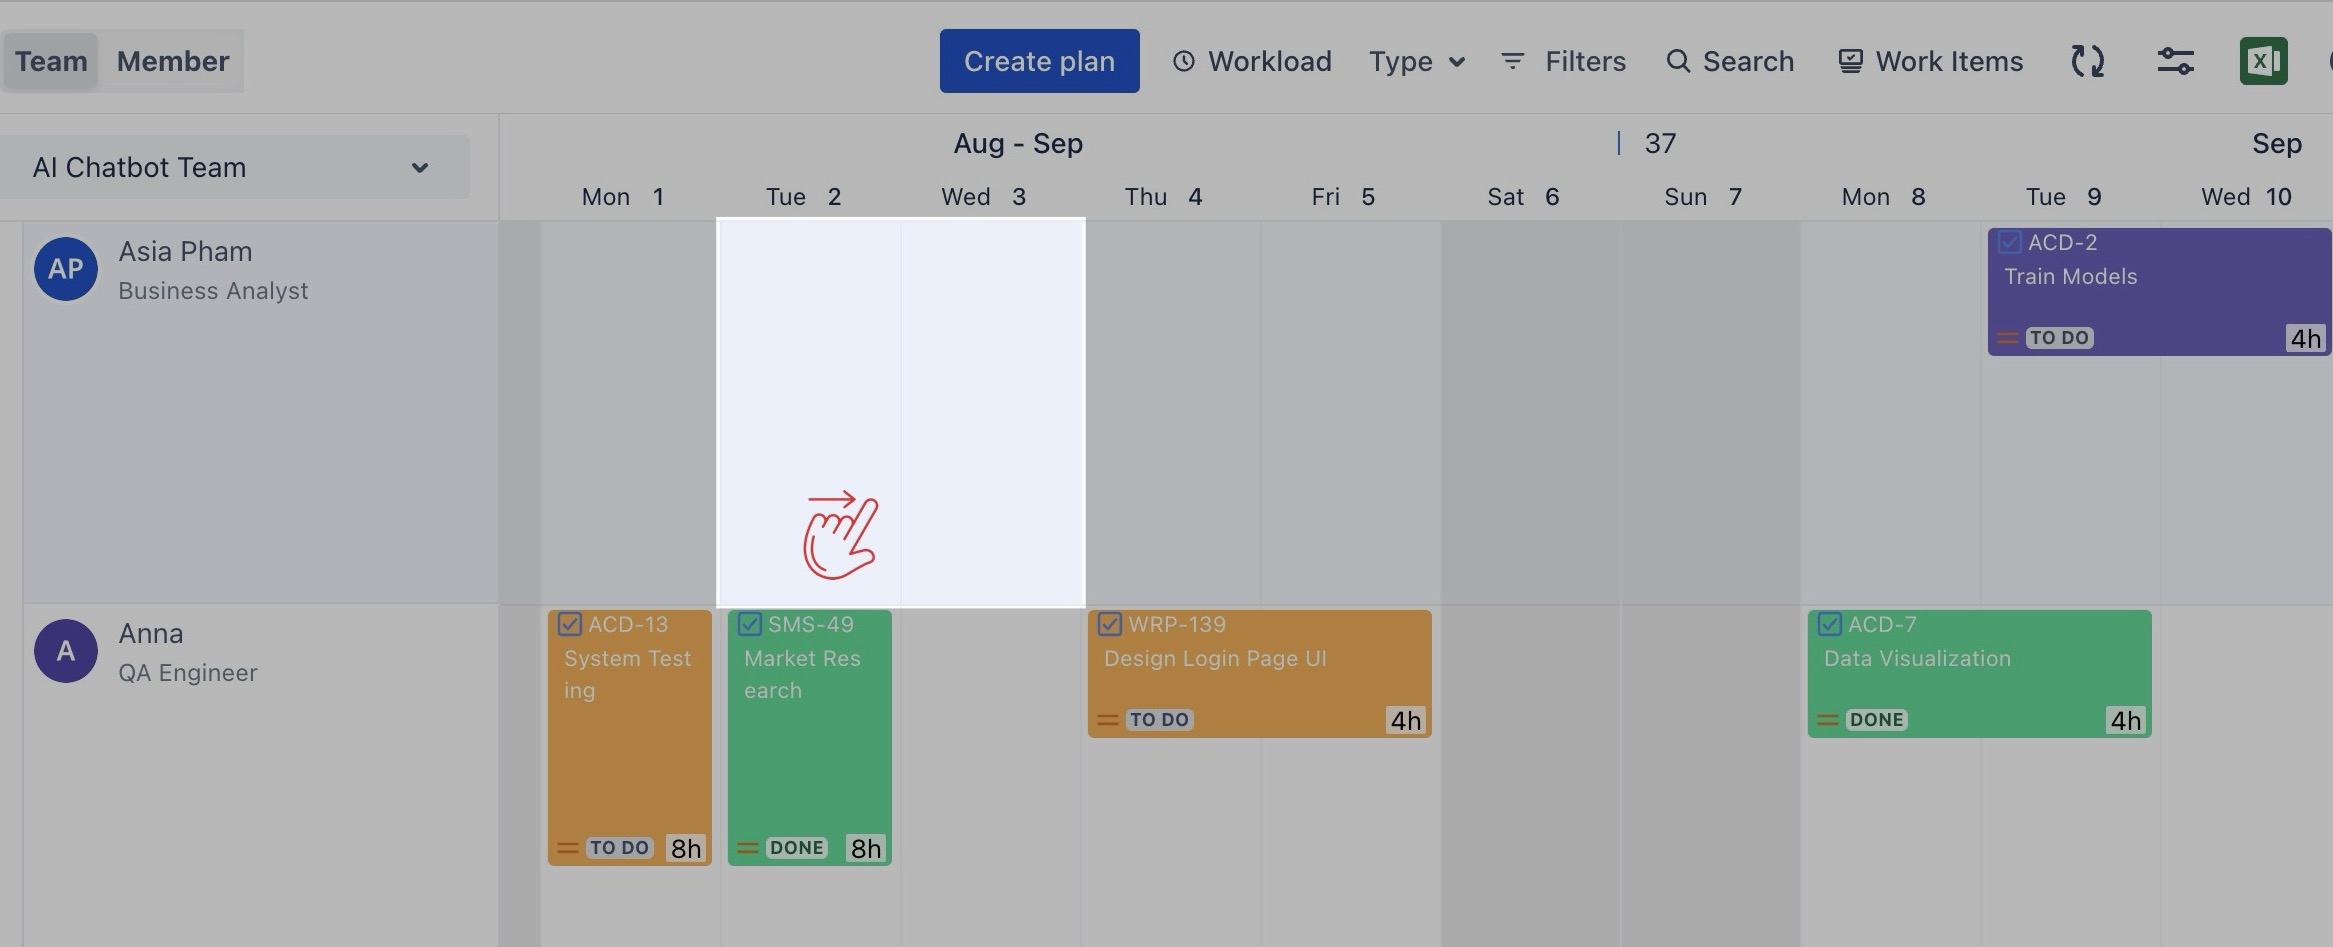
Or, click on a specific date or drag across a range of dates.
Tip: You can open the Planning Dialog from the Calendar Board.
step 2 Select the Event tab to begin setting up your event.
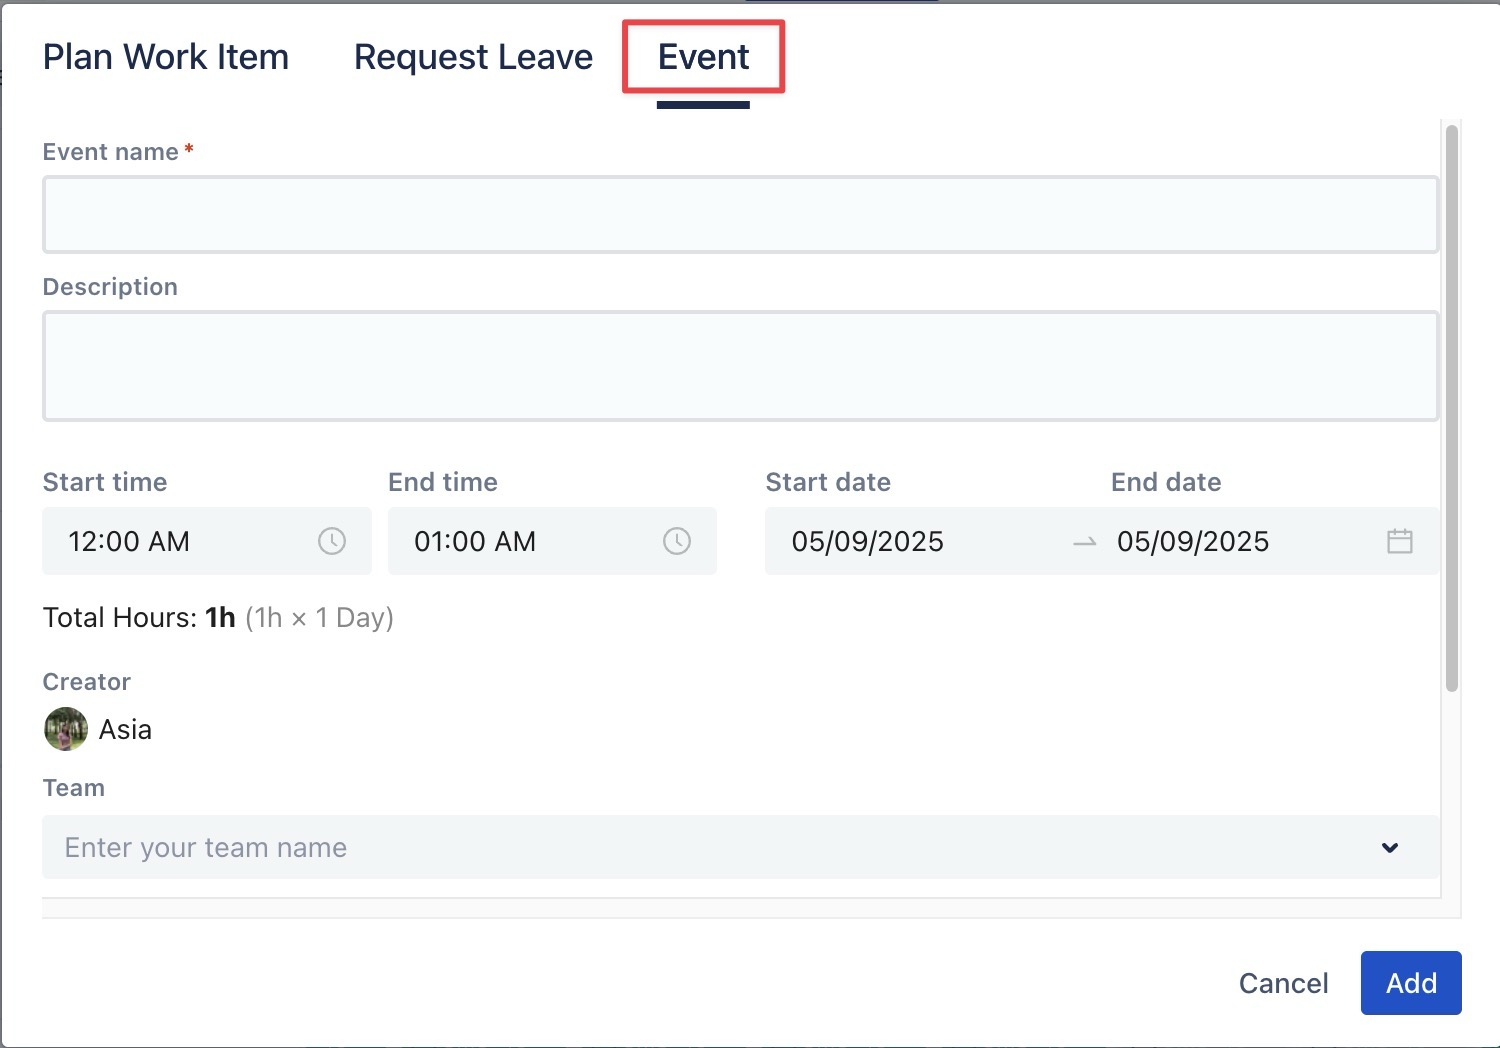
step 3 Fill in all mandatory fields (*)
-
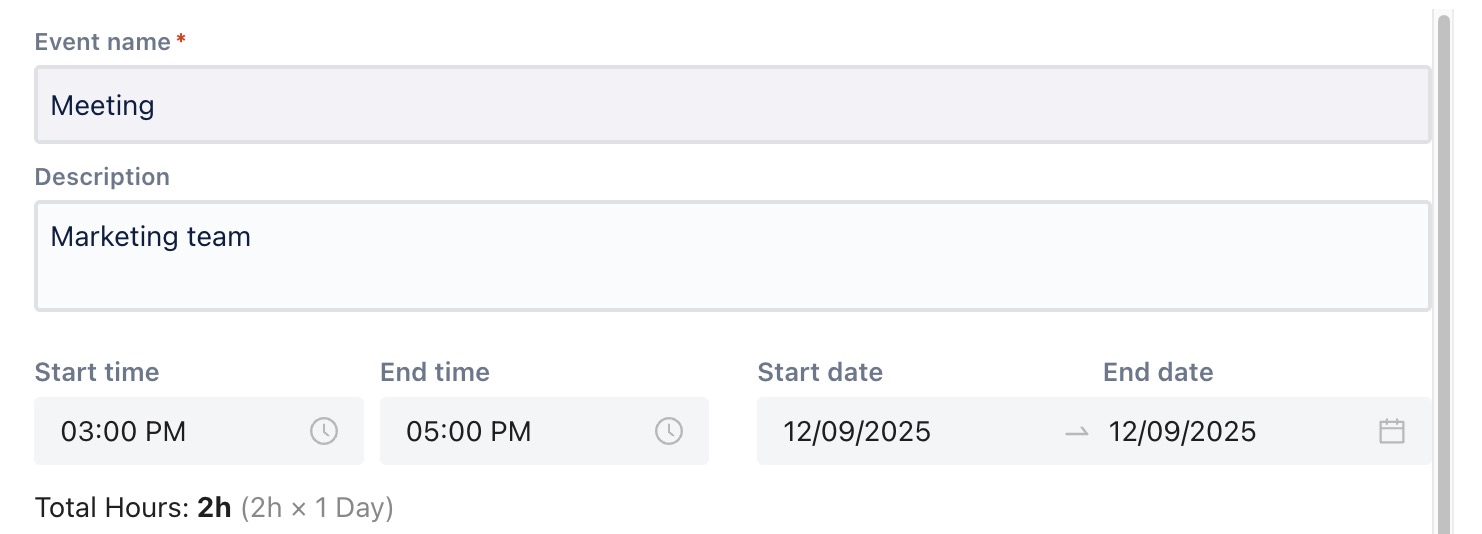
Event name: The title or name of your event.
-
Description: A brief overview or purpose of the event.
-
Start time and End time: The duration of the event.
-
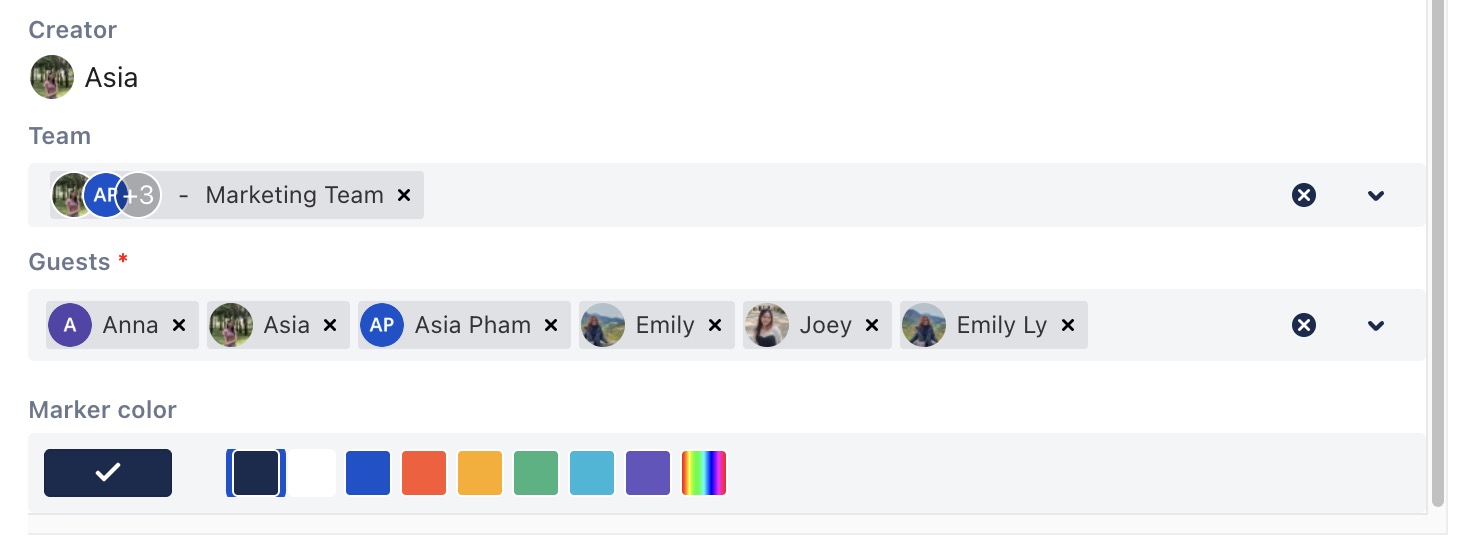
Teams: If the event involves entire teams, select the team and automatically include all its members in the event.
-
Guests: For events that include specific individuals rather than whole teams, select and add single users as guests.
-
Marker Color: Choose a color that will represent your event on the scheduler, making it easily distinguishable.
step 4 Click ![]()
👉 Watch the video below to see how to create an event:
Editing or deleting events
Note: Only creators can edit or delete events.
To update or delete an event, follow these steps:
Updating the event
-
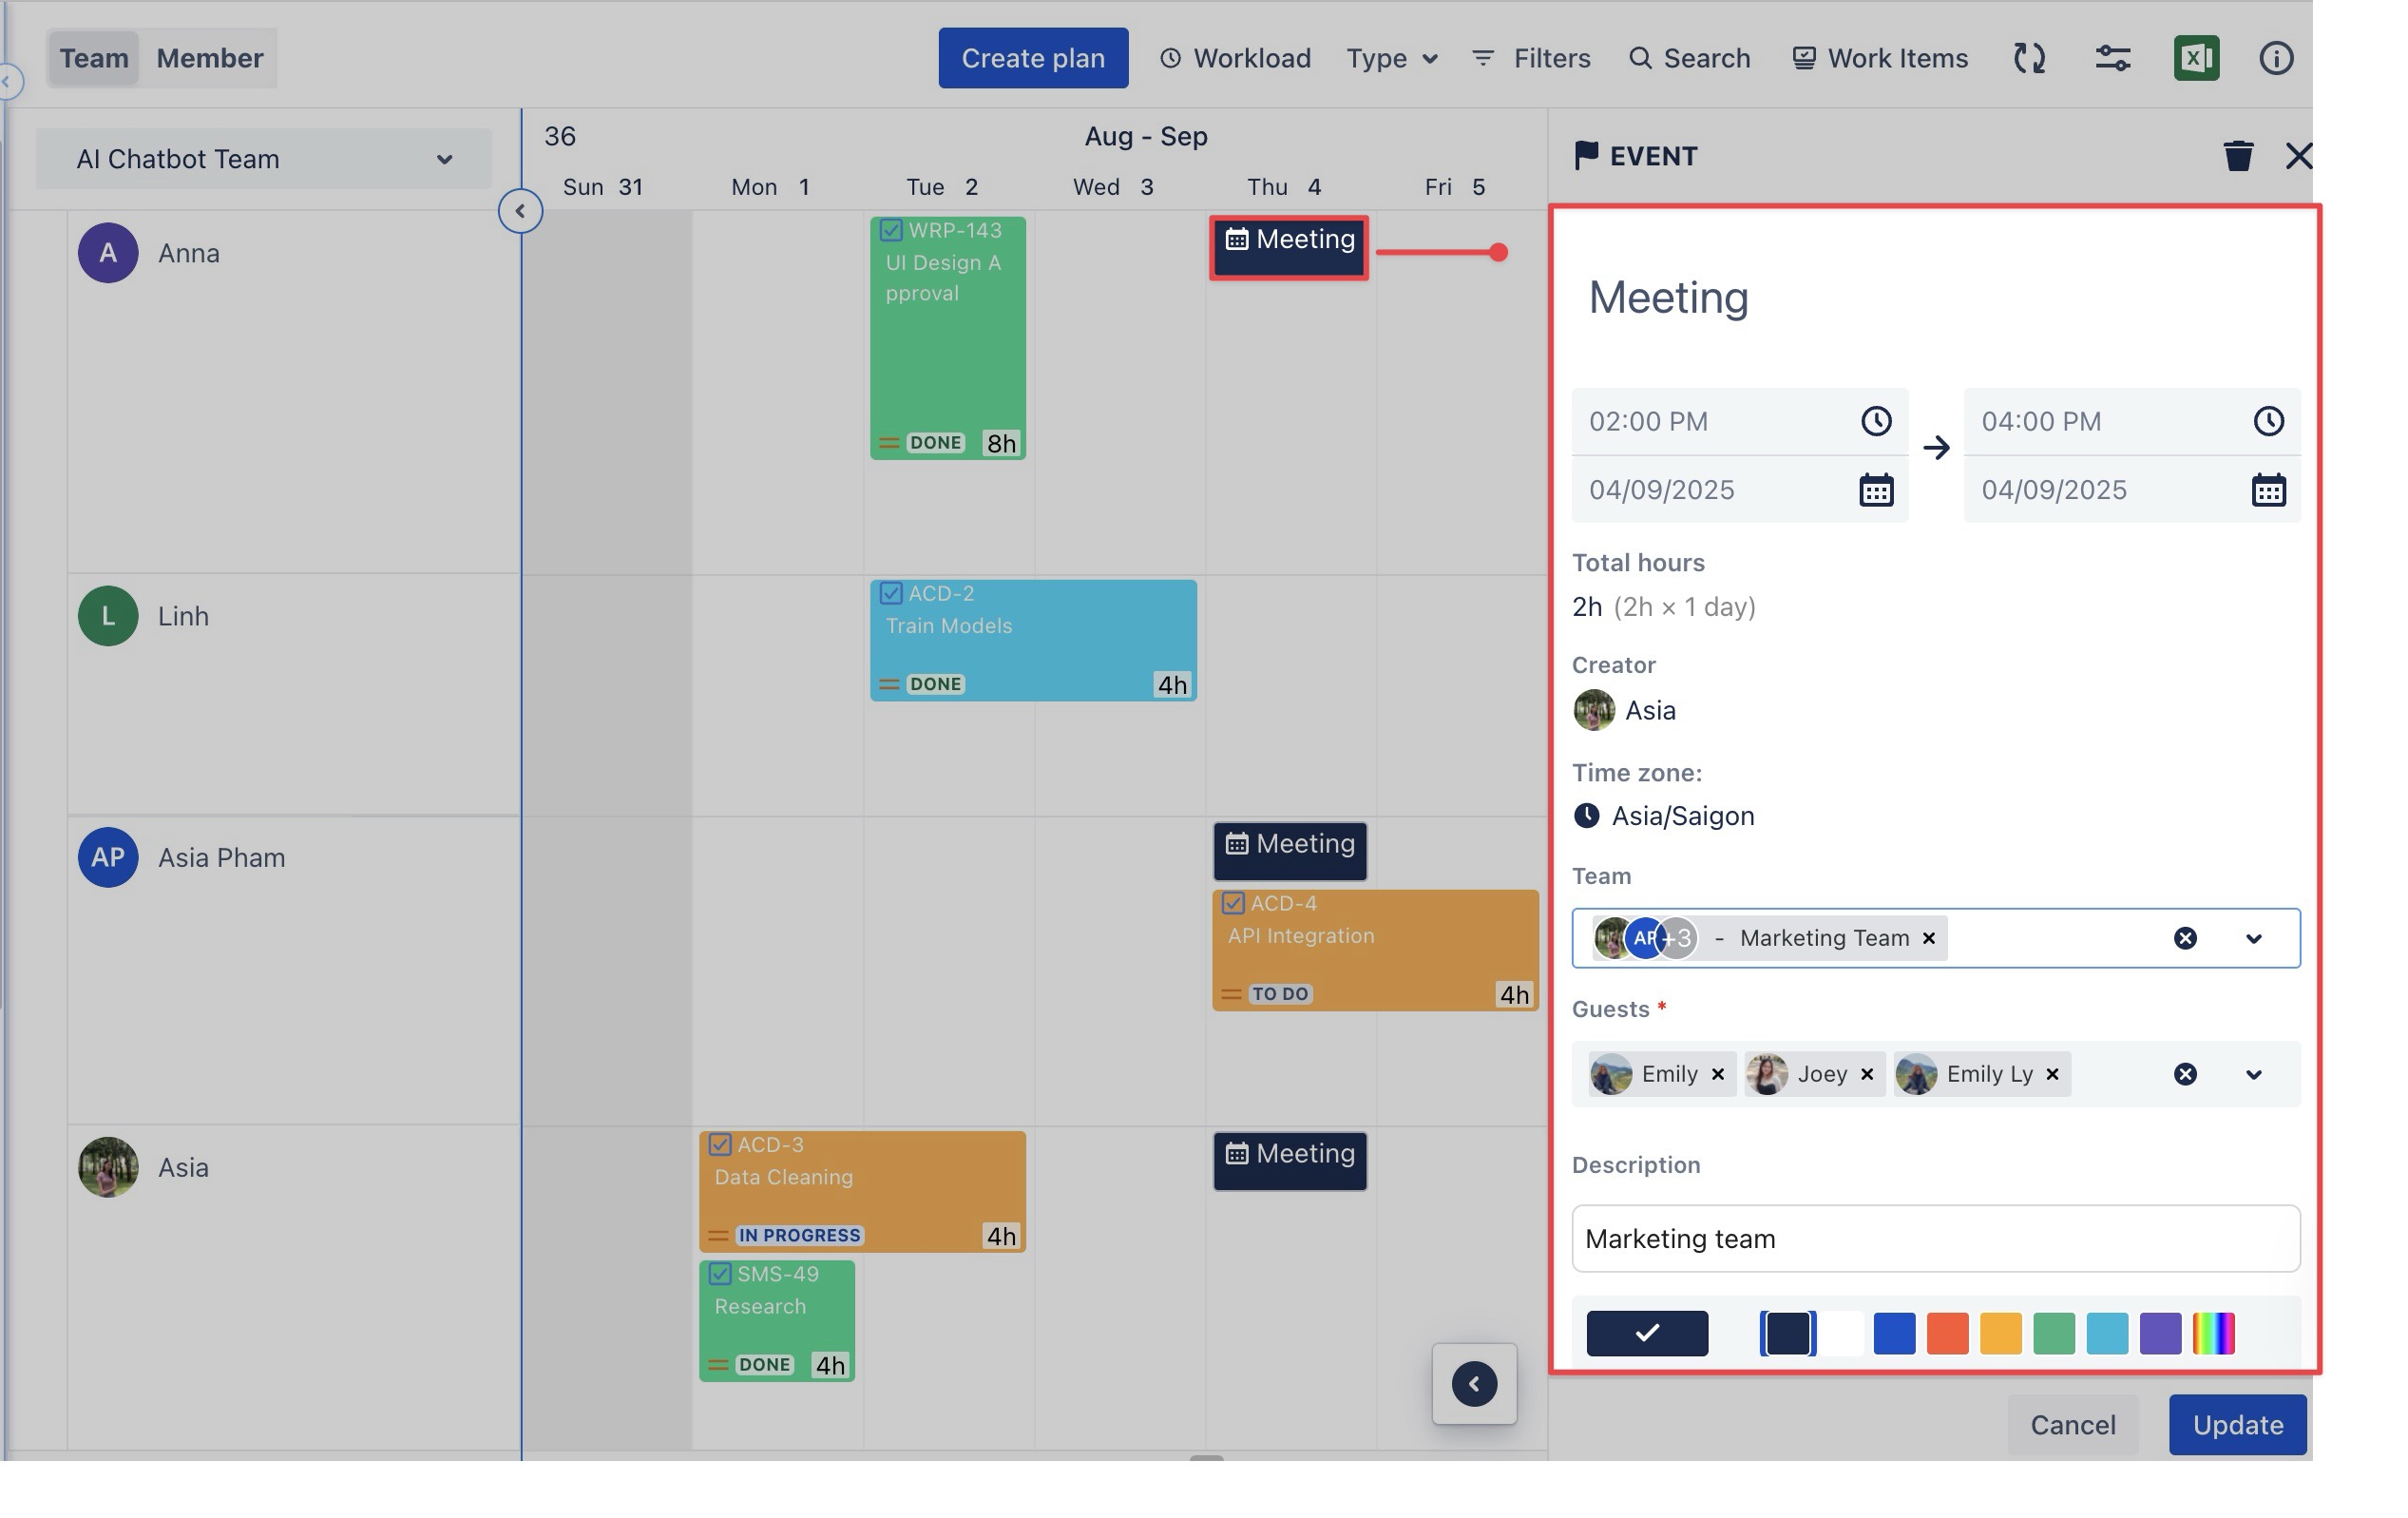
On the Schedule Board, click the event you want to update.
-
The Event Details panel will appear on the right-hand side.
-
In the right panel, you can edit the following details: Event name, time range, team involved, guests, description, and marker color.
-
Click

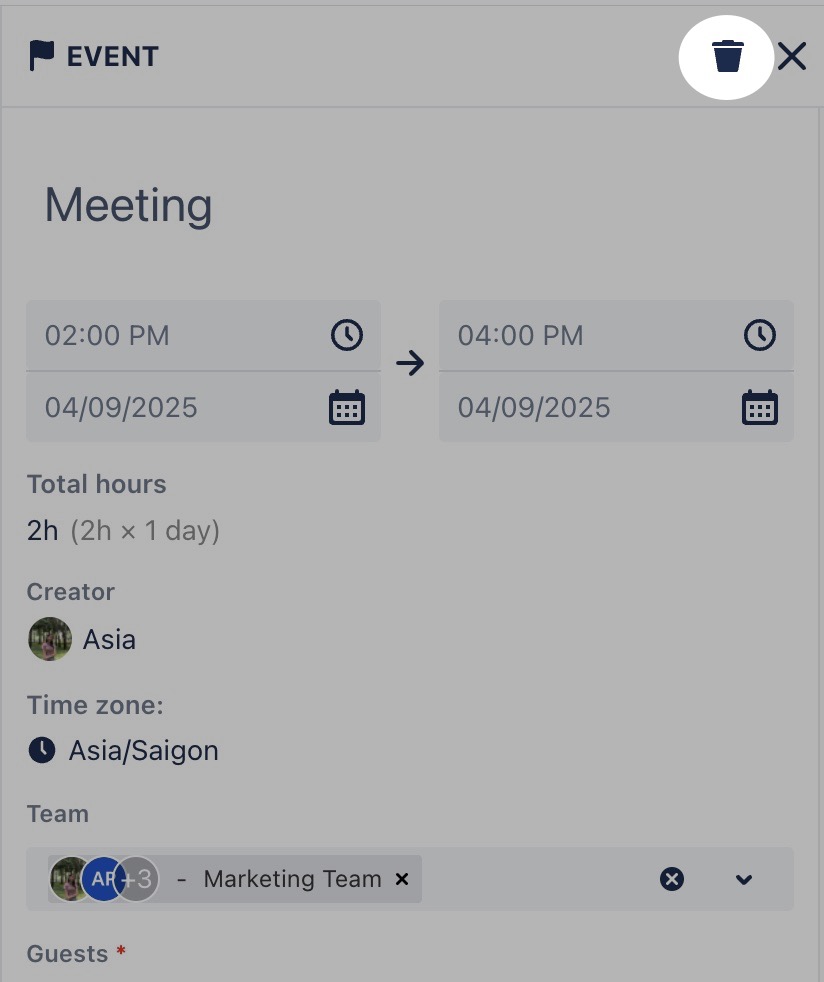
Deleting the event
Click ![]()
→ This will unplan the event and remove it from the schedule board.
Learn more: How to effectively log time for your Events.