.png)
In TimePlanner, the Planning Leaves feature enables employees to submit time-off requests (e.g., vacation, sick leave, personal leave) and track their leave balances. It also allows you to visualize planned leave on your boards, ensuring transparency across the team.
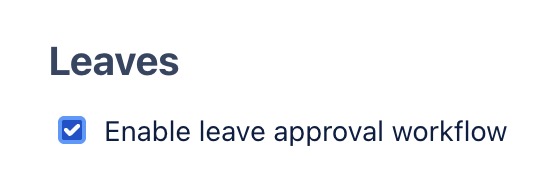
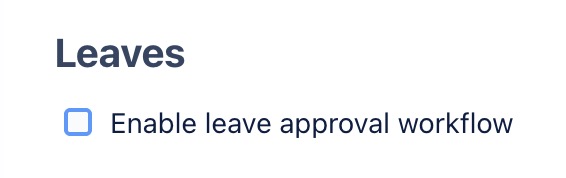
The process for approving leave requests can be customized in the Leave Settings to either require or not require appqroval, providing flexibility to match your organization’s needs.
👉 See Enable/Disable Leave Approval Workflow for more information.
Creating Leave Requests
Permissions for Leave Requests
-
App Admins: Can create leave requests on behalf of any team member but cannot edit or delete them.
-
Team Admins / Team Leaders: Can create leave requests on behalf of team members within their team, but cannot edit or delete them.
-
Team Members: Can create, edit, or delete only their own leave requests.
👉 Refer to the permission guide for details.
When the Leave Approval Workflow is enabled by your admin, employees must submit leave requests for approval before their time off is confirmed. This ensures that leave is reviewed and properly managed by a designated approver
Steps to Create a Leave Request:
step 1 Open the Planning Dialog:
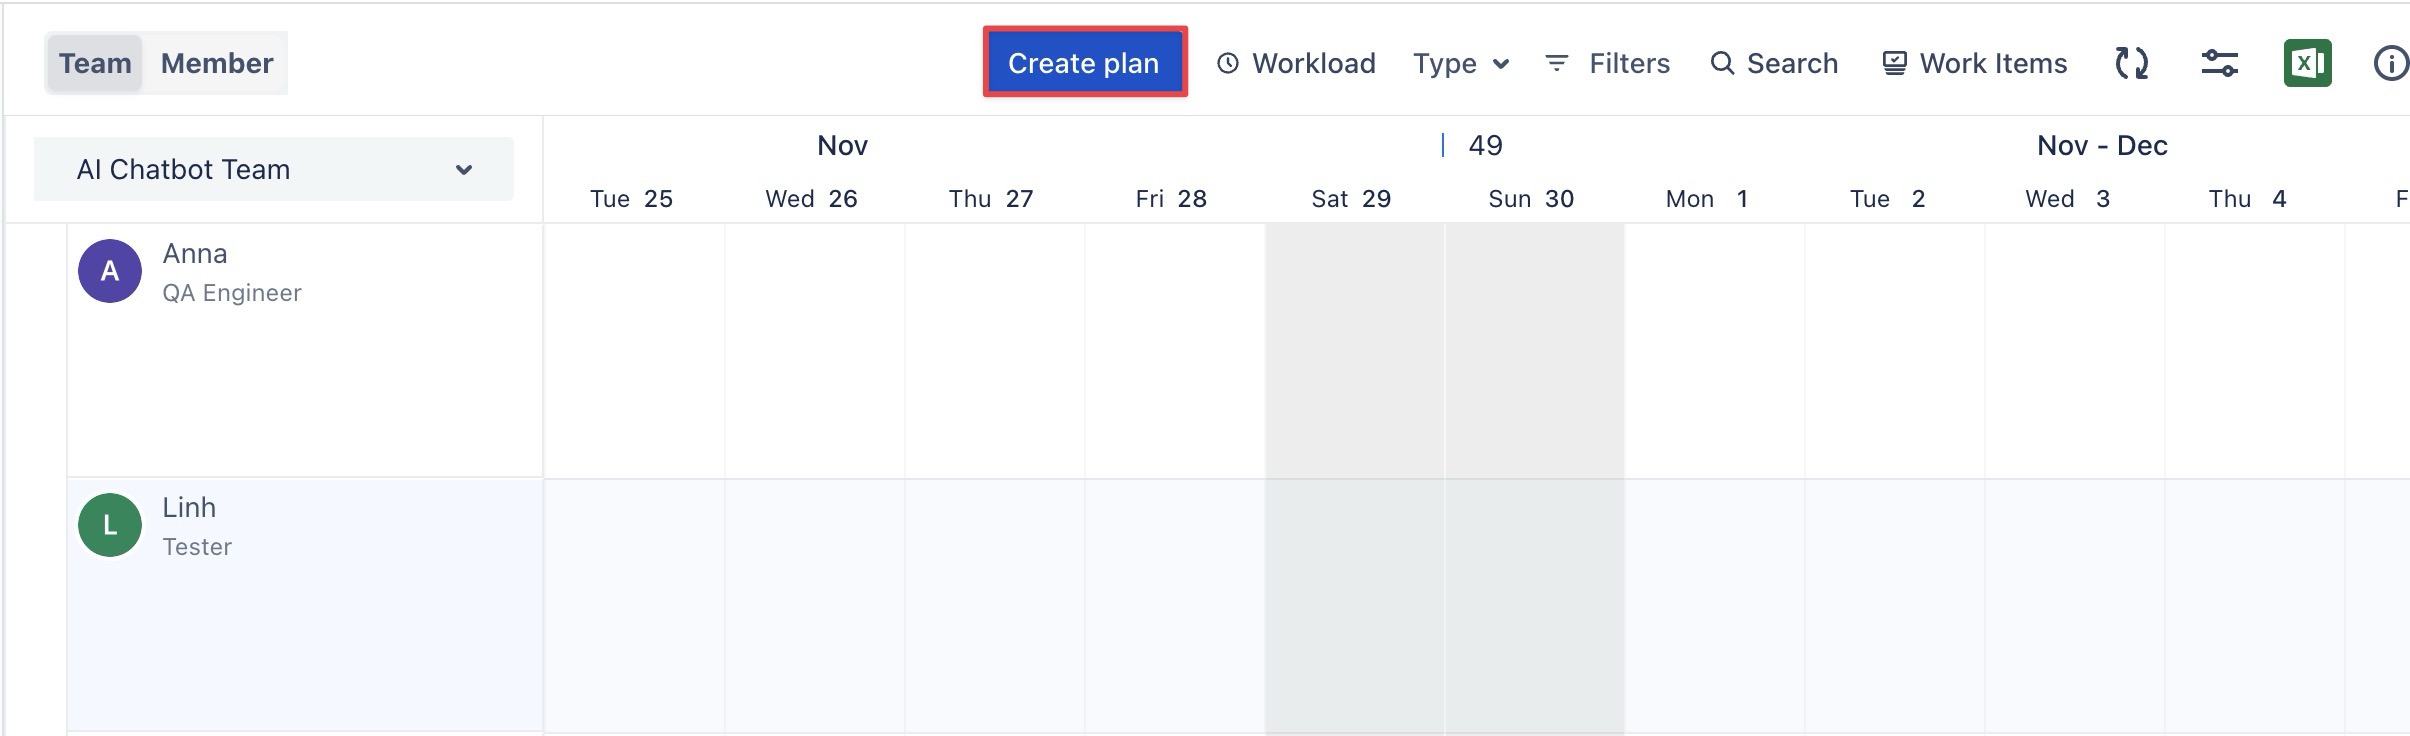
From the Schedule Board, you can open the Planning Dialog in two ways:
Click ![]()
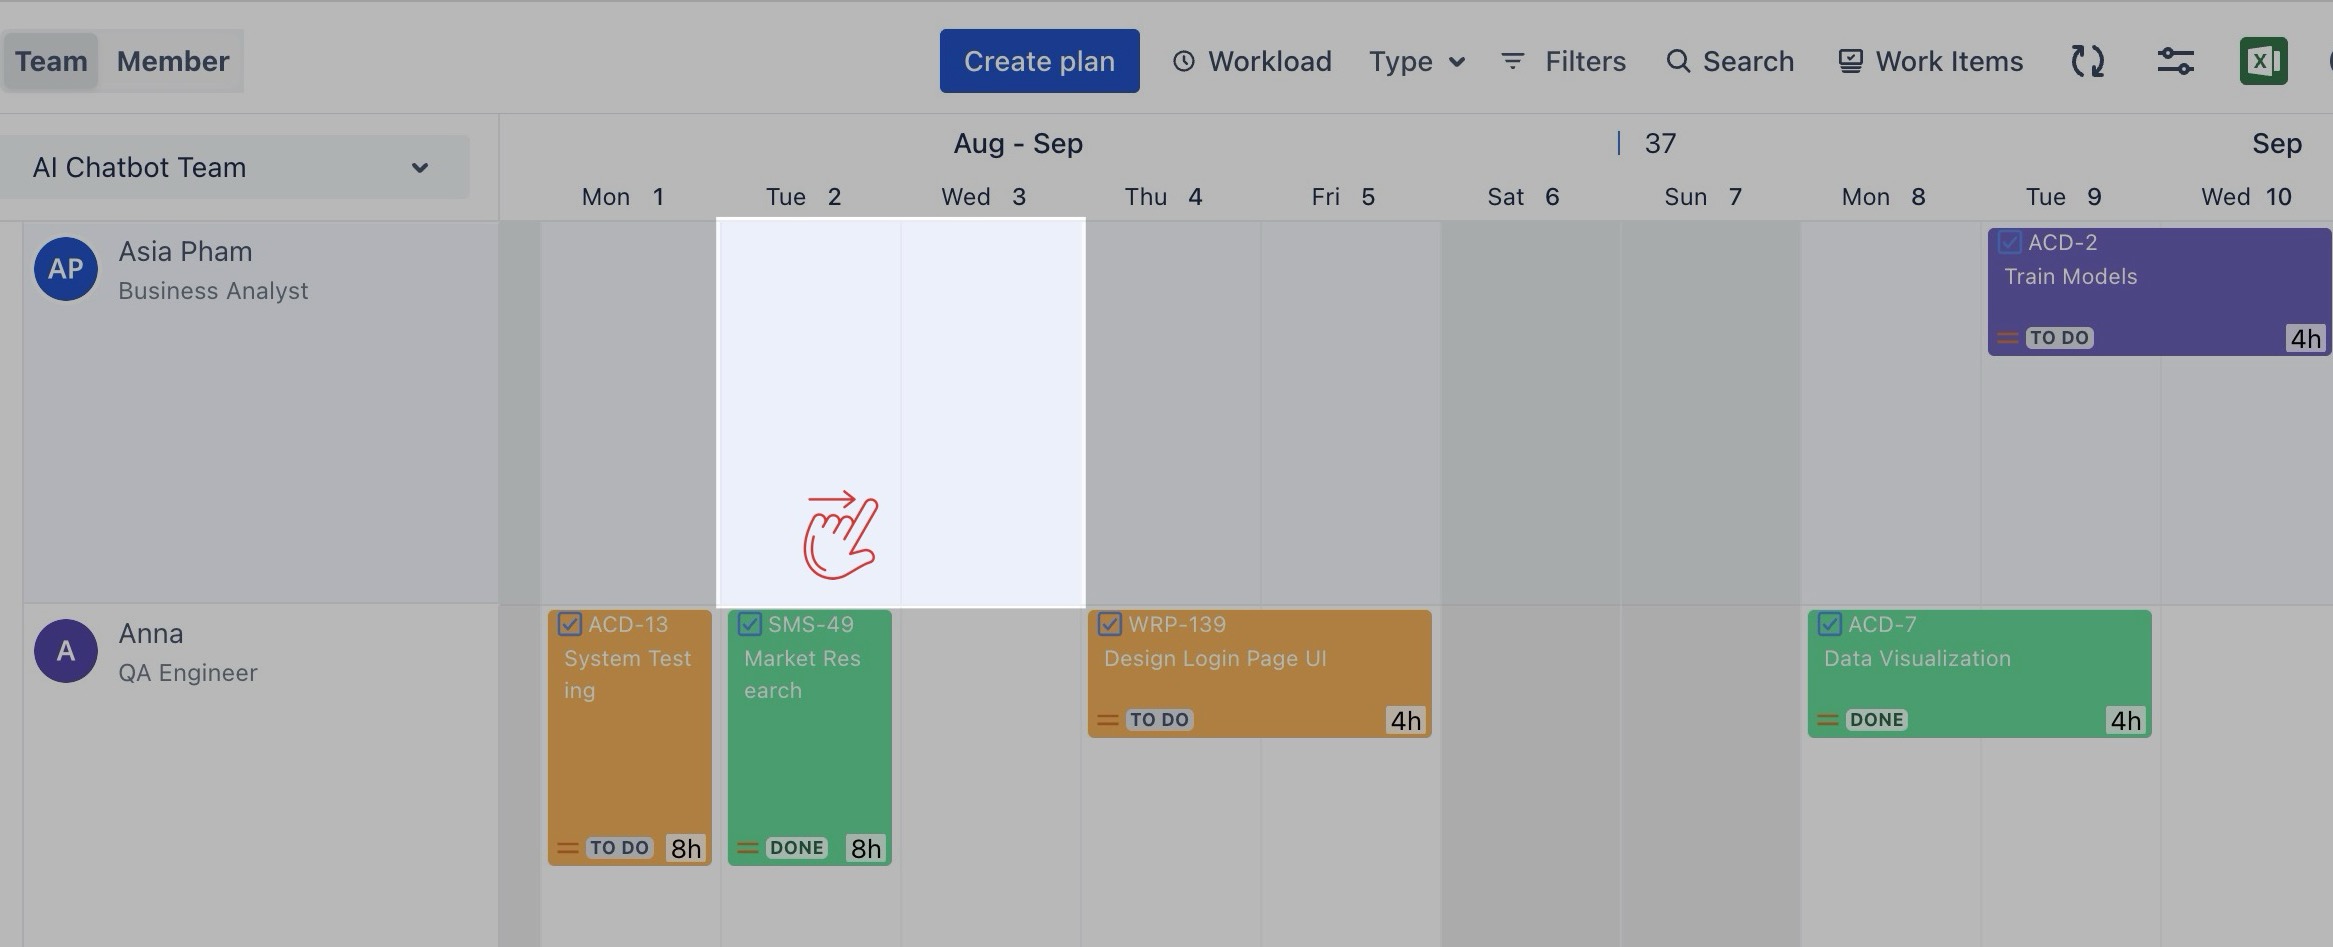
Or, click on a specific date or drag across a range of dates.
Tip: You can open the Planning Dialog from the Calendar Board.
step 2 In the Planning Dialog, select the Request Leave tab to start submitting your leave request.
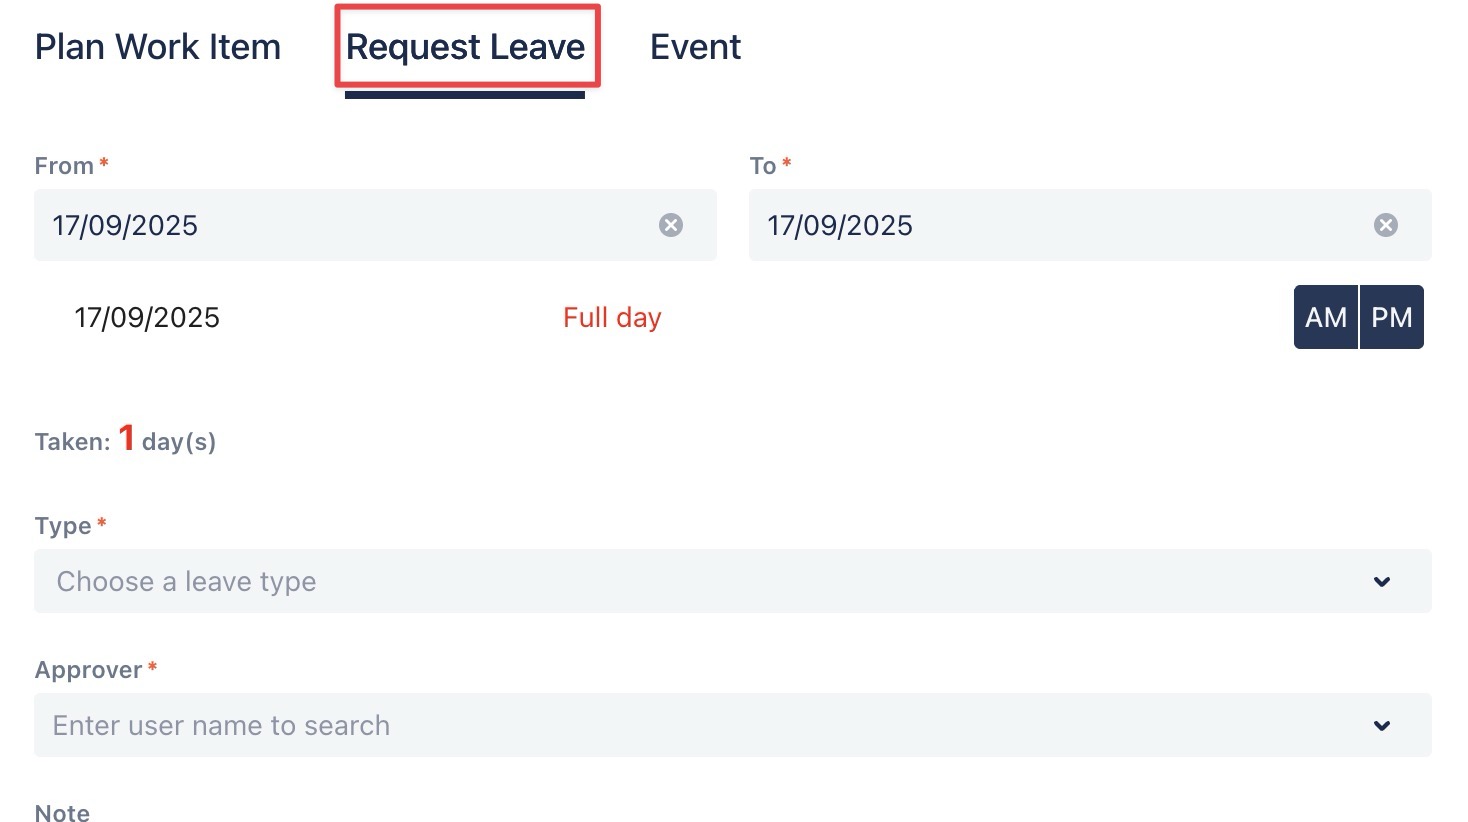
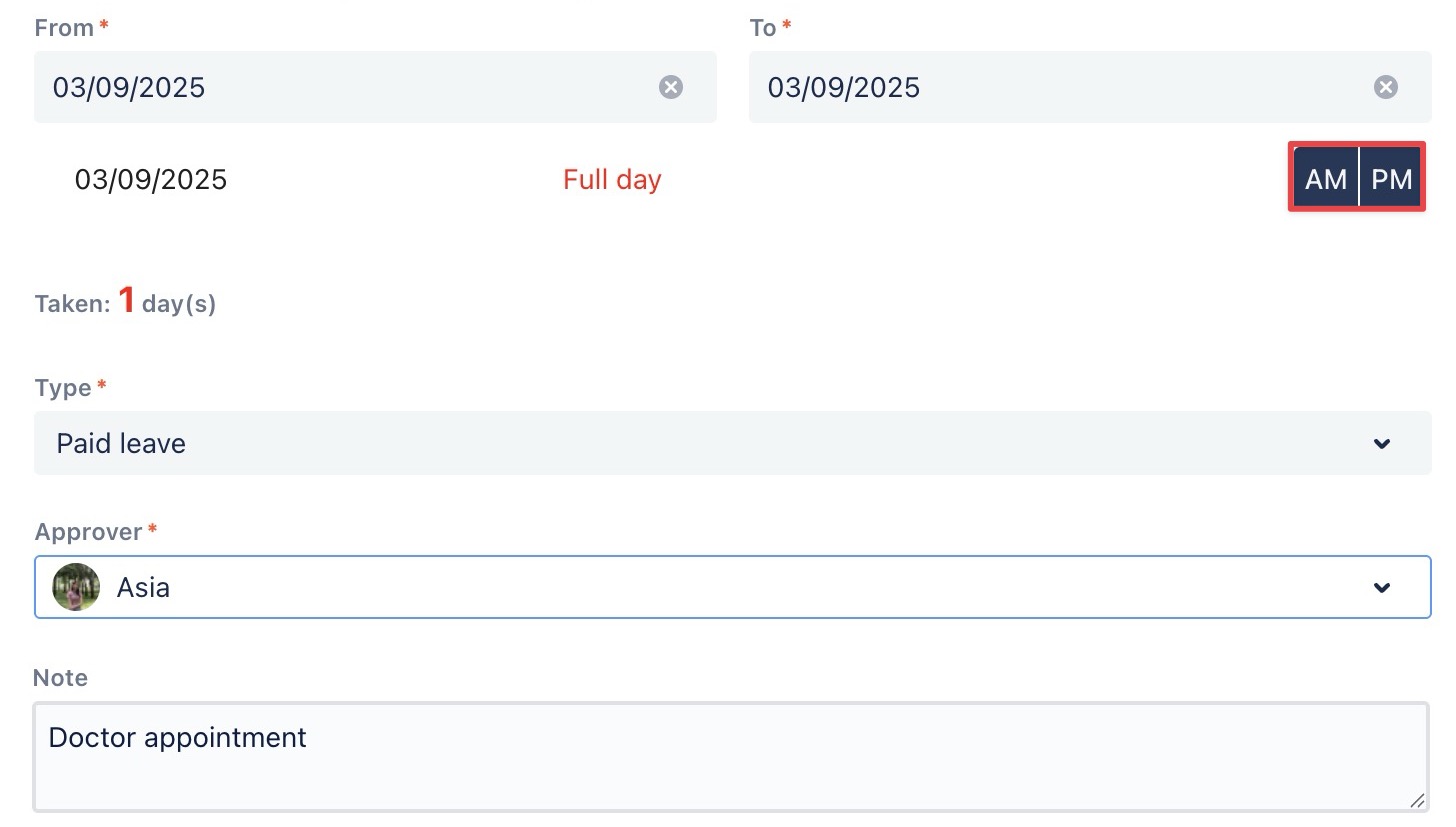
step 3 Fill in the following fields:
-
Date: Select the specific date for the time off using the date picker.
-
Leave type: Choose the leave type (e.g., vacation, sick leave, personal leave) from the dropdown menu. (These options are predefined in Leave Settings by the admin.)
-
Approver: Enter or search for the manager or designated approver responsible for reviewing and approving your leave request.
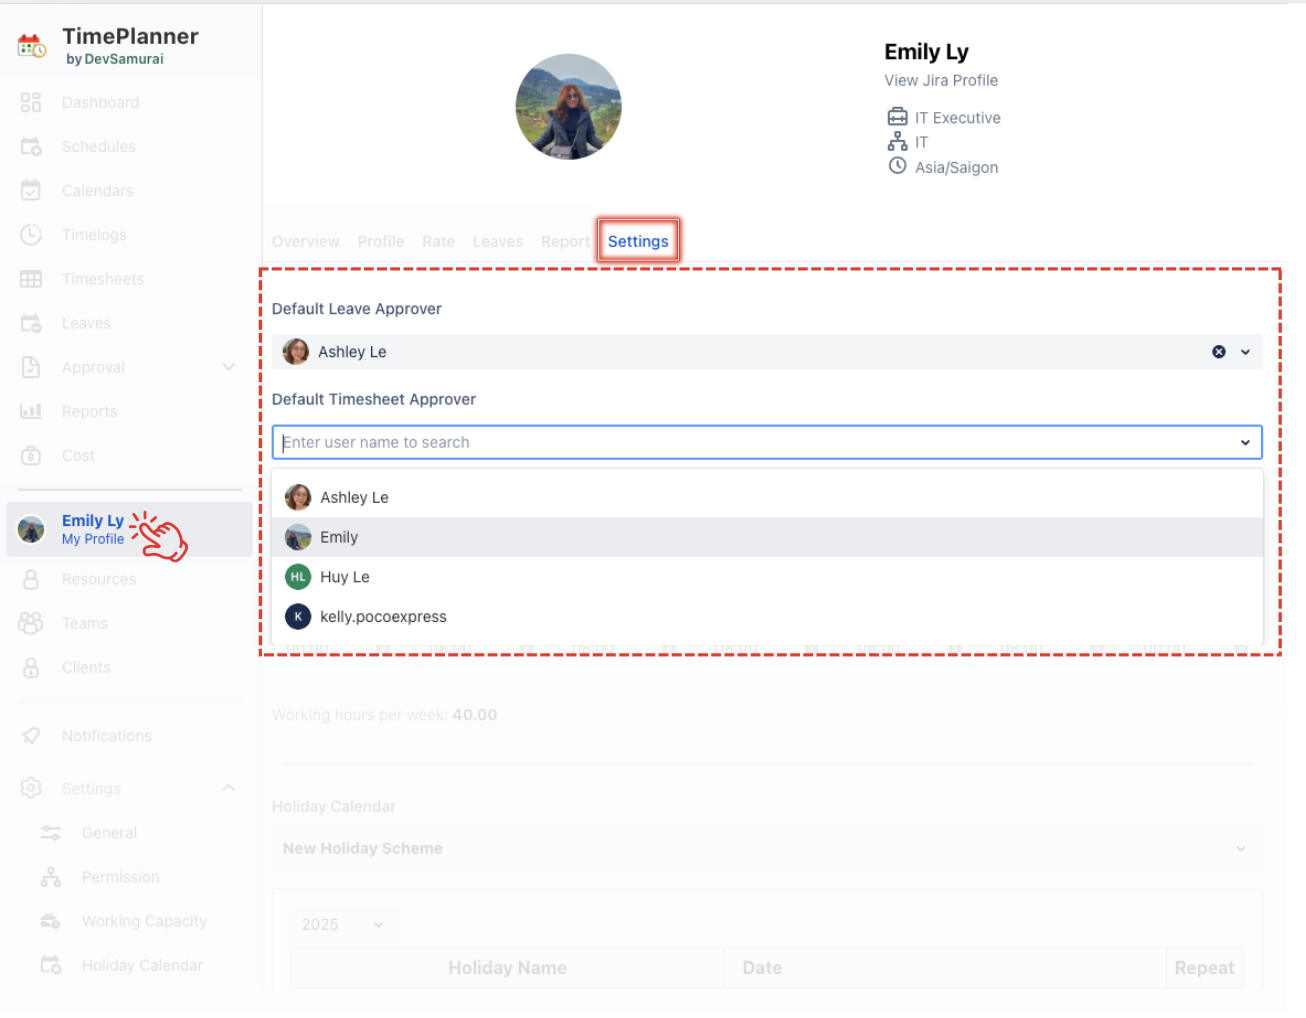
Allow users to change the Default Approver
Allows all users to modify their default approver for timesheets and leave requests in their Personal Settings.
-
ON: Users can change their default approver.
-
OFF: Users cannot change their default approver.
-
Notes: Add any additional comments or context for the approver.
step 4 Click ![]()
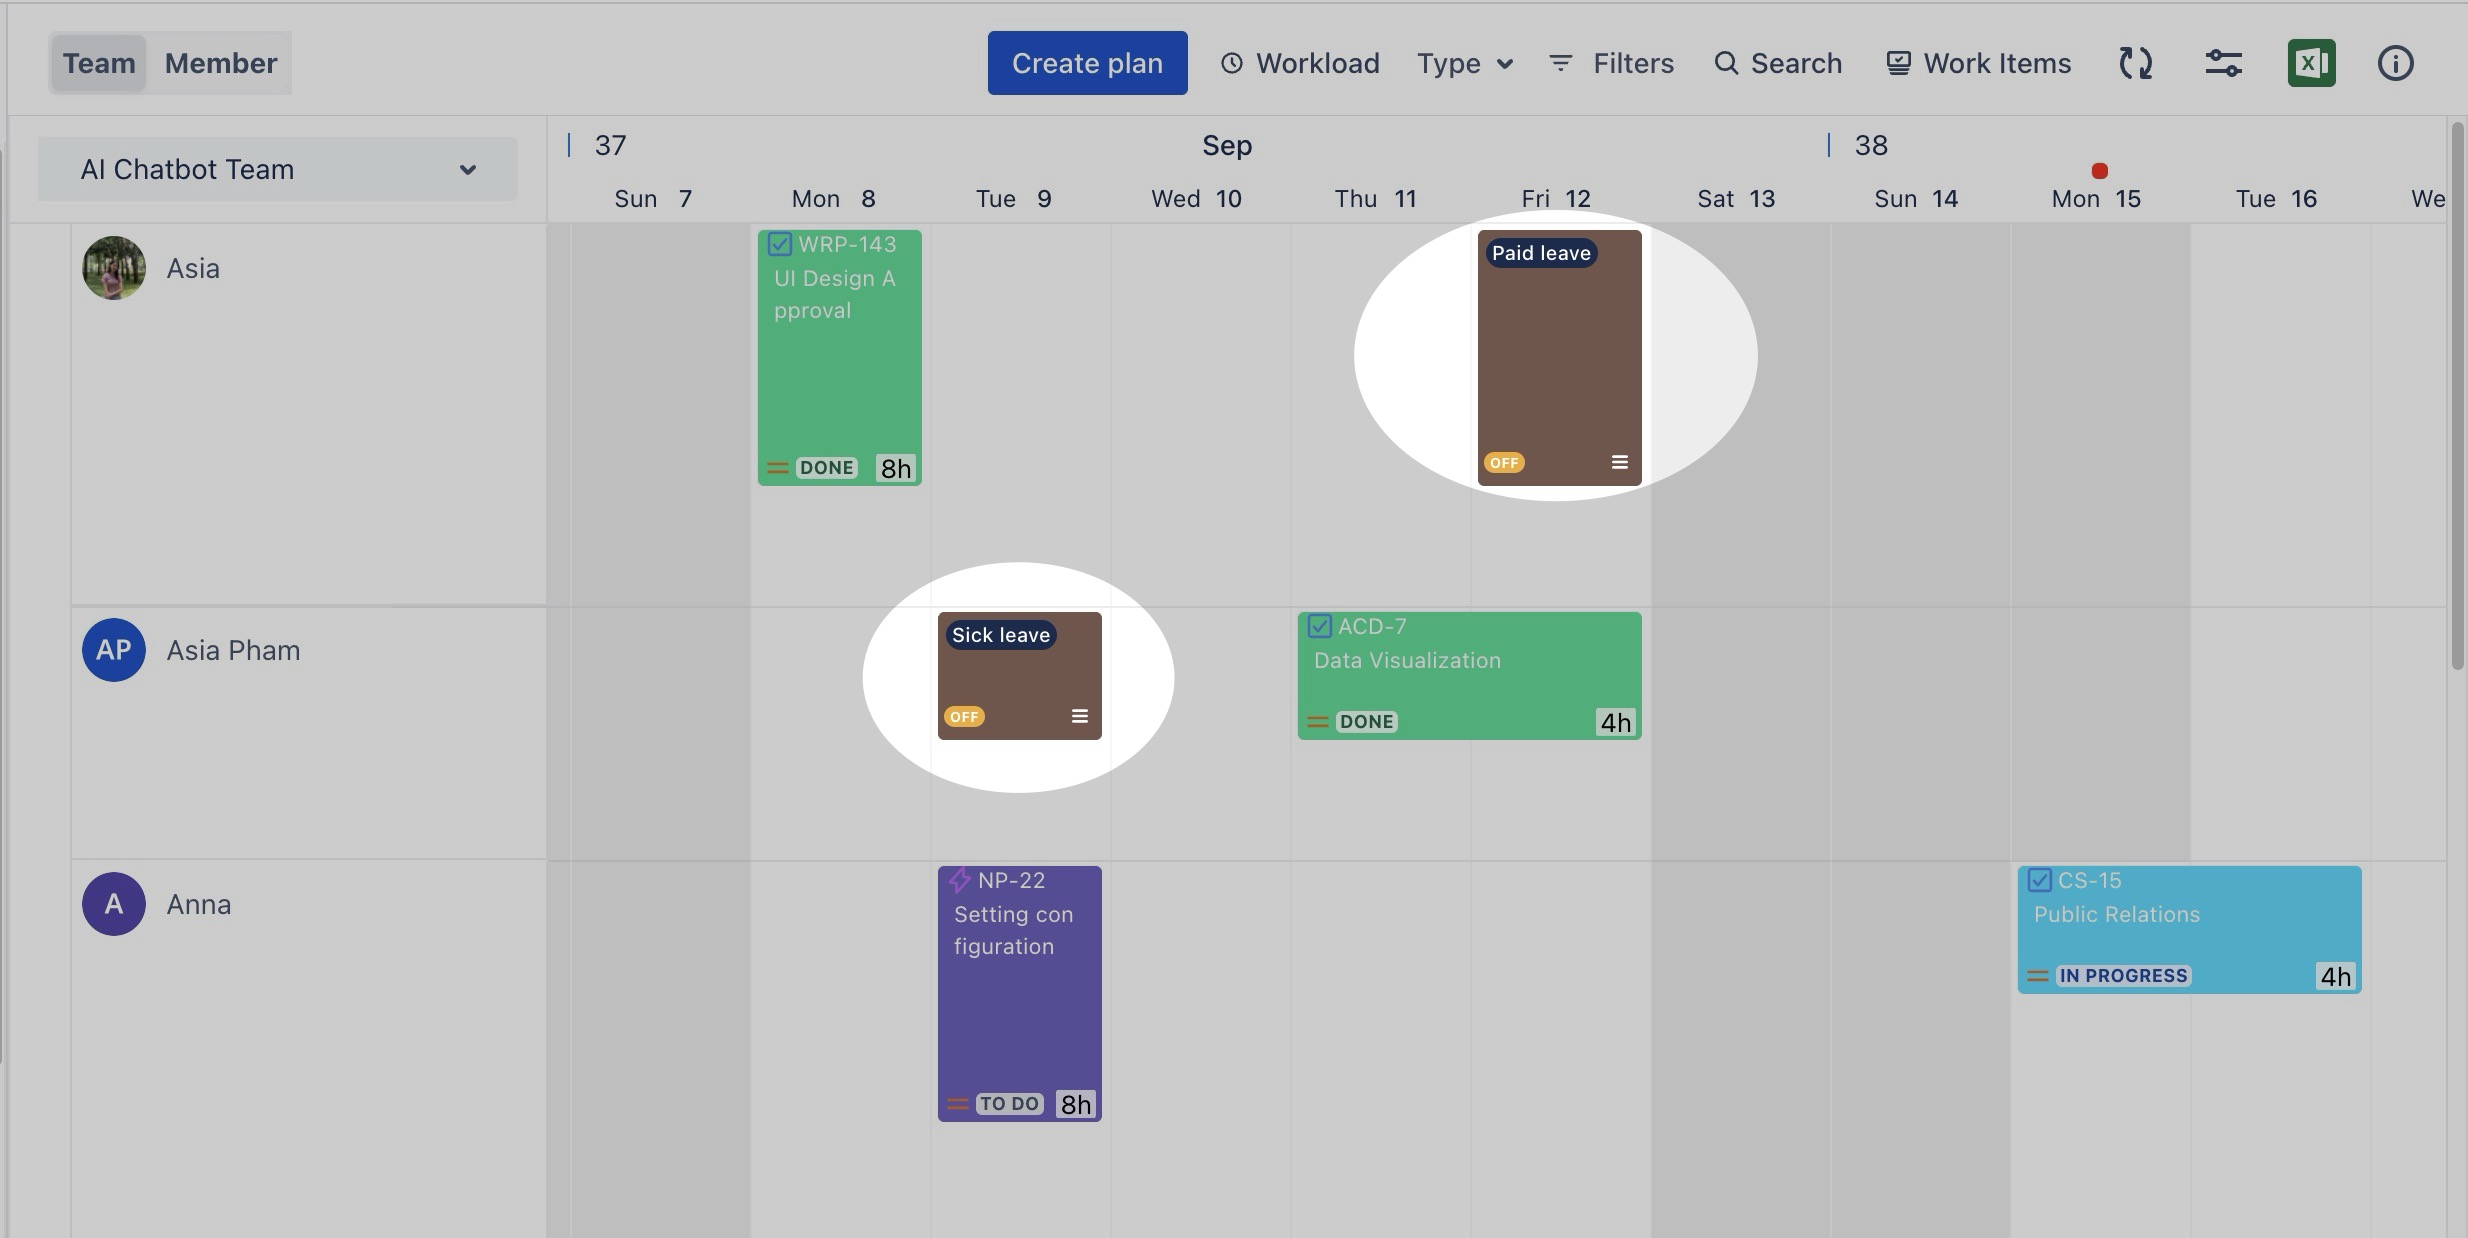
The time off will now appear on your Schedule Board with a "Pending Approval" status:
Learn more: How to manage Leave Requests and Approvals.
Editing or deleting Leave Request
To update or delete Leave Request, follow these steps:
Updating Leave Request
-
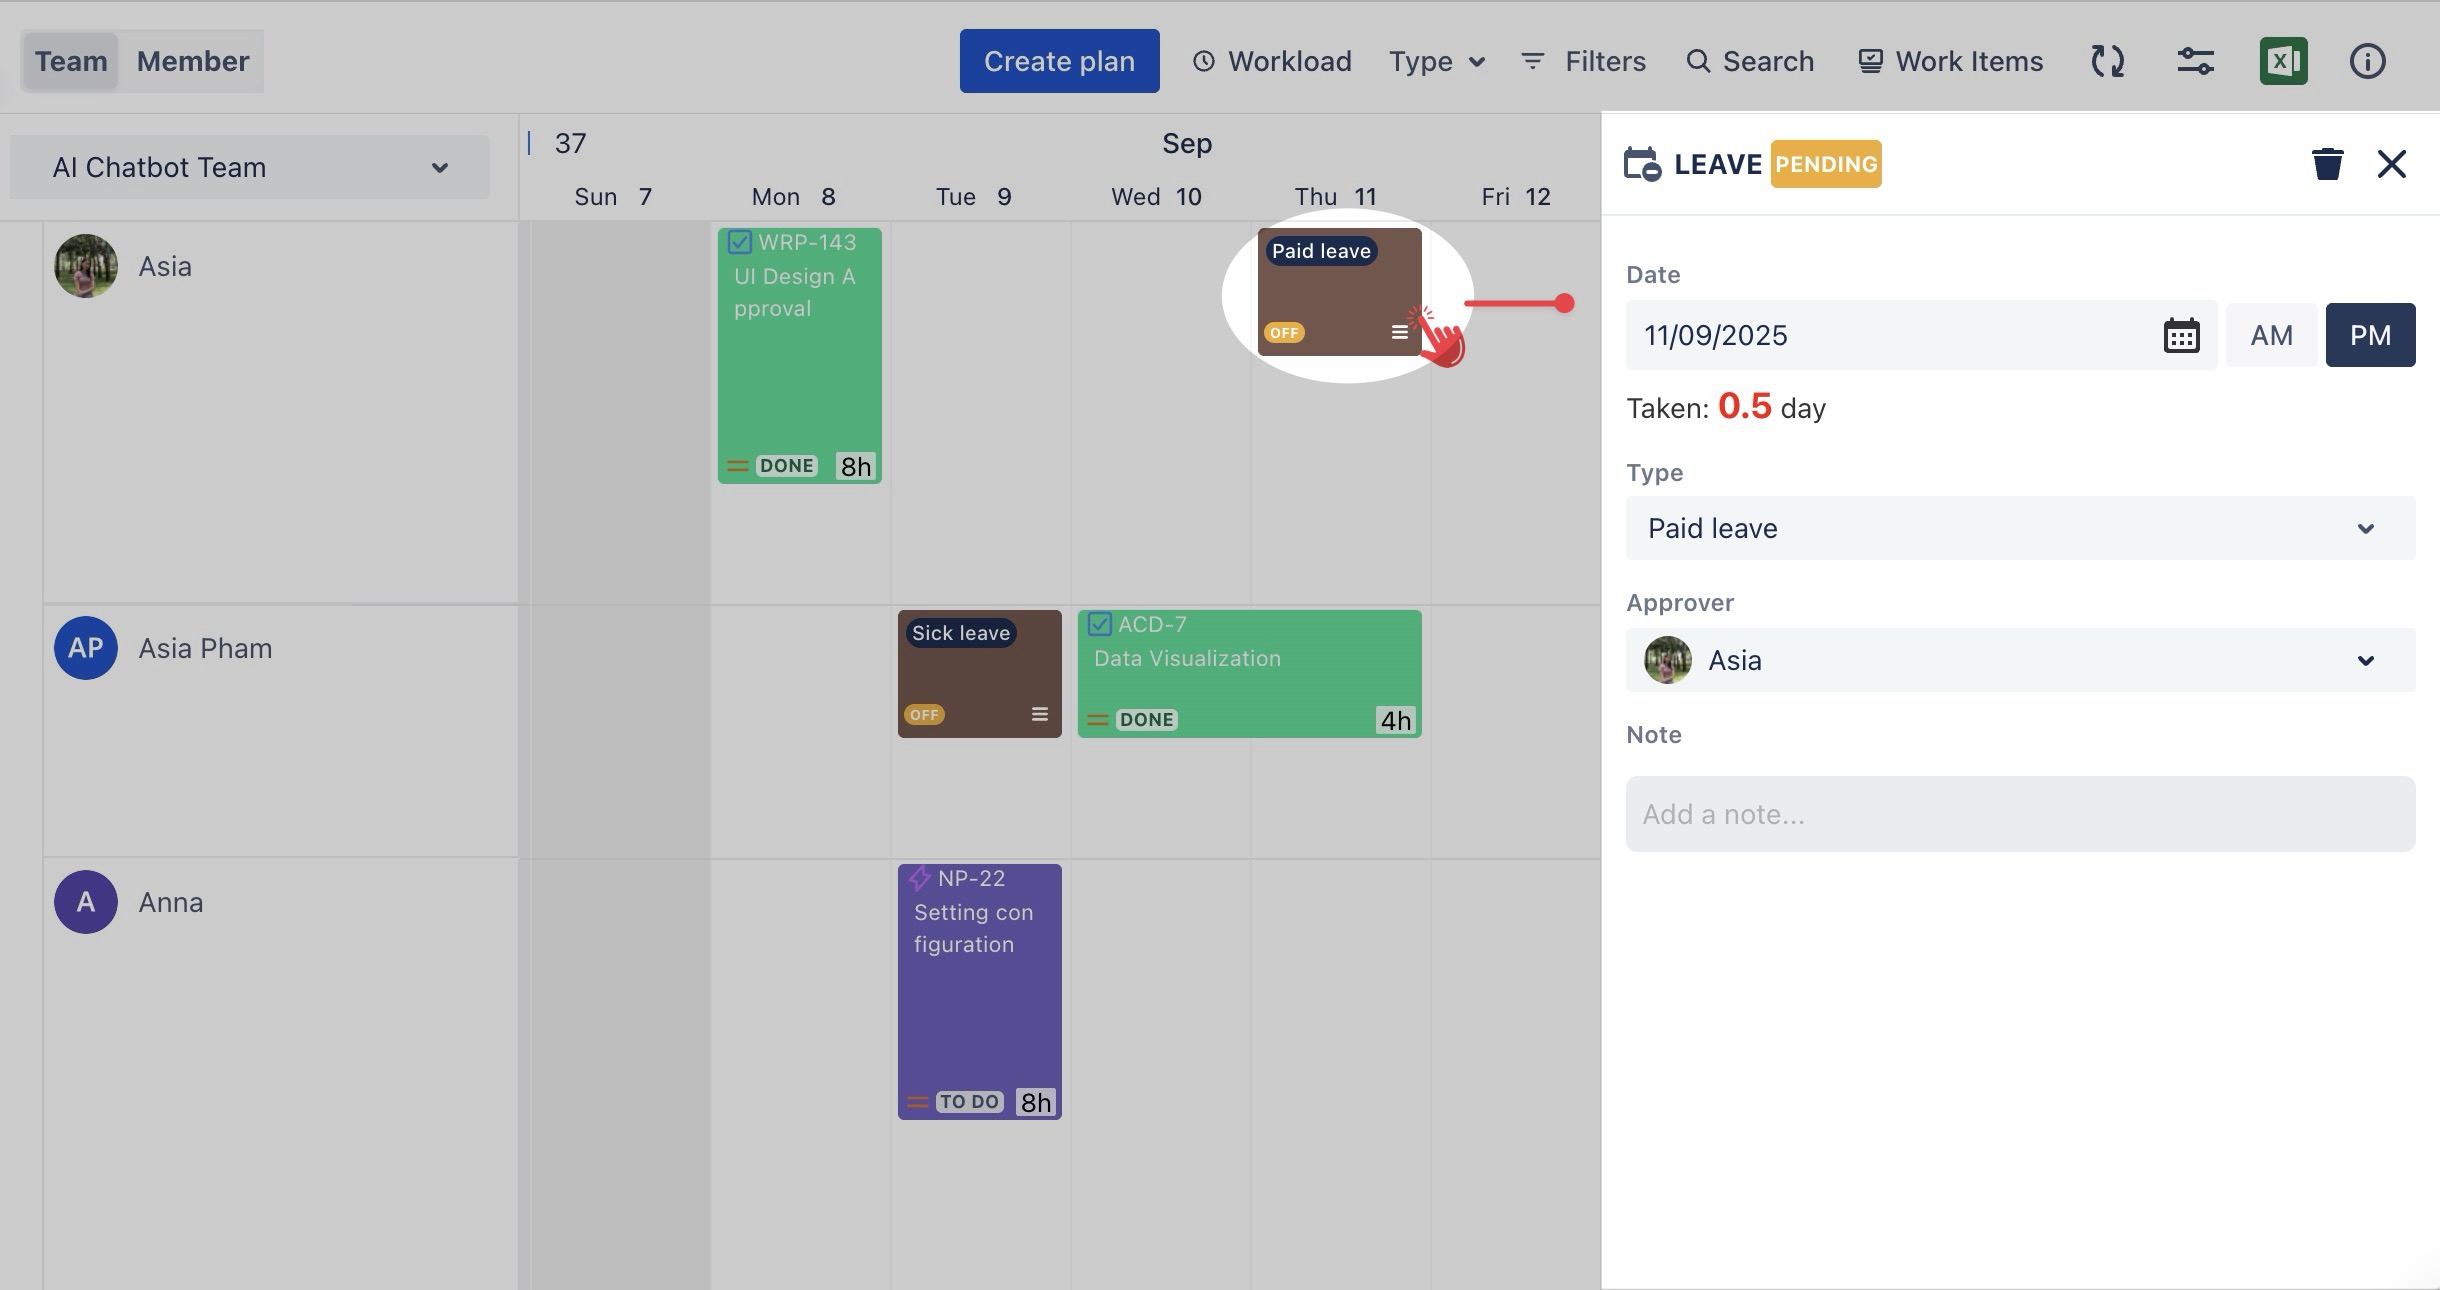
Click directly on the time off card to open the Leave Request Details panel.
-
In the right panel, you can edit the following details: Date, Leave type, Approver, and Notes.
-
Click

Deleting Time Off
You can delete Time Off in two ways:
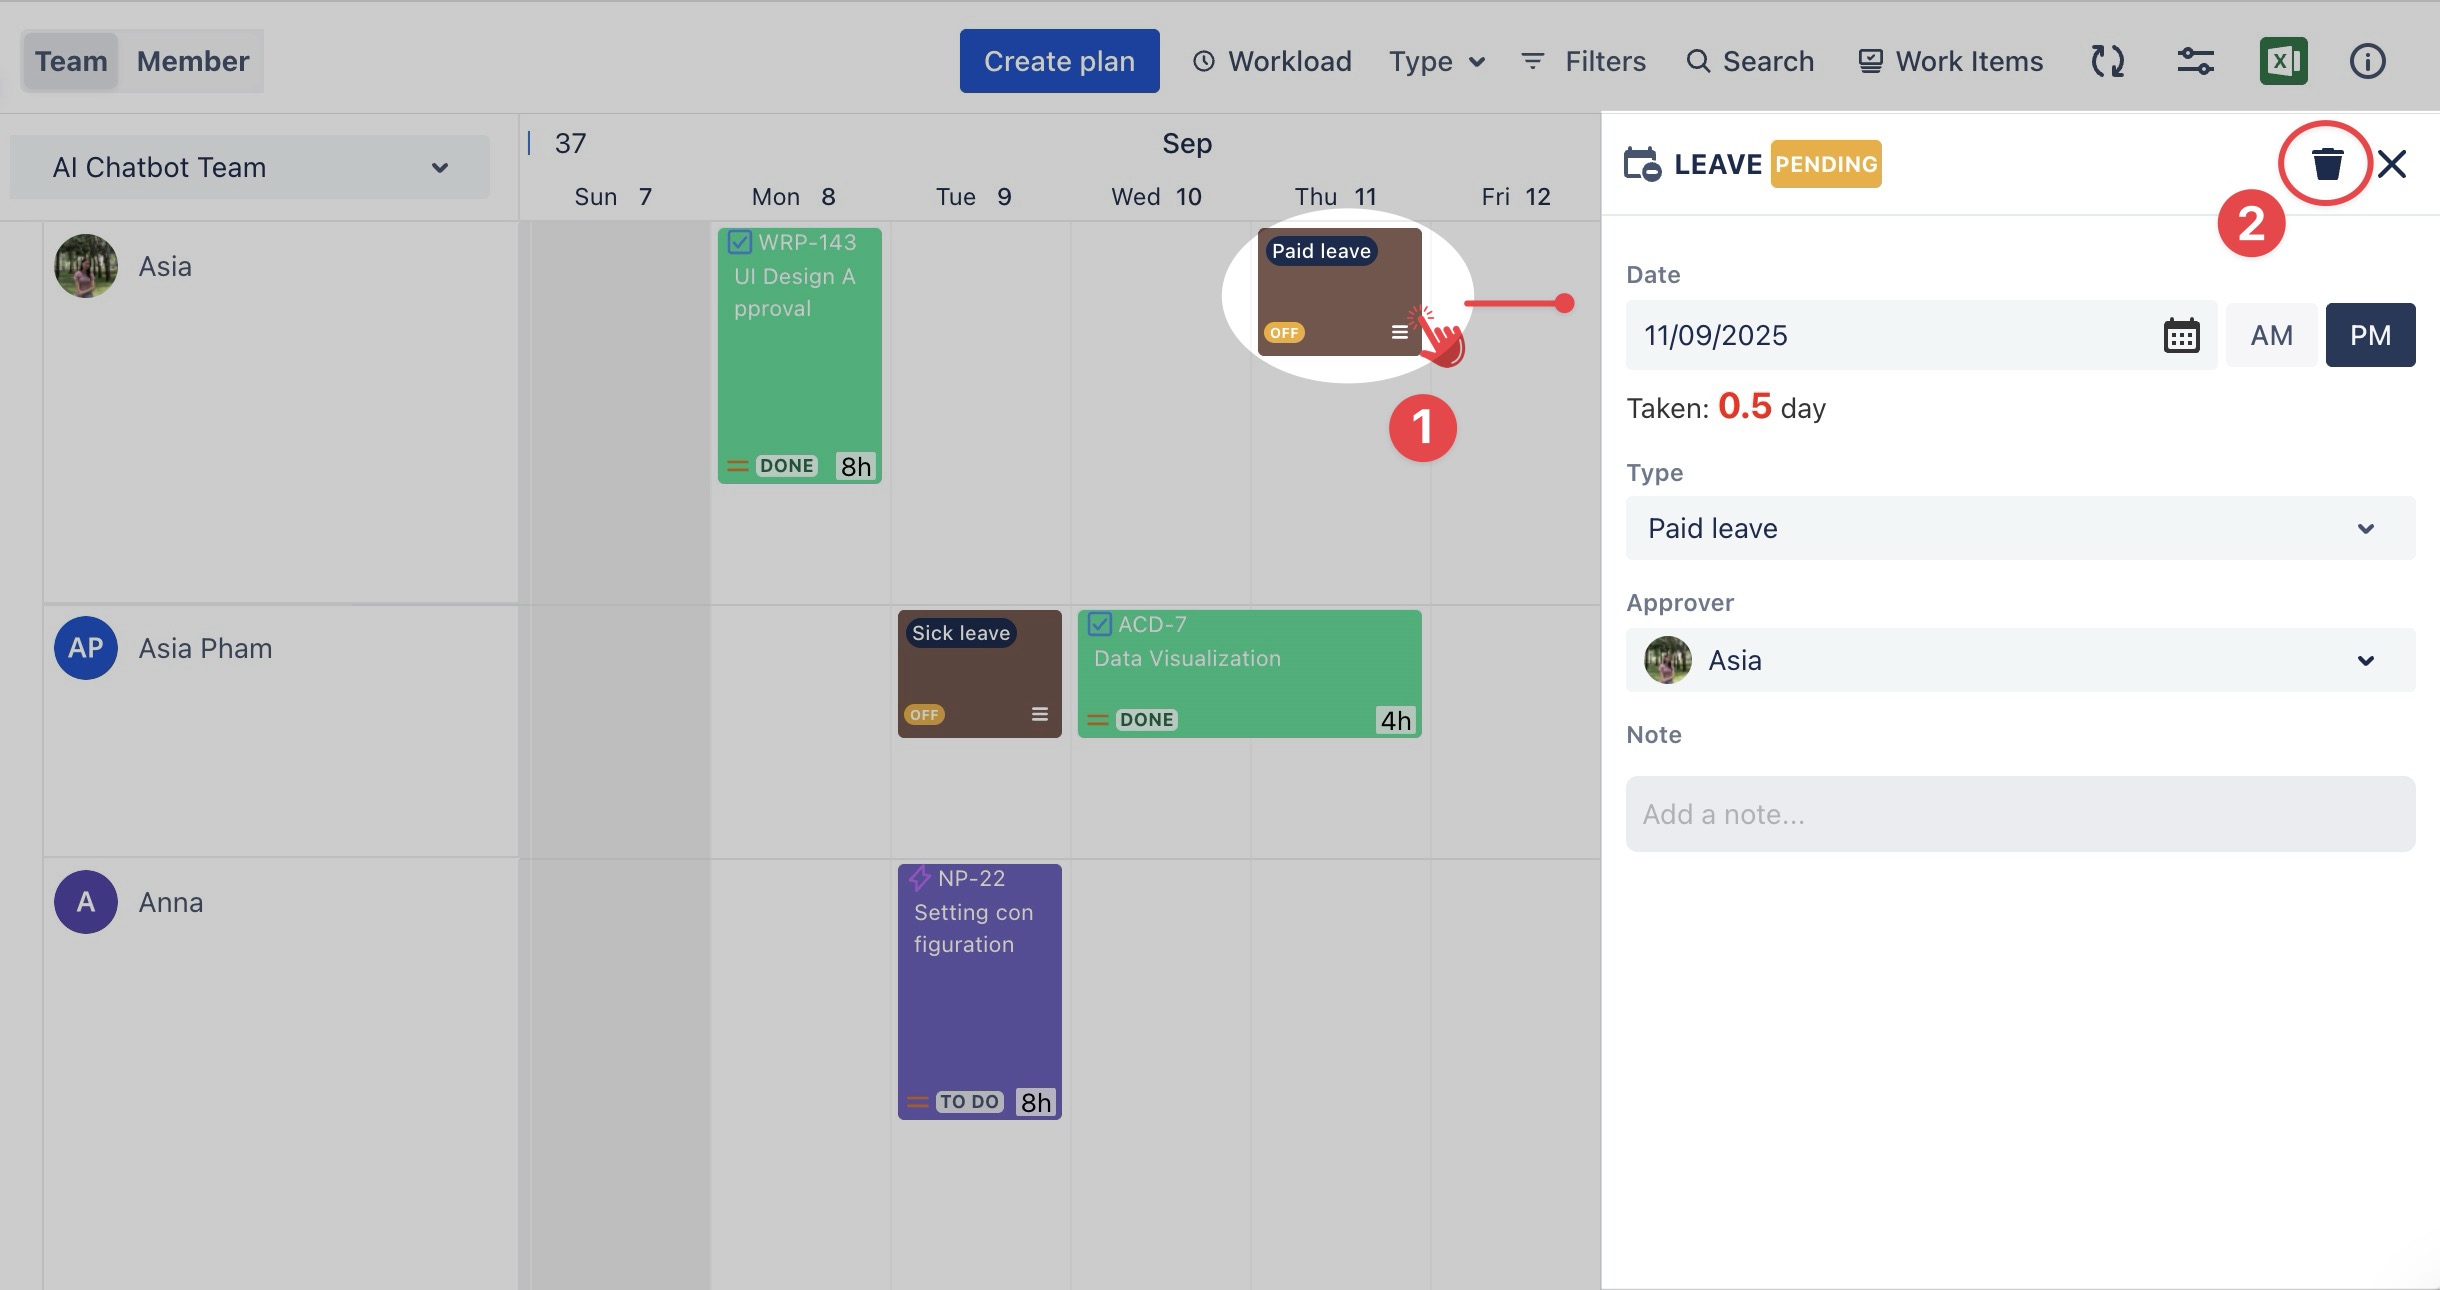
Option 1
-
Click directly on the time off card to open the Leave Request Details panel.
-
Click

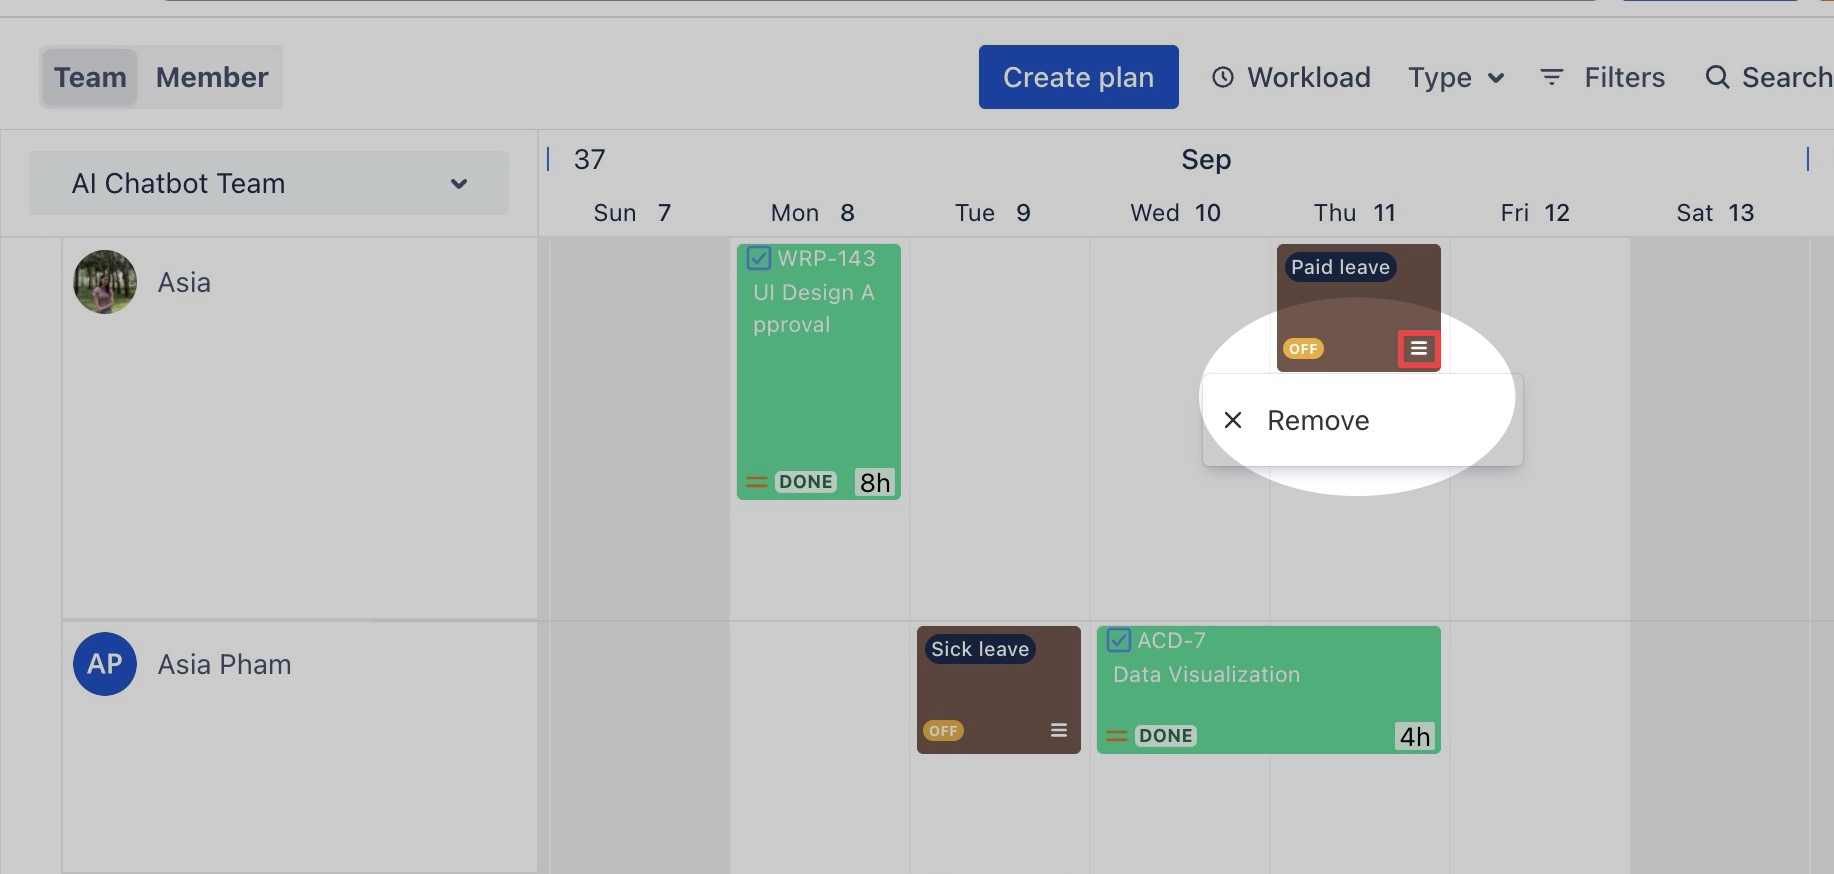
Option 2
-
Click

-
Choose Remove to remove the Leave Request.
Creating Time-off
Permissions for Time-off
-
App Admins: Can create, edit, or delete time-off requests for any team member.
-
Team Members: Can create, edit, or delete only their own time-off.
👉 Refer to the permission guide for details.
When the Leave Approval Workflow is disabled, employees can plan time off directly without needing approval. This is ideal for personal time off or when a team doesn’t require manager approval for certain types of leave.
Steps to Create a Time-off:
From the Schedule Board, you can open the Planning Dialog in two ways:
Click ![]()
Or, click on a specific date or drag across a range of dates.
Tip: You can open the Planning Dialog from the Calendar Board.
step 2 In the Planning Dialog, select the Timeoff tab
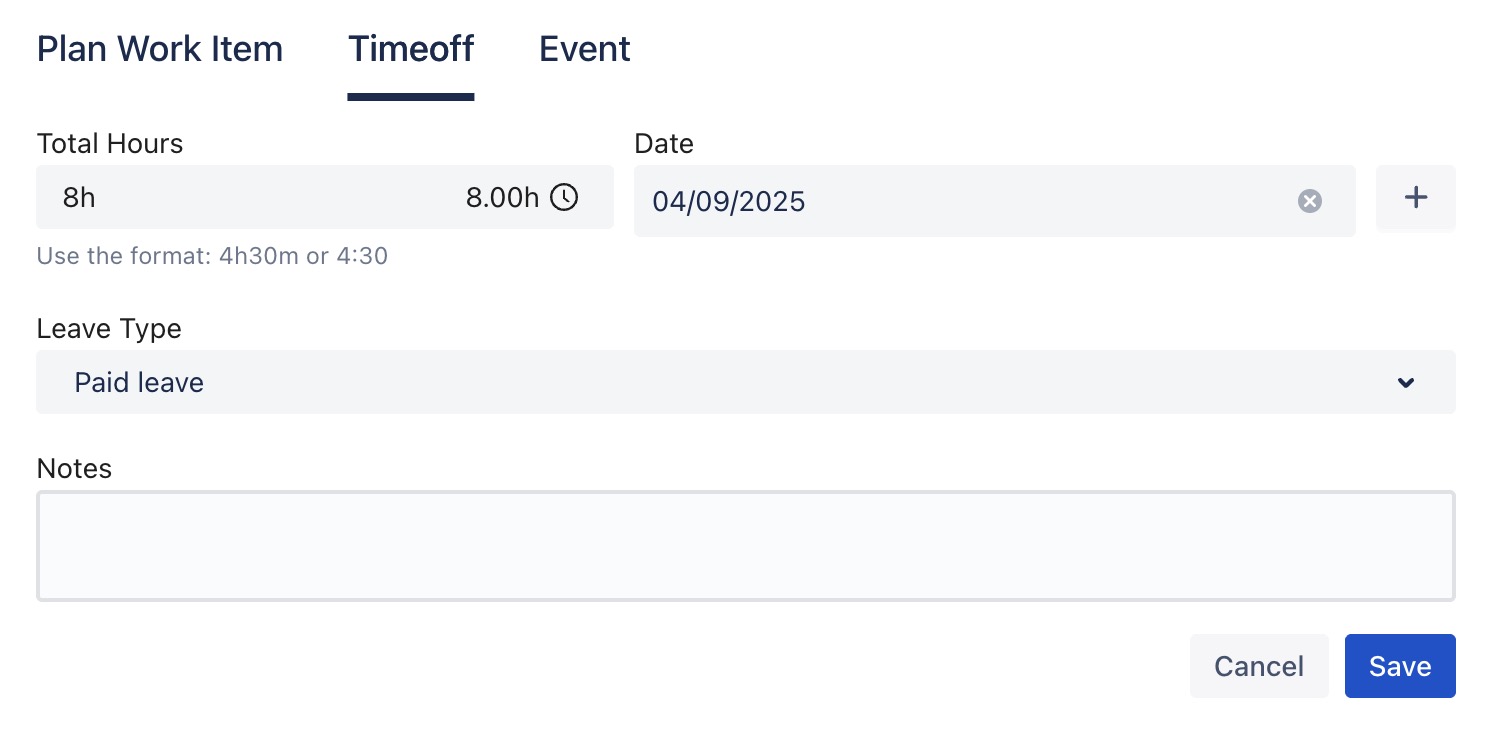
step 3 Fill in the following fields:
-
Total hour(s): Enter how many hours are being taken off (e.g., 8 for full day).
-
Date: Select the specific date for the time off using the date picker. (Click the
+button to add multiple days if needed) -
Leave type: Choose the leave type (e.g., vacation, sick leave, personal leave) from the dropdown menu. (These options are predefined in Leave Settings by the admin.)
-
Notes: (Optional) Add comments for context (e.g., “Doctor appointment”).
-
Click

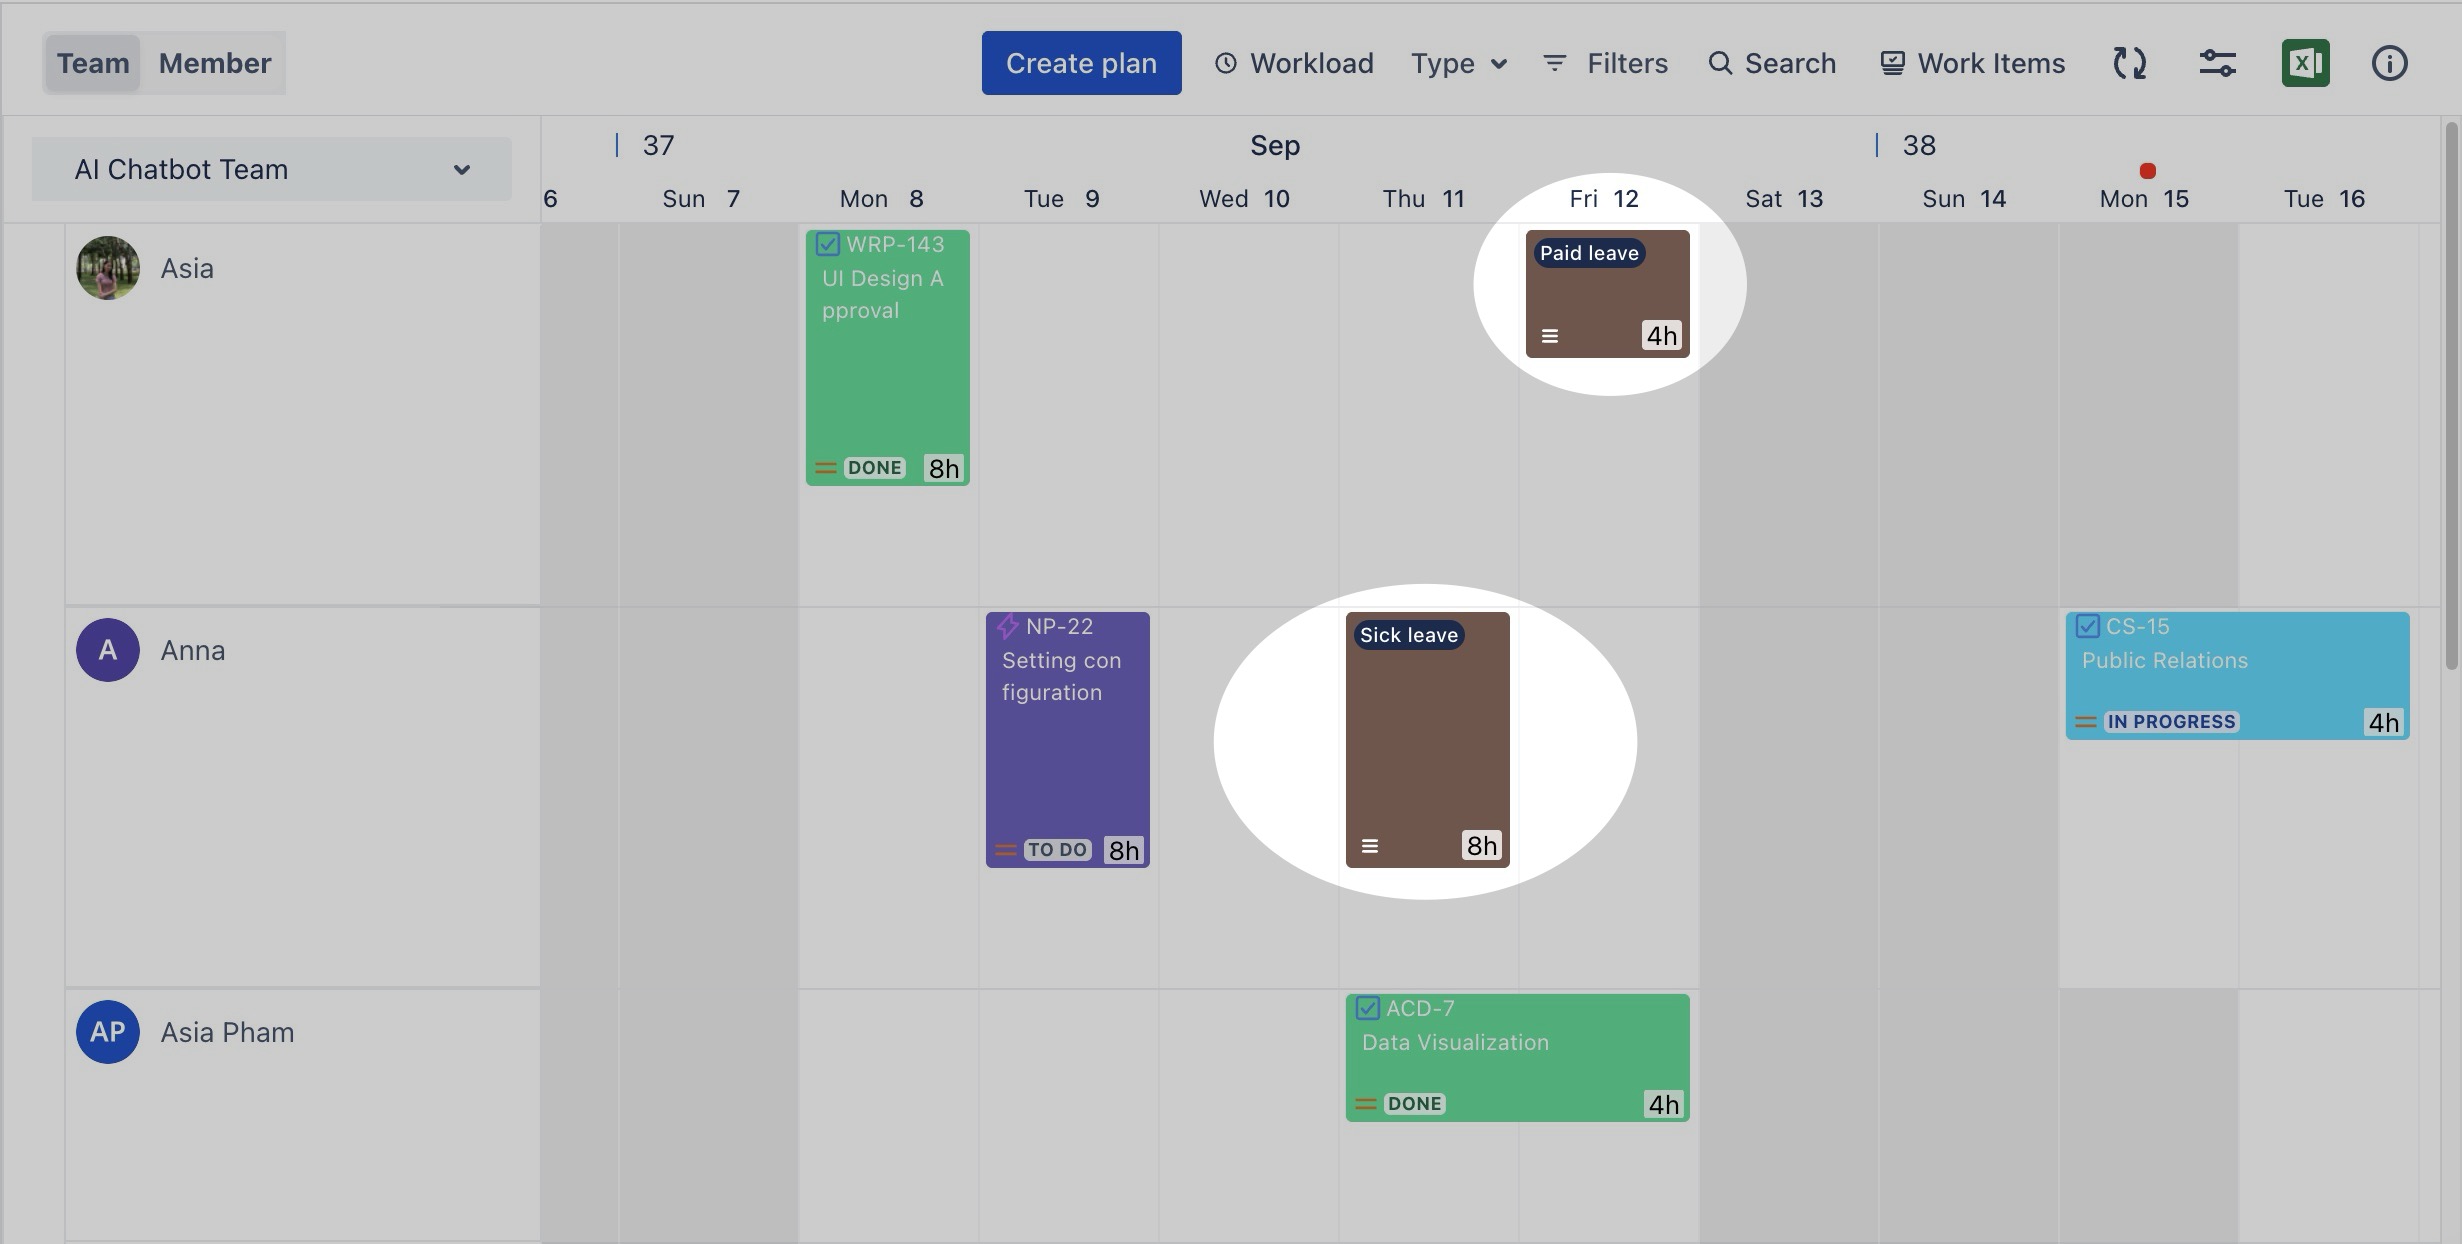
The time off will now appear on your Schedule Board:
Editing or deleting Time off
To update or delete time off, follow these steps:
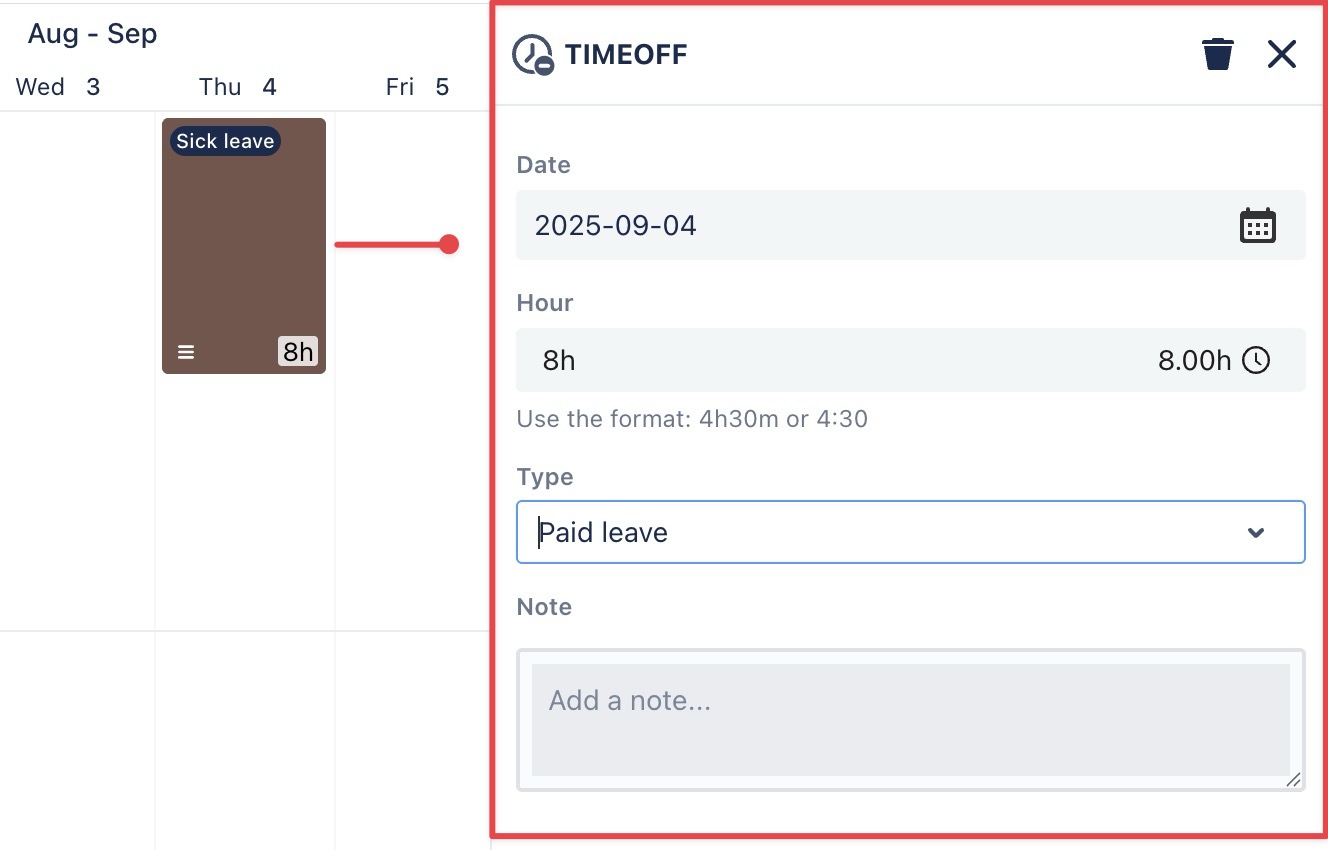
Updating Time Off
-
Click directly on the time off card, Or click

-
The Time Off Details panel will appear on the right-hand side.
-
In the right panel, you can edit the following details: Total hour(s), Date, Leave type, and Notes.
-
Click
Deleting Time Off
You can delete Time Off in two ways:
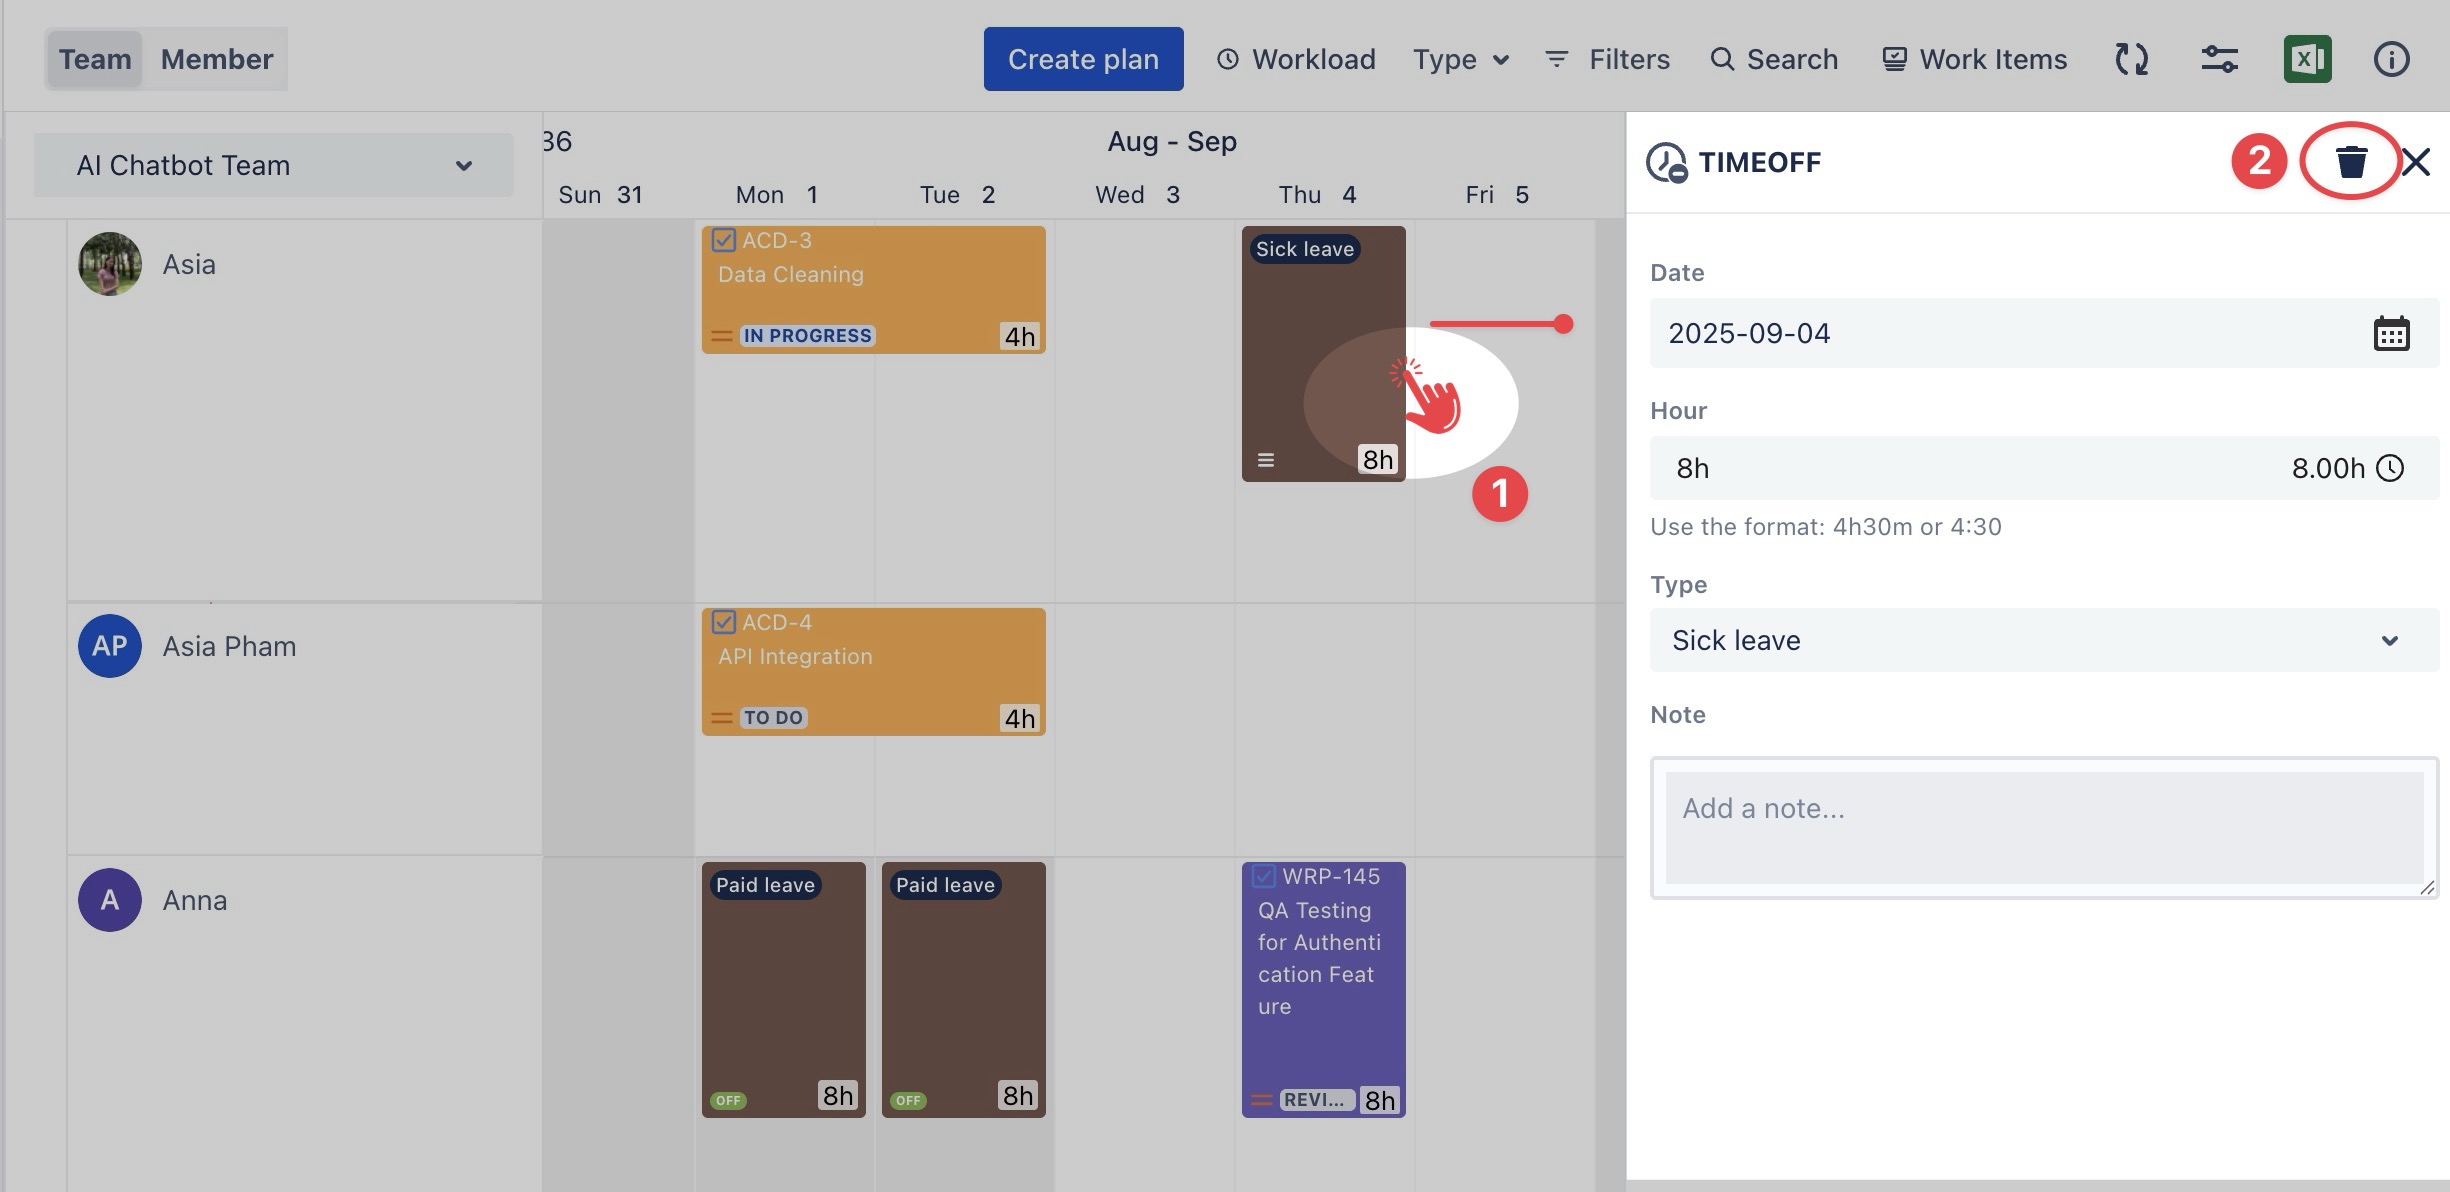
Option 1
-
Click directly on the time off card to open the Time Off Details panel.
-
Click
Option 2
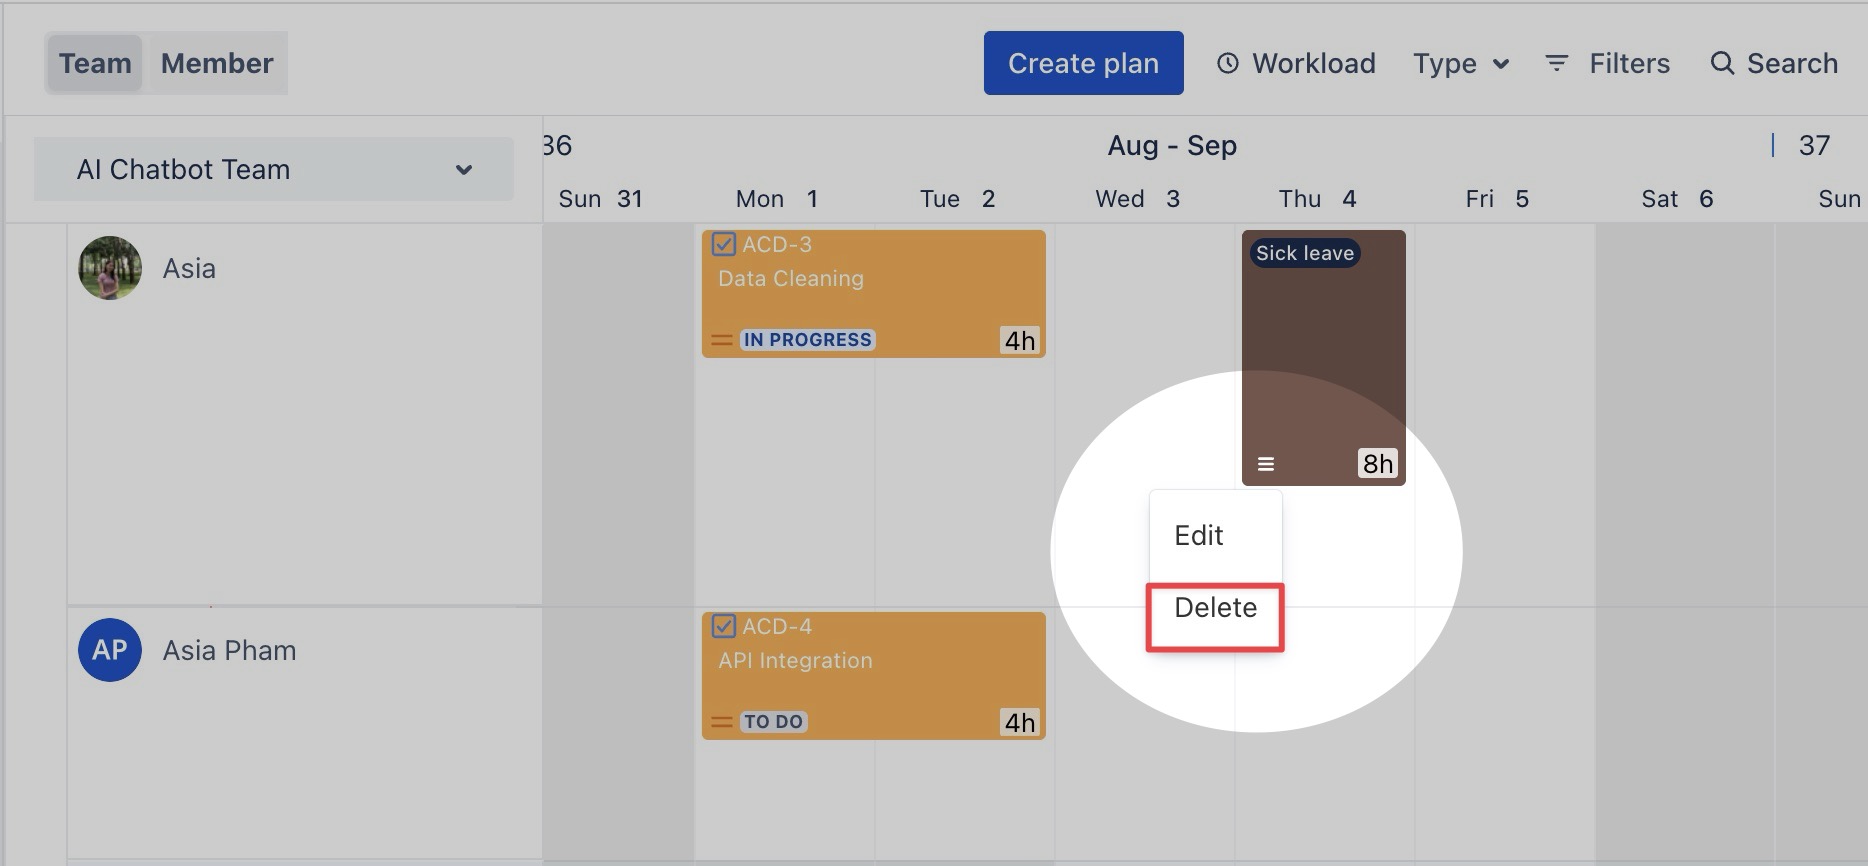
-
Click
-
Choose Delete to remove the time off.