.png)
1. Requirement Table Explanation
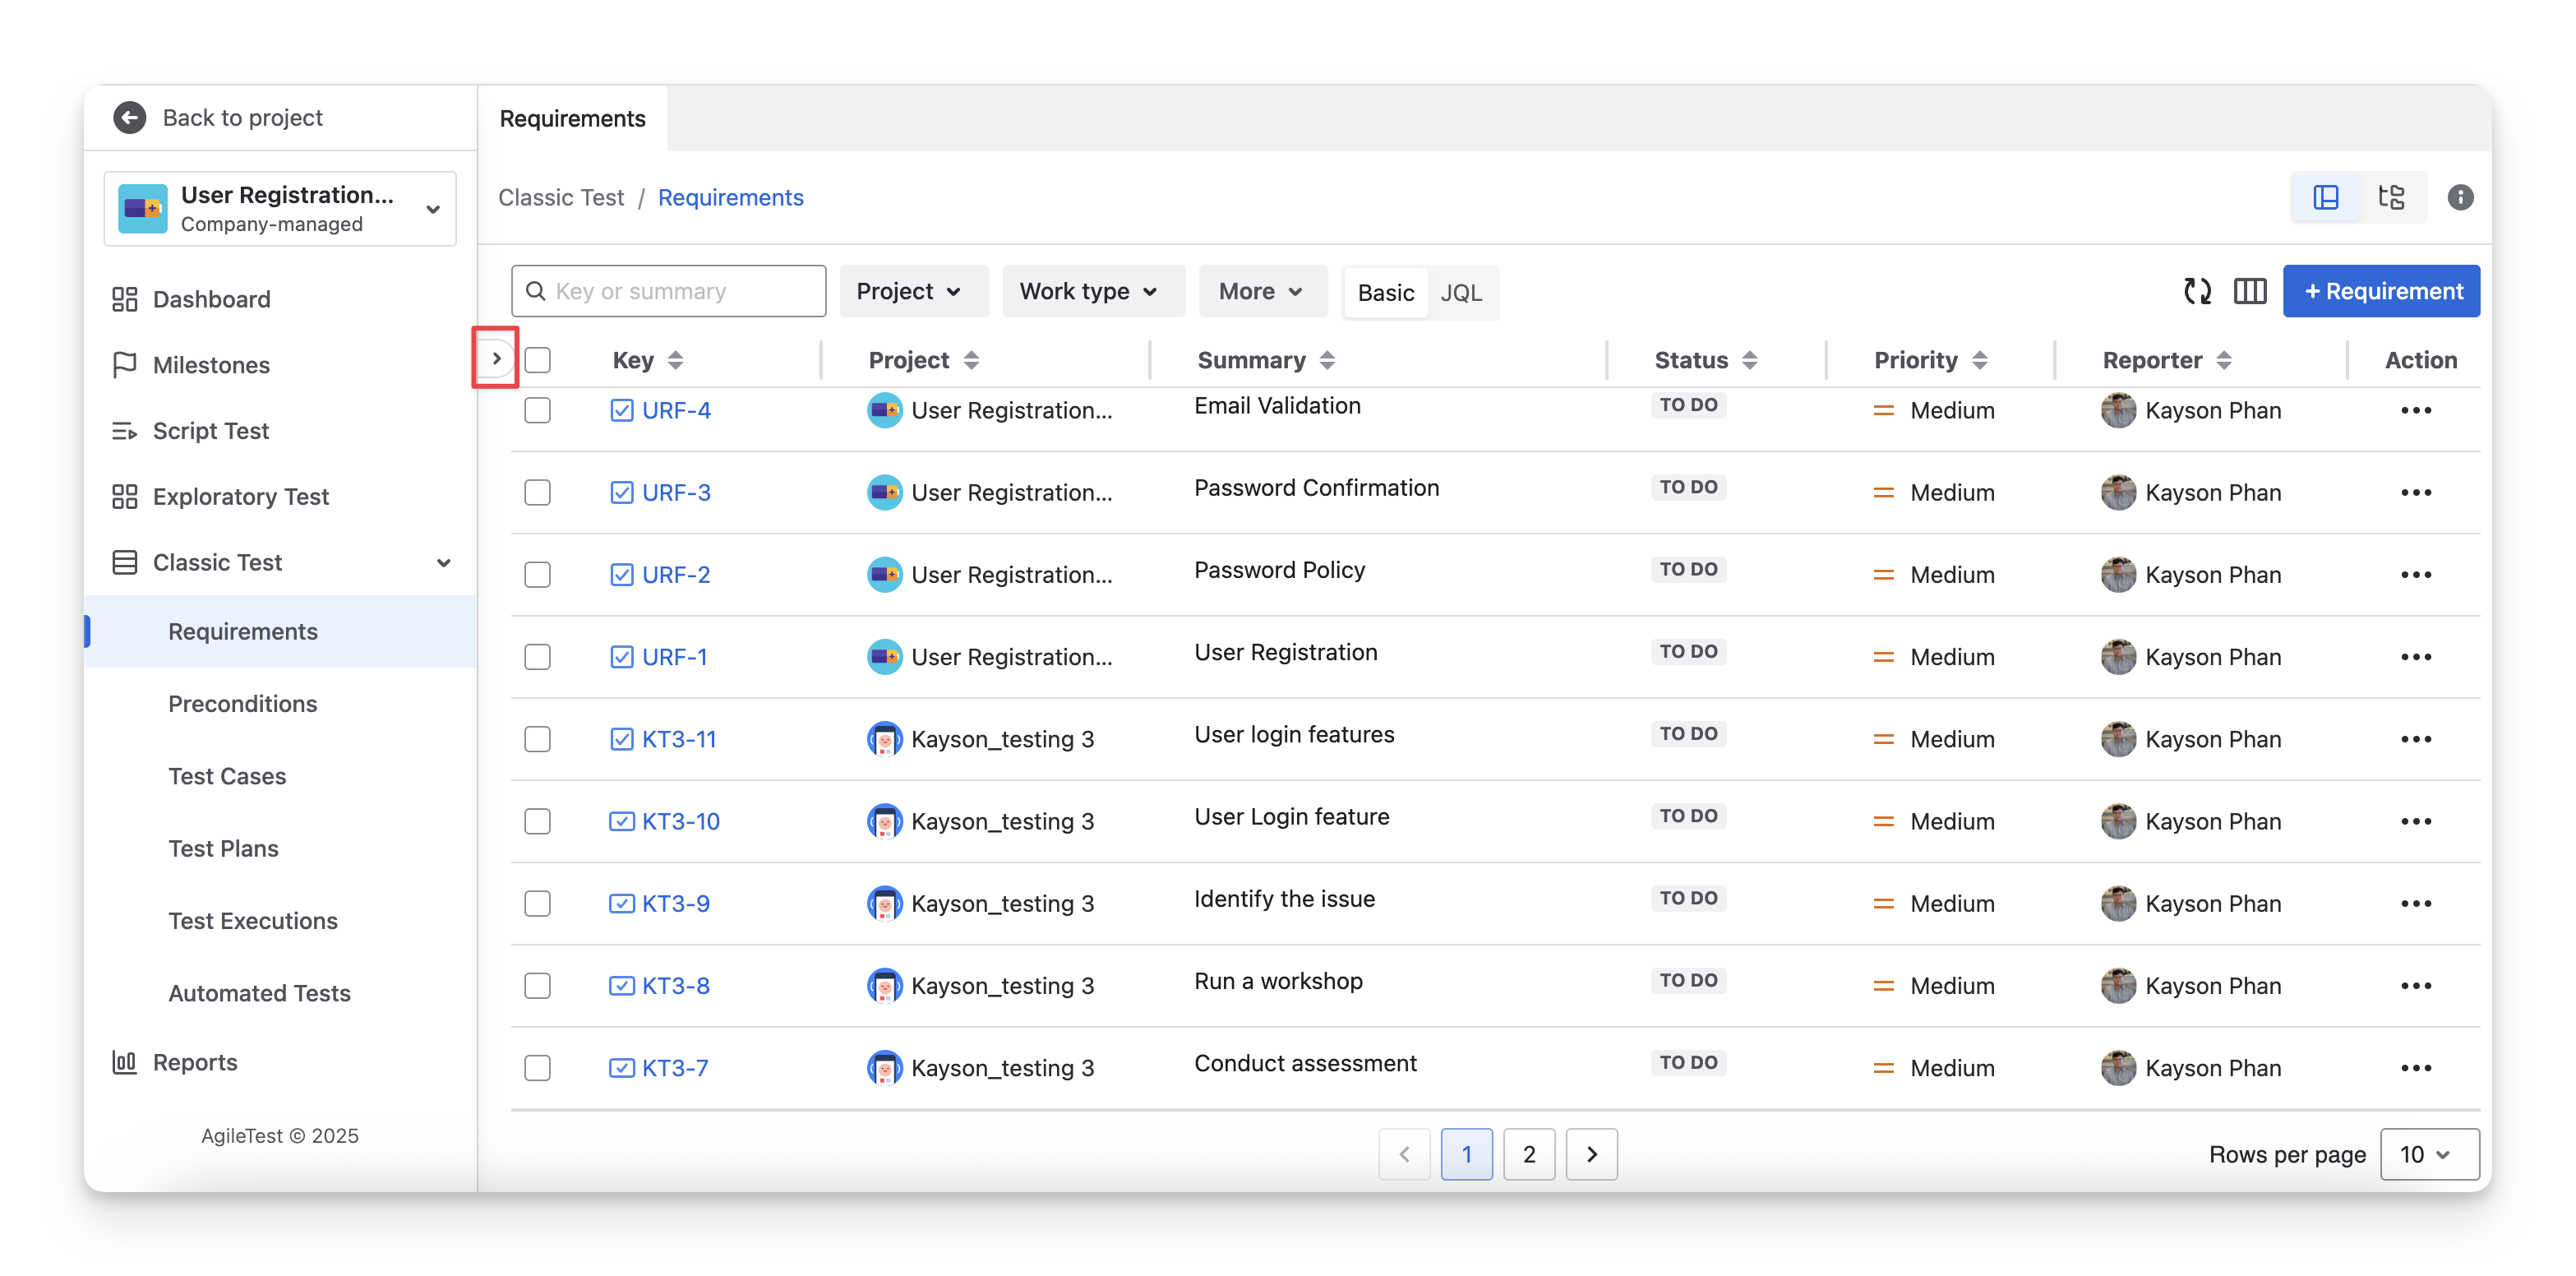
On the Requirement screen, you can see a list of requirements.
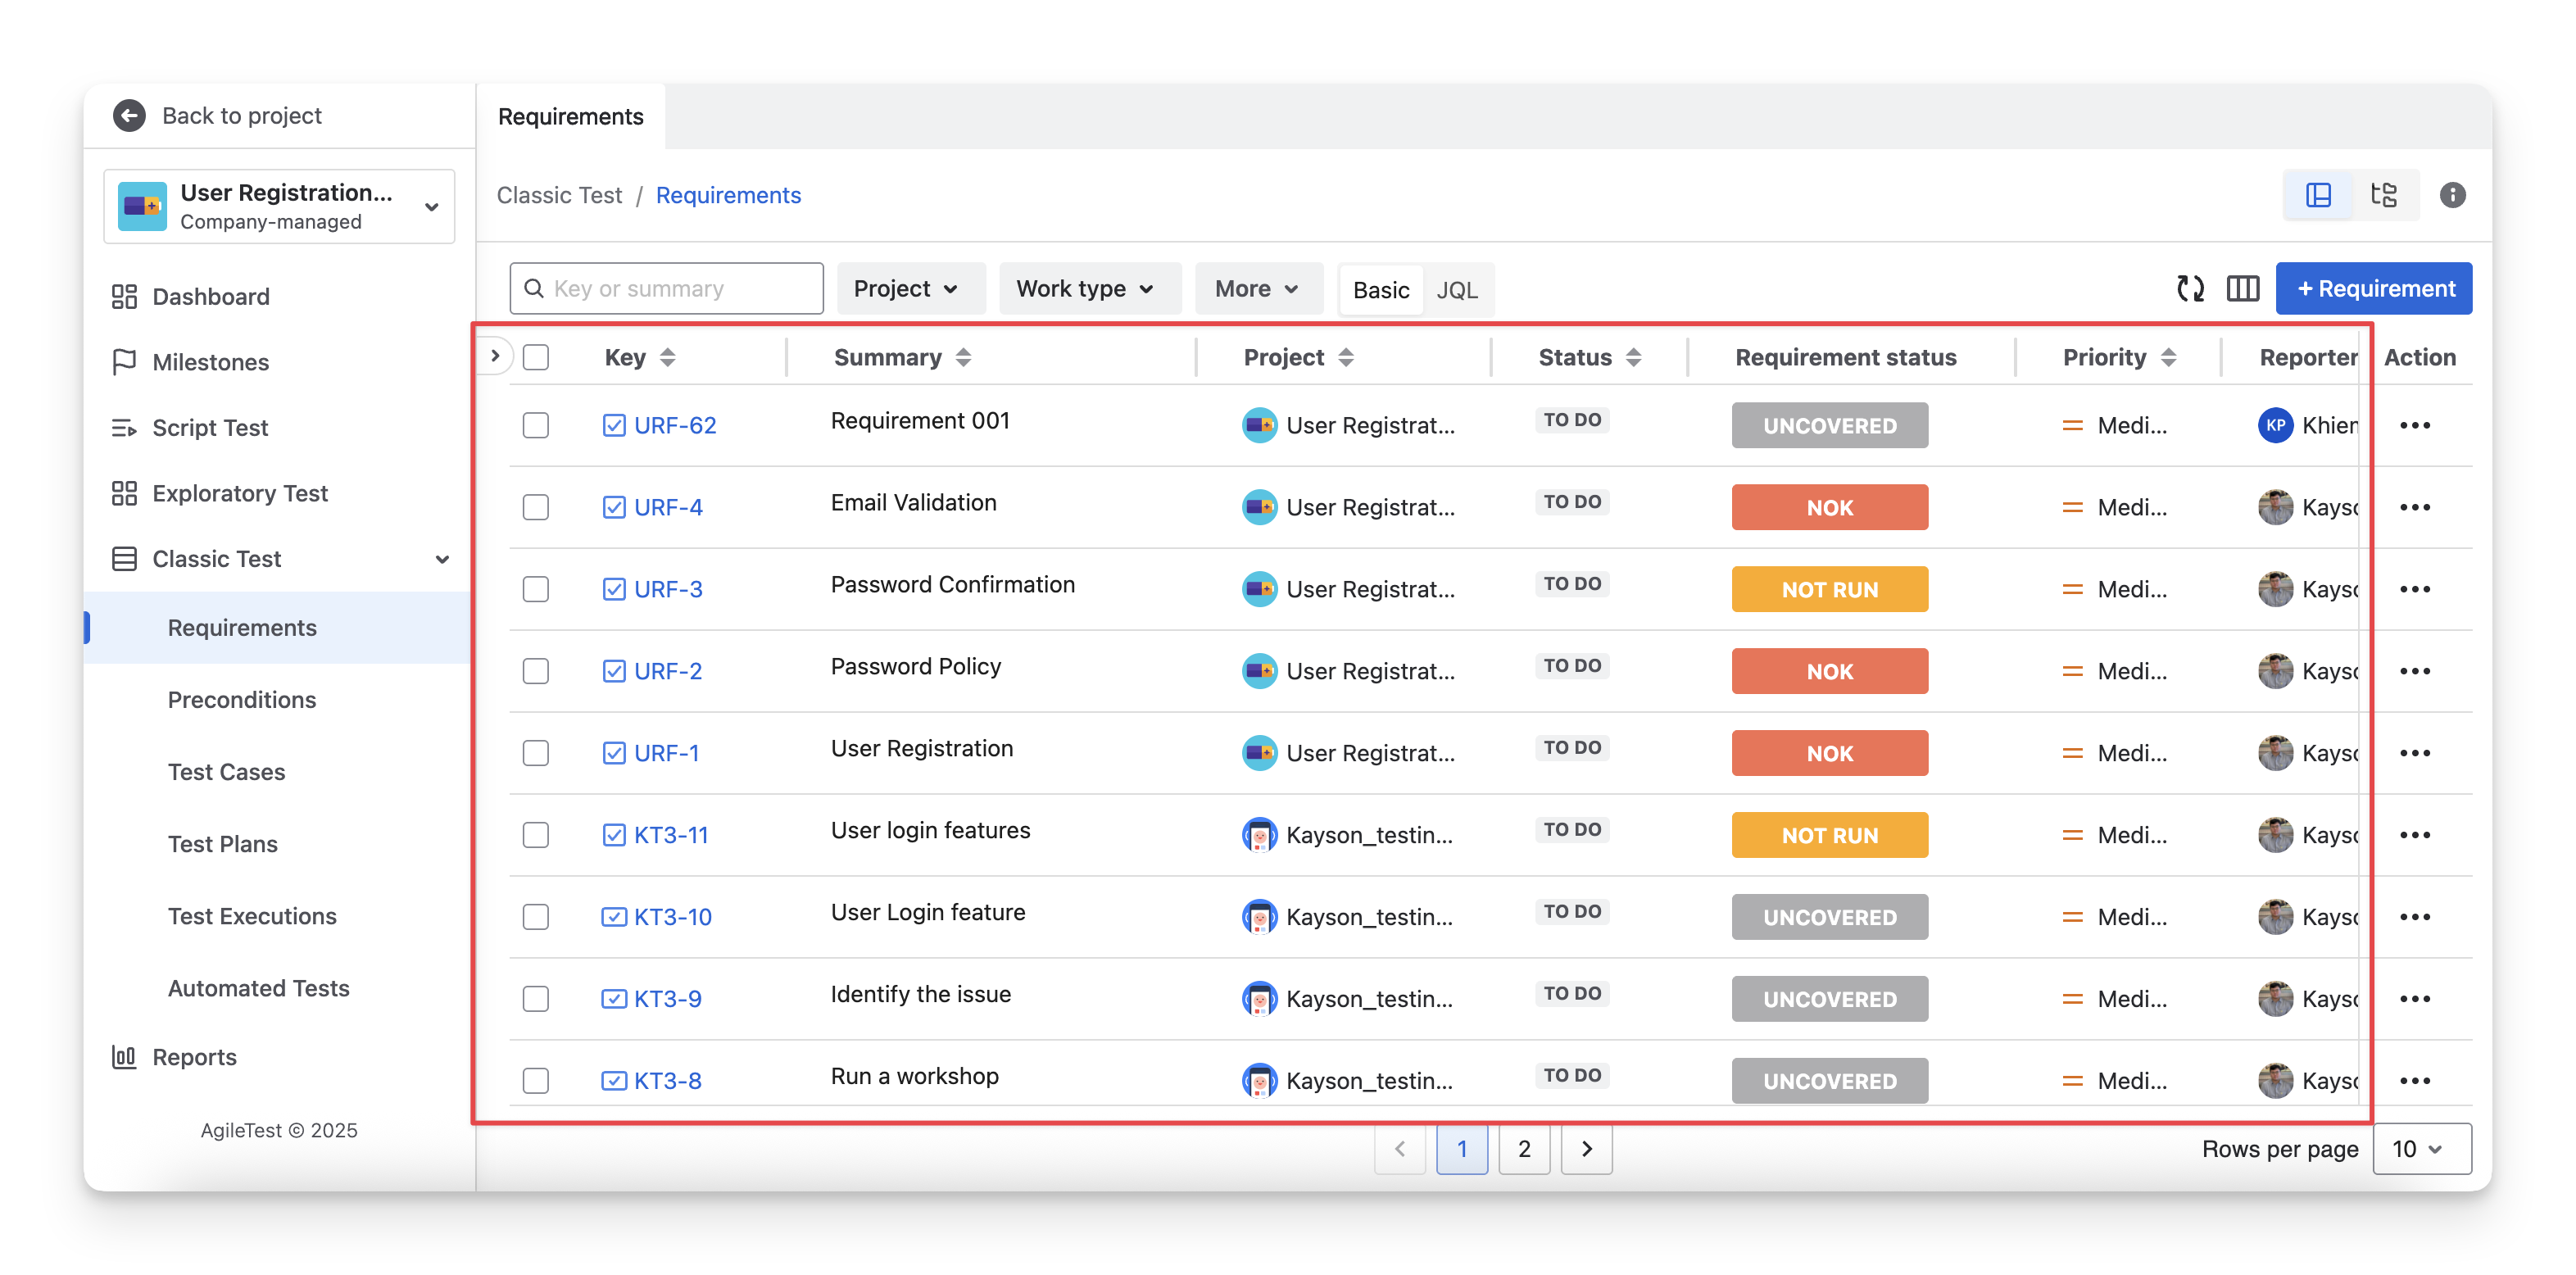
There are 10 main types of information displayed in the form of columns:
|
Types of Information |
Description |
|---|---|
|
Key |
A Jira unique identifier for the requirement, used to track and link it. |
|
Summary |
A brief title describing the purpose or scenario of the requirement. |
|
Project |
The Jira project to which this requirement belongs. It defines the overall scope and context of the requirement. |
|
Status |
The current Jira status of the requirement ticket ( todo ; in progress done ) indicates its lifecycle stage. |
|
Assignee |
The user responsible for working on or maintaining the requirement. |
|
Requirement status |
The calculated status of the requirement based on its link with Test Cases and Test Scripts ( NOK ; not run ; Unknown ; ok ; Uncovered ; covered ) |
|
Priority |
The importance and urgency of the requirement that helps teams decide what should be addressed first. |
|
Reporter |
The user who originally created and reported the requirement. |
|
Created At |
The date and time when the requirement was first created in the system. |
|
Last Updated |
The most recent date and time when the requirement was modified, reflecting the latest activity or changes. |
2. Requirement Table Actions
2.1 Show/Hide Column In The Table
You can show or hide columns in the requirement table by clicking the “Display” button and selecting/deselecting the checkbox to display/hide the desired columns in the requirement table.
The Key and Summary Columns are two System Fields, which cannot be hidden.

2.2 Rearrange Requirement Column Orders
To change the display order of columns, drag and drop each column to your preferred position.
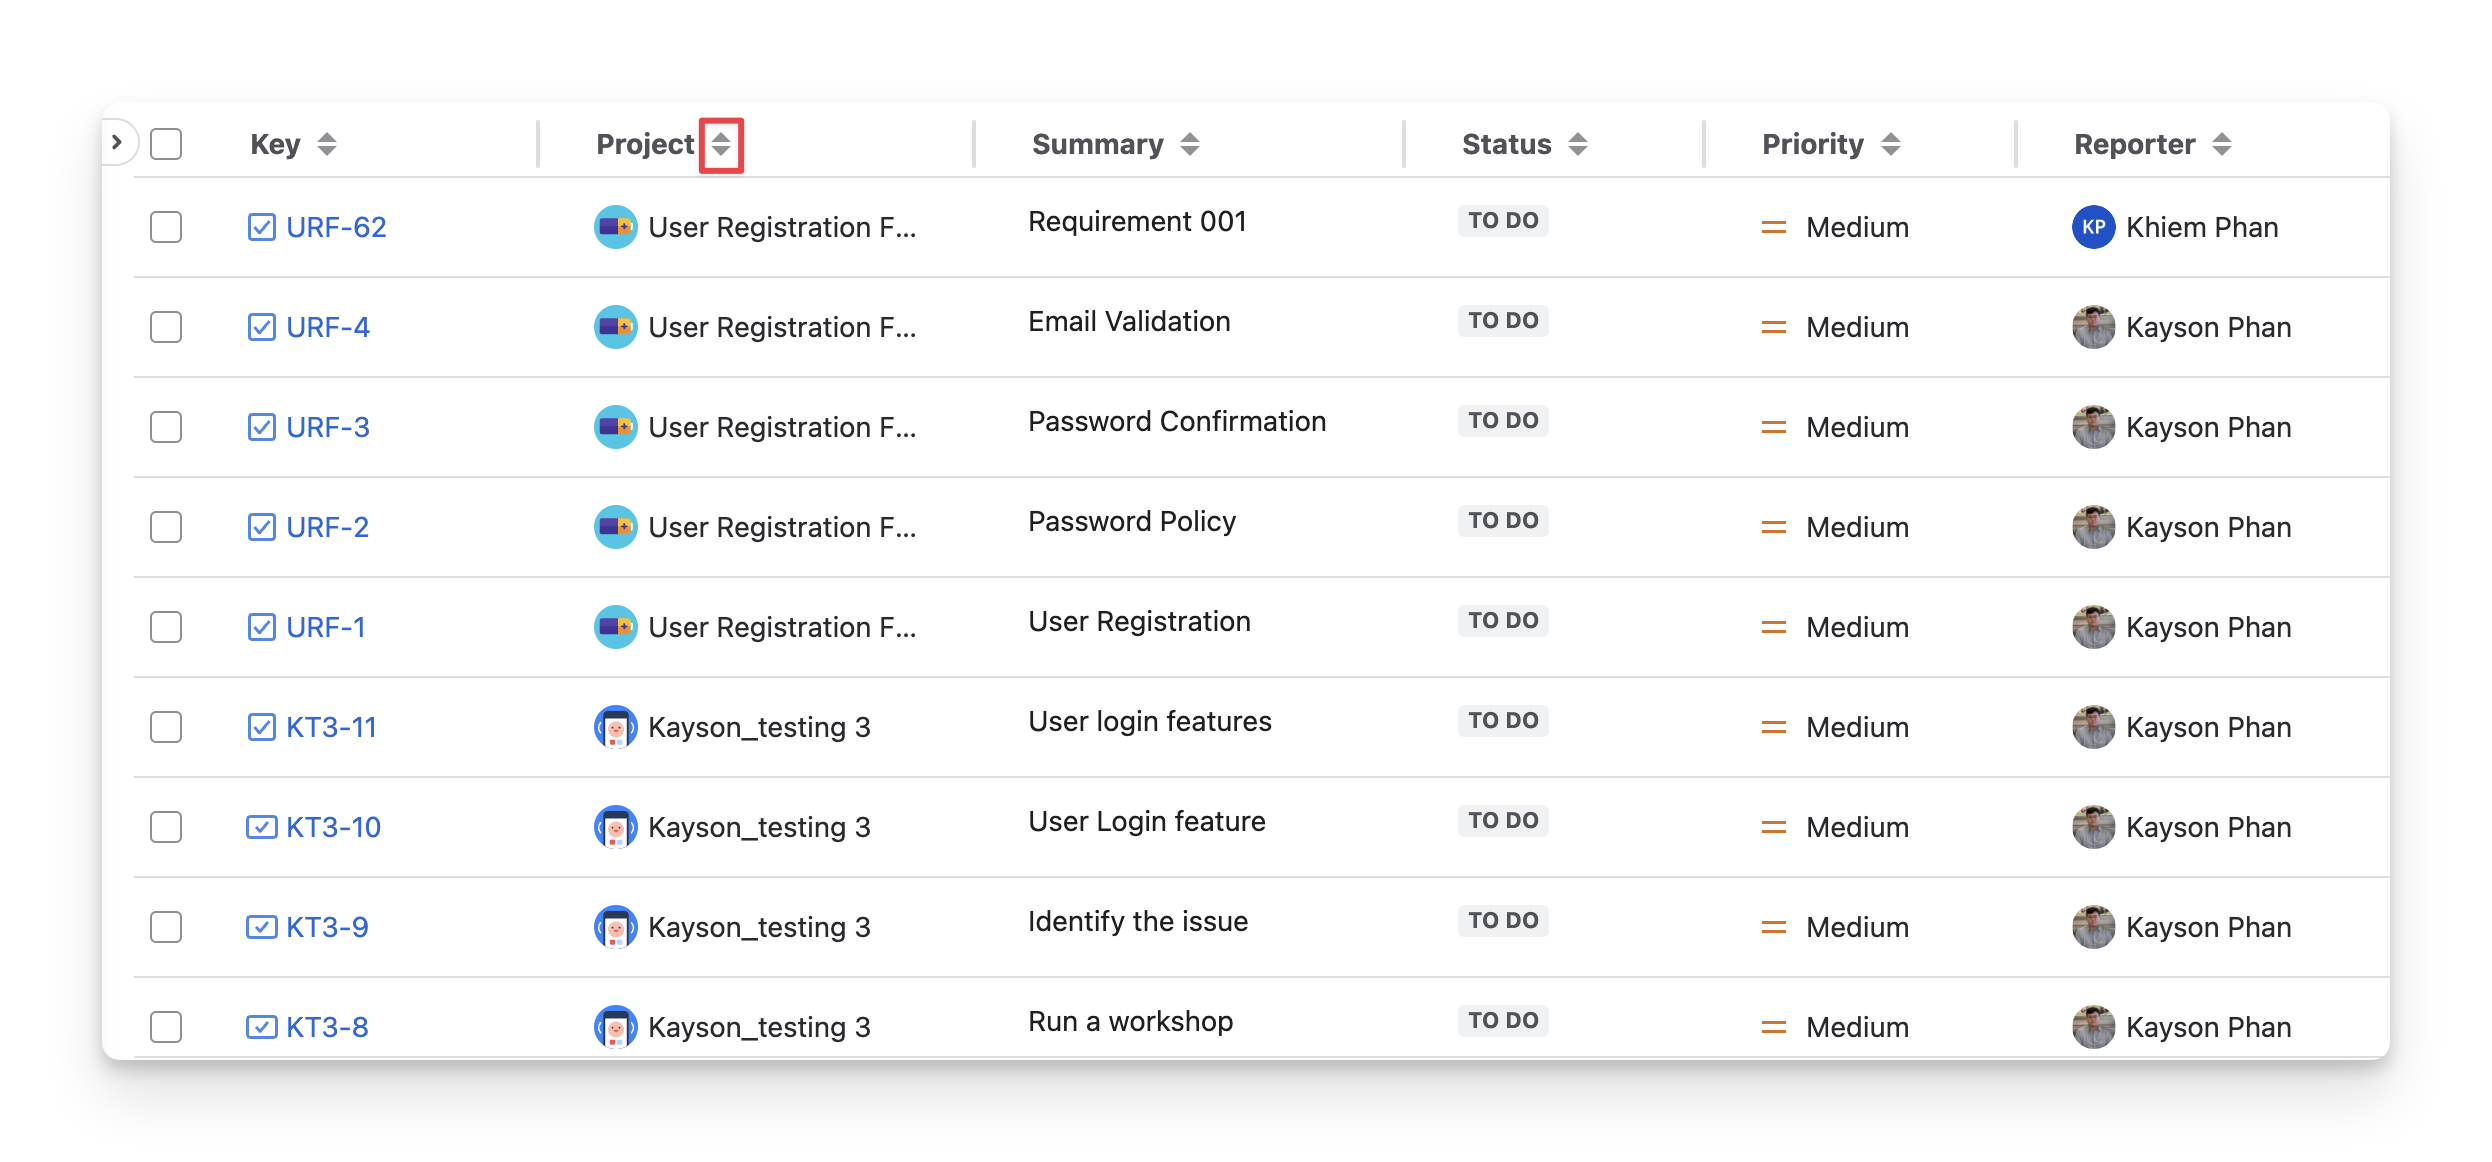
2.3 Sort Requirements
To sort any column and view the data in ascending or descending order, you can:
-
Choose the 🔼 to sort ascending.
-
Choose the 🔽 to sort descending.
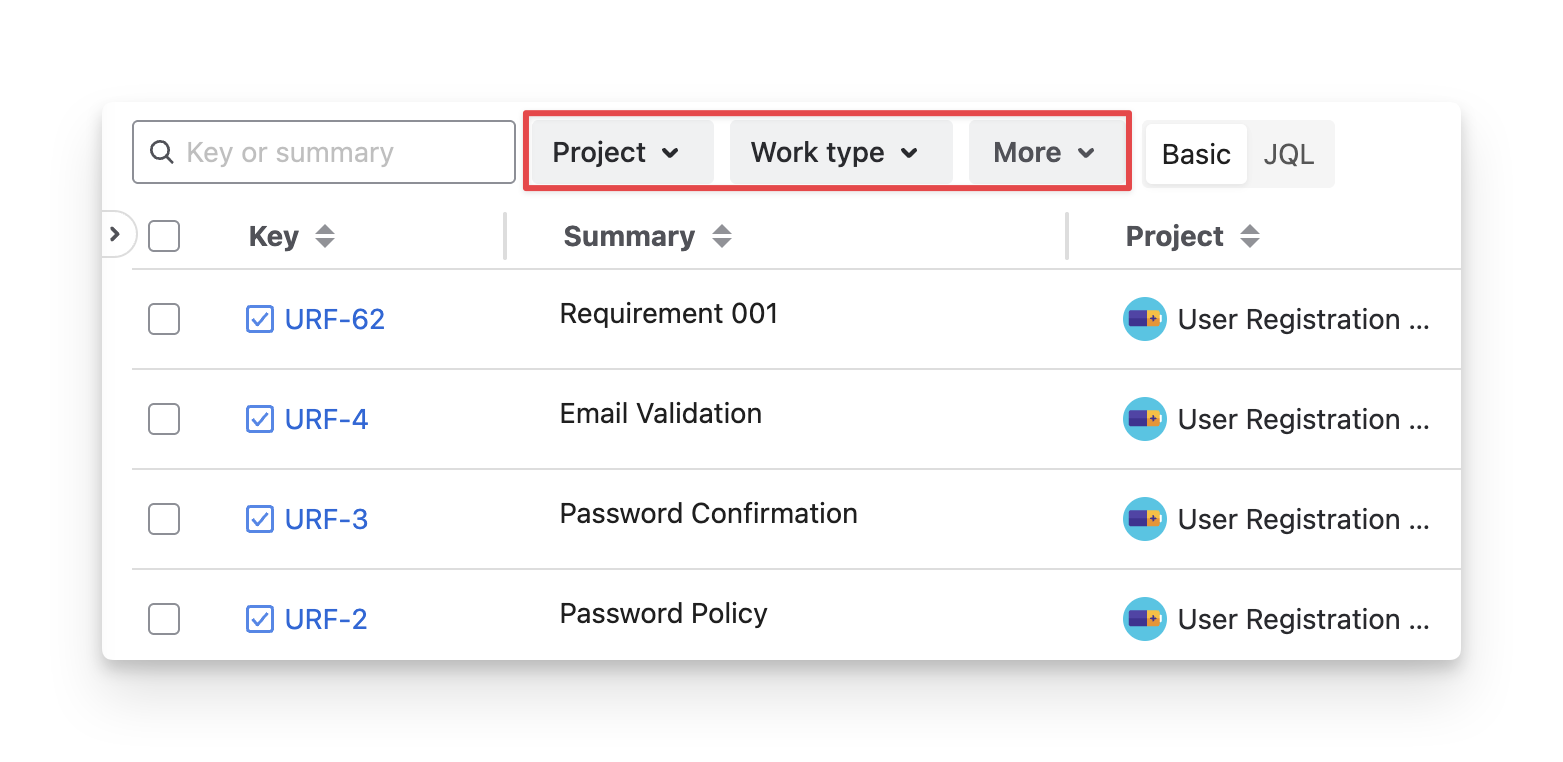
2.4 Filter Requirements
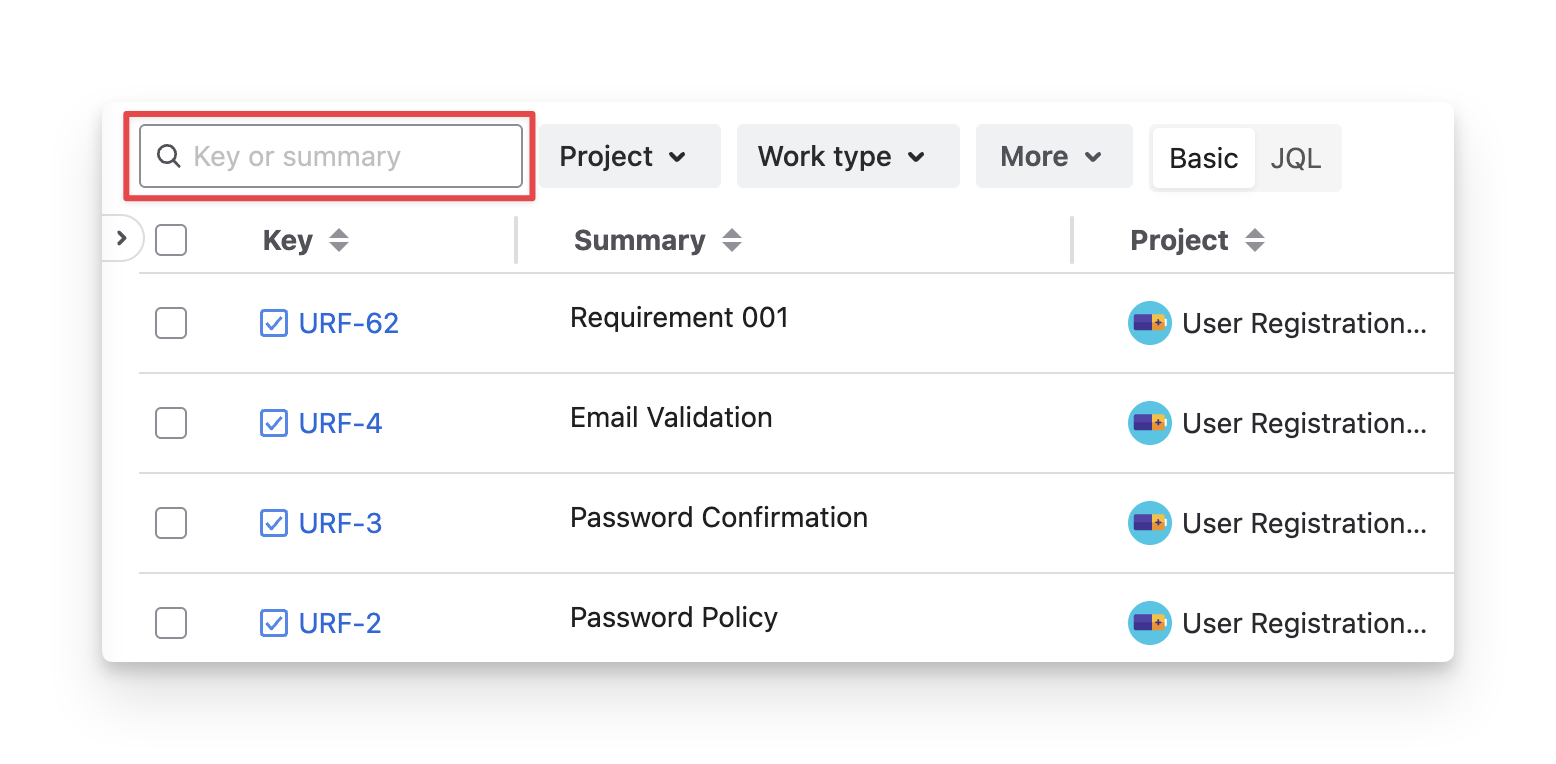
To quickly identify a specific requirement, you can:
-
Provide Jira Key ID or the Requirement Summary to find the exact requirement.
-
Apply Filters to narrow down the list
AgileTest supports you in filtering requirements by:
-
Project: your mapped projects into AgileTest (Maximum of 3 projects).
-
Work Type: your Requirement work item types ( Epic ; Story ; Task ; Subtask ).
-
Assignee: your team members assigned to requirements.
-
Priority: the requirement priority ( Highest ; high ; medium ; lowest ; low ).
-
Status: your Jira status of the Requirement ticket ( todo ; in progress ; done ).
-
Reporter: your team members created requirements.
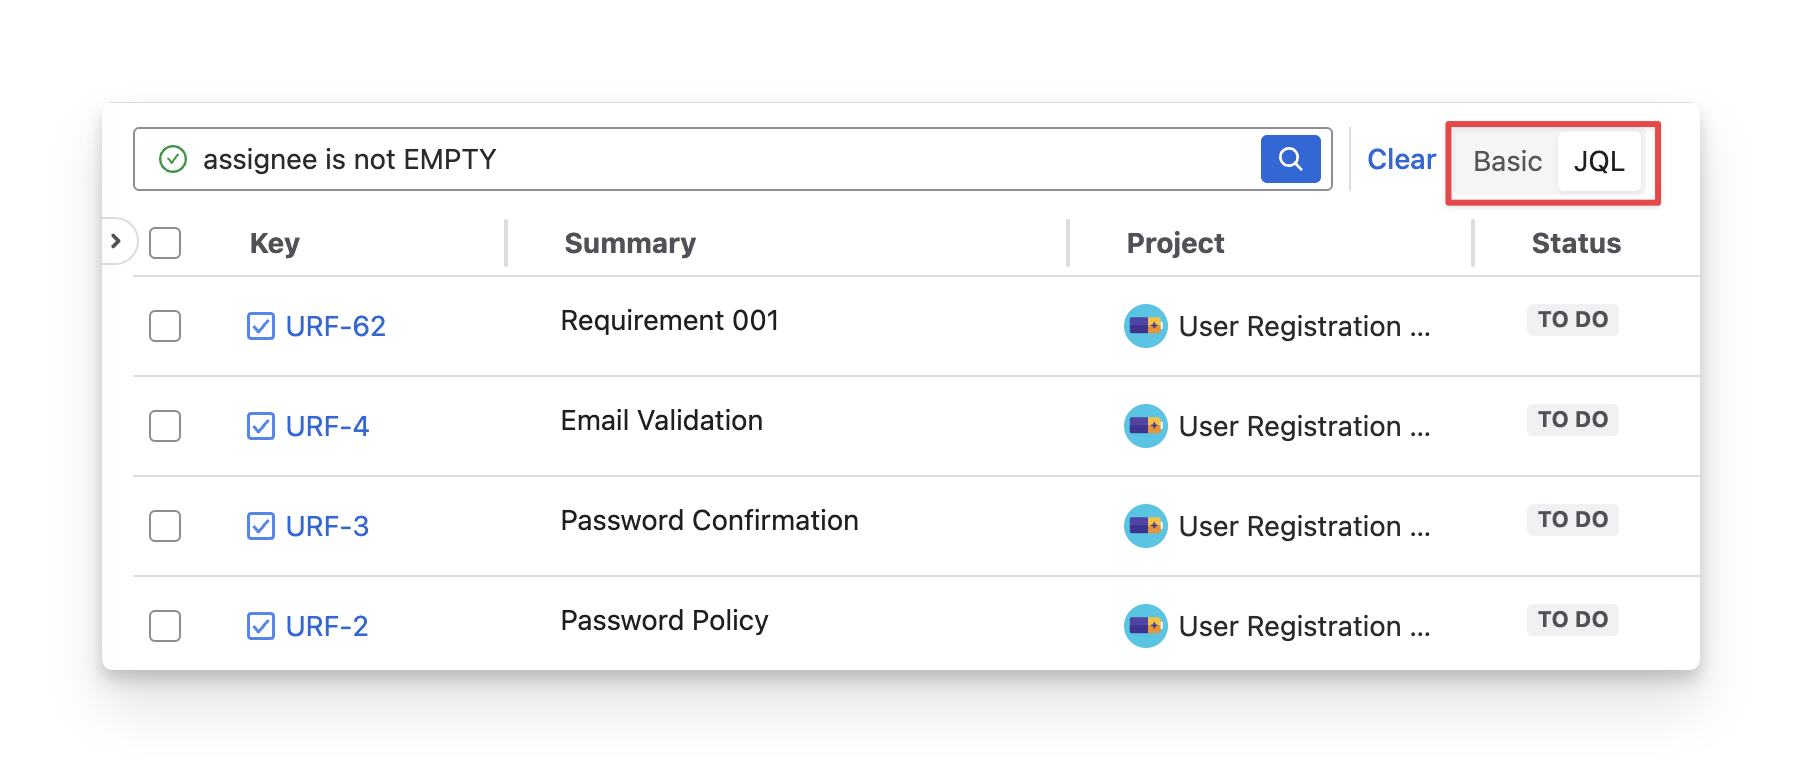
-
Or switch to JQL and enter your custom search.
2.5 Organize Requirements Into Folders
In the requirement section, there is a Requirement folder feature. This feature helps you categorize relevant requirements into the same group, making them easier to track, navigate, and maintain throughout the project lifecycle. By grouping requirements into folders, teams can improve visibility, keep requirements well-structured, and simplify requirement management as the project grows.
One Requirement can only belong to one folder.
By default, in the Requirement section, you can see a requirement folder feature on the left-hand side, which allows you to organize requirements in a hierarchical order.

To open/close the folders, click on the ▶️ / ◀️ button on the left-hand side of the table.
To add requirements into folders, you can multi-select these requirements and drag them into suitable folders.
You can only drag and drop requirements from your folders or the Un-group Requirements section.
Should you need any assistance or further AgileTest inquiries, contact our 24/7 Support Desk!