.png)
The App settings is where you can find all the app settings and configure Routemap to suit your requirements and workflow.
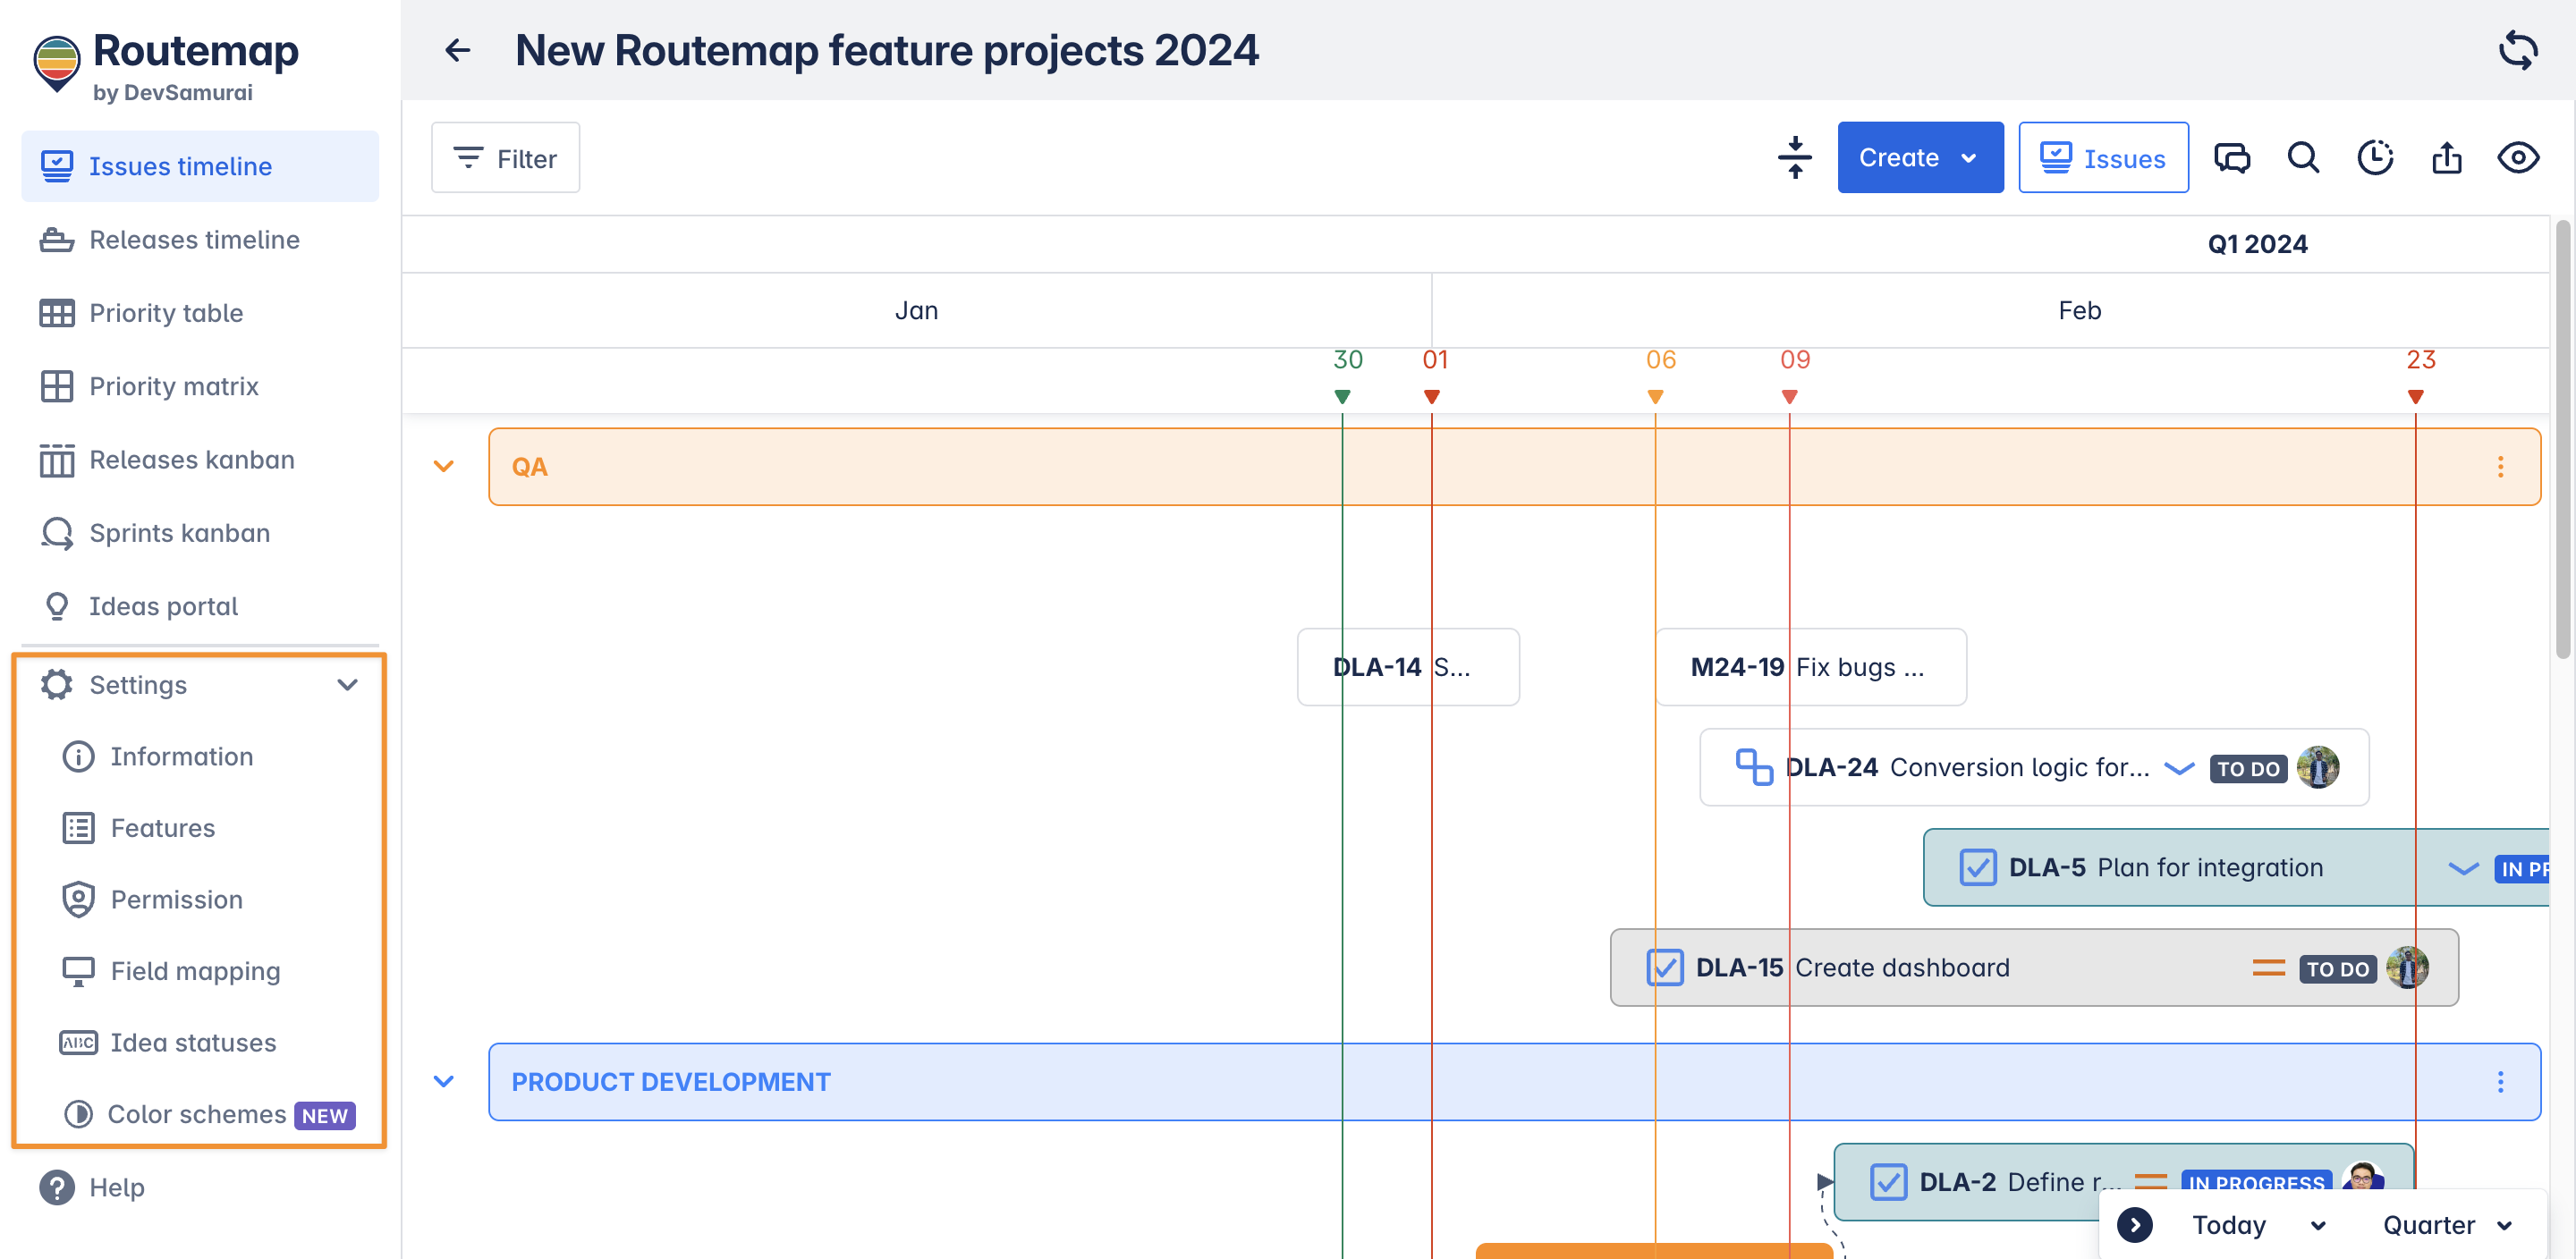
You can find it on the left sidebar after accessing the app.
Information settings
After creating a new Routemap, you can always go to the settings and change the original information of the board.
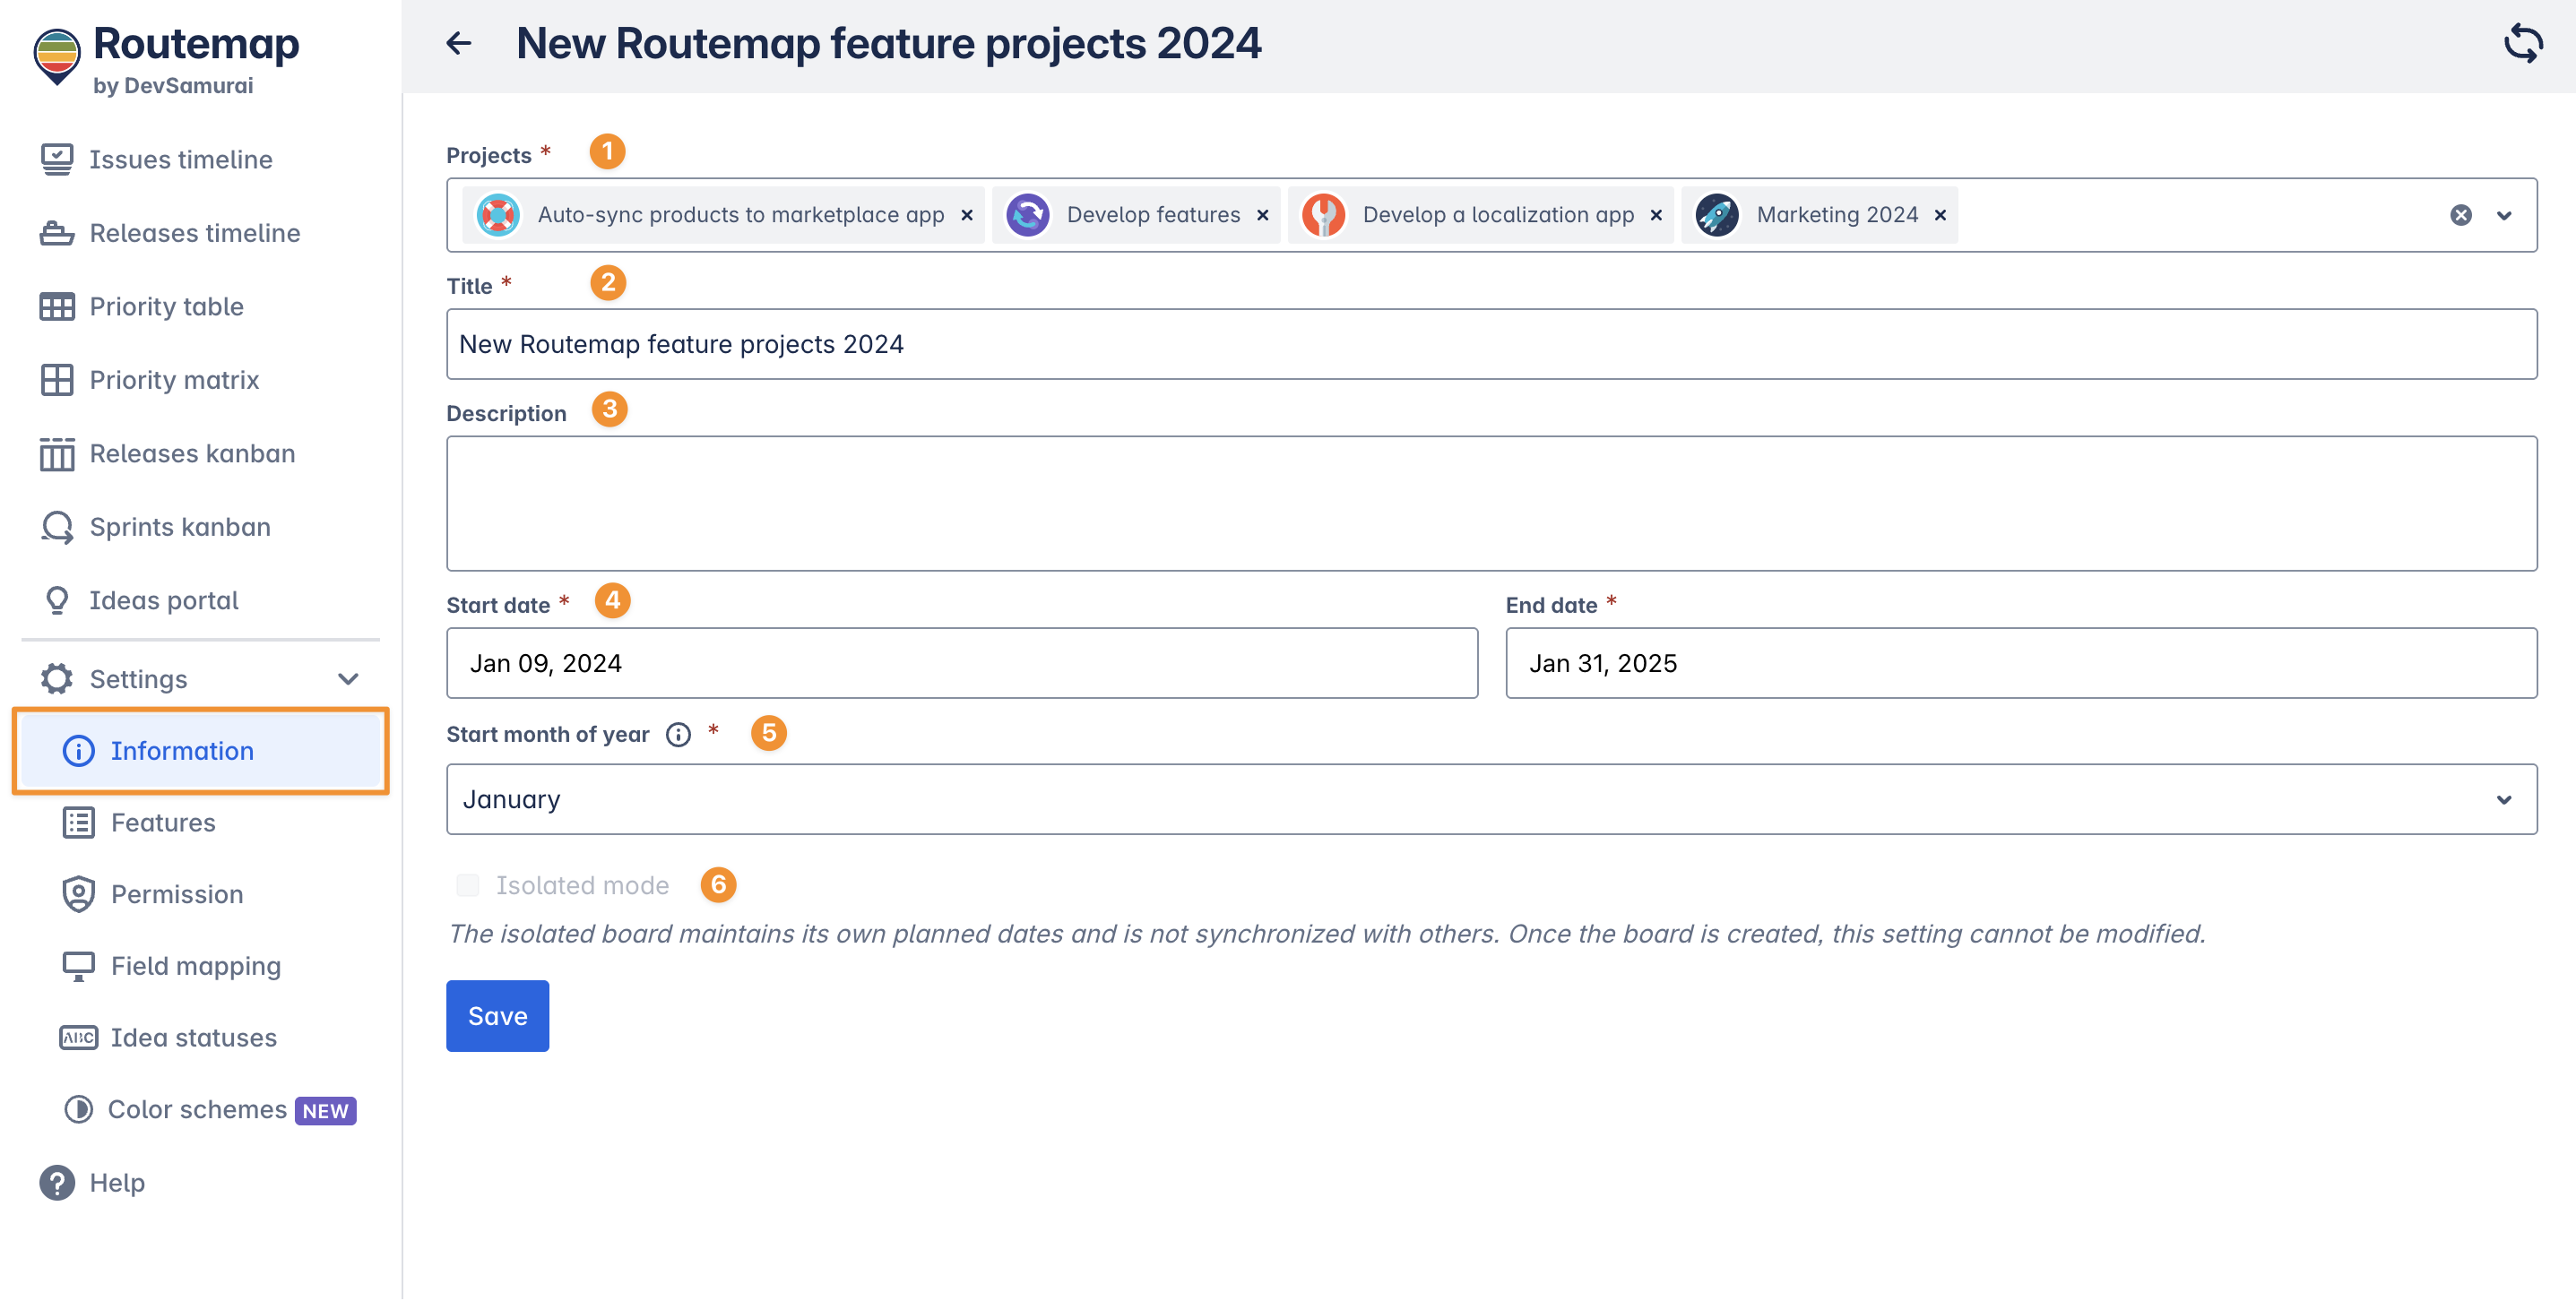
You can change:
-
Projects: You can add or remove Jira projects in your instance from the current Routemap board.
-
Title: Change the name of this board to suit your current needs.
-
Description: Add details to clarify the board’s purpose.
-
Start date - End date: Adjust the range view of the board. To have a wider range of view of all your projects, you can pick dates far before or after the actual timeline.
-
Fiscal year: this allows you to change the starting month of the year to fulfill your business needs.
-
Isolated mode: allows you to create a board with its own planned dates and not sync with other boards. This option can only be turned on when creating a new board and cannot be changed.
Feature settings
After creating a new board, you can decide to remove some unused features from the board for a cleaner workplace.
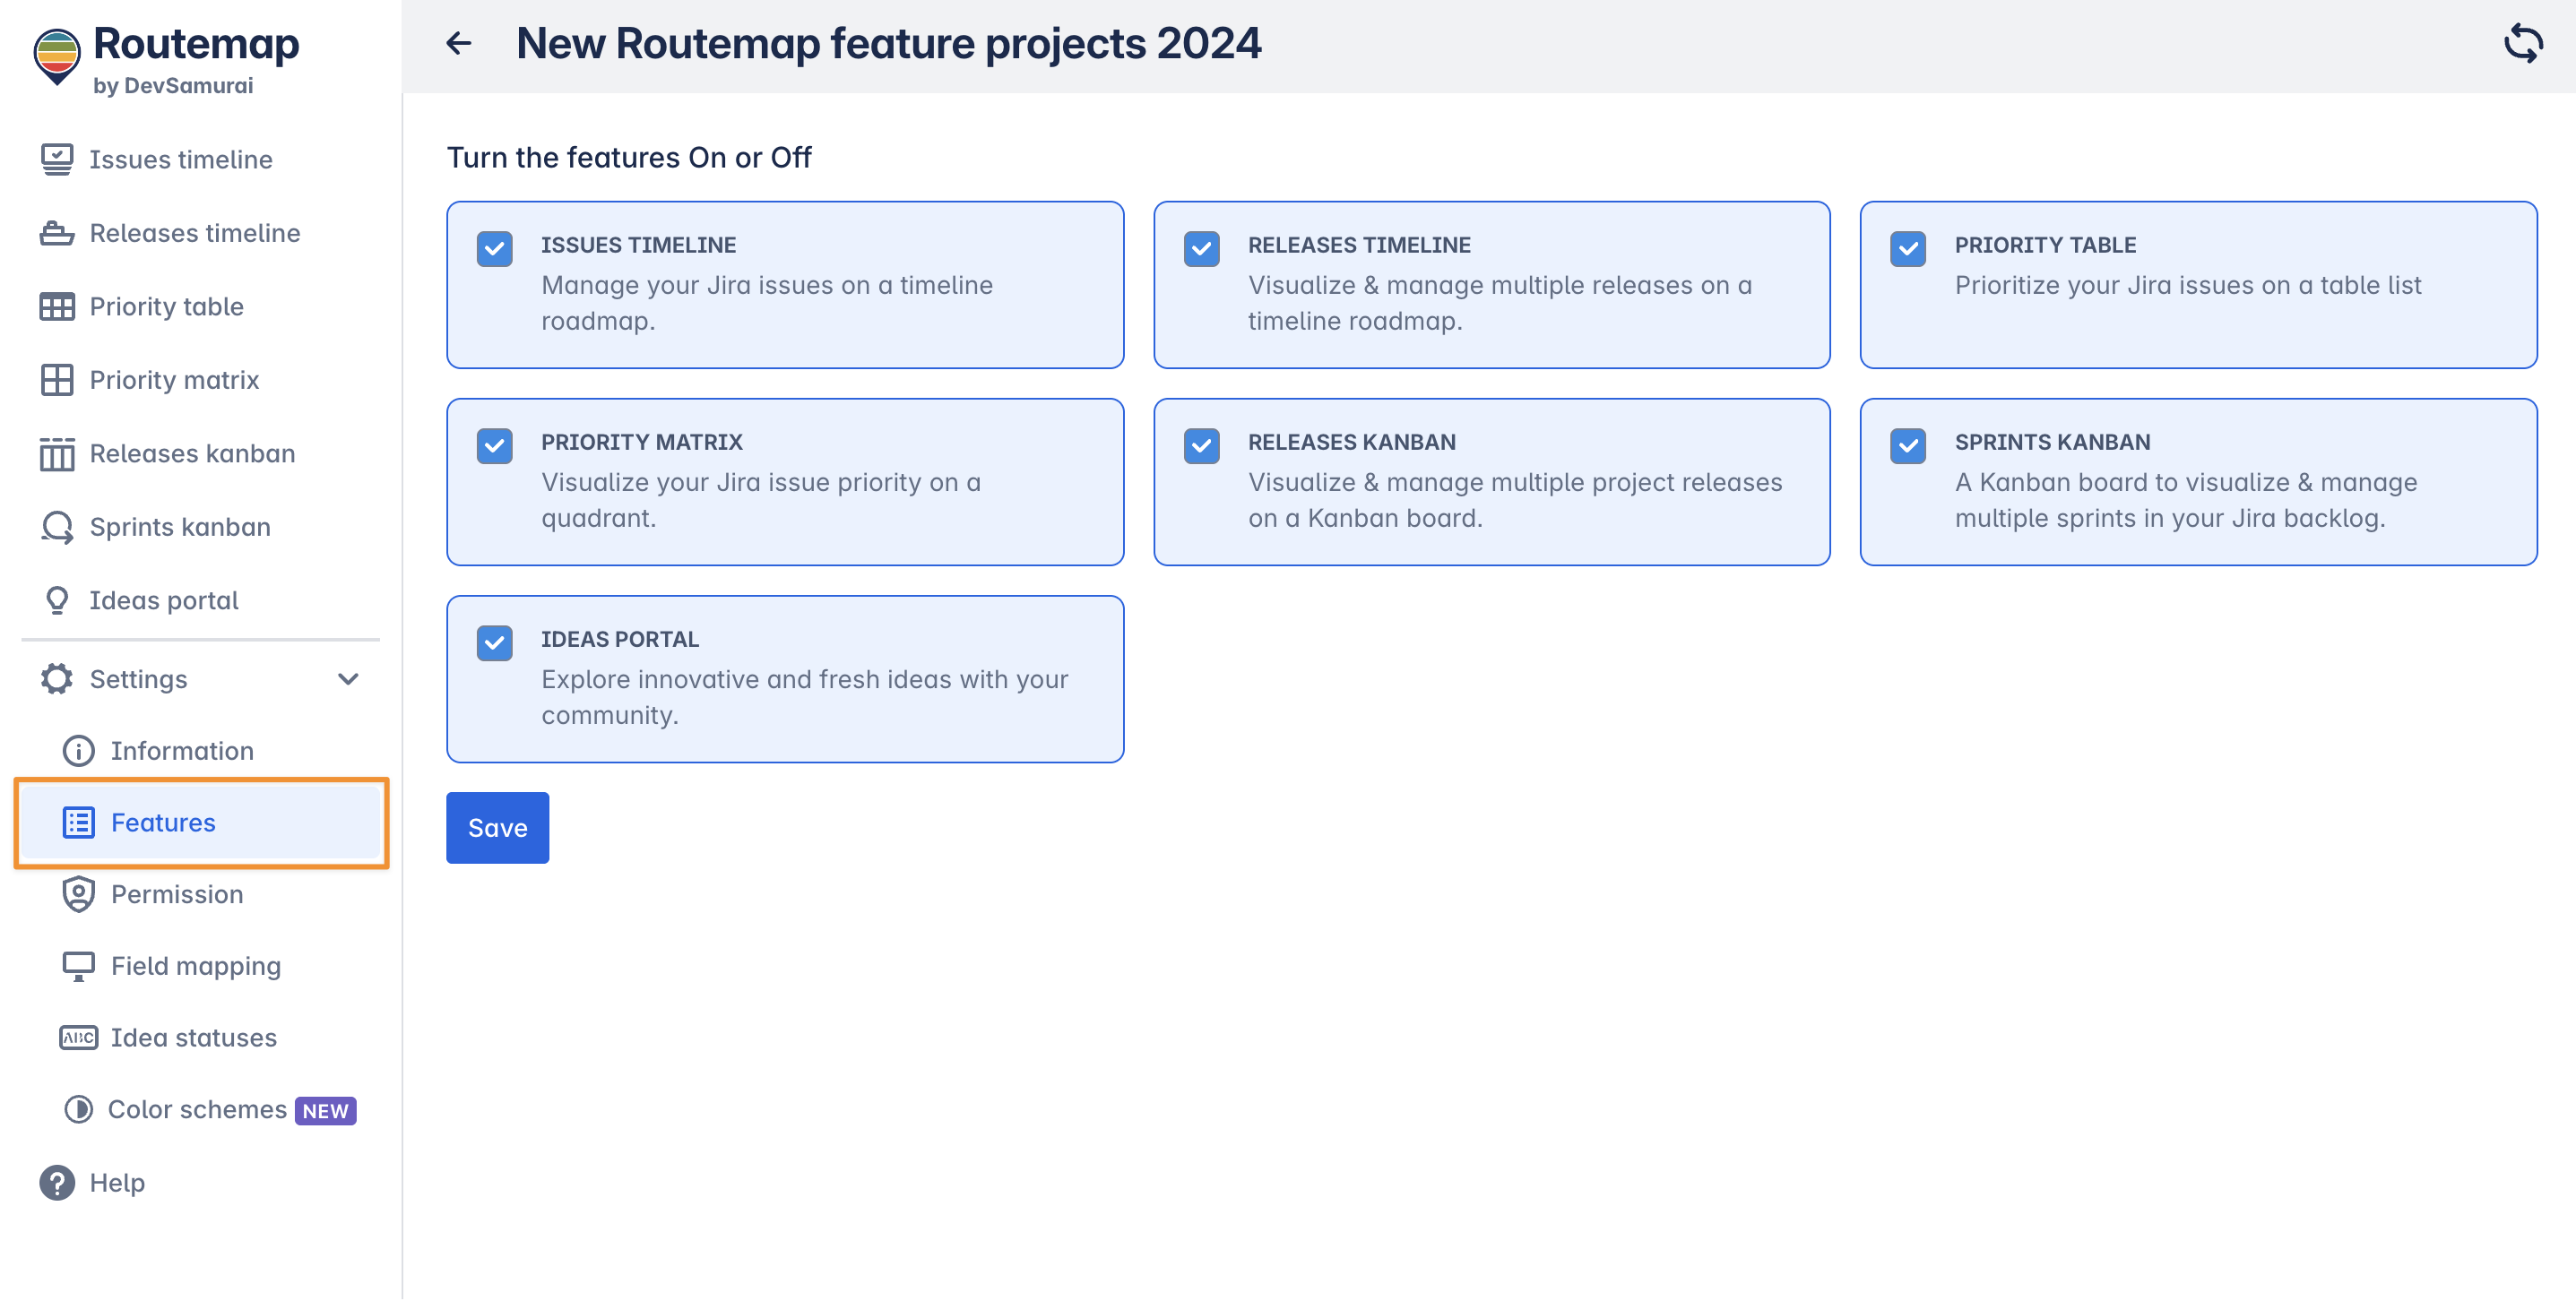
To remove unused features, just uncheck the boxes and click Save.
You can add those features back to the Routemap board anytime you want.
Permission settings
This is where you can configure the permissions of users visiting your Routemap board.
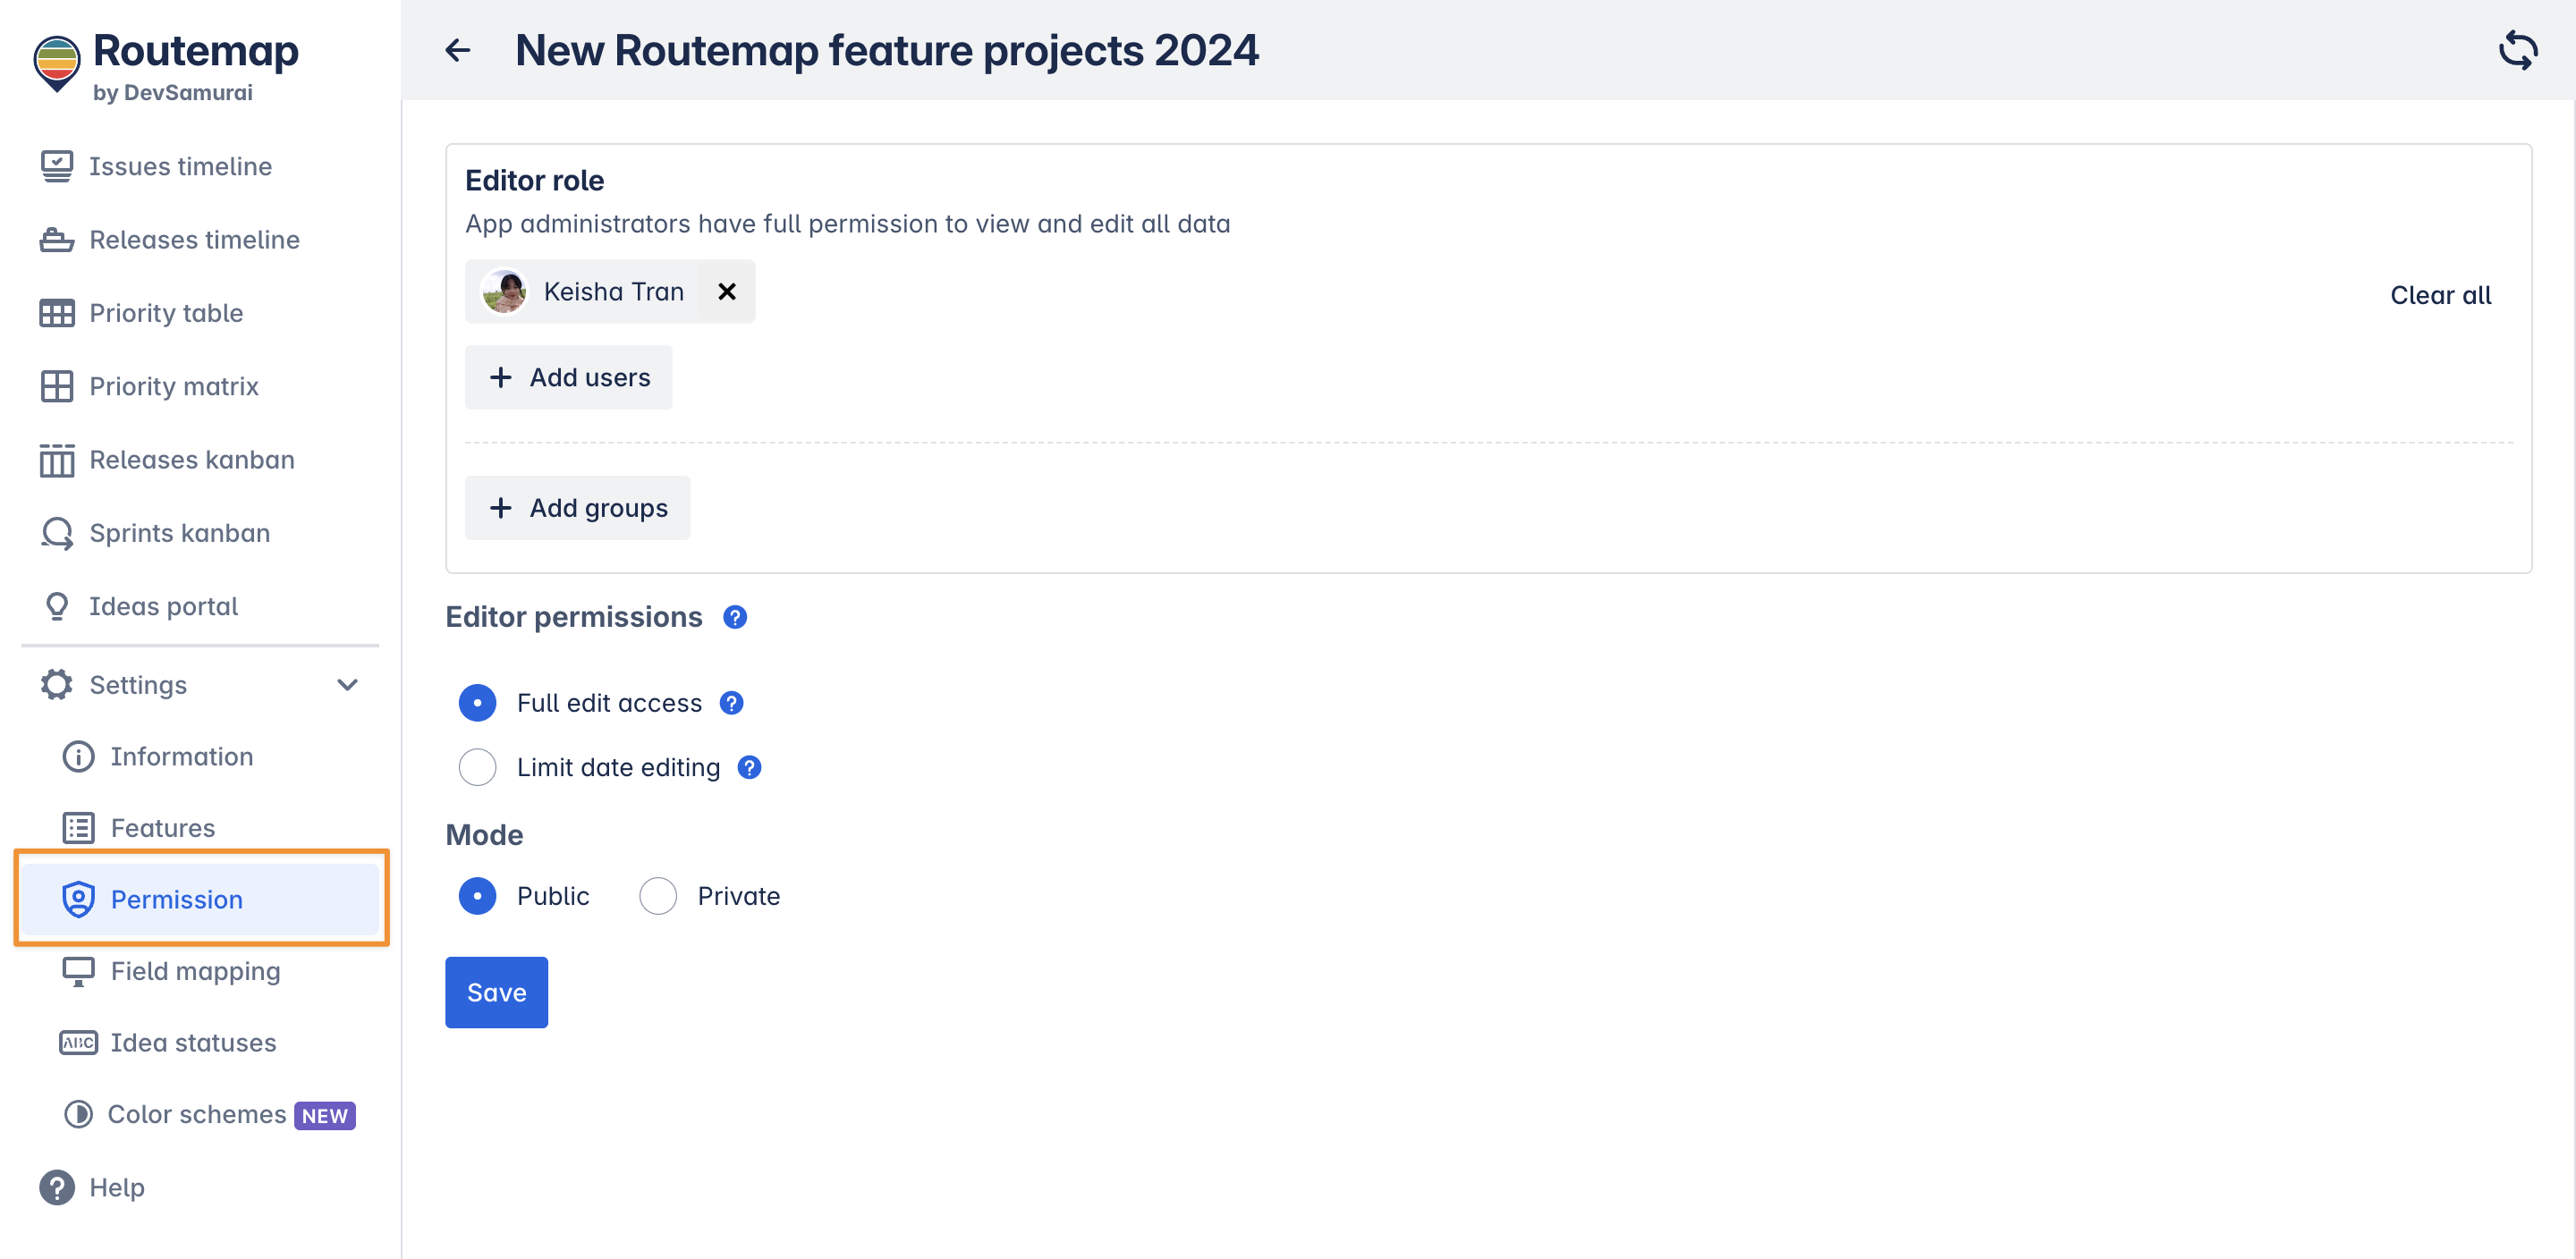
1. Editor role
You configure the editor role, giving other users full permission to view and edit all data.
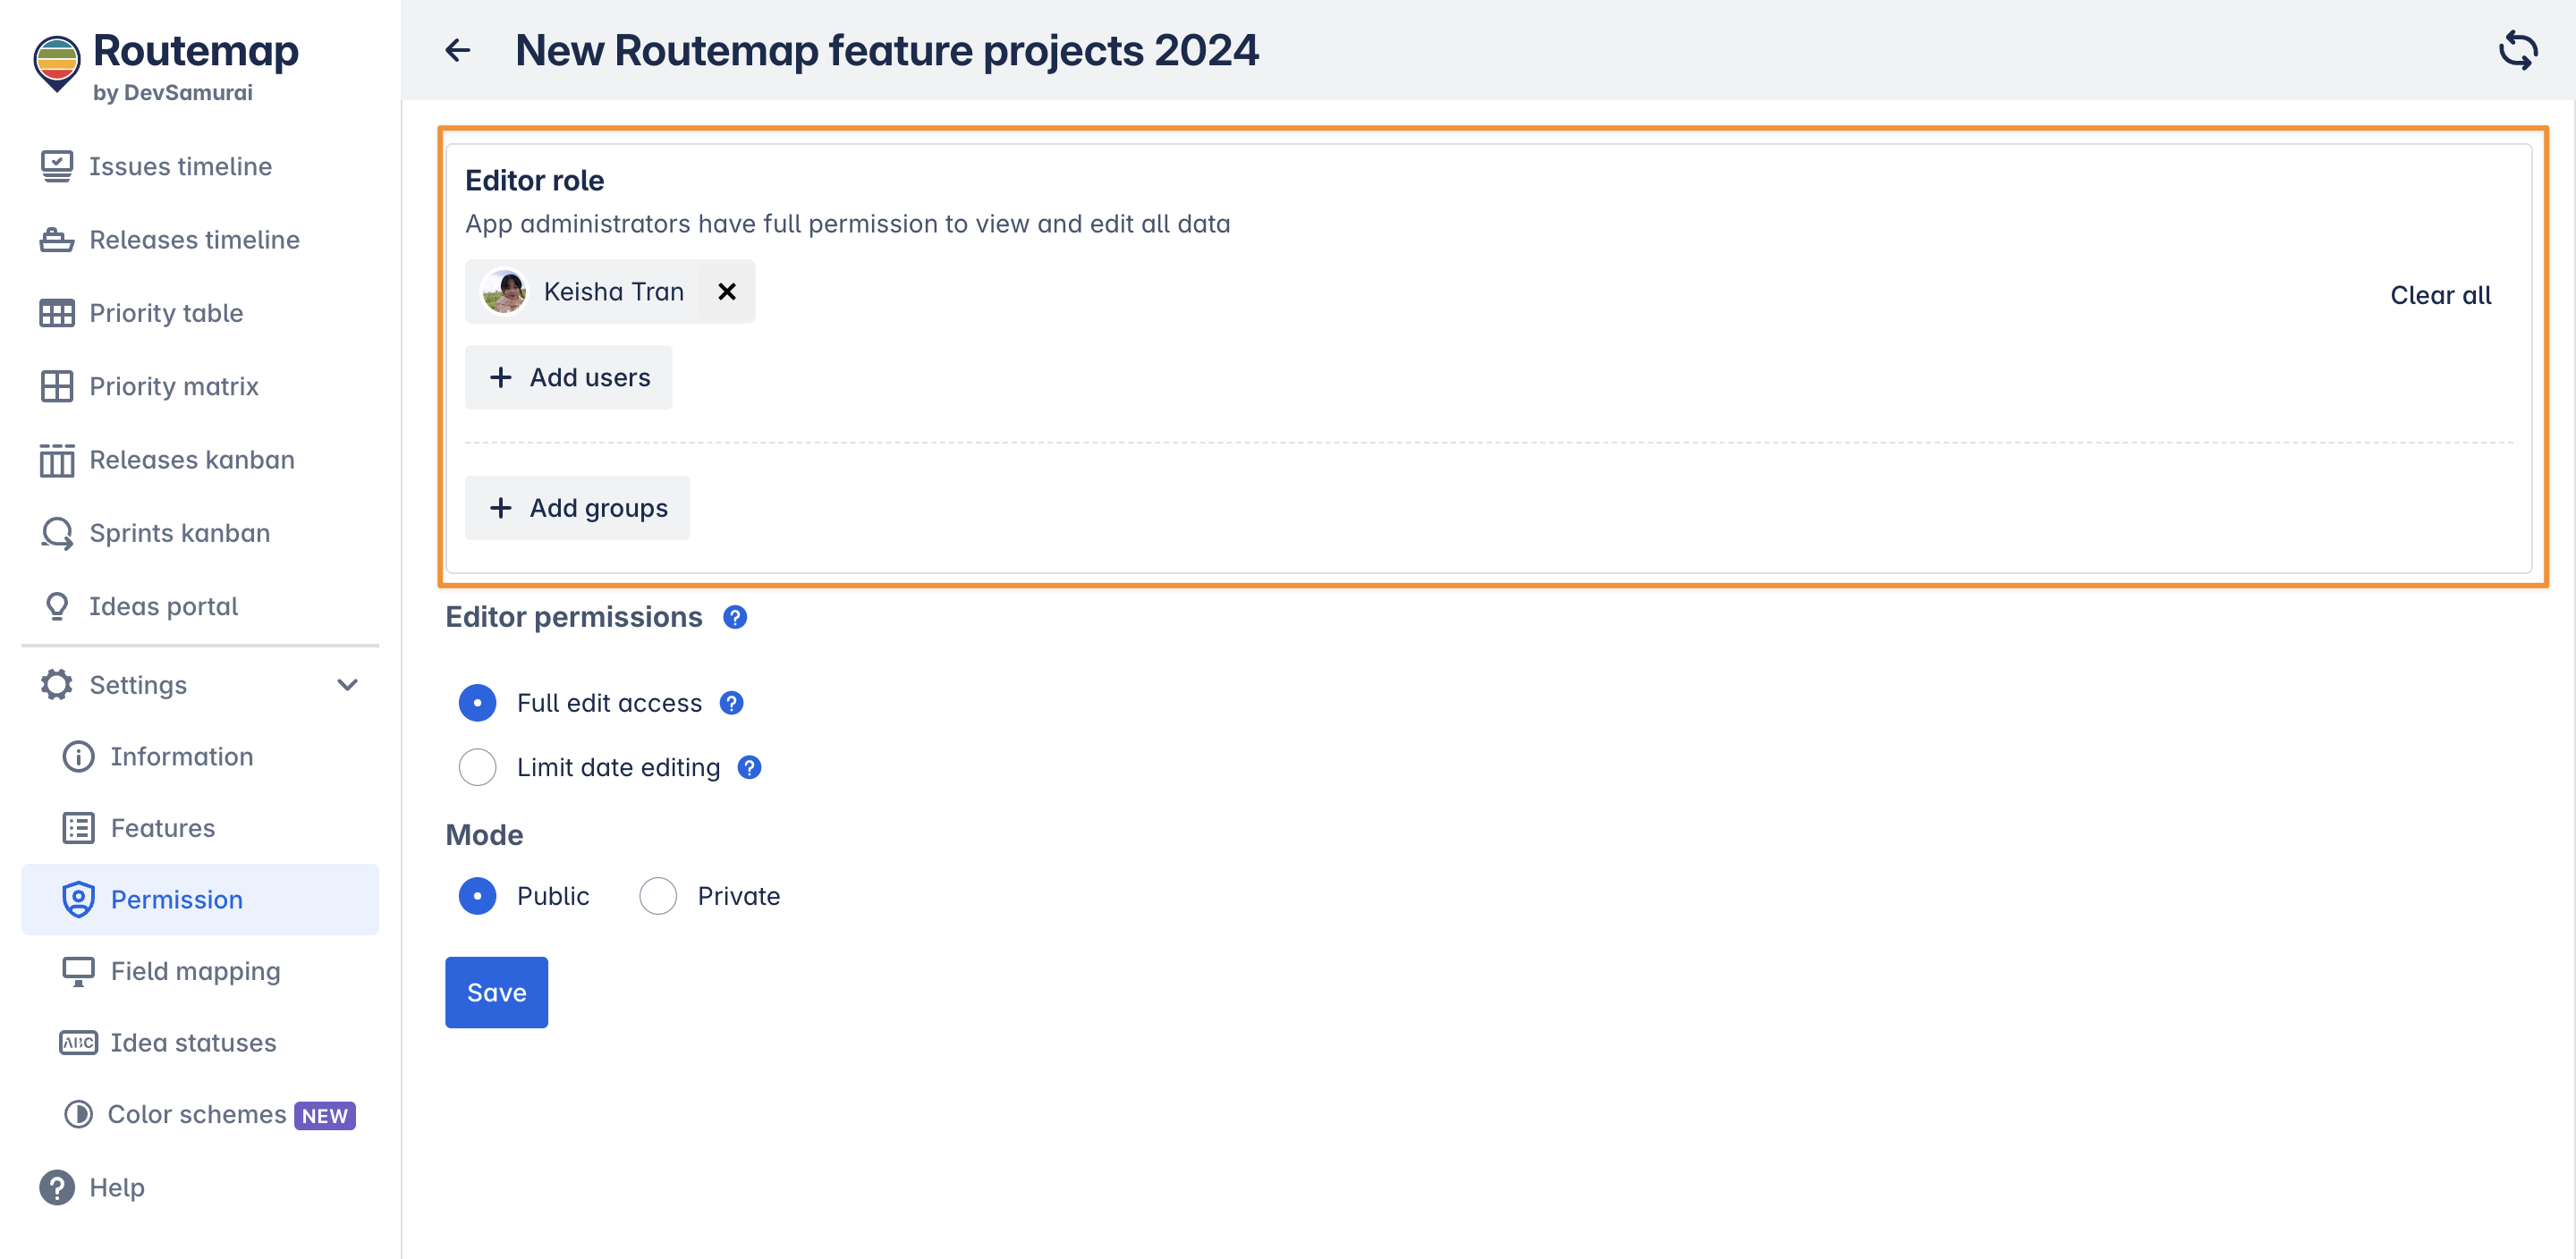
You can add or remove individual users (or a group of users) to have the Editor role.
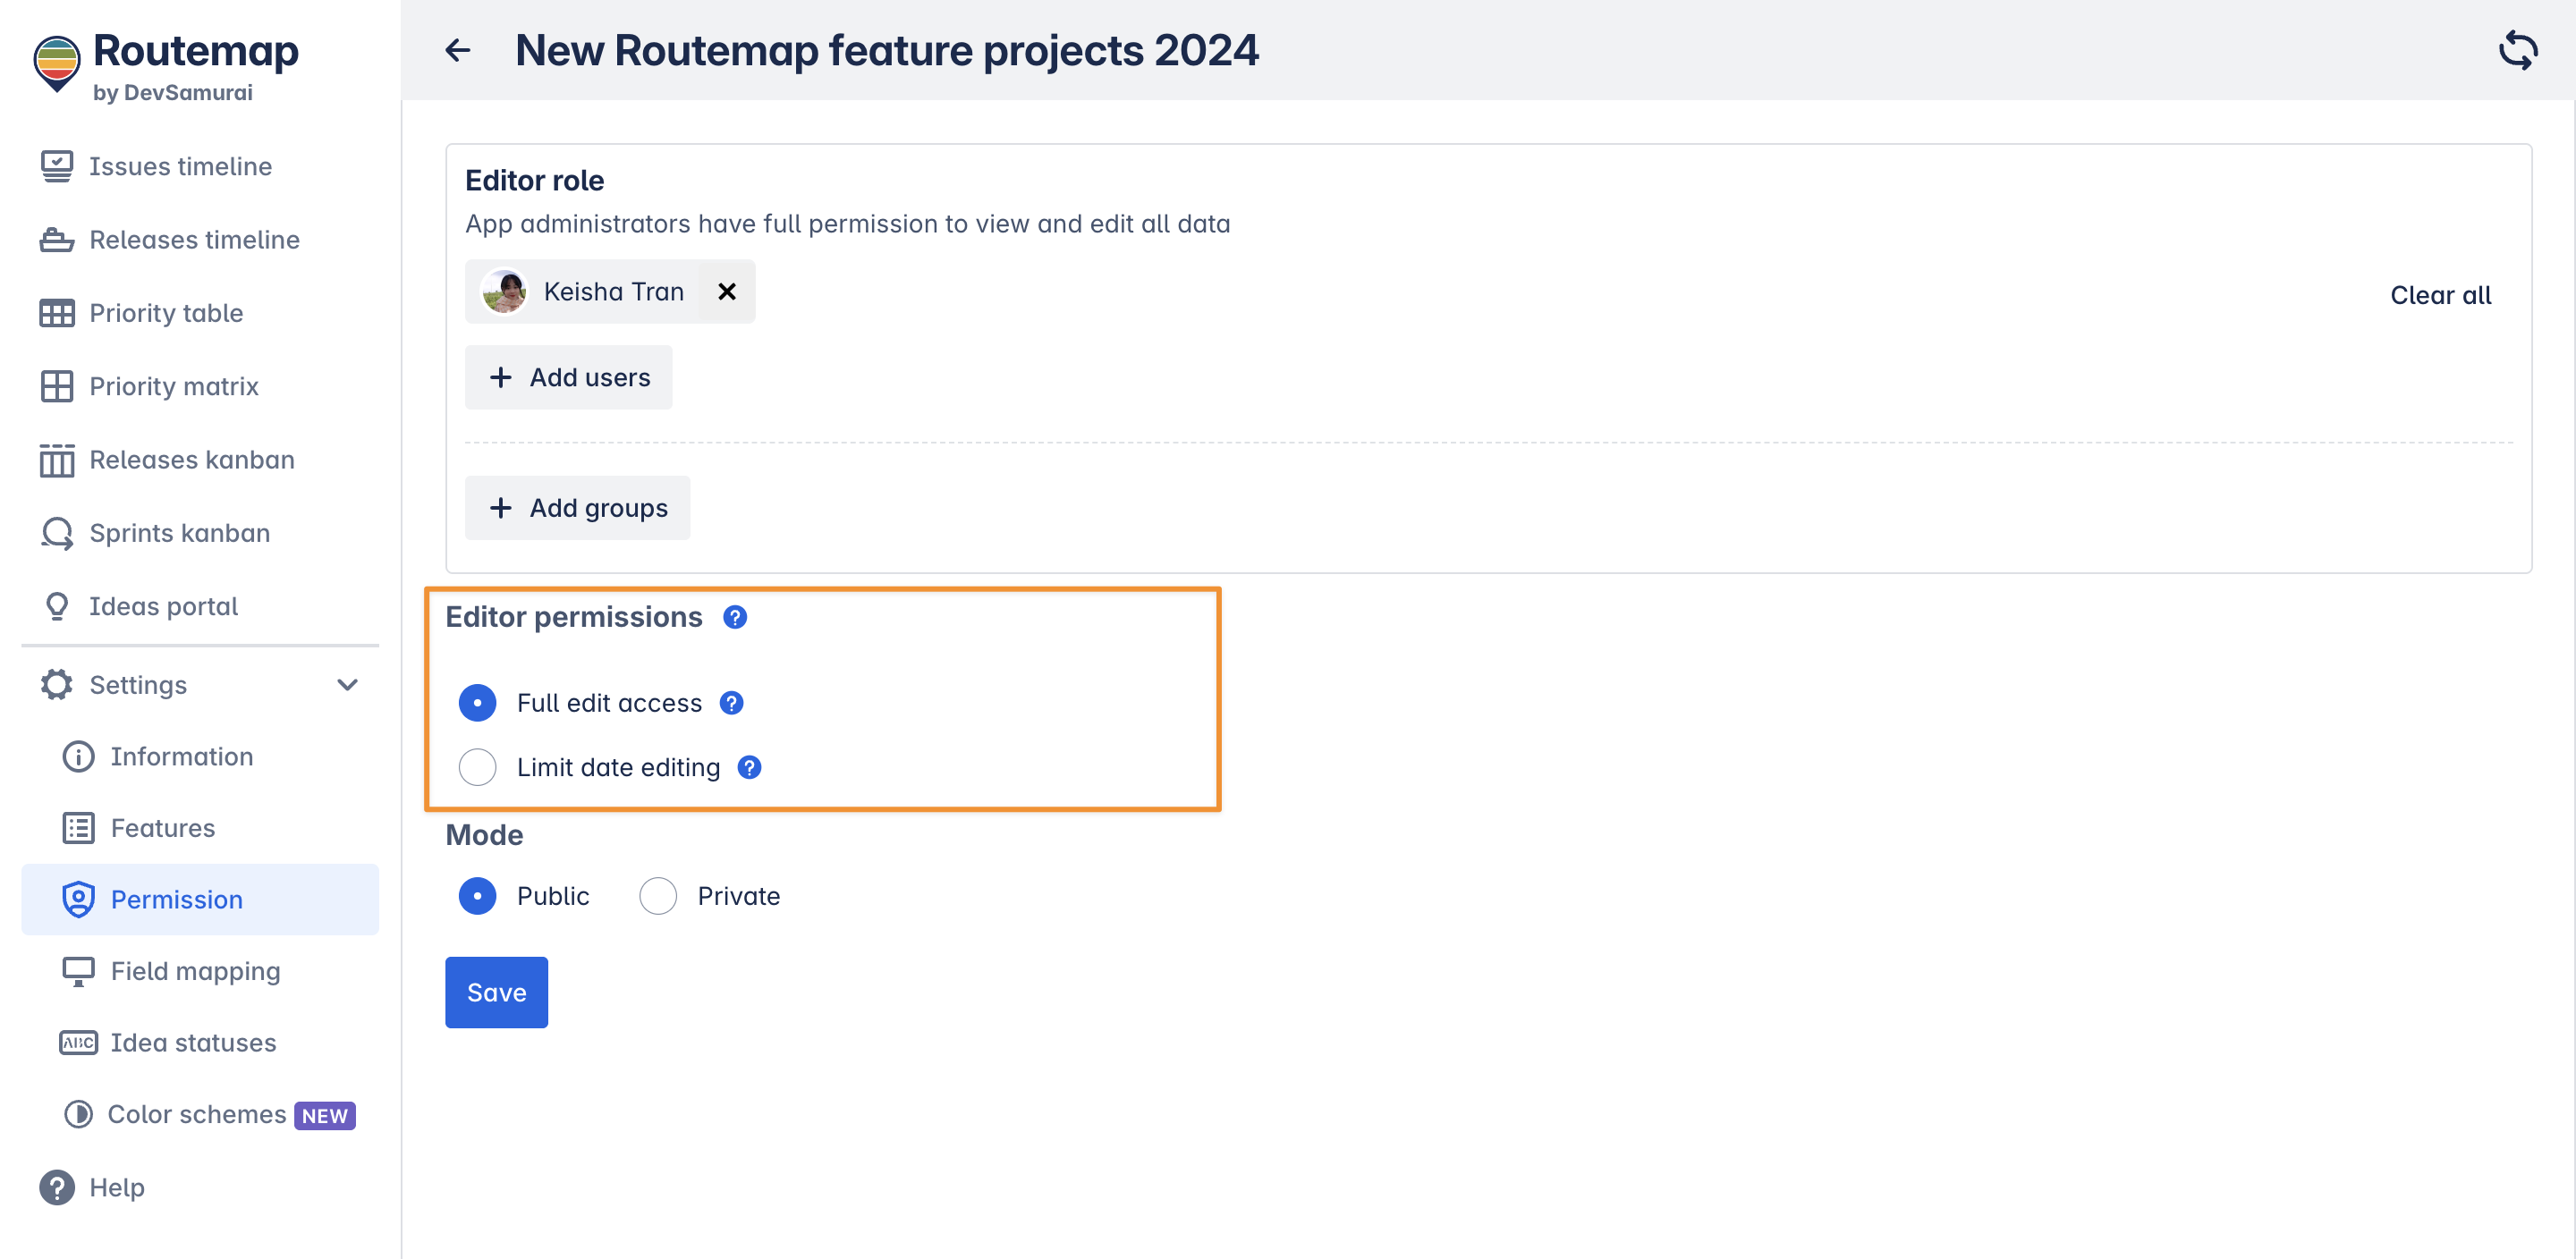
2. Editor permission (for Issue Timeline roadmaps)
This setting allows users to choose between two options: Full edit access and Limit date editing.
-
Full edit access: Users with the Editor role can modify all content in this board.
-
Limit date editing: Users with the Editor role can still modify all content, but they can no longer change the Jira issue’s planned dates in the Issue Timeline roadmap.
Please Note:
It will apply to all editors on this roadmap and can only be changed by the board creator.
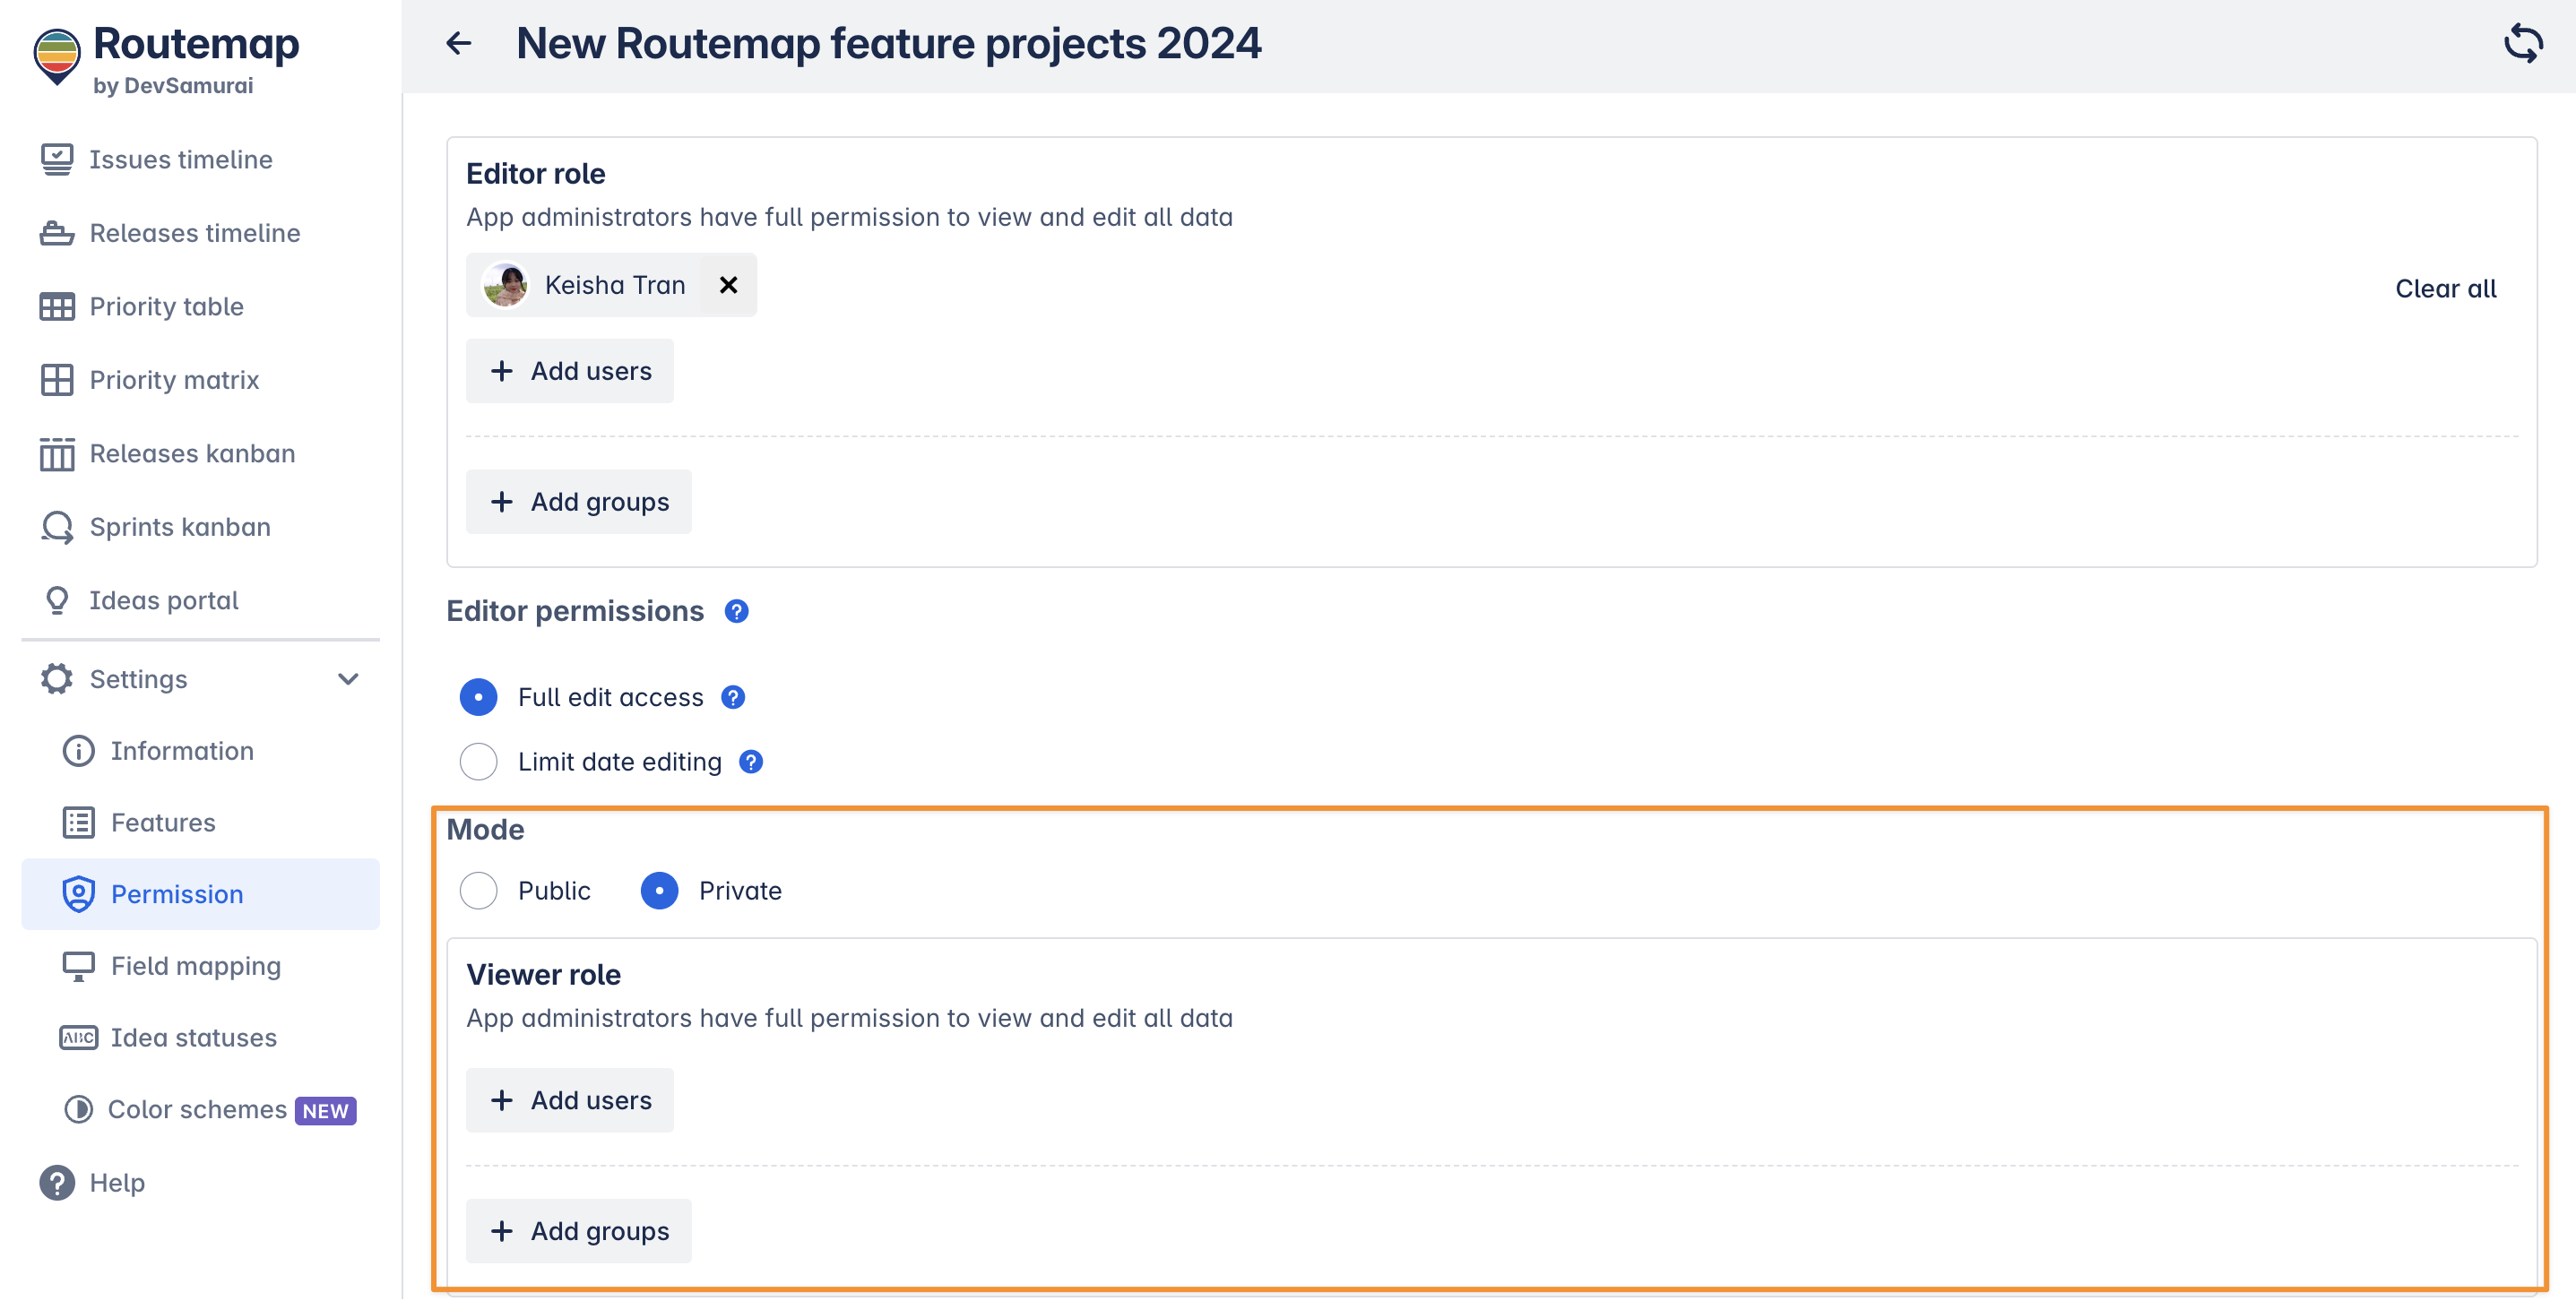
3. Mode
There are 2 available modes you can choose from: Public and Private.
-
In Public mode, other users in your Jira instance can see and access your Routemap board in the dashboard.
-
In Private mode, other users cannot find your board anymore. You can invite individual users or a group as viewers, allowing them to access your board.
Field mapping settings
This is where you can map Routemap’s date fields to Jira fields in your projects added to the board. Keep in mind that the data on existing boards included in current projects may change.
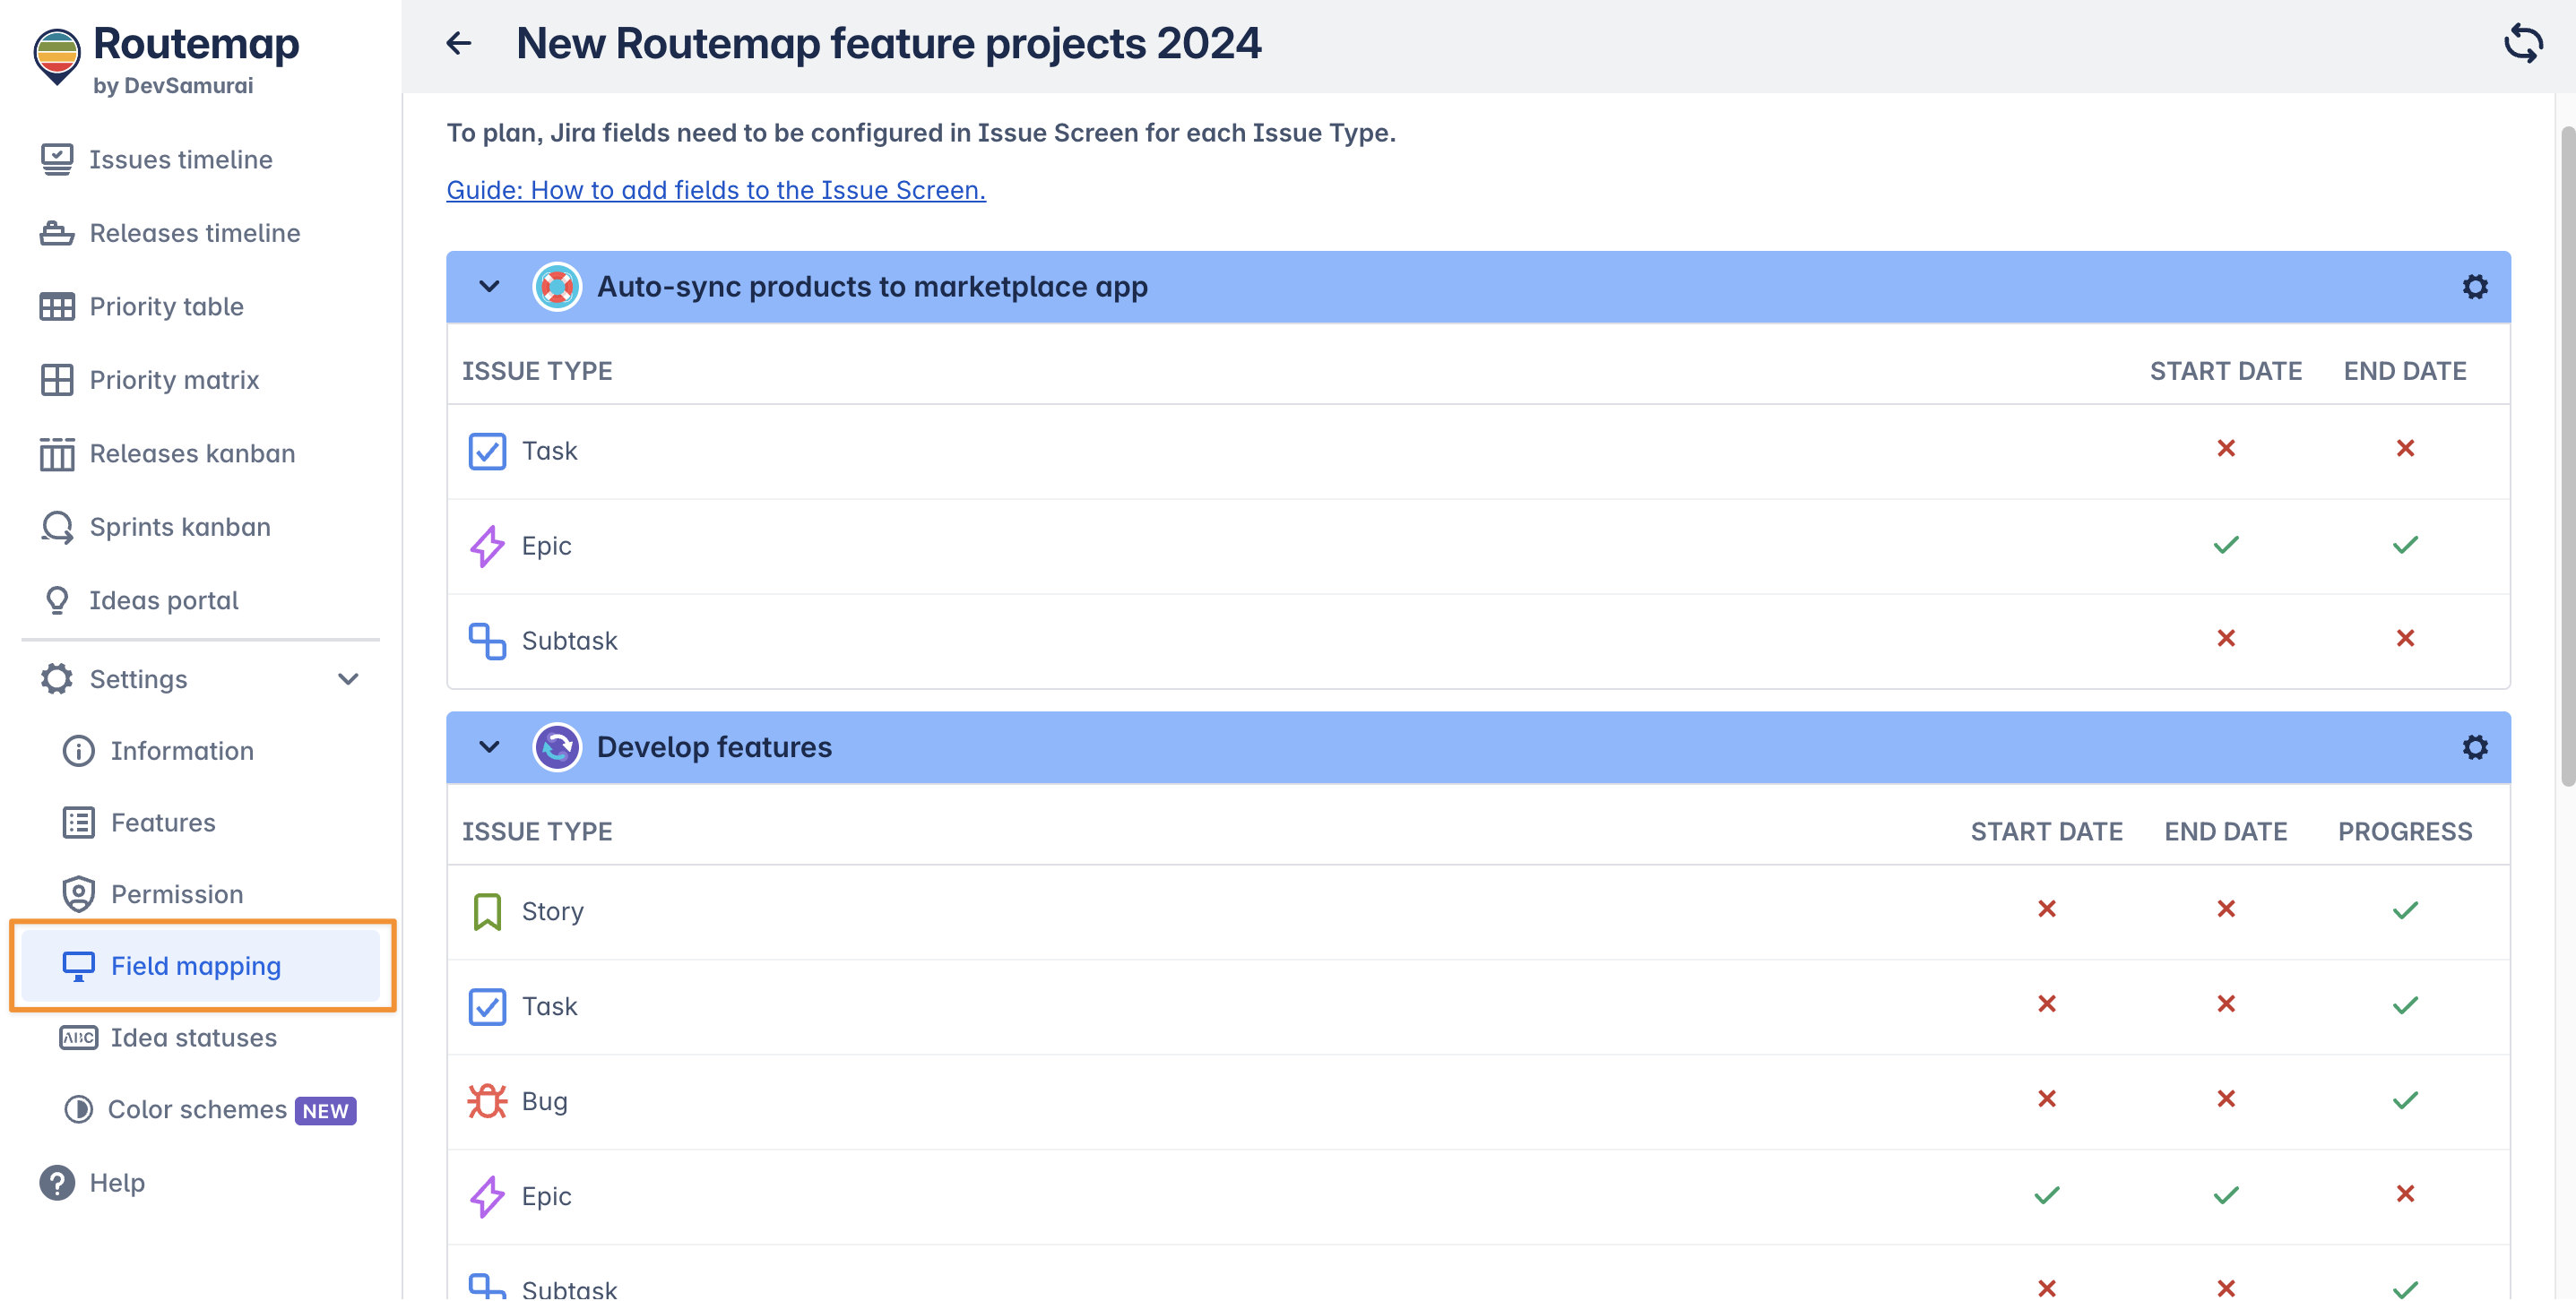
You can see which issue types of which project have been mapped and which have not.
For more details, please visit the Field mapping section.
Idea status settings
This is where you can manage and configure the idea statuses that are used in the Ideas Portal.
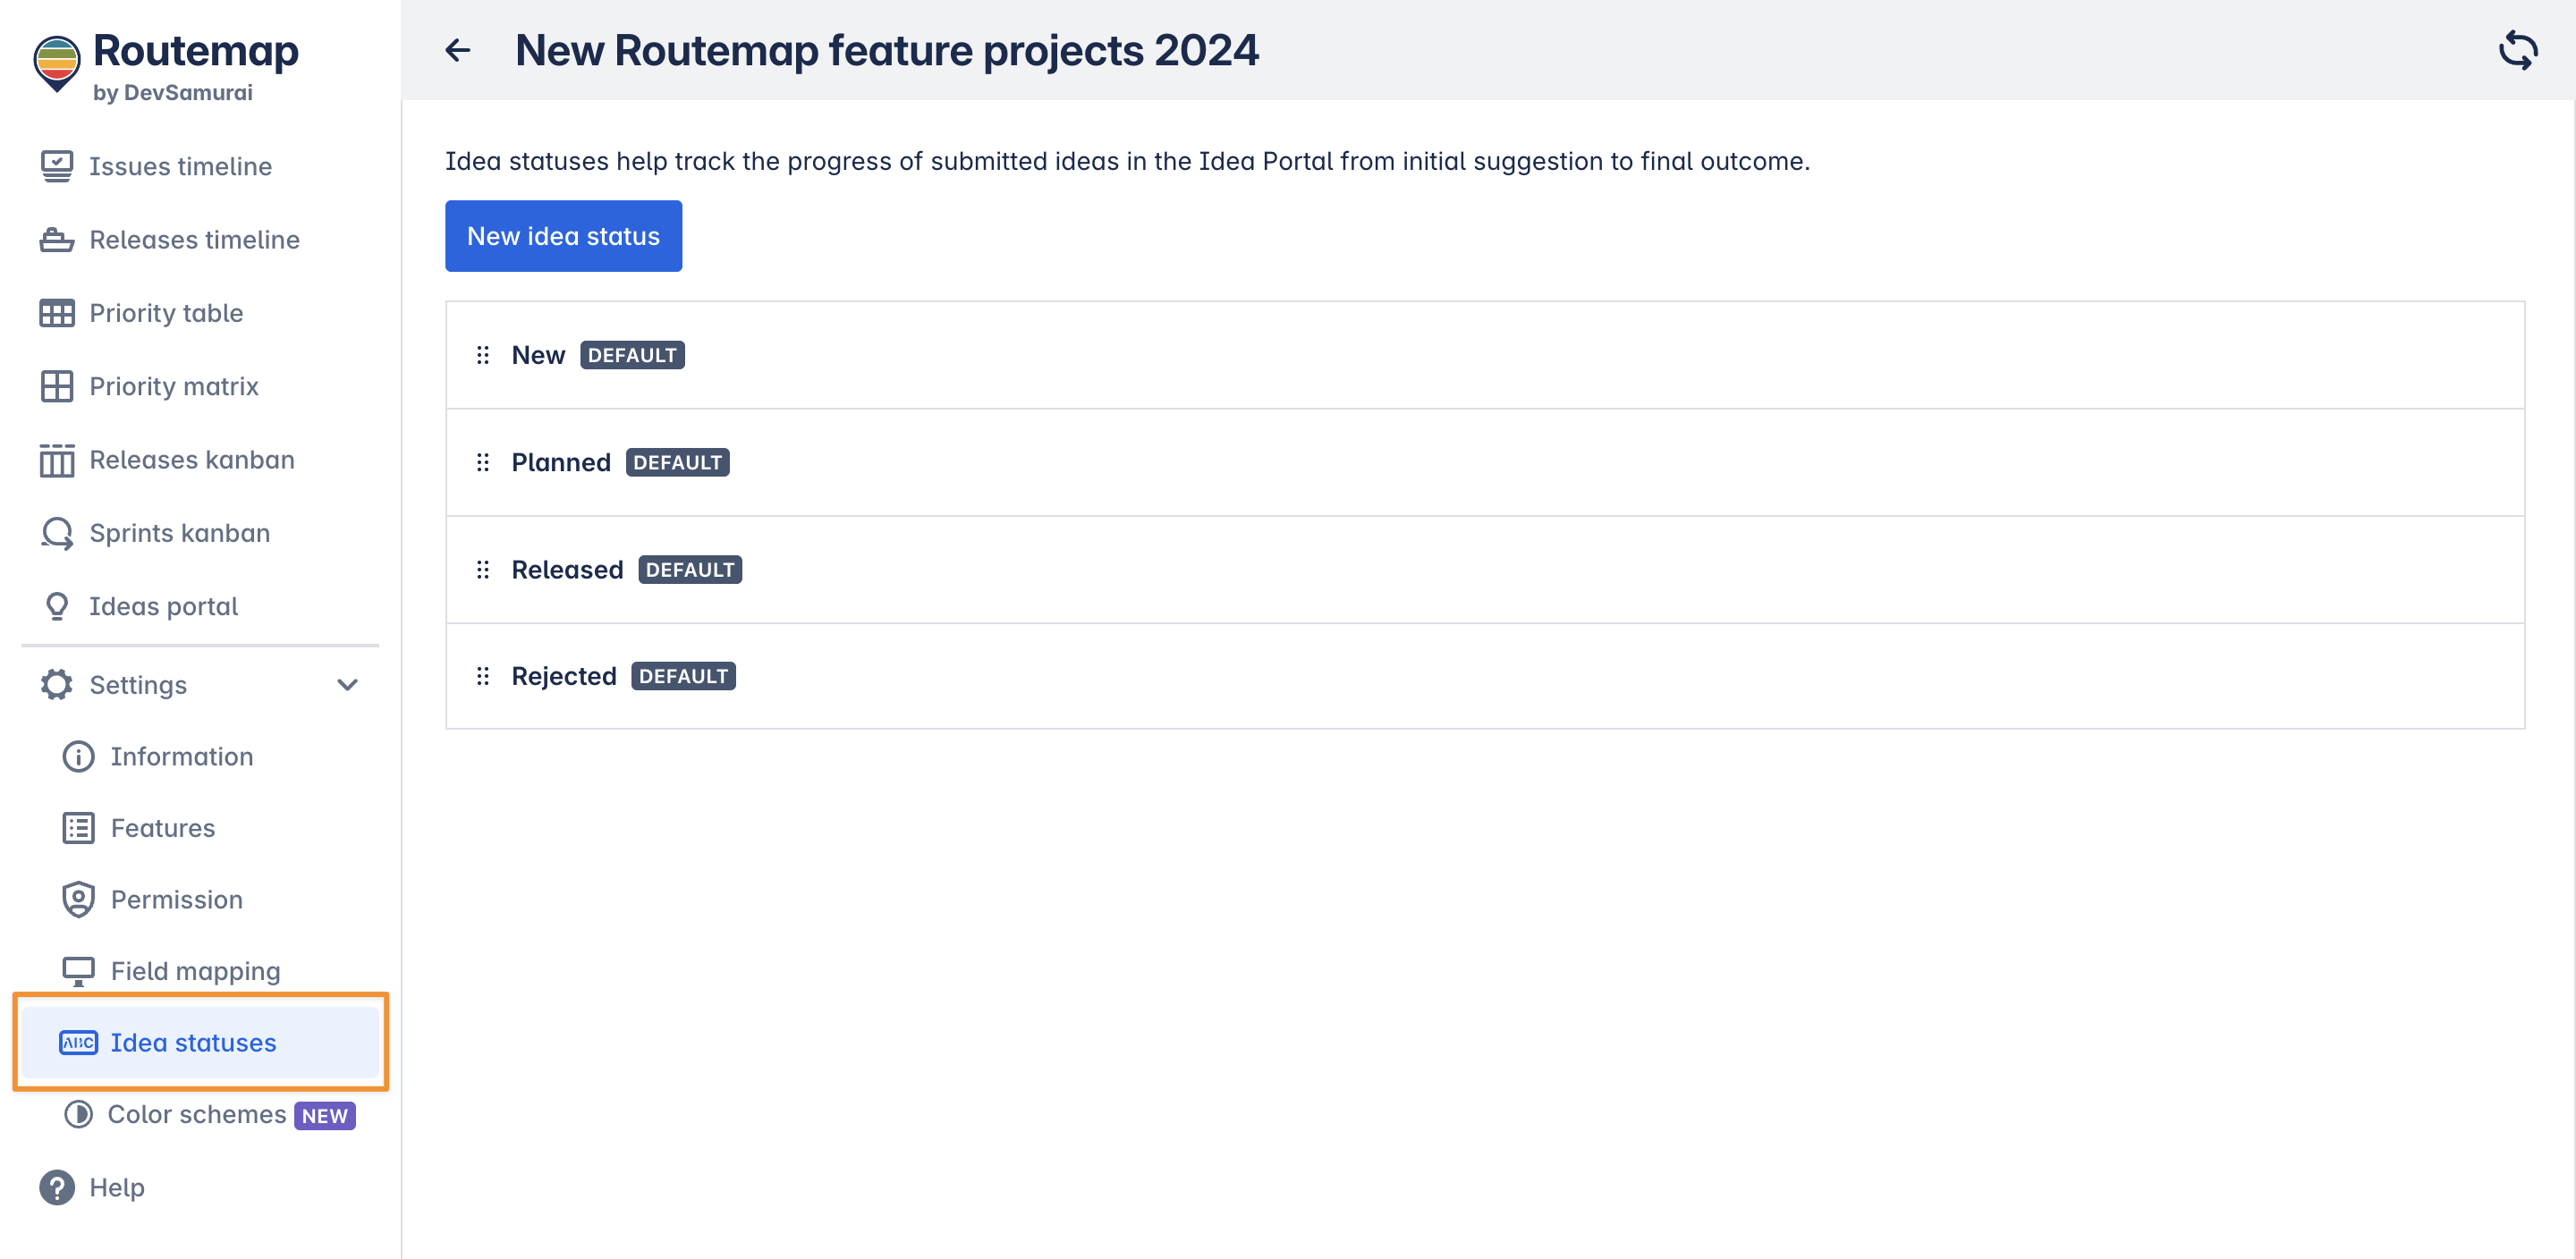
By default, the Ideas portal contains 4 different statuses to help you manage your ideas, such as:
-
New
-
Planned
-
Released
-
Rejected
You can create a new idea status to suit your needs.
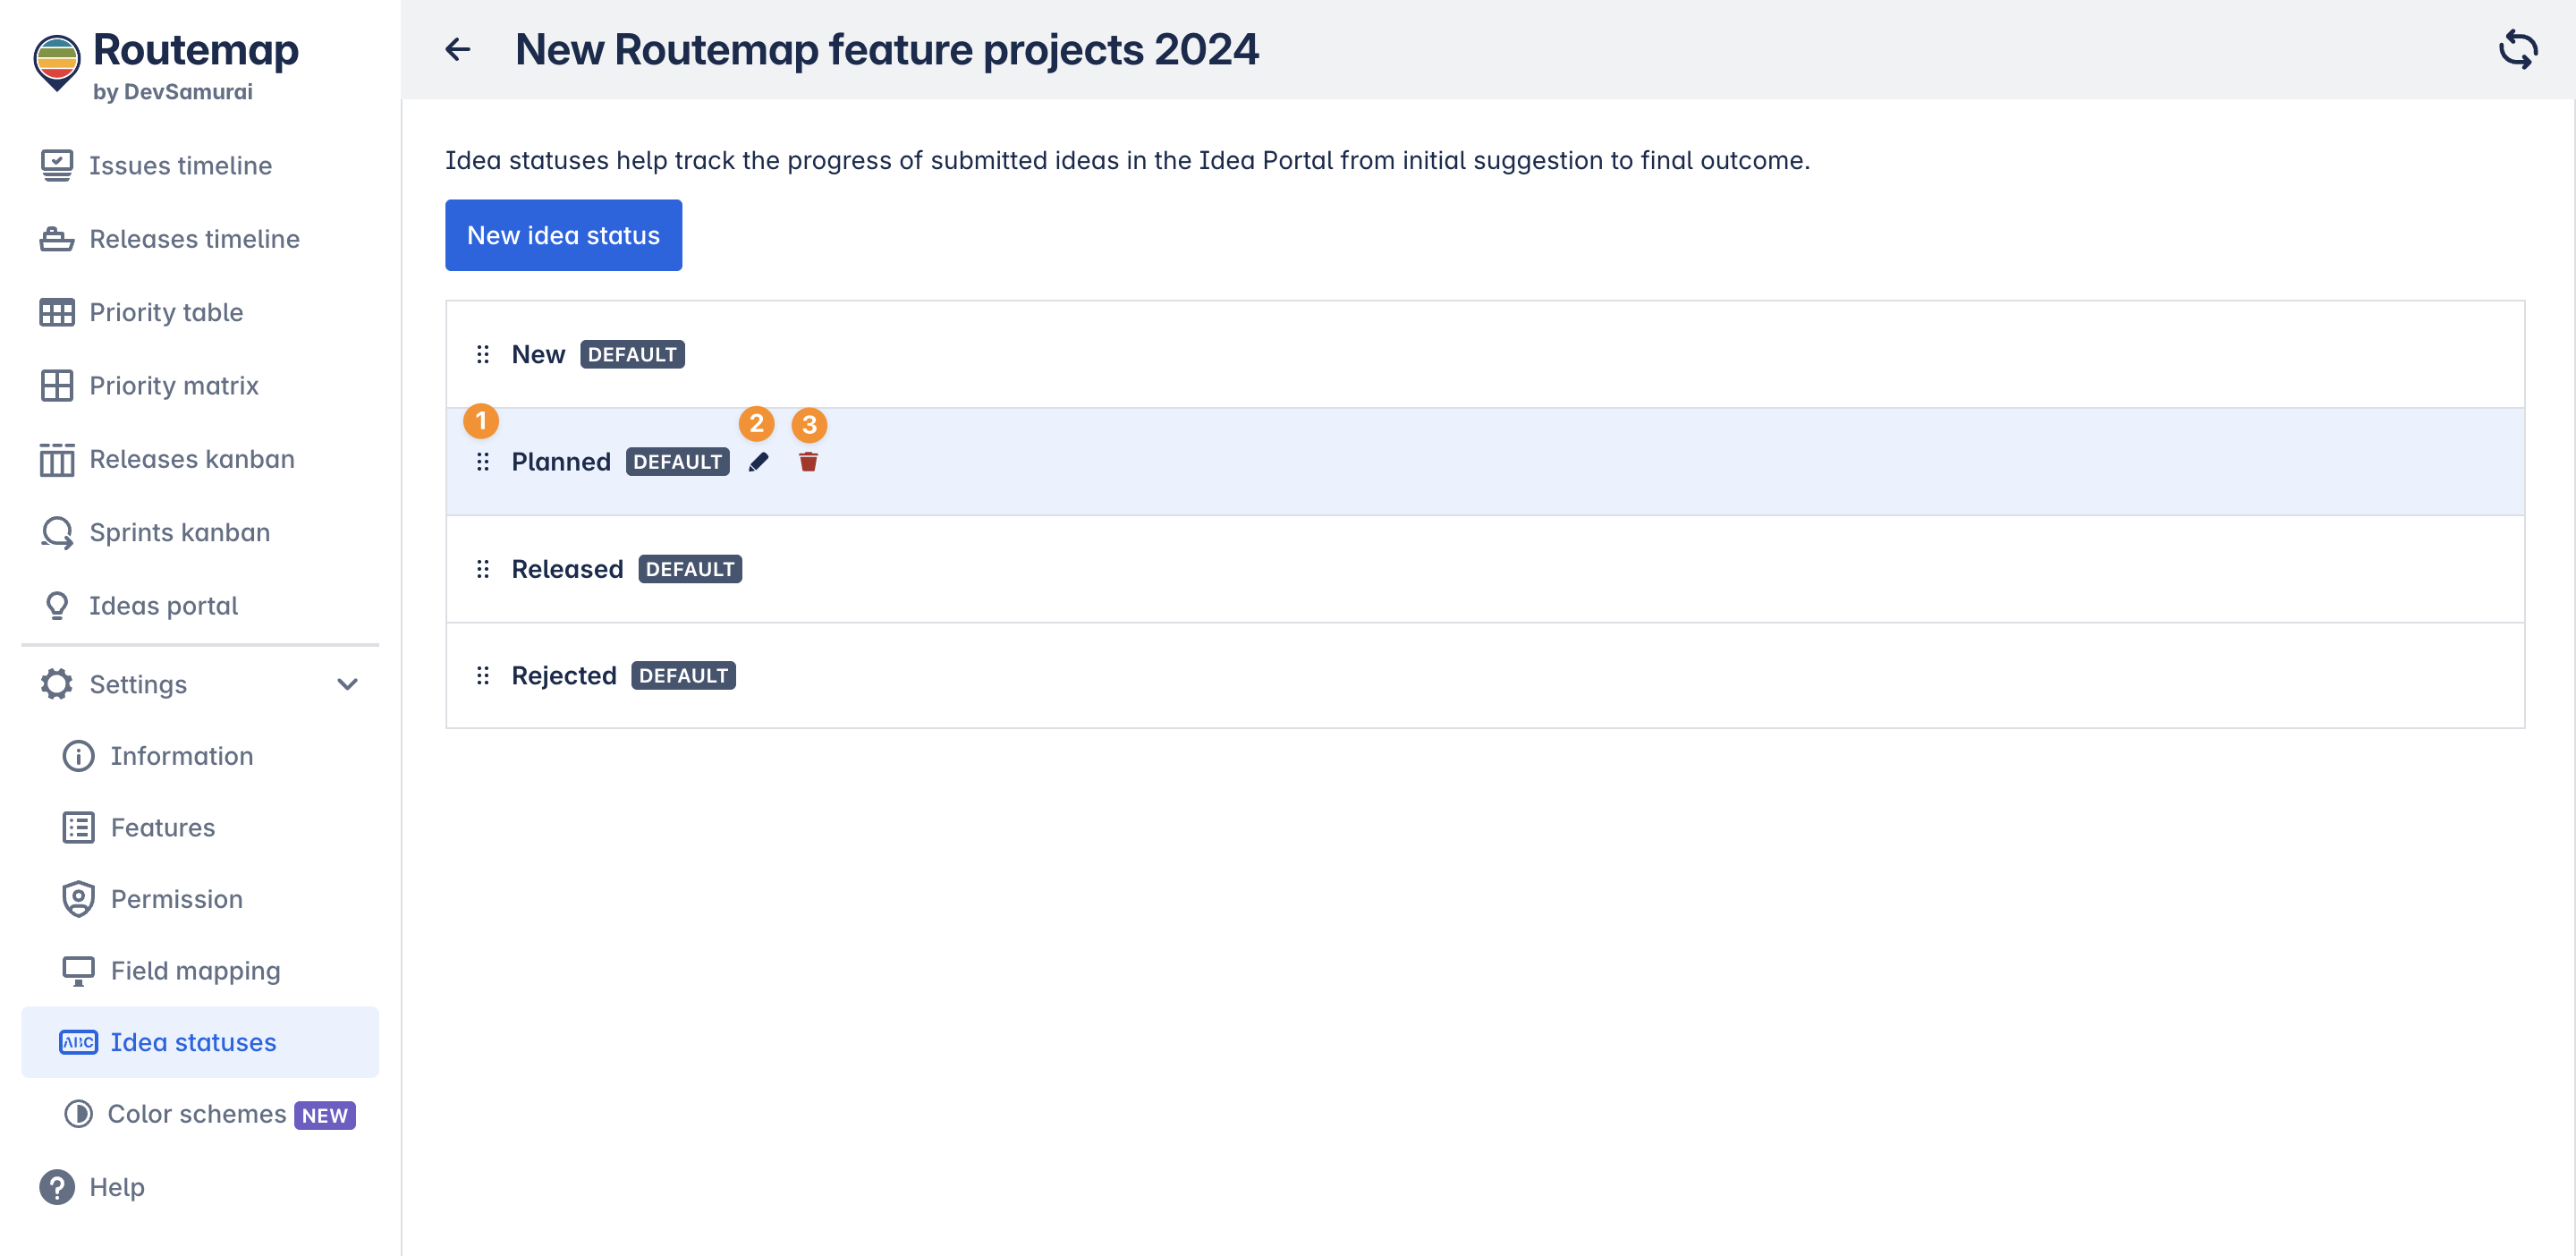
You can also change the order of idea statuses to your preference, edit a status, or remove it from your board when hovering over a status.
-
Click to drag and drop an idea status to change its position.
-
Edit the name of the idea status.
-
Delete an idea status.
For more details, please visit the Ideas Portal feature.
Color scheme settings
The Color Scheme feature helps you preset different colors to different issue types used in your Jira projects.
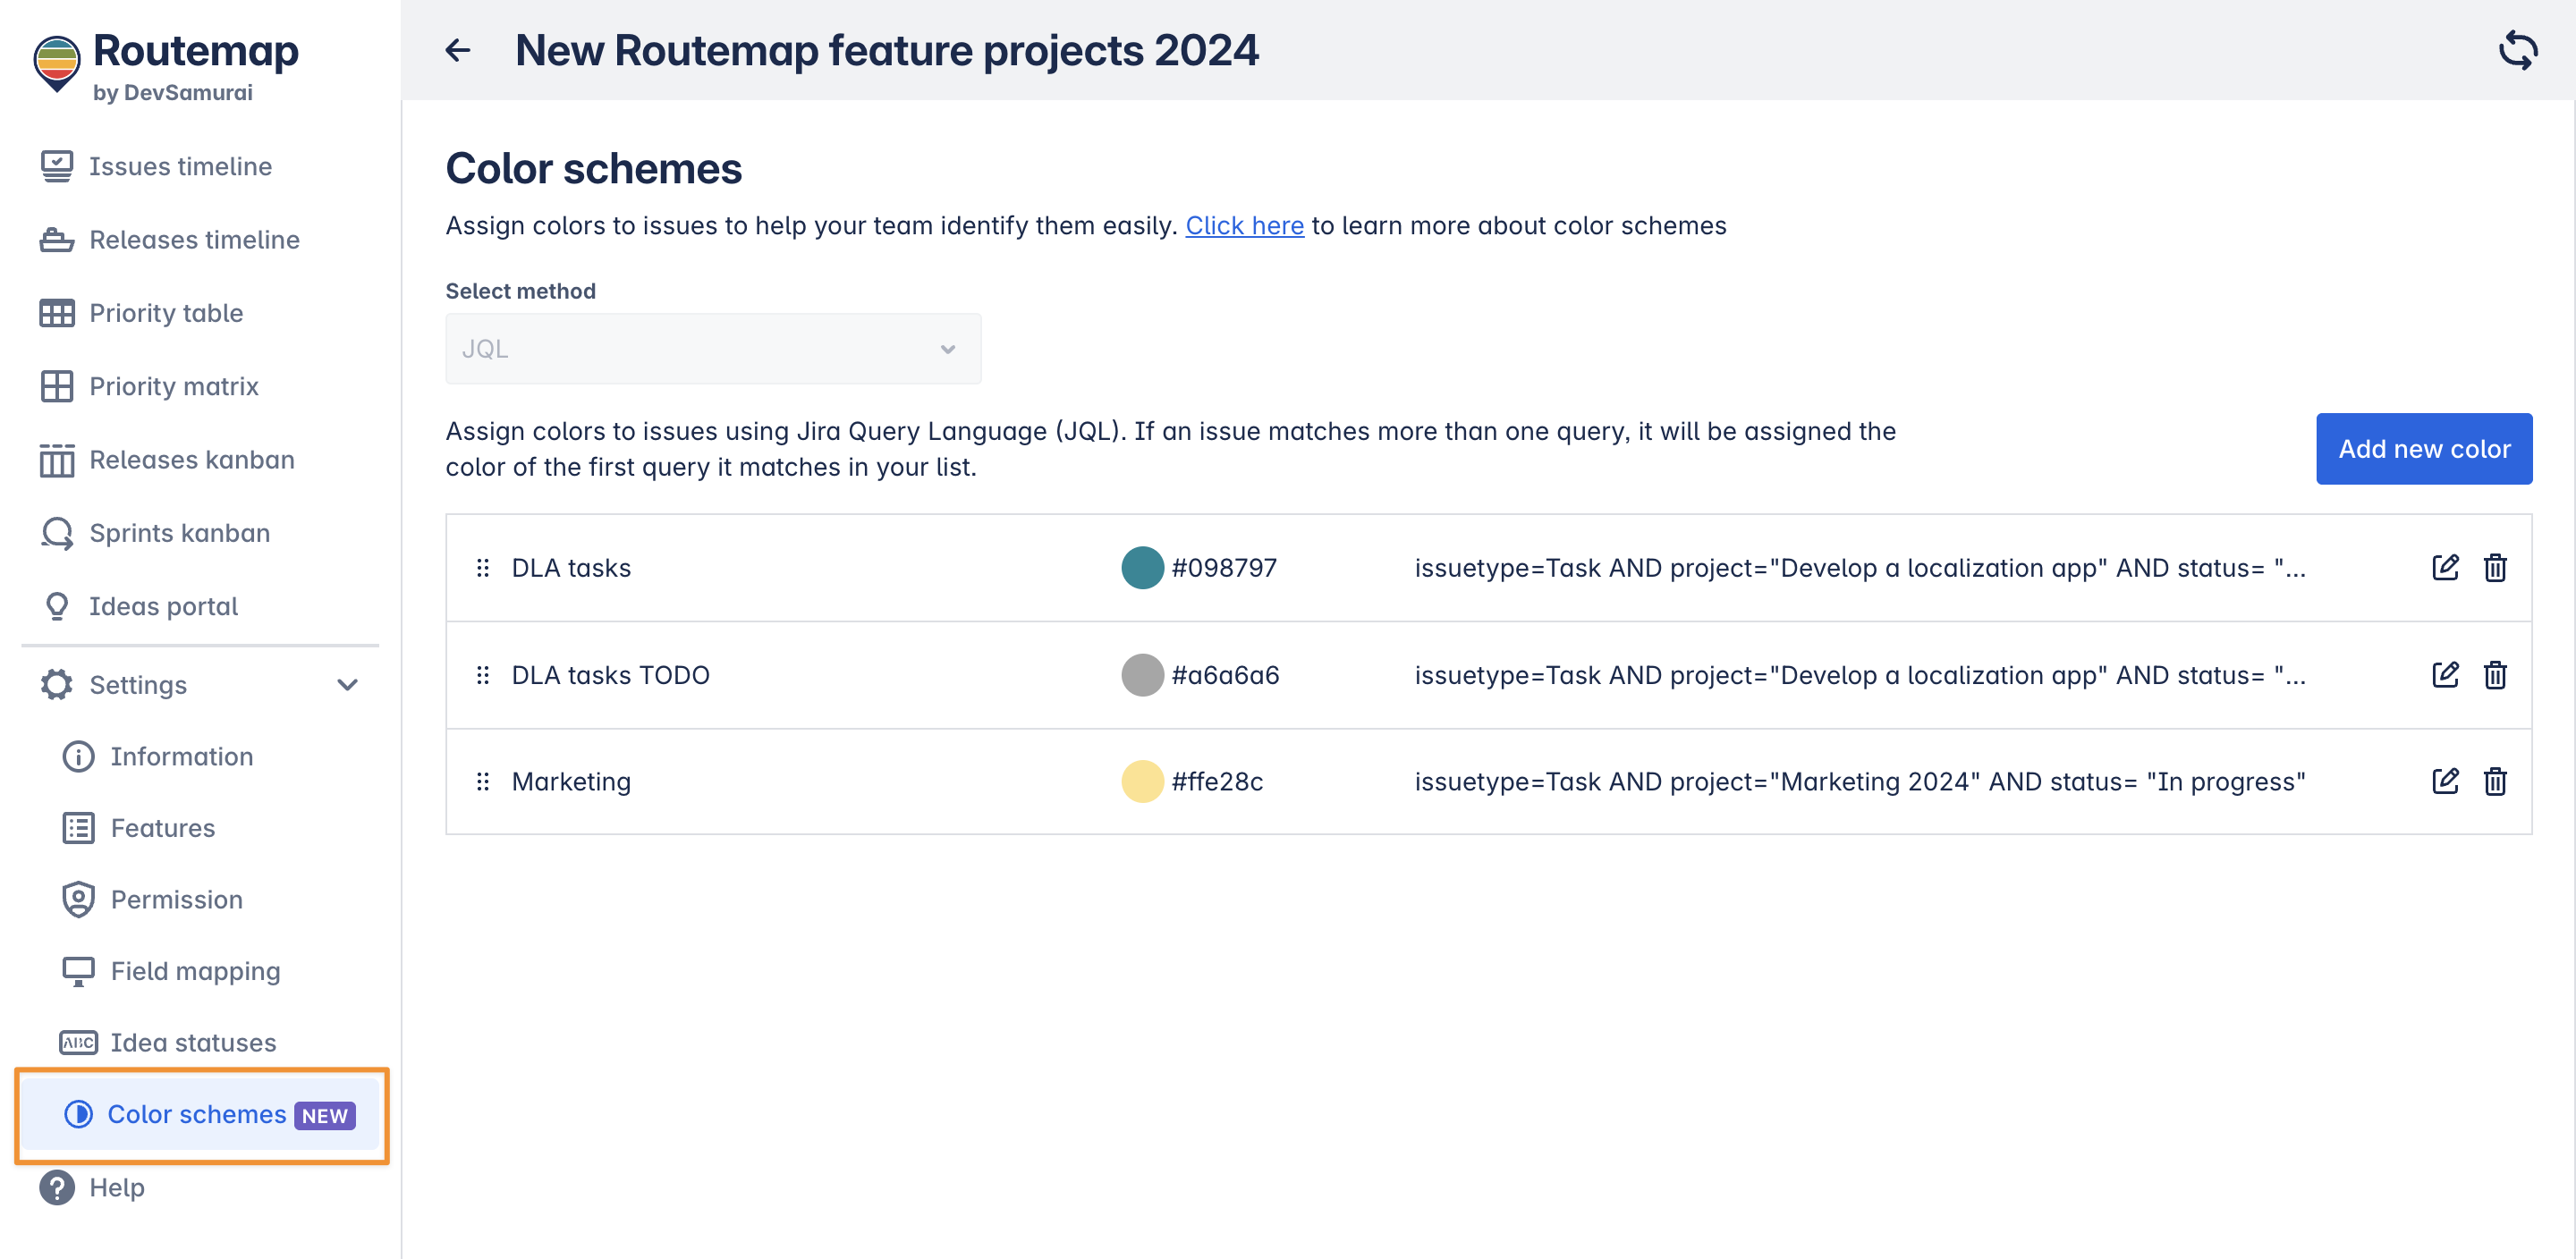
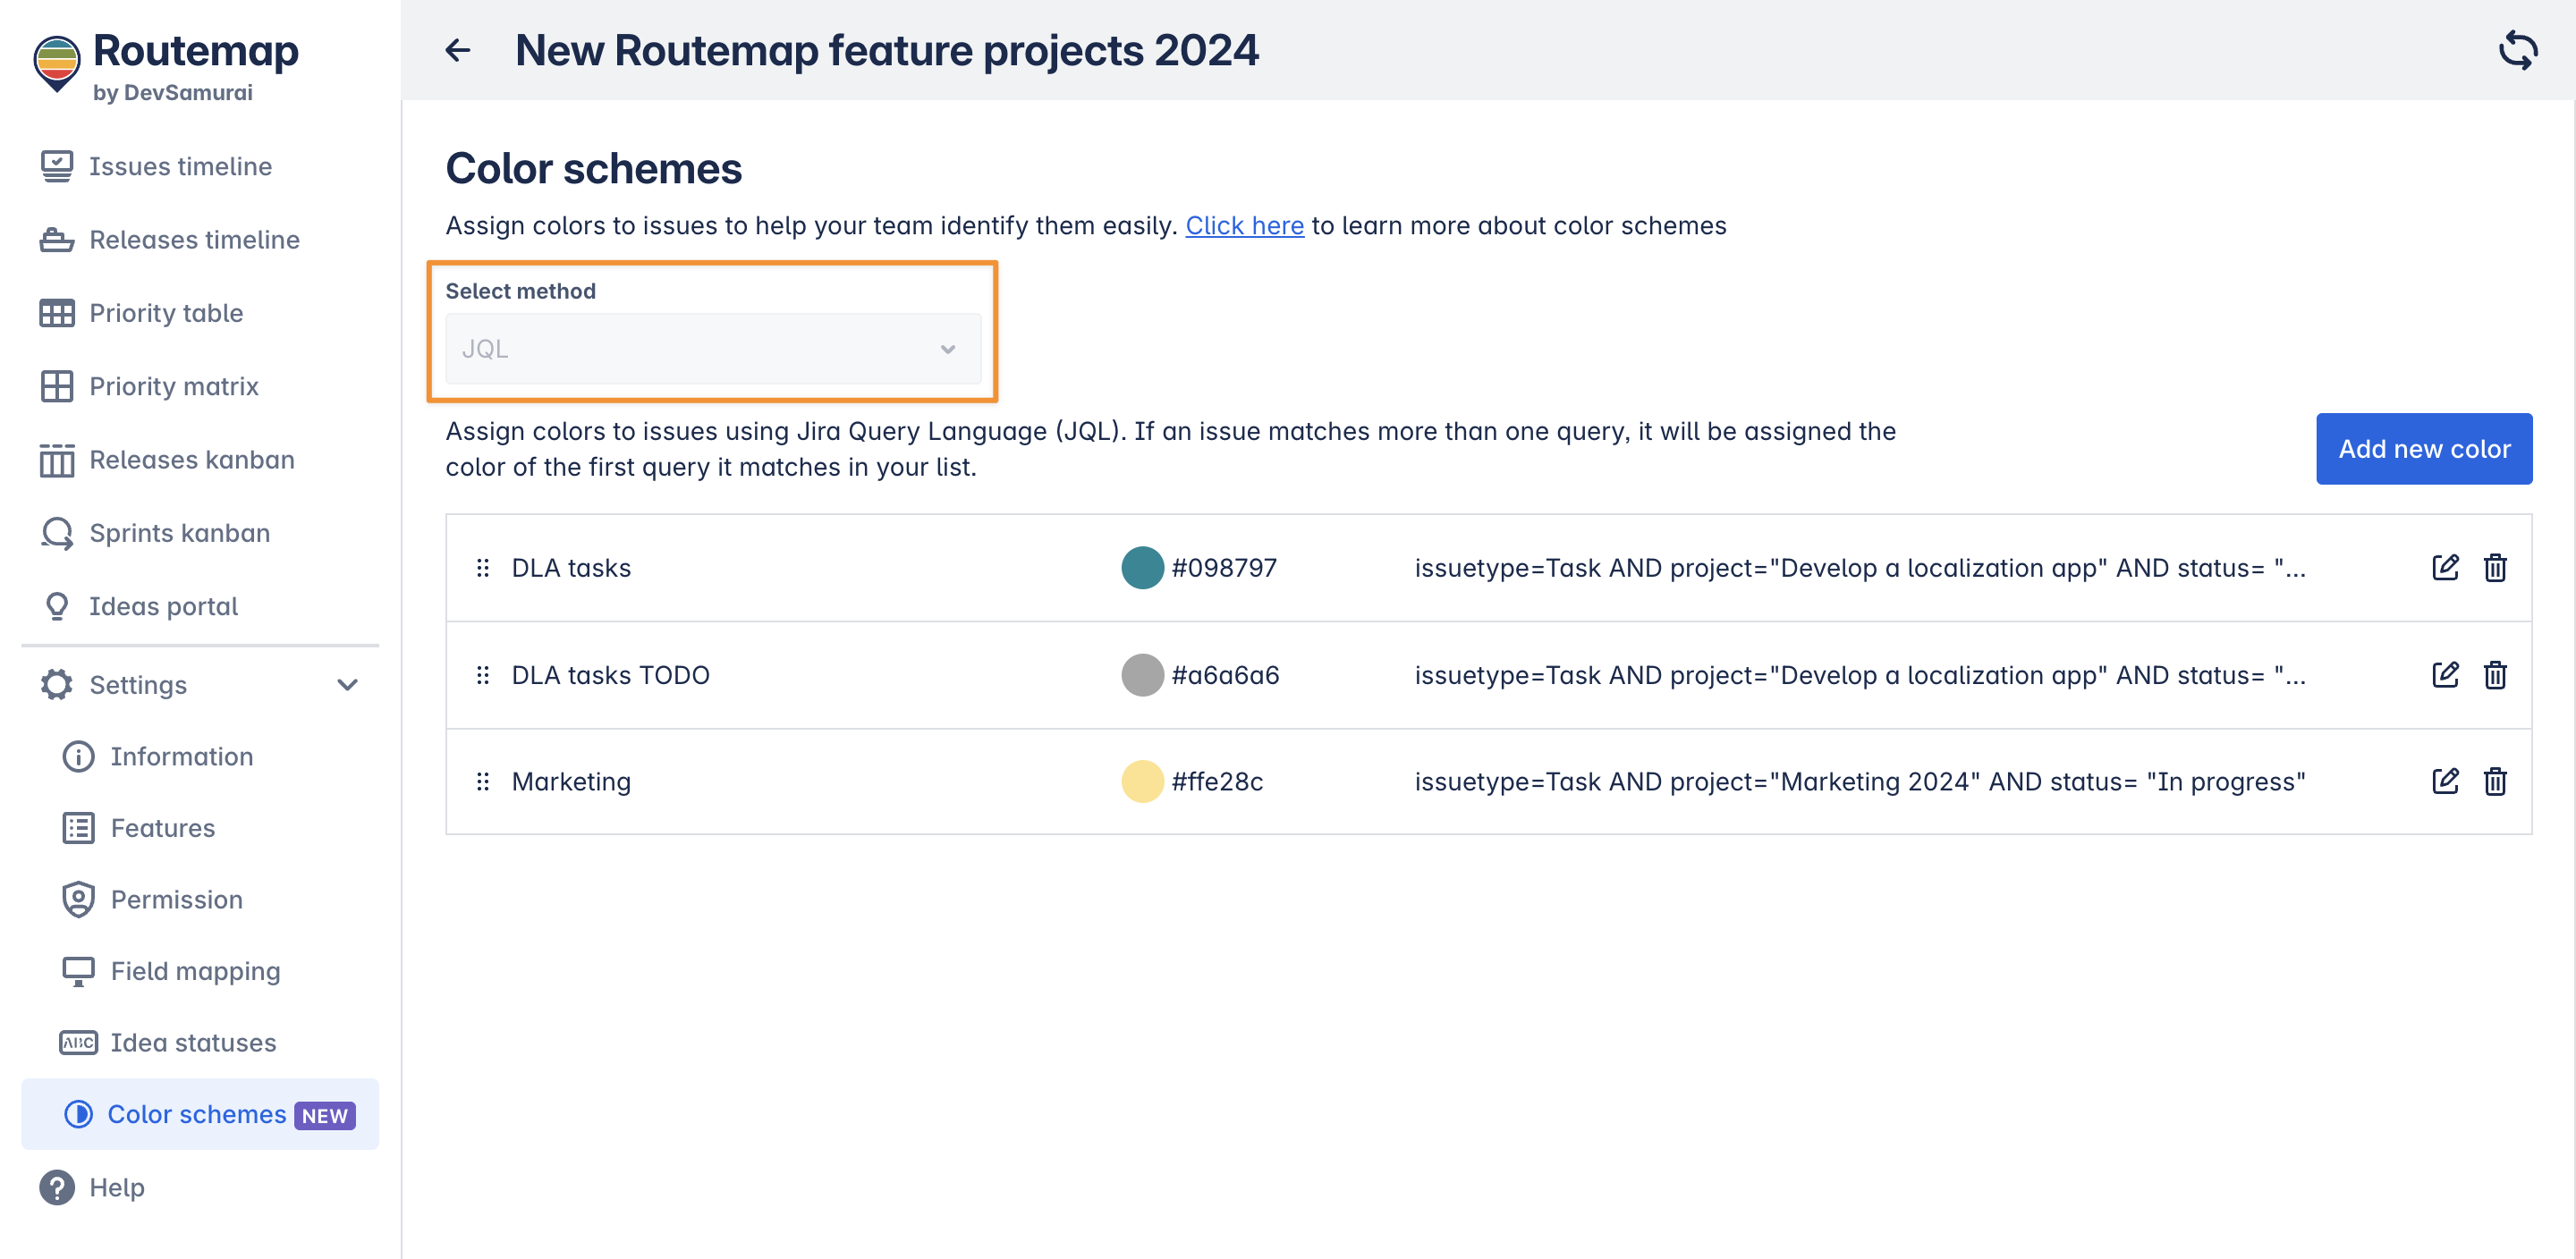
Currently, Routemap only supports the JQL method to help you define the condition for your color schemes.
Click the “Add new color” button to create a new color scheme for your timeline roadmap.
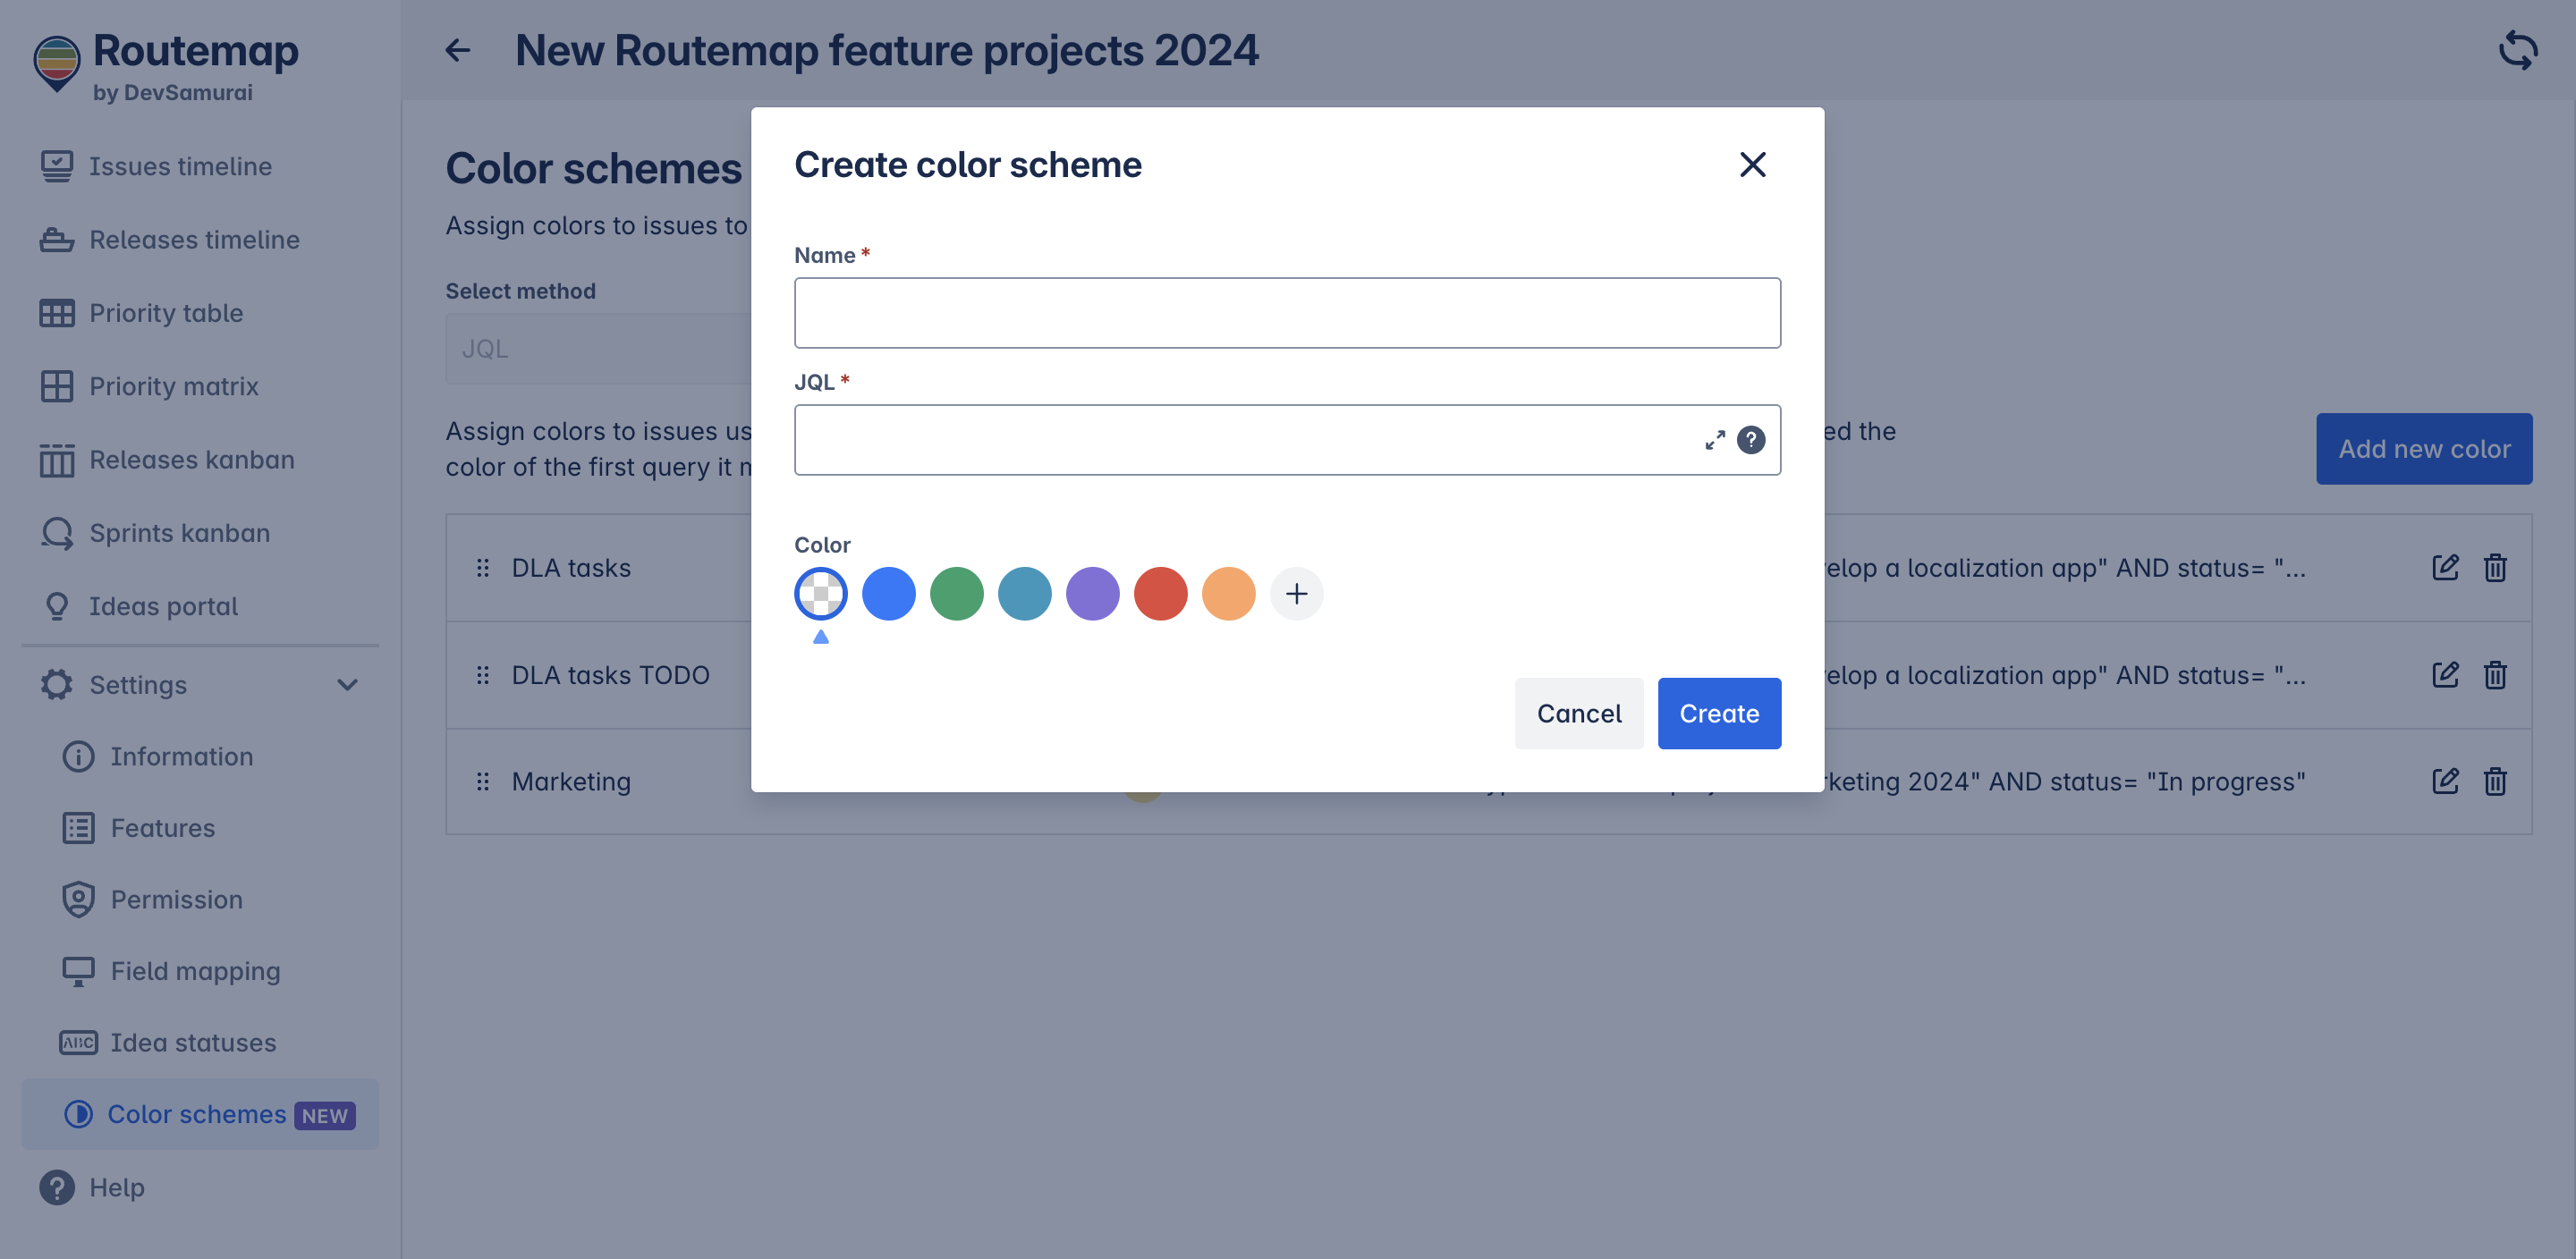
In this box, it is recommended to use the syntax issuetype= to identify which Jira issue you want to assign the color to.
For a default Jira project, you can use available values (such as tasks, subtasks, stories, epics, bugs) to define your color scheme accordingly:
-
isuuetype=Task -
issuetype=Subtask -
issuetype=Story -
issuetype=Epic -
issuetype=Bug
If you need support with Jira syntax, please go to the Atlassian support for JQL.
For more details, please visit the Color Schemes feature.