How to Use Leave Approval?
This section provides a step-by-step guide on submitting, tracking, and managing leave requests with the Leave Approval feature in TeamBoard.
Submitting a Leave Request
To submit a leave request, follow these steps:
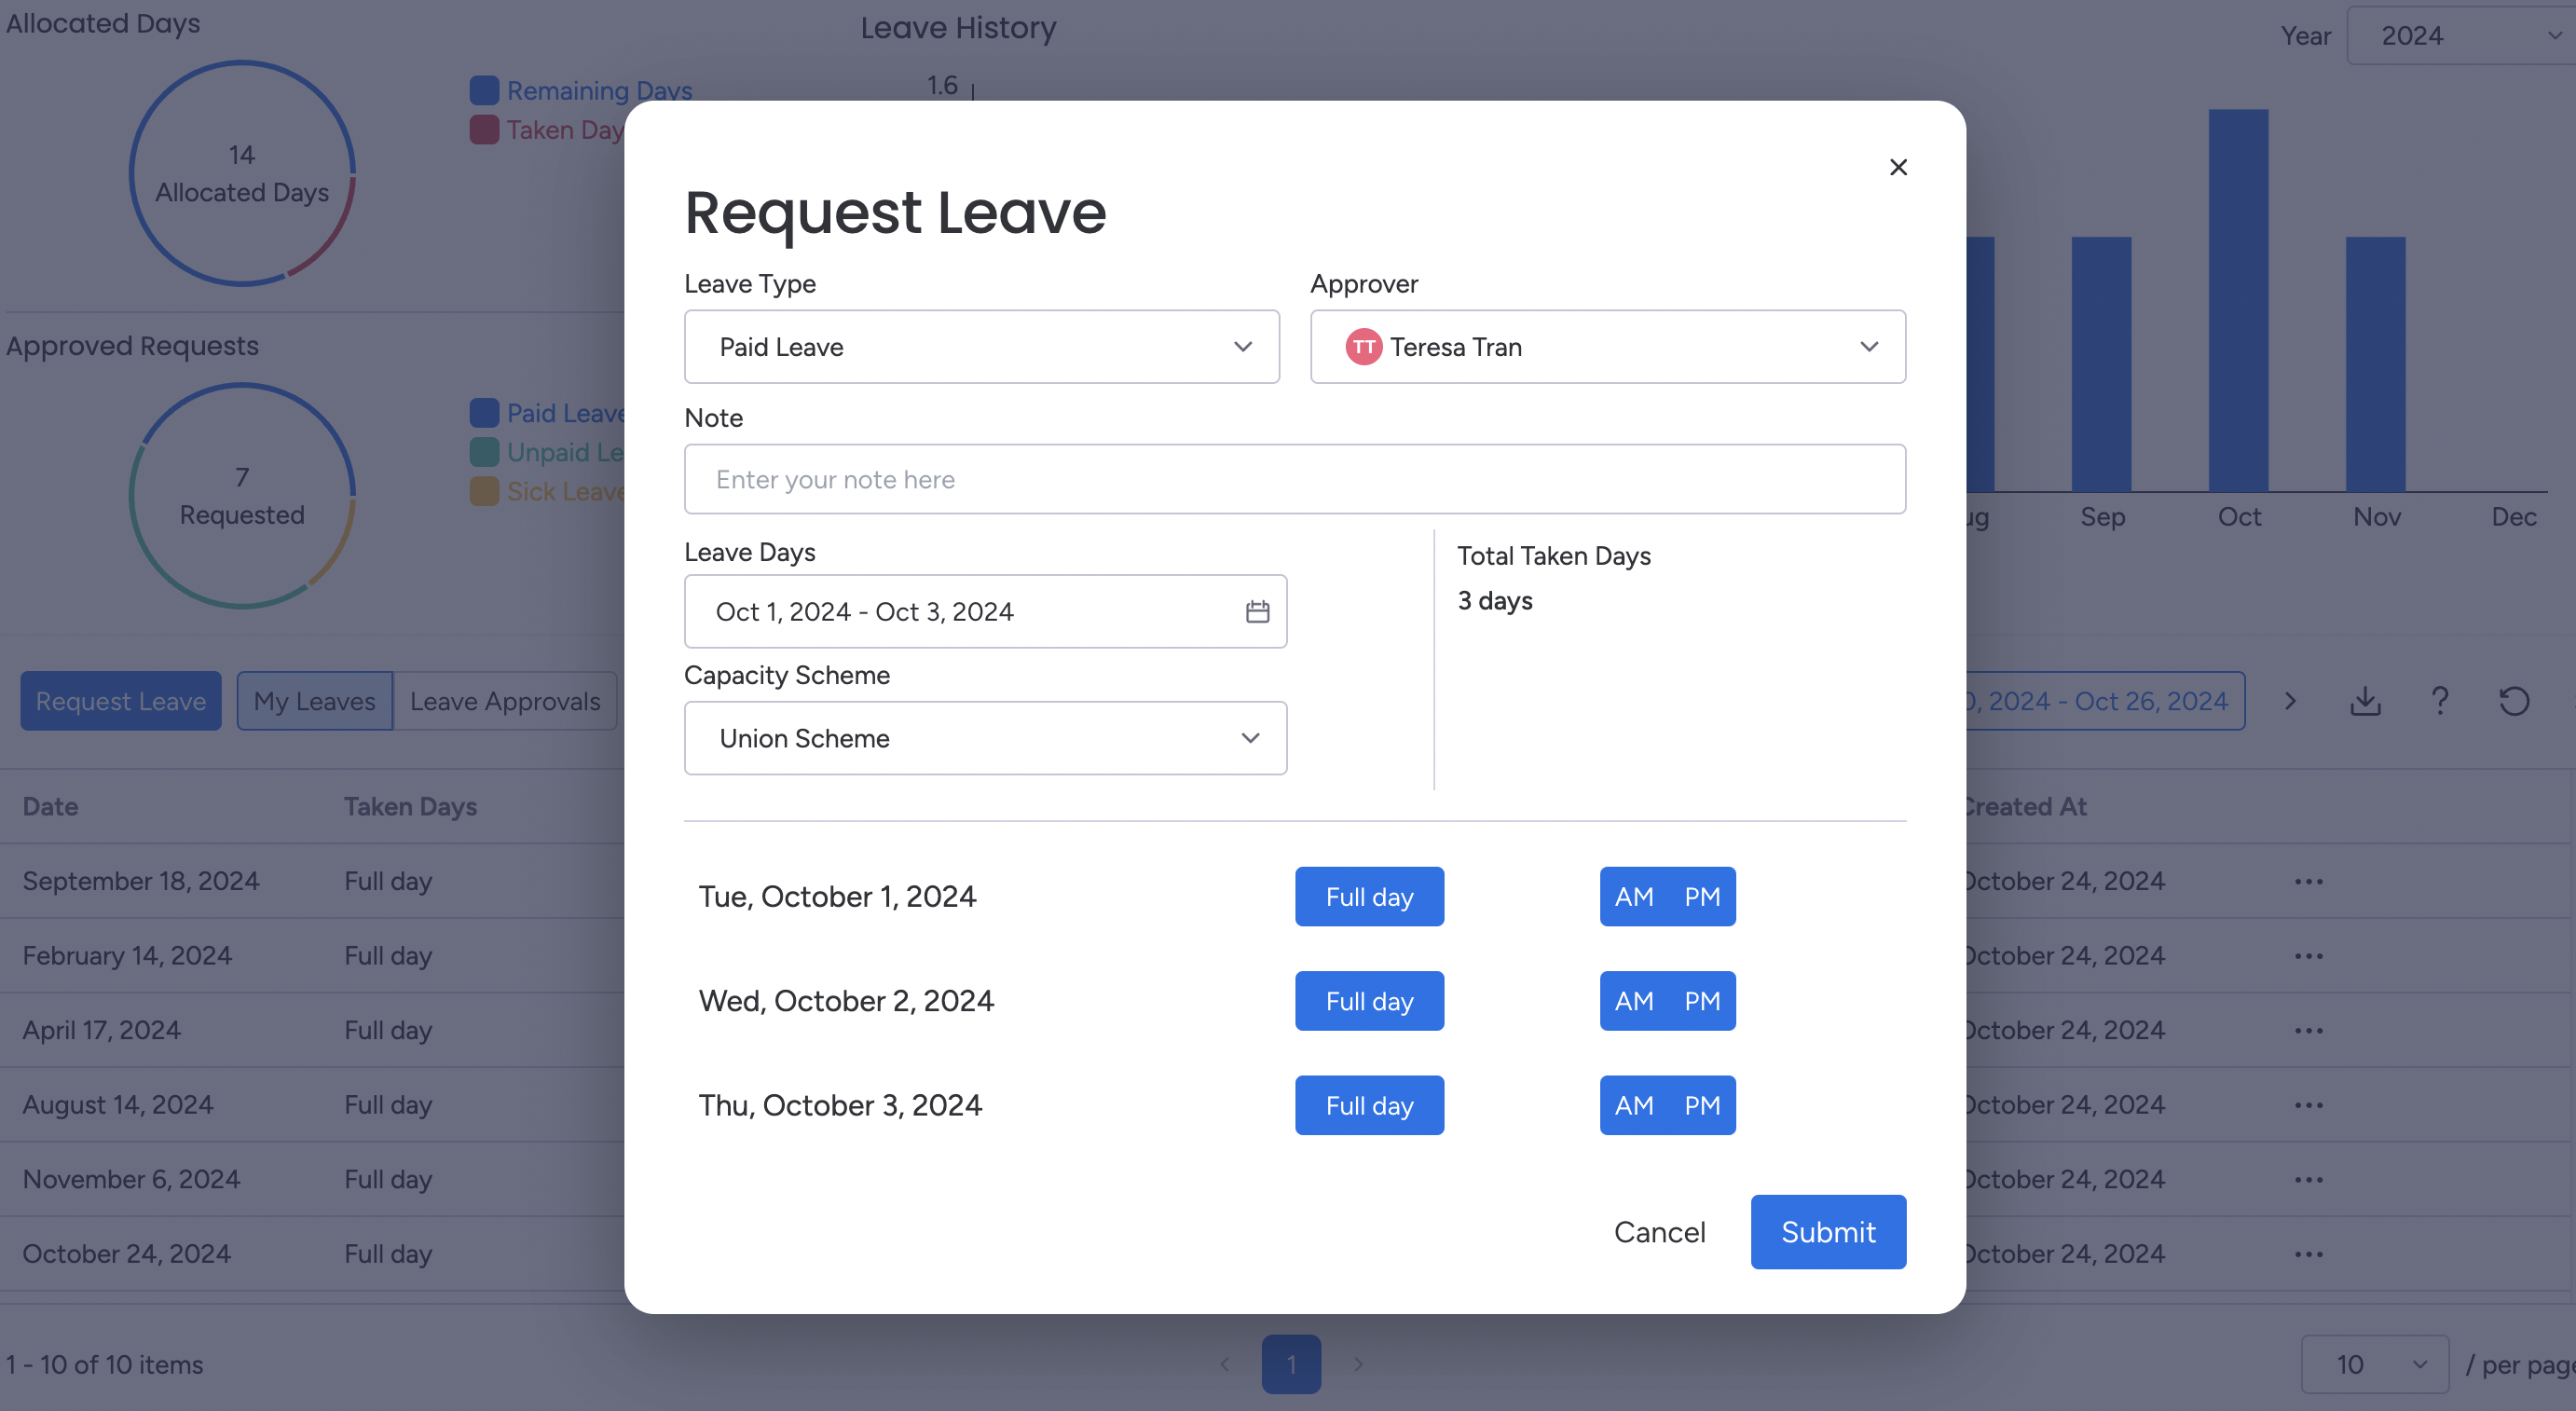
Click Request Leave: From the Leave Dashboard, click the Request Leave button to start a new request.

Fill Out the Details:

Leave Type: Select the type of leave, such as annual leave, sick leave, or personal day.
If your team needs different leave types, like volunteer or study leave, the admin can set those up.
Approver: Choose the manager who will approve your leave.
You can set a default approver in My Settings so you don’t have to select them each time. This is helpful if you report to the same person regularly.
Leave Days: Choose the start and end dates of your leave. The system will automatically calculate the total number of days.
When you choose a specific date range, the total number of days will appear on the right, so you can double-check the length of your leave before submitting.
Choose Capacity Scheme (Learn more about Capacity Schemes here)
Full Day: Select if you’ll be unavailable for the full day, setting your work capacity to zero for that period.
Half Day: Select this option if you’ll only be unavailable for half the day, reducing your work capacity by 50%.
Submit:
Click Submit
 to send your request. The request status will be set to Pending, waiting for your manager’s approval.
Tip: Double-check your dates and leave type before submitting to avoid recalls or adjustments.
Managing Your Leave Requests
Once you’ve submitted a leave request, you can track its status and make changes if necessary:

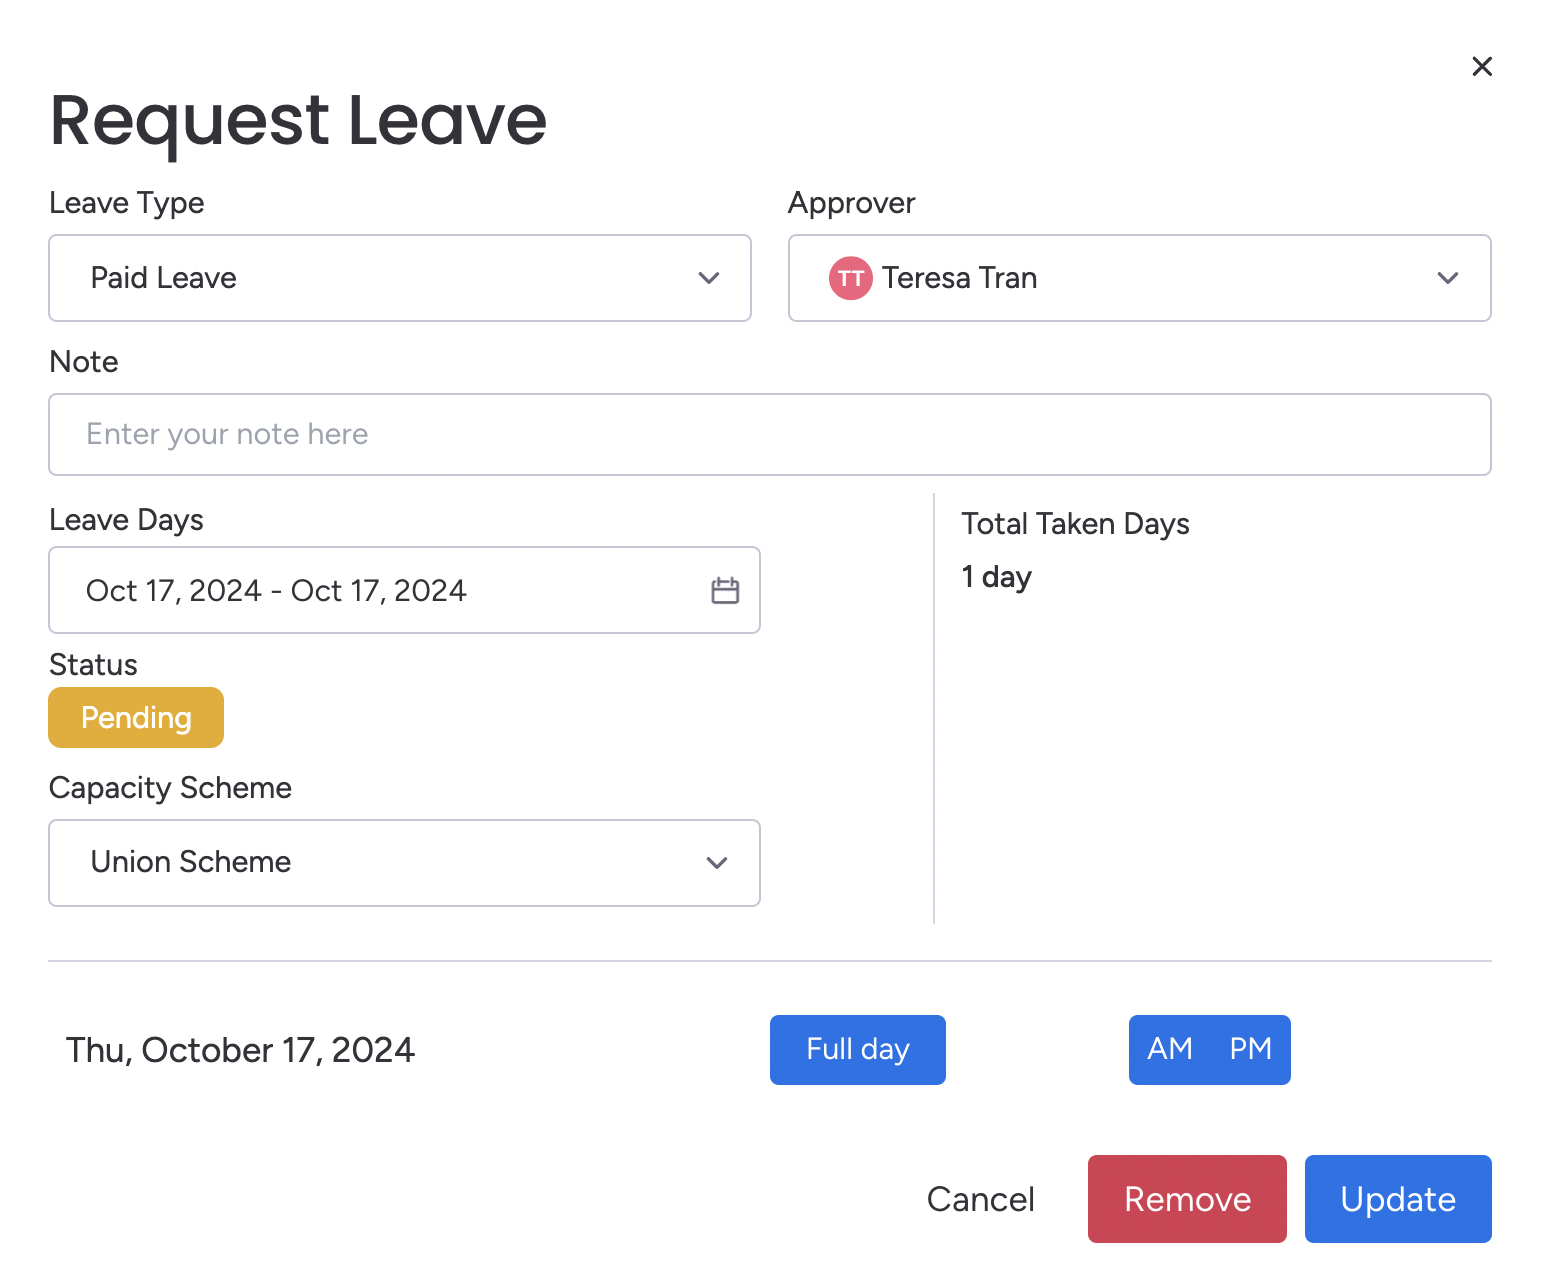
Pending Requests: While the request is pending, you can edit the details if needed. Go to the List of Requests section to view your requests.
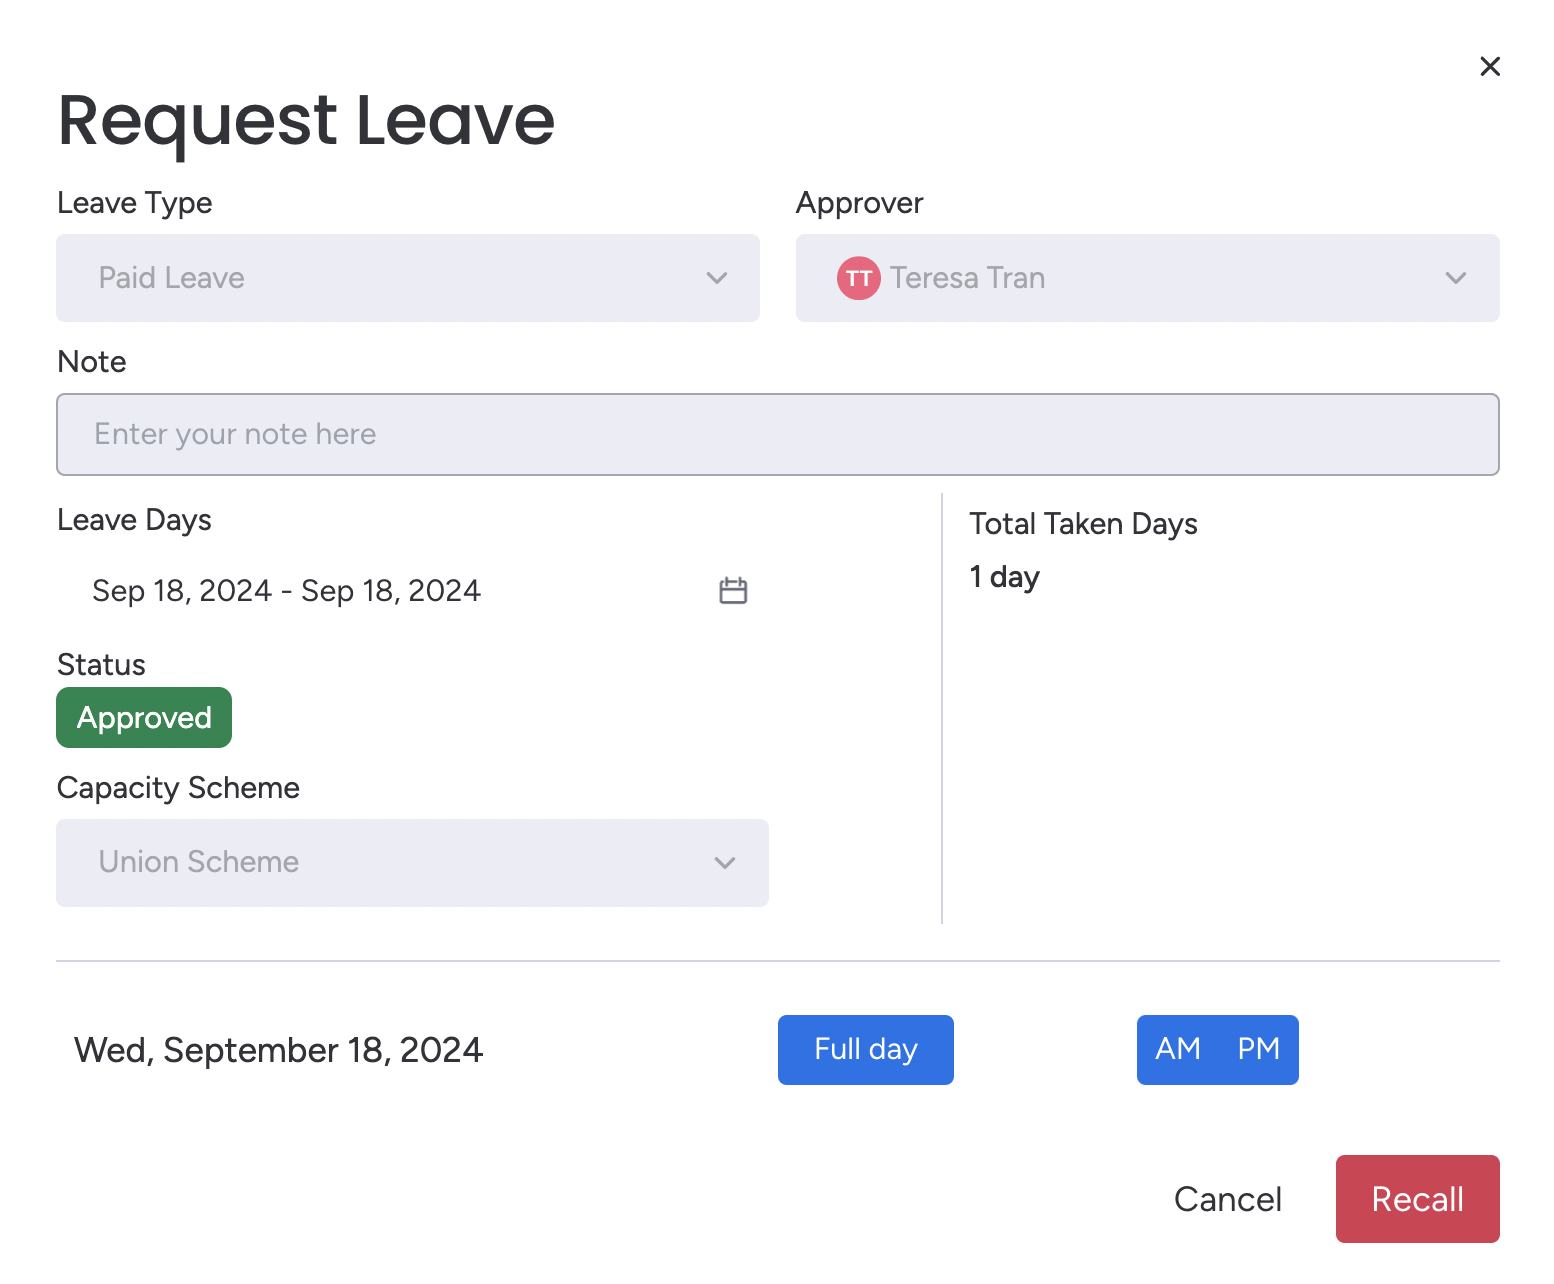
Recall an Approved Request: If your request has already been approved, but you need to make changes, you can click Recall. This will move your request to “Recalling” status while you make updates.

Remove a Request: If you no longer need the time off, you can choose to remove the request from the list. This action is available for both pending and rejected requests.

Note: Approved requests can only be recalled if you need to make changes. Once recalled, you’ll need to resubmit for re-approval.
For Managers: Approving or Rejecting Requests
If you’re a manager, follow these steps to review and approve leave requests from your team:

Go to Leave Approvals: Navigate to the Leave Approvals section to see a list of requests waiting for your review.
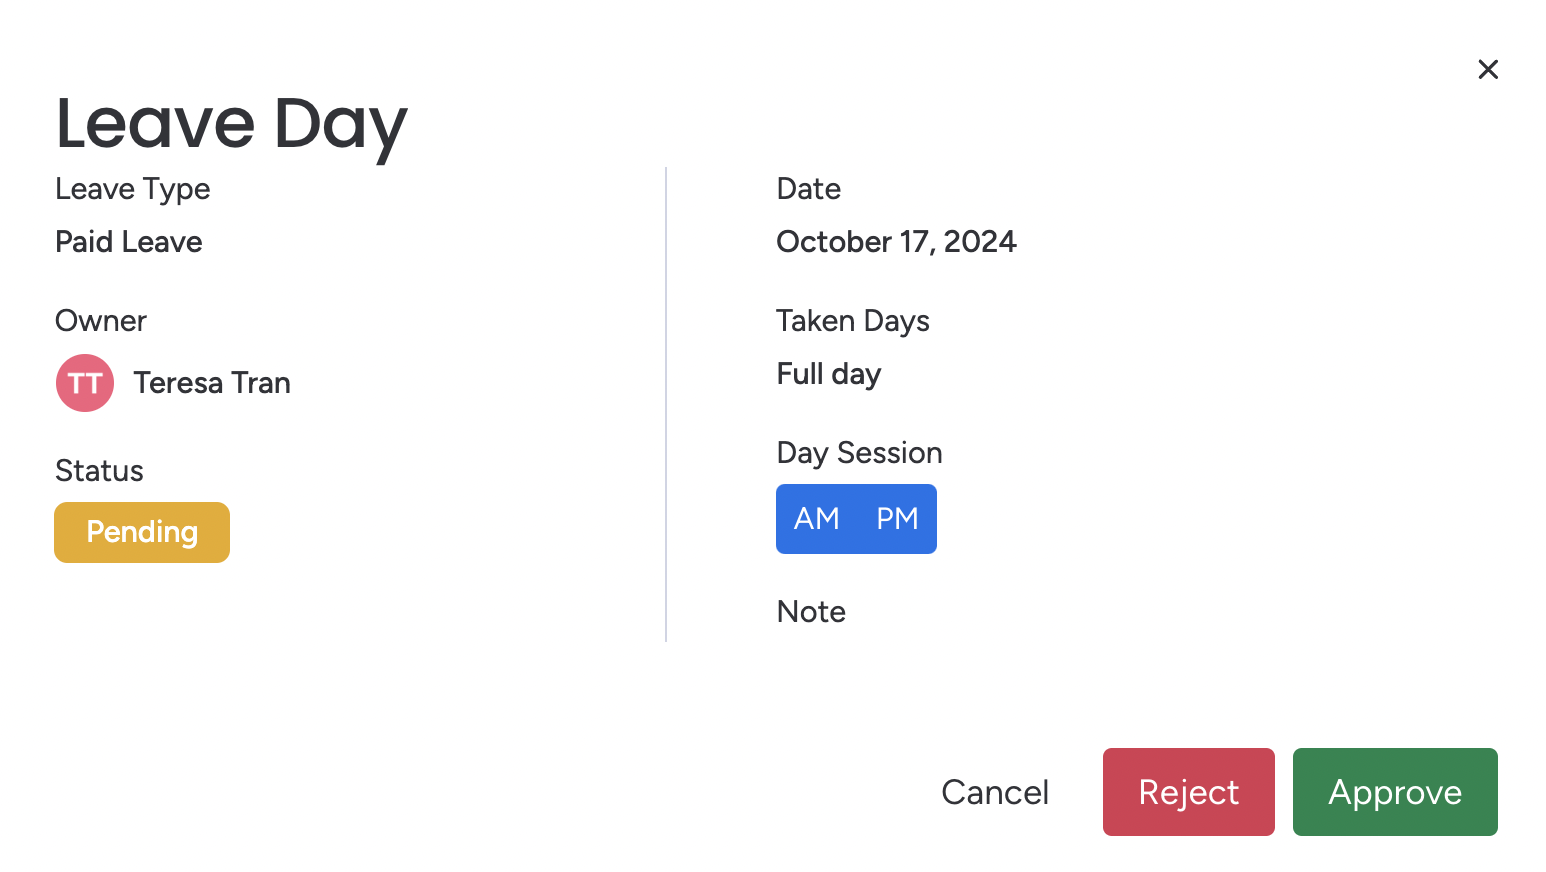
Review the Request: Click on a request to review its details, such as leave type, duration, and any notes provided by the user.
Approve or Reject:
Approve: Confirm the leave request if it fits within team scheduling and resource needs.
Reject: Decline the request if adjustments are needed, and communicate with the employee if further clarification is required.

Learn more about the Leave Request Status Guide for detailed information
📖 Support and Resources
Help Center: Visit our Help Center for detailed documentation.
Contact Support: Reach out to our support team here.
Book a demo: Schedule a demo for personalized guidance.
Tutorial Videos: Watch our tutorial videos for more help.
Customer Portal: See Roadmap and Request a Feature.
Happy planning and organizing! ♥️
.png)