.png)
-
Only Team Admin, App Admin, or Jira Admin users have the permissions to create or delete teams.
-
Regular members can only view the teams they are part of.
👉 Refer to the Permission guide for details.
Creating a Team
-
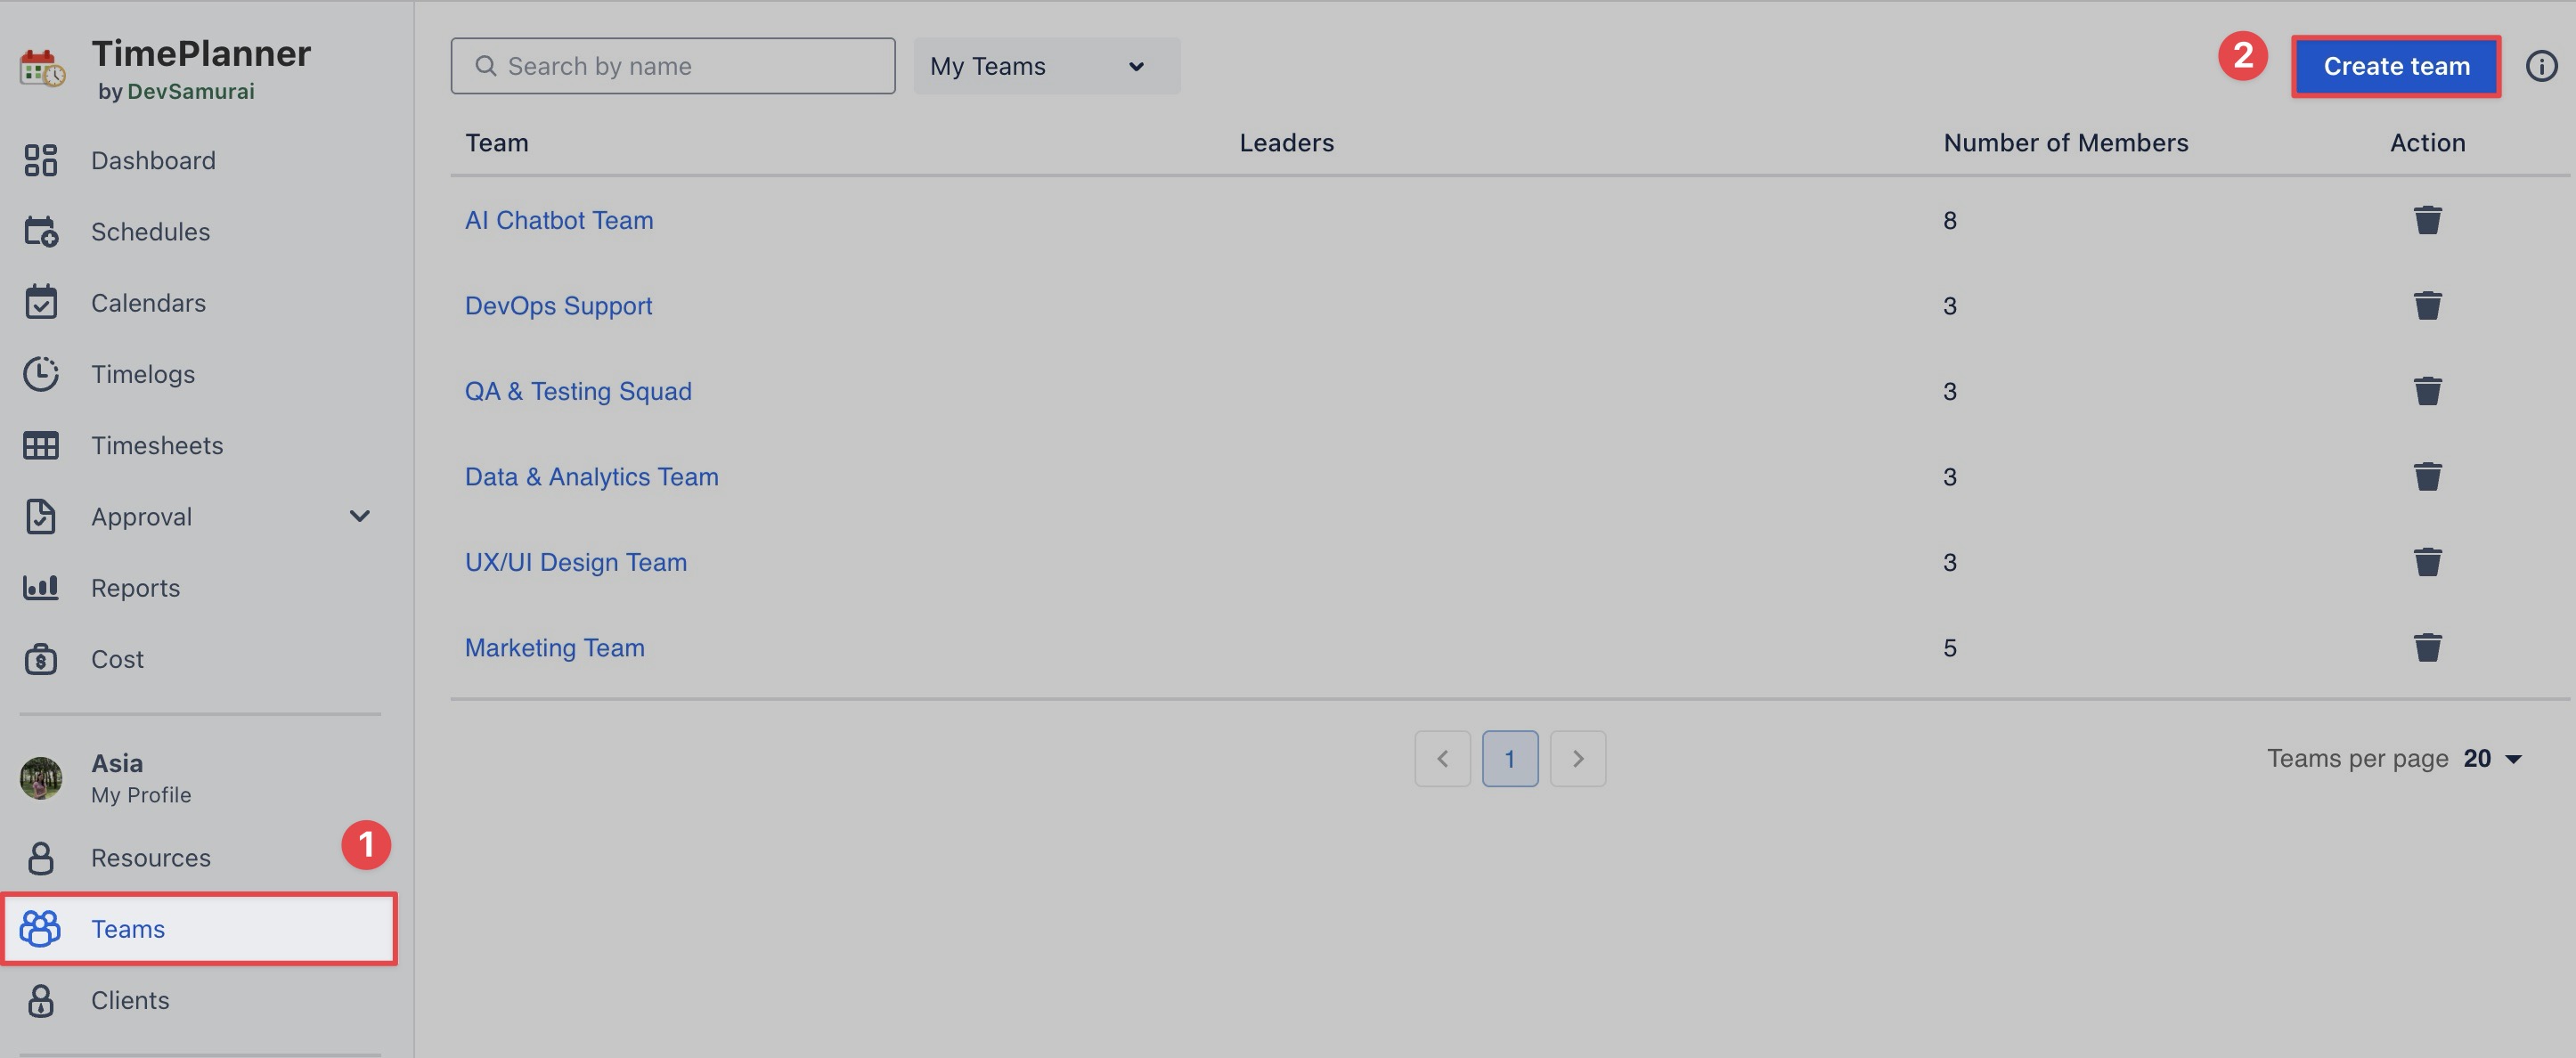
Navigate to the Teams tab on the left-hand menu.
-
Click the Create Team button located at the top-right corner of the page.
-
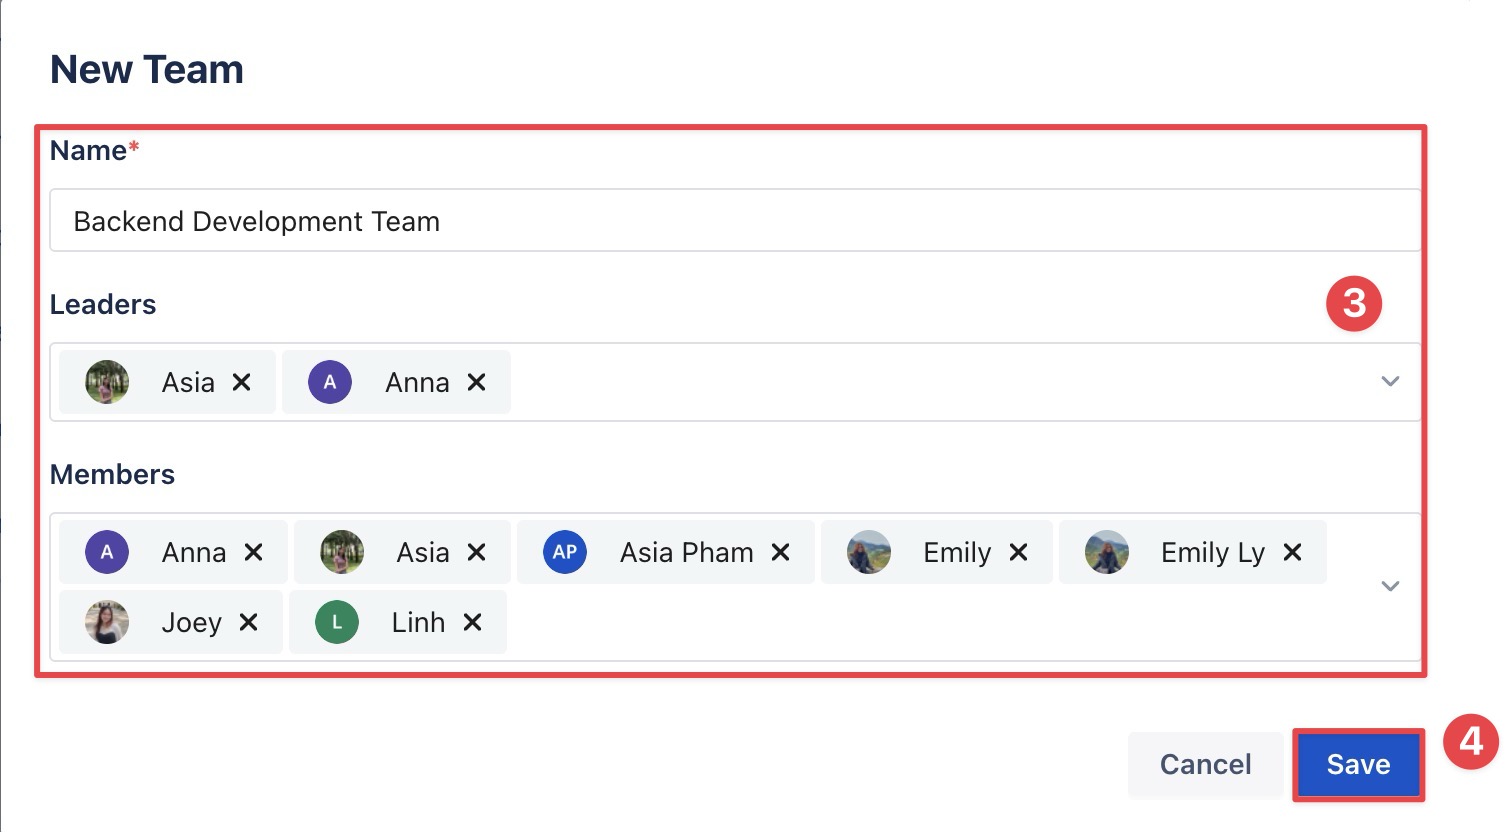
A form will appear: Fill in the details for the new team
-
Name: Enter a descriptive name for your new team.
-
Leaders: Select one or more team members to assign as leaders.
-
Members: Add team members from the list of available users.
-
Click

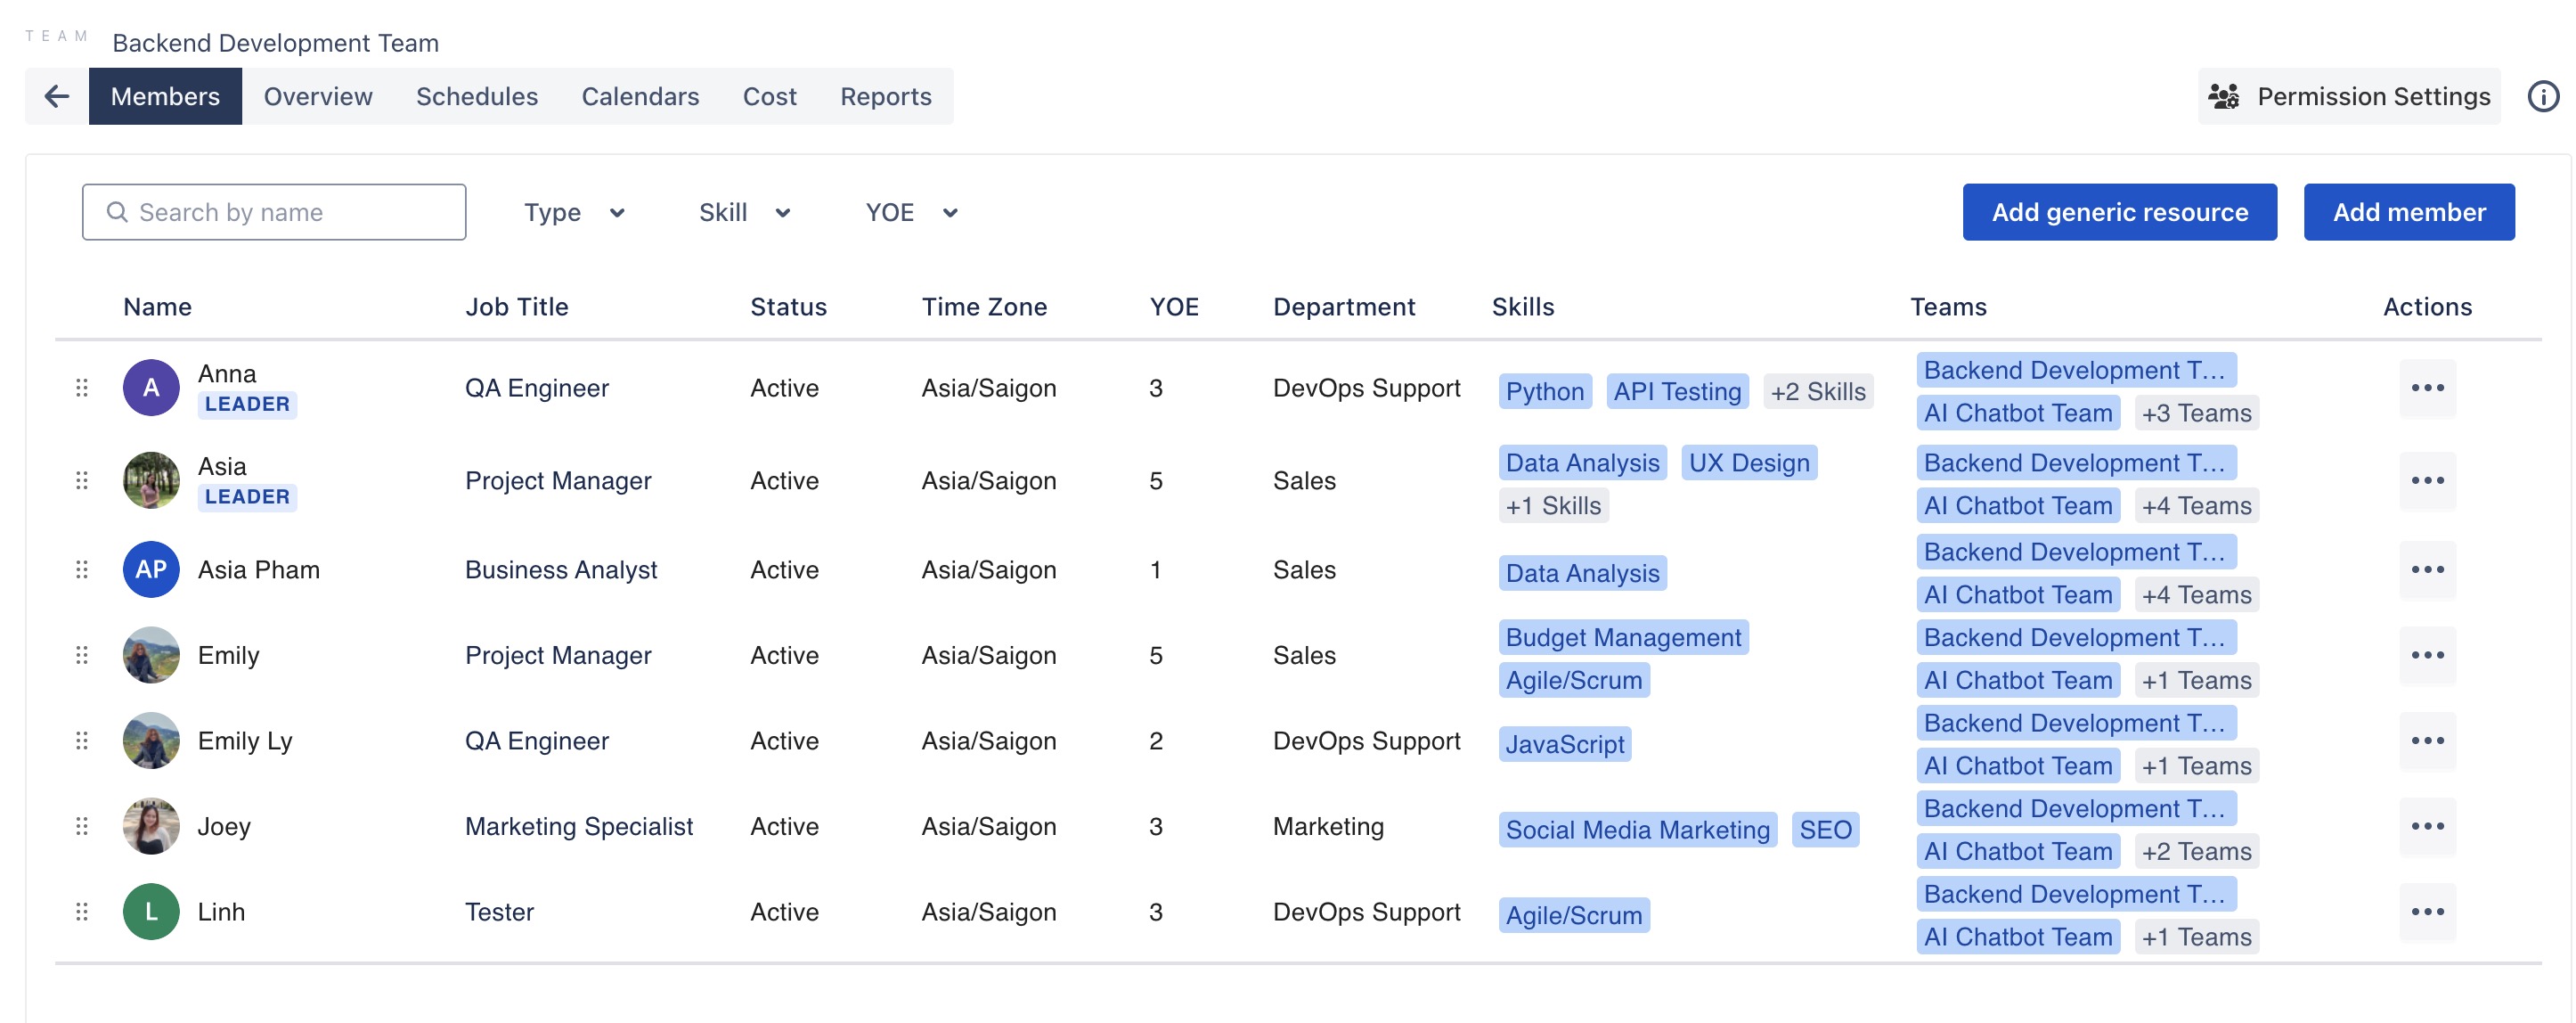
✅ After creating a team, it will appear in the Team list. You can then access the Team Workspace to manage tasks, schedules, and activities within the team.
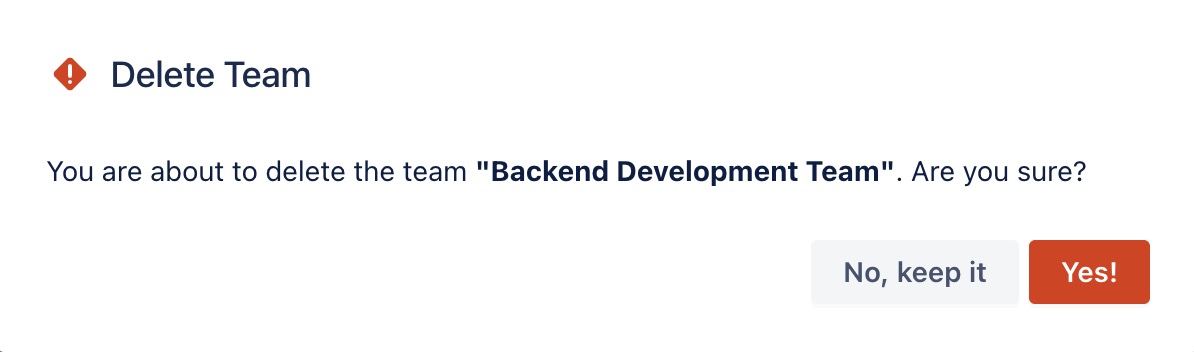
Deleting a Team
-
On the Team List page, locate the team you want to delete.
-
Click

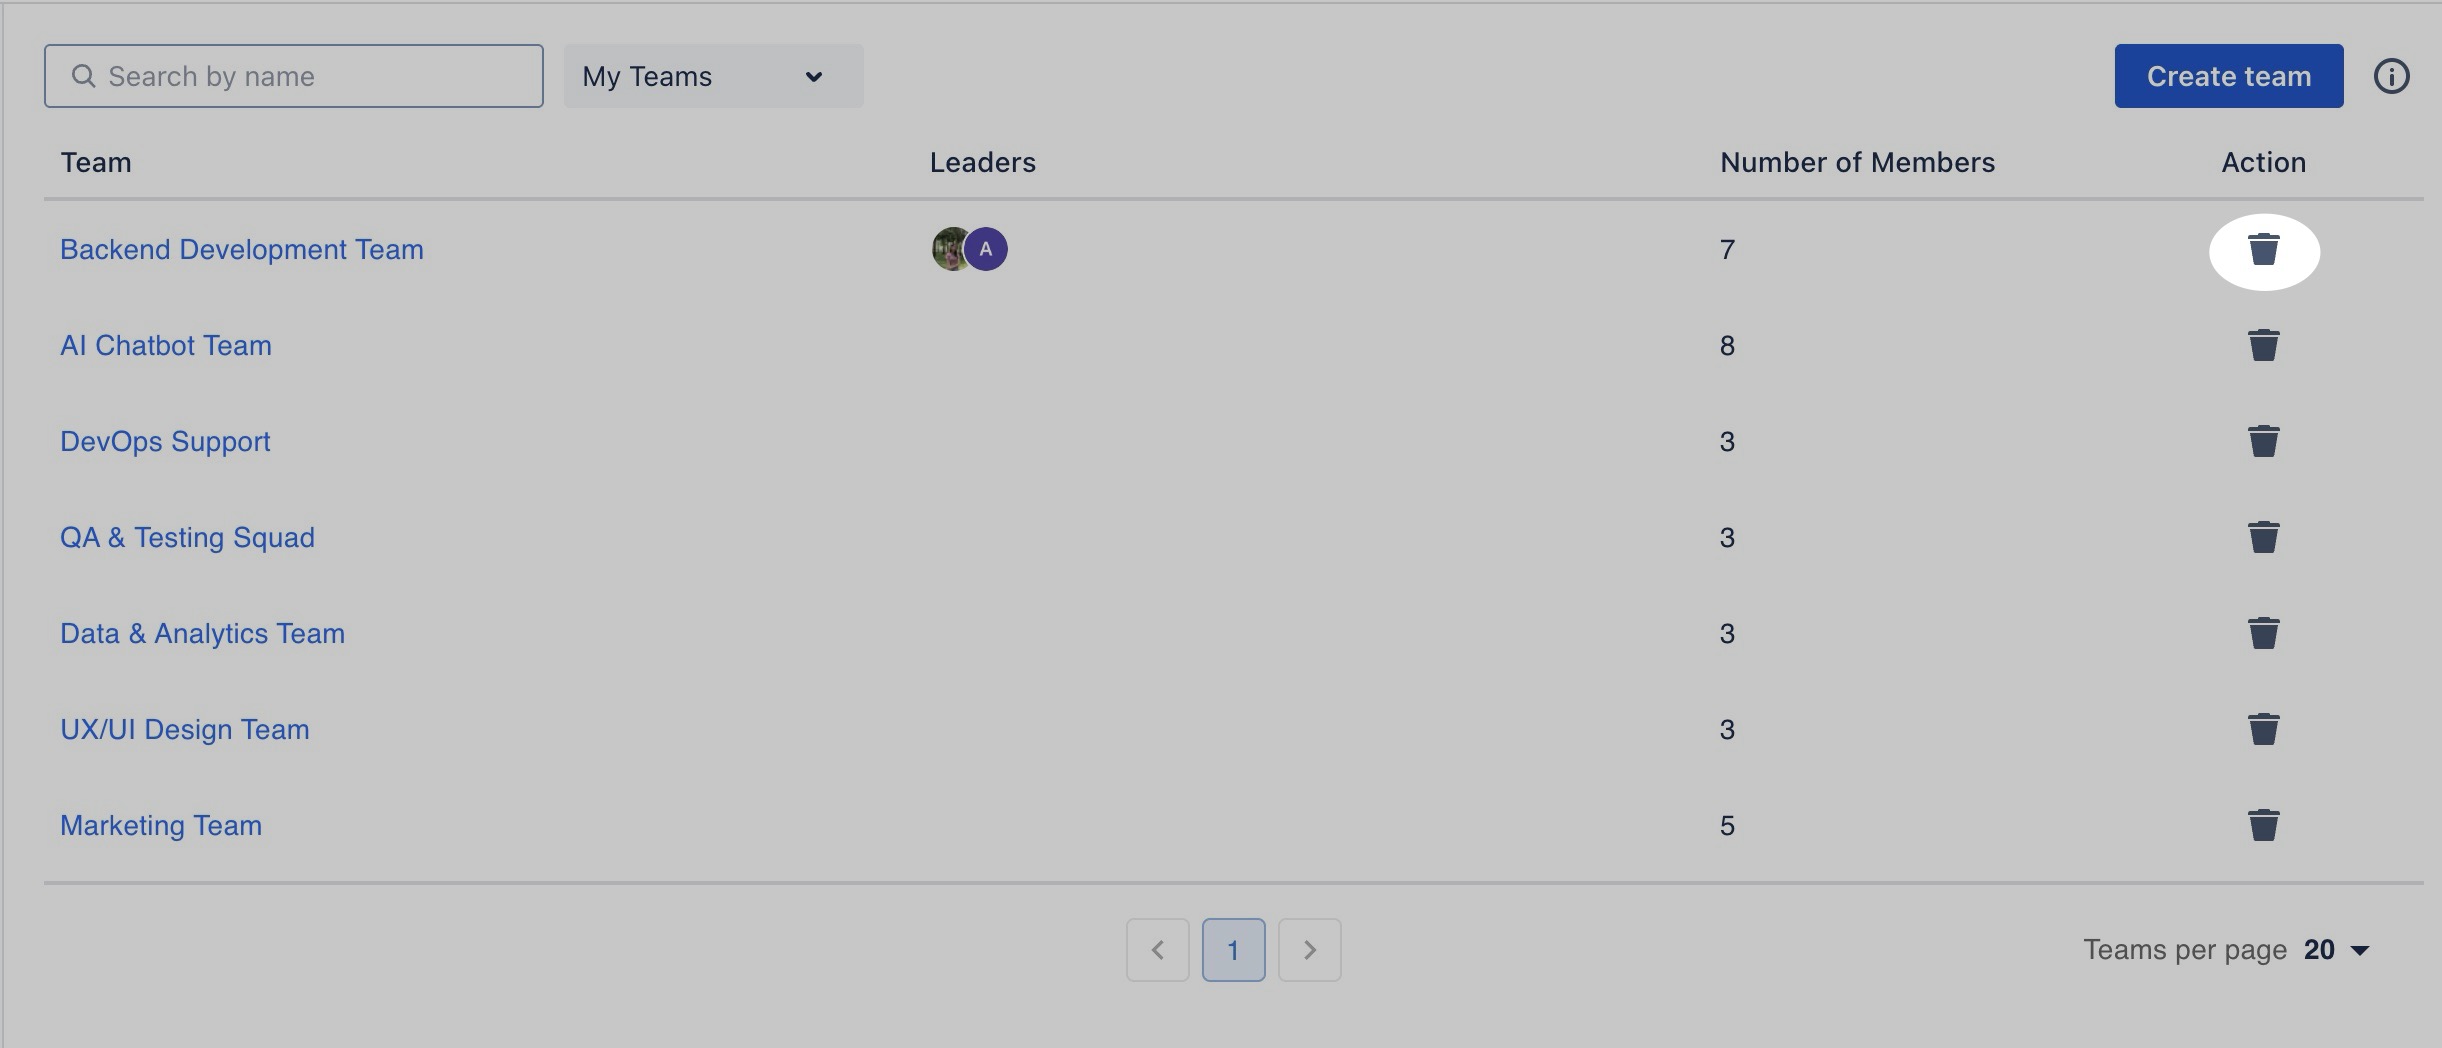
-
A confirmation prompt will appear to ensure you want to delete the team. Once confirmed, the team will be permanently removed.