.png)
1. Overview
A test case in AgileTest acts as a documented testing artifact that defines what to verify and how to validate a specific aspect of a software application. Test cases are created to verify the functionality, performance, or other quality attributes of the software.
Typically, each requirement should be validated by at least one test case. The success of a test case is determined by evaluating whether the actual outcome matches the expected behavior, either through manual observation or automated validation.
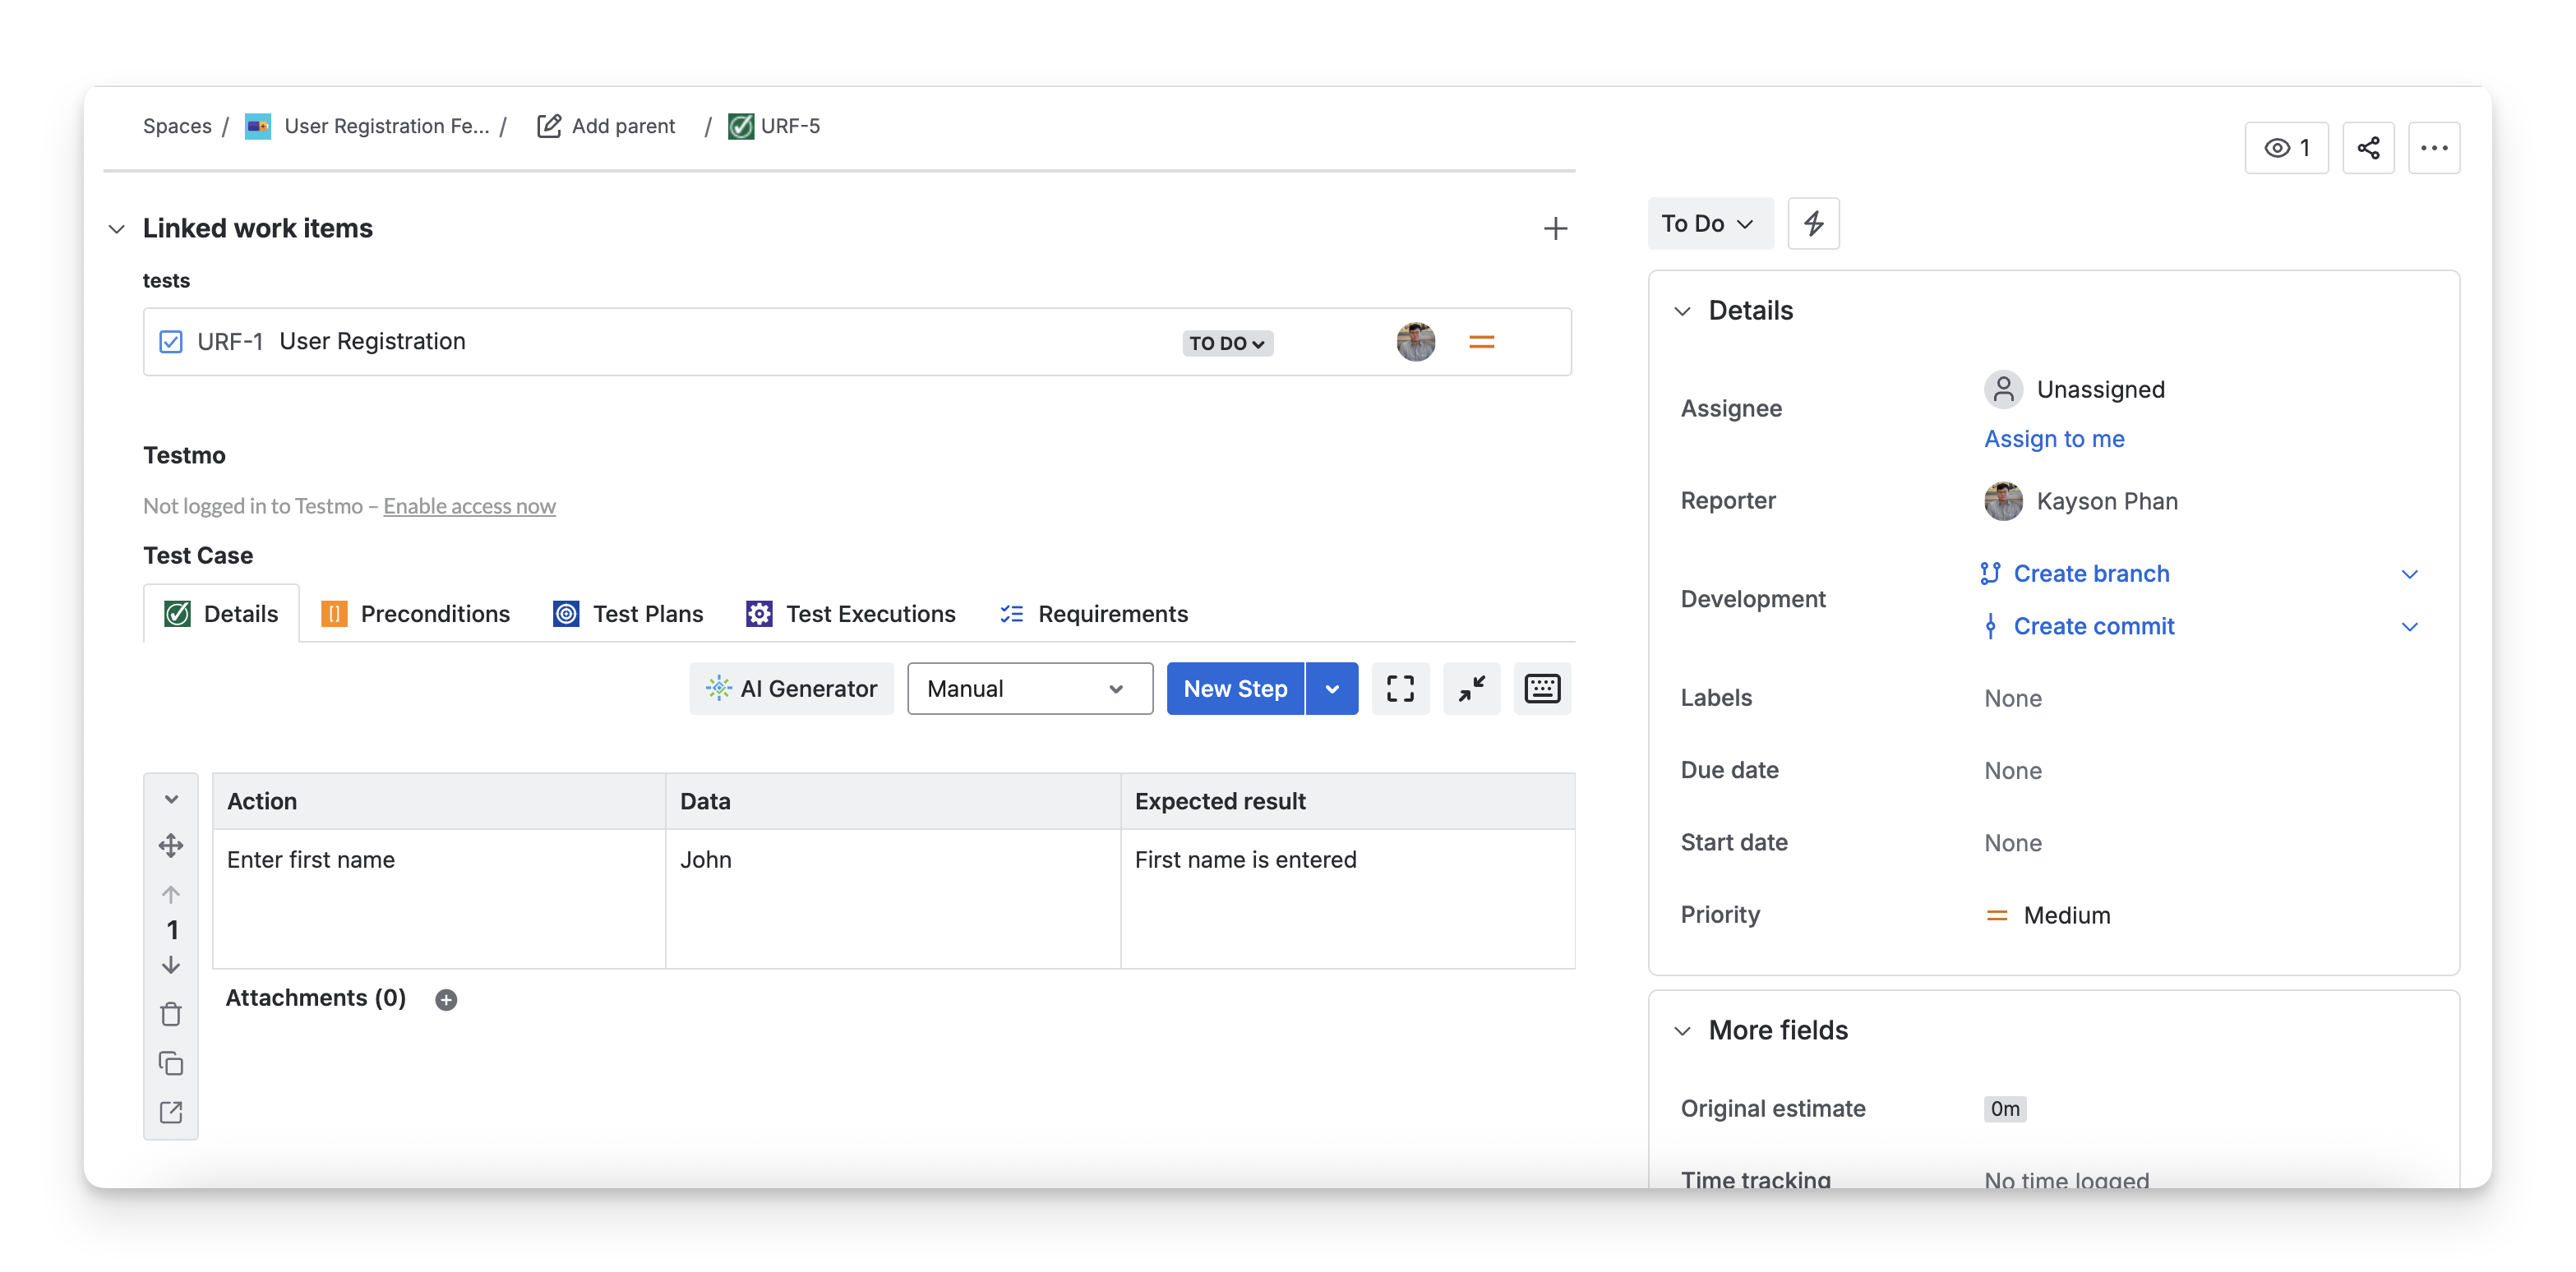
In AgileTest, each test case is a Jira work item
2. Locate Test Cases
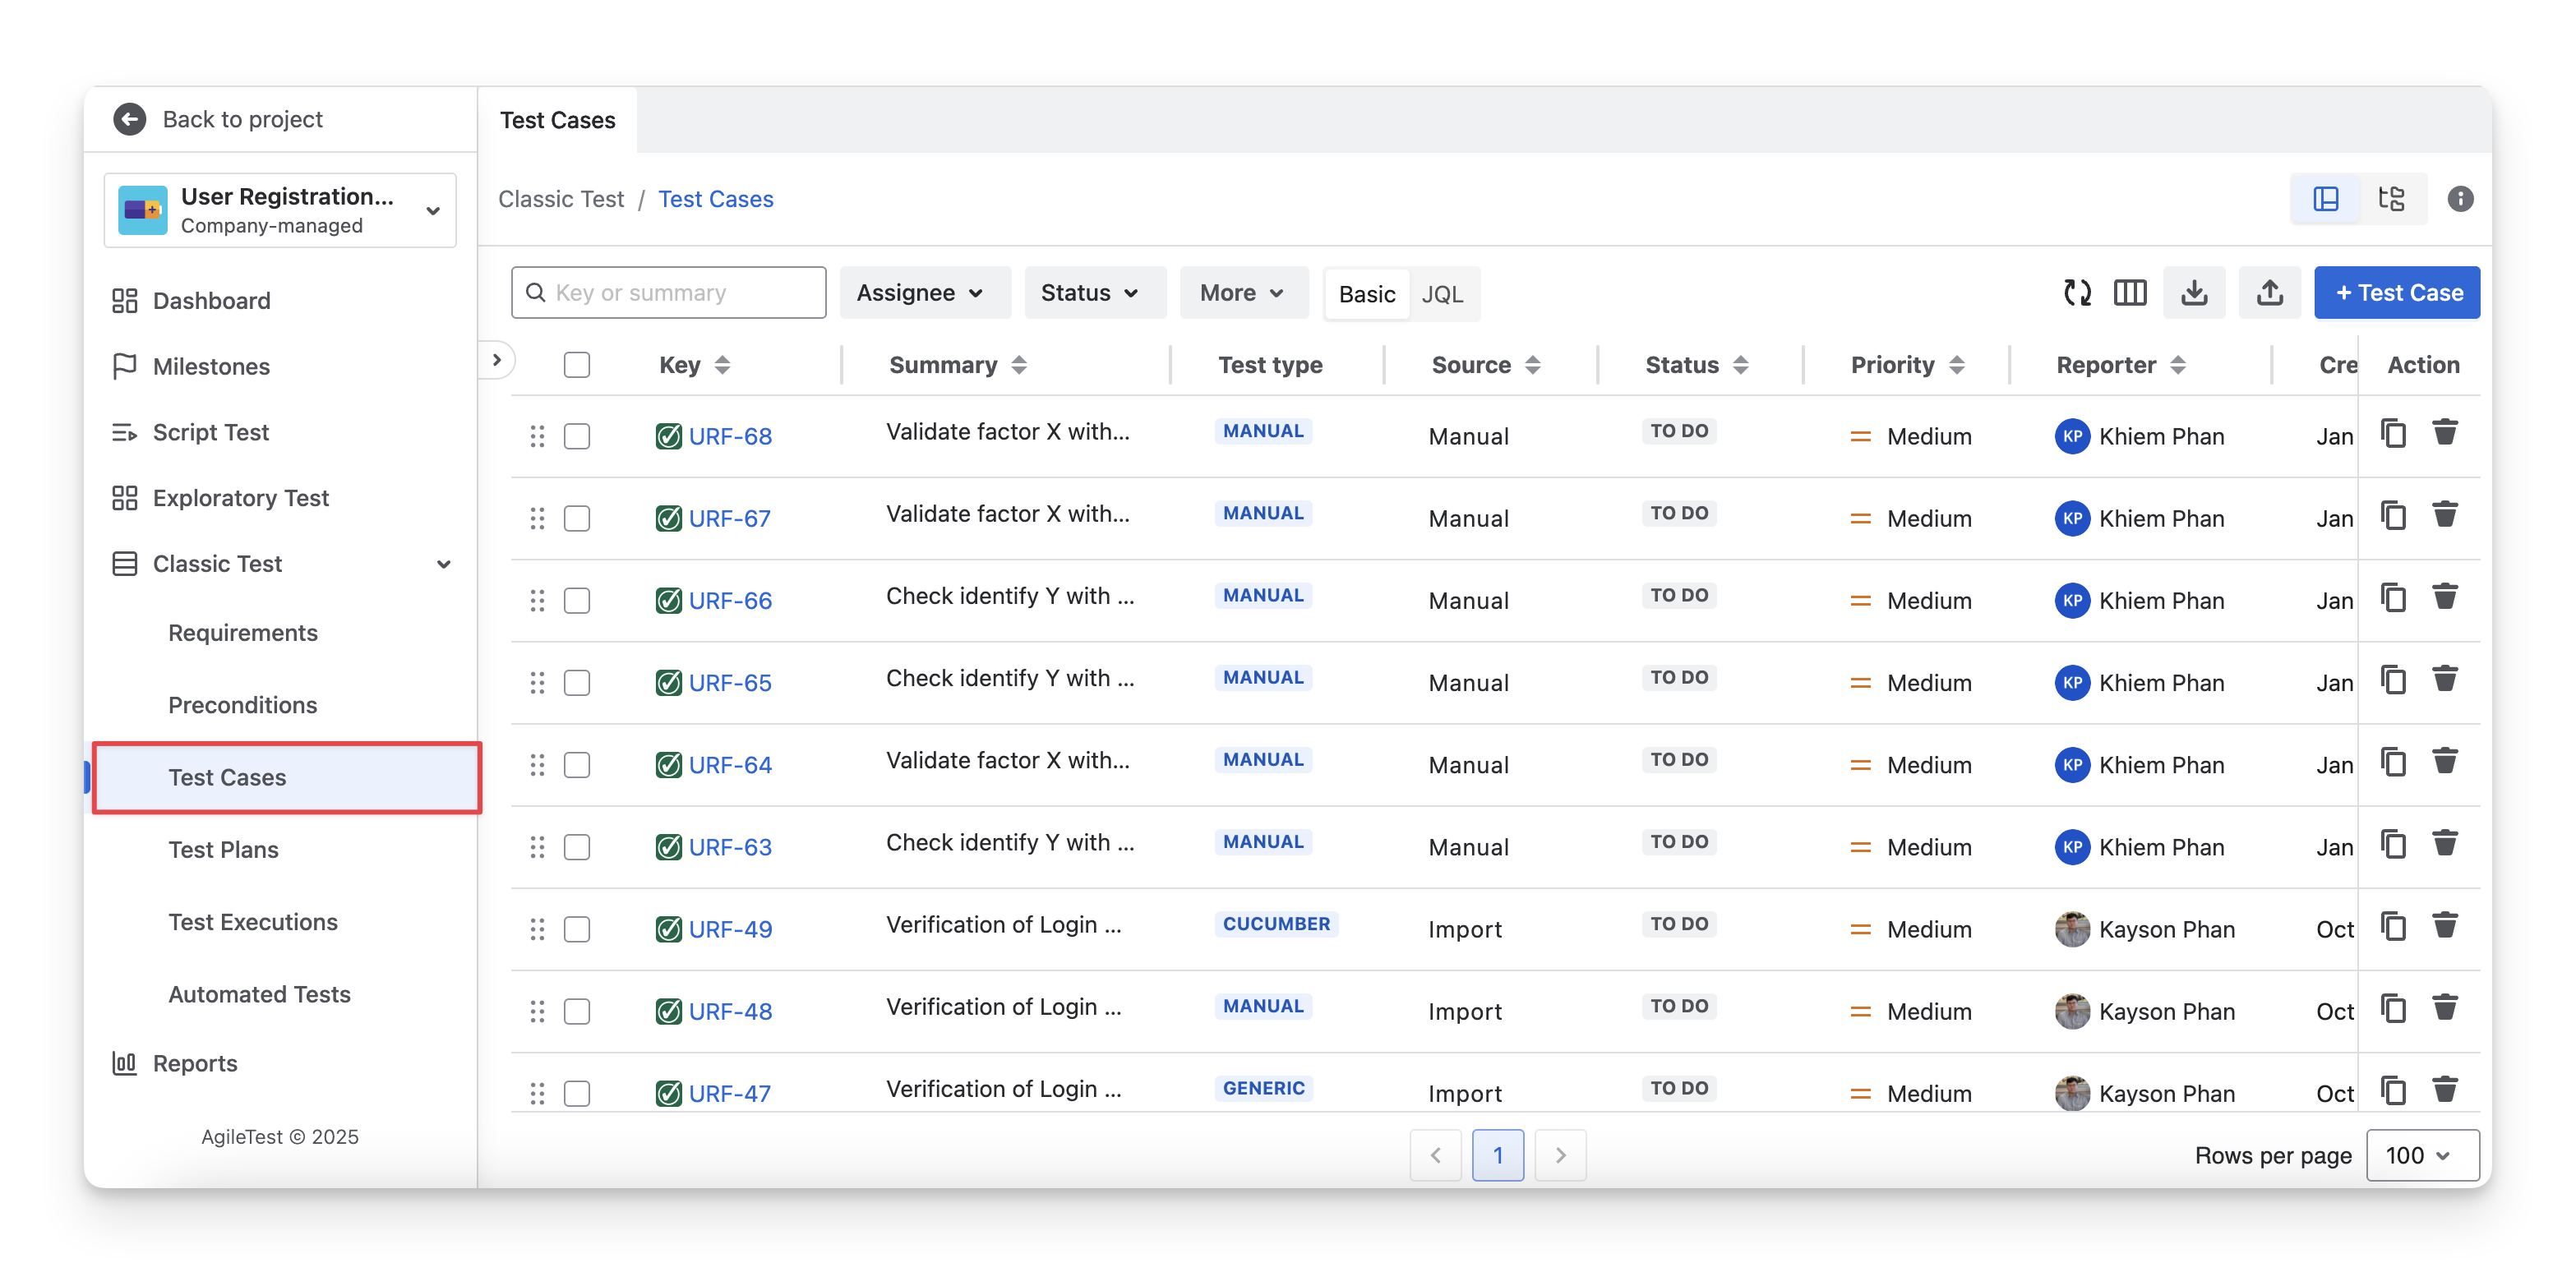
2.1 Find Test Cases In AgileTest
On the left menu sidebar, navigate to the Classic Test section → Choose Test Cases.

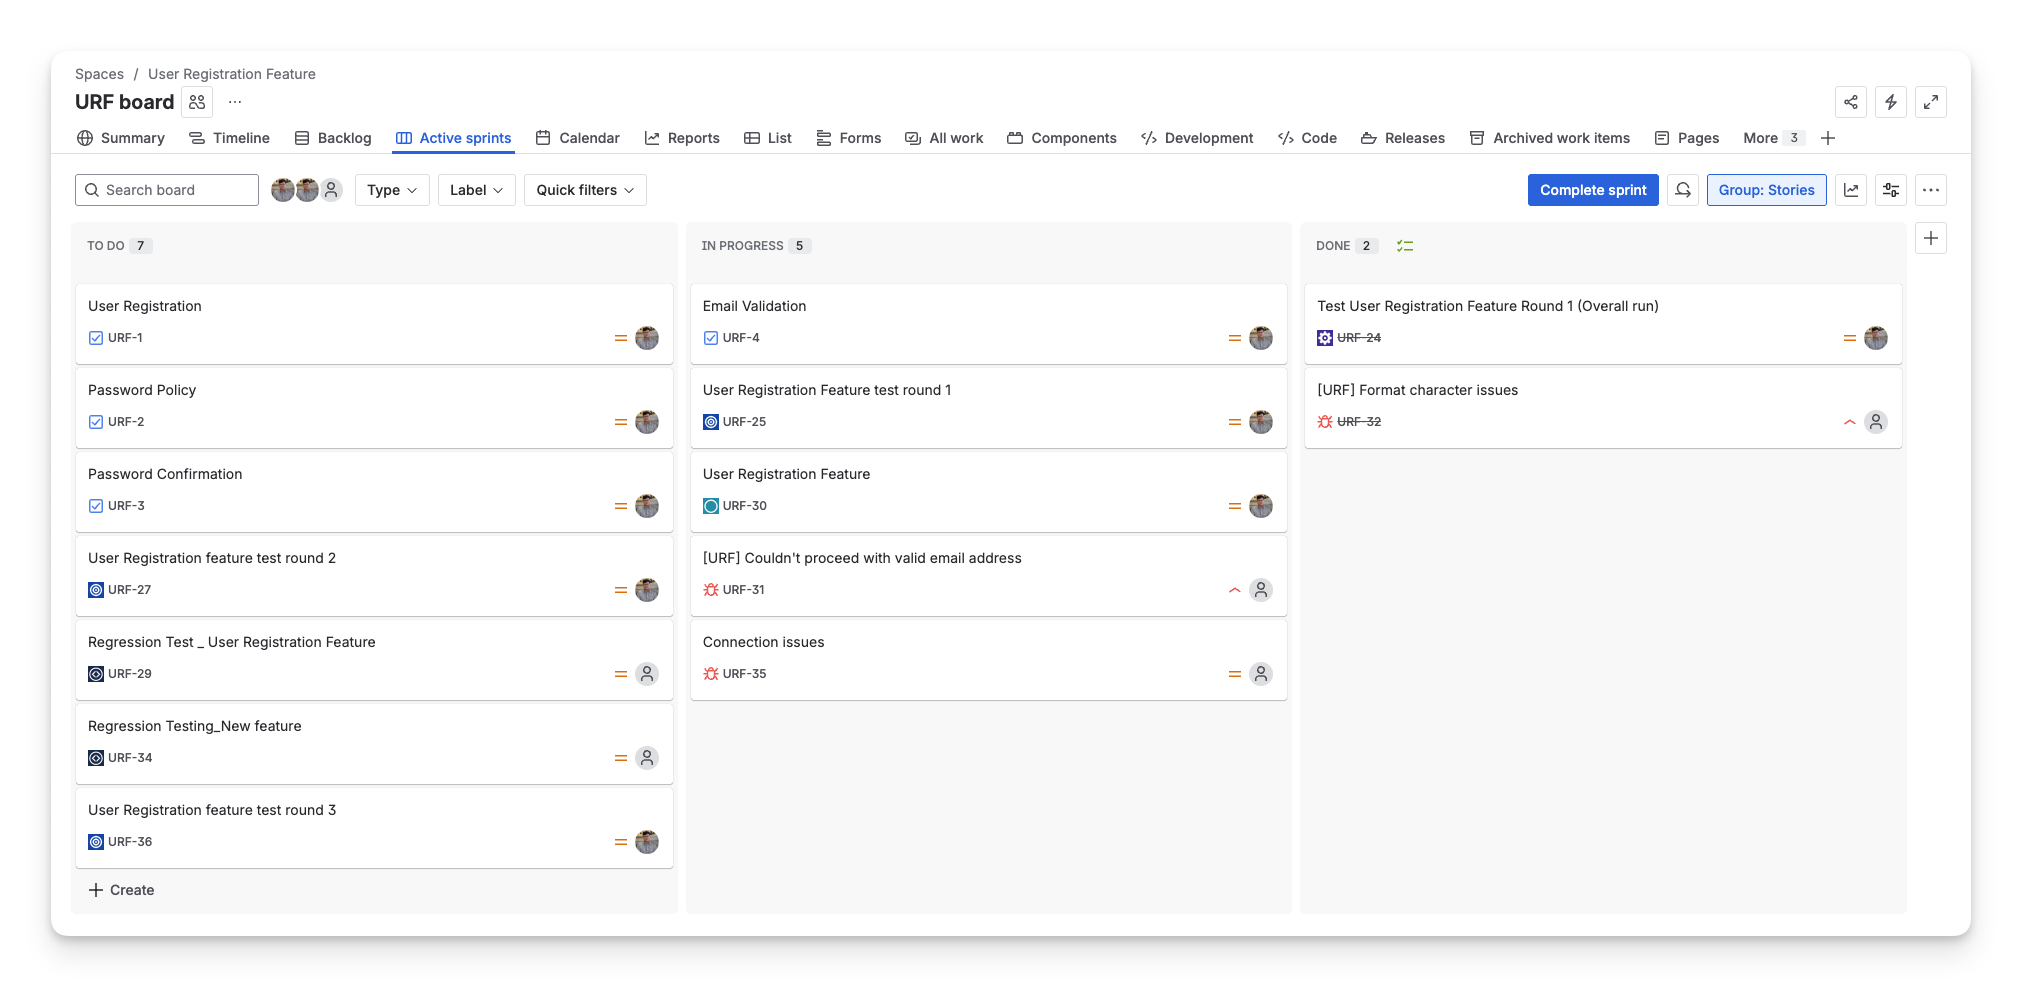
2.2 Find Test Cases In Jira
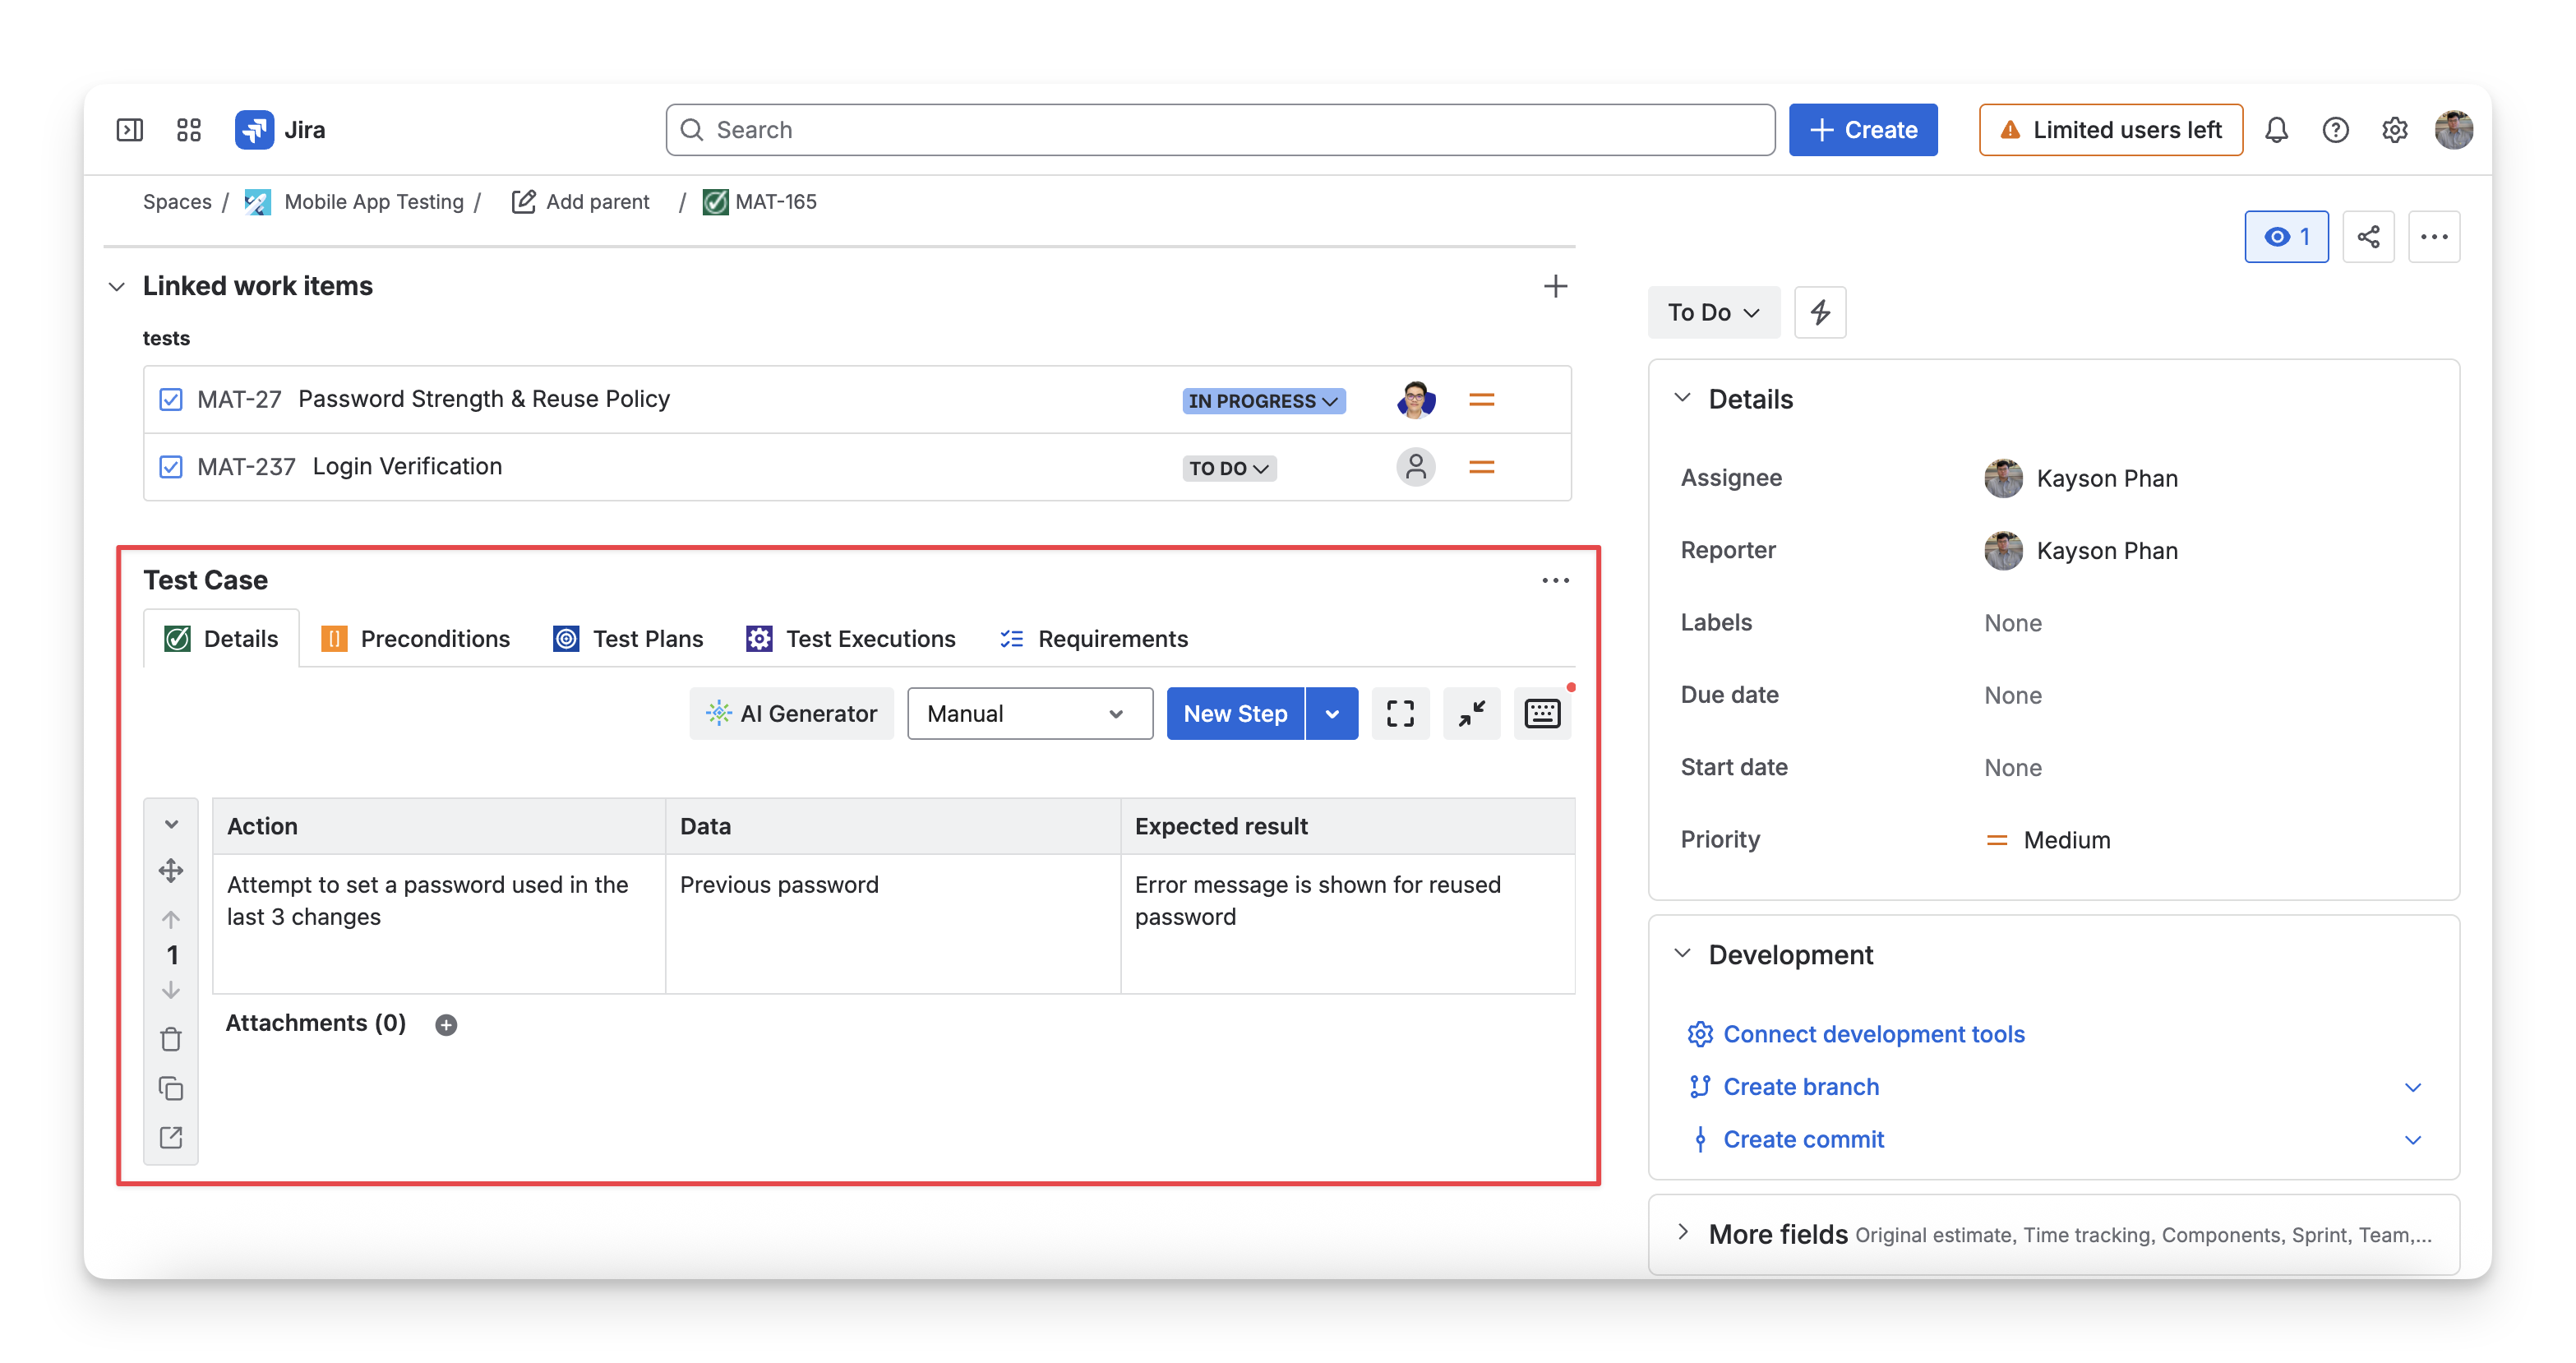
On your Jira board, you can find these test cases as Jira work items.
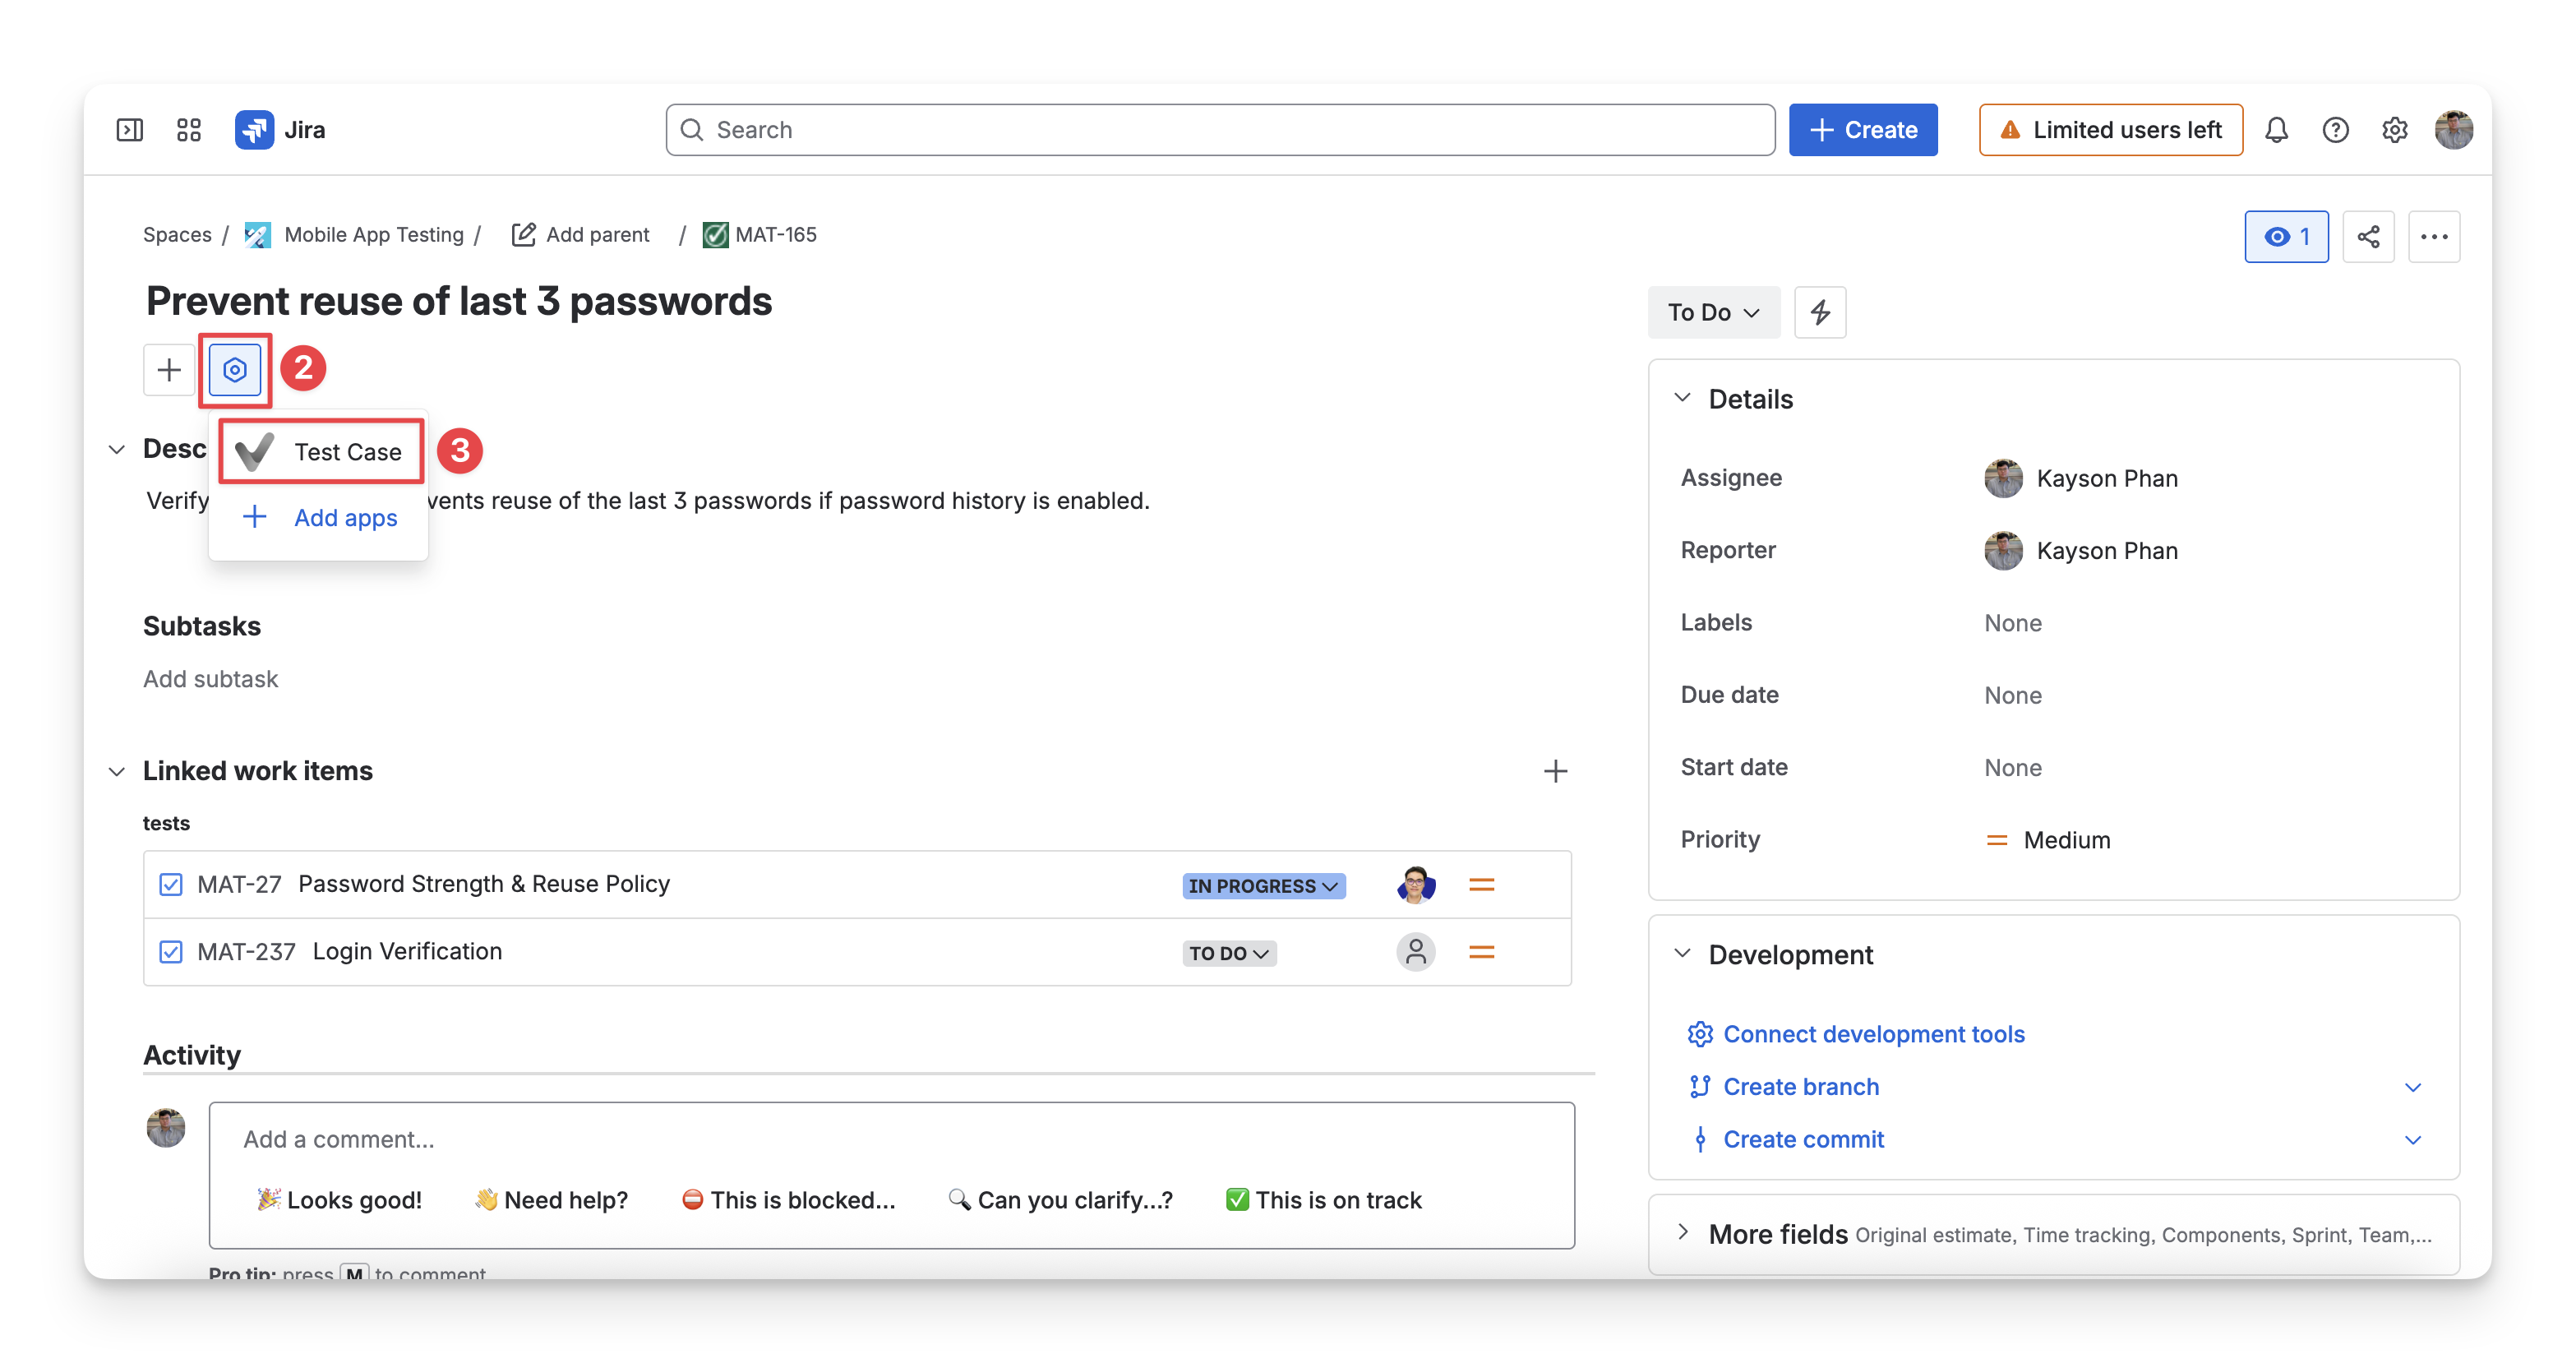
To enable AgileTest widget panel, you can follow these steps:
-
Open a Jira test case issue
-
Click the View apps action next to the issue summary
-
Select Test Case with the AgileTest icon. The widget UI should then appear below the issue content.
-
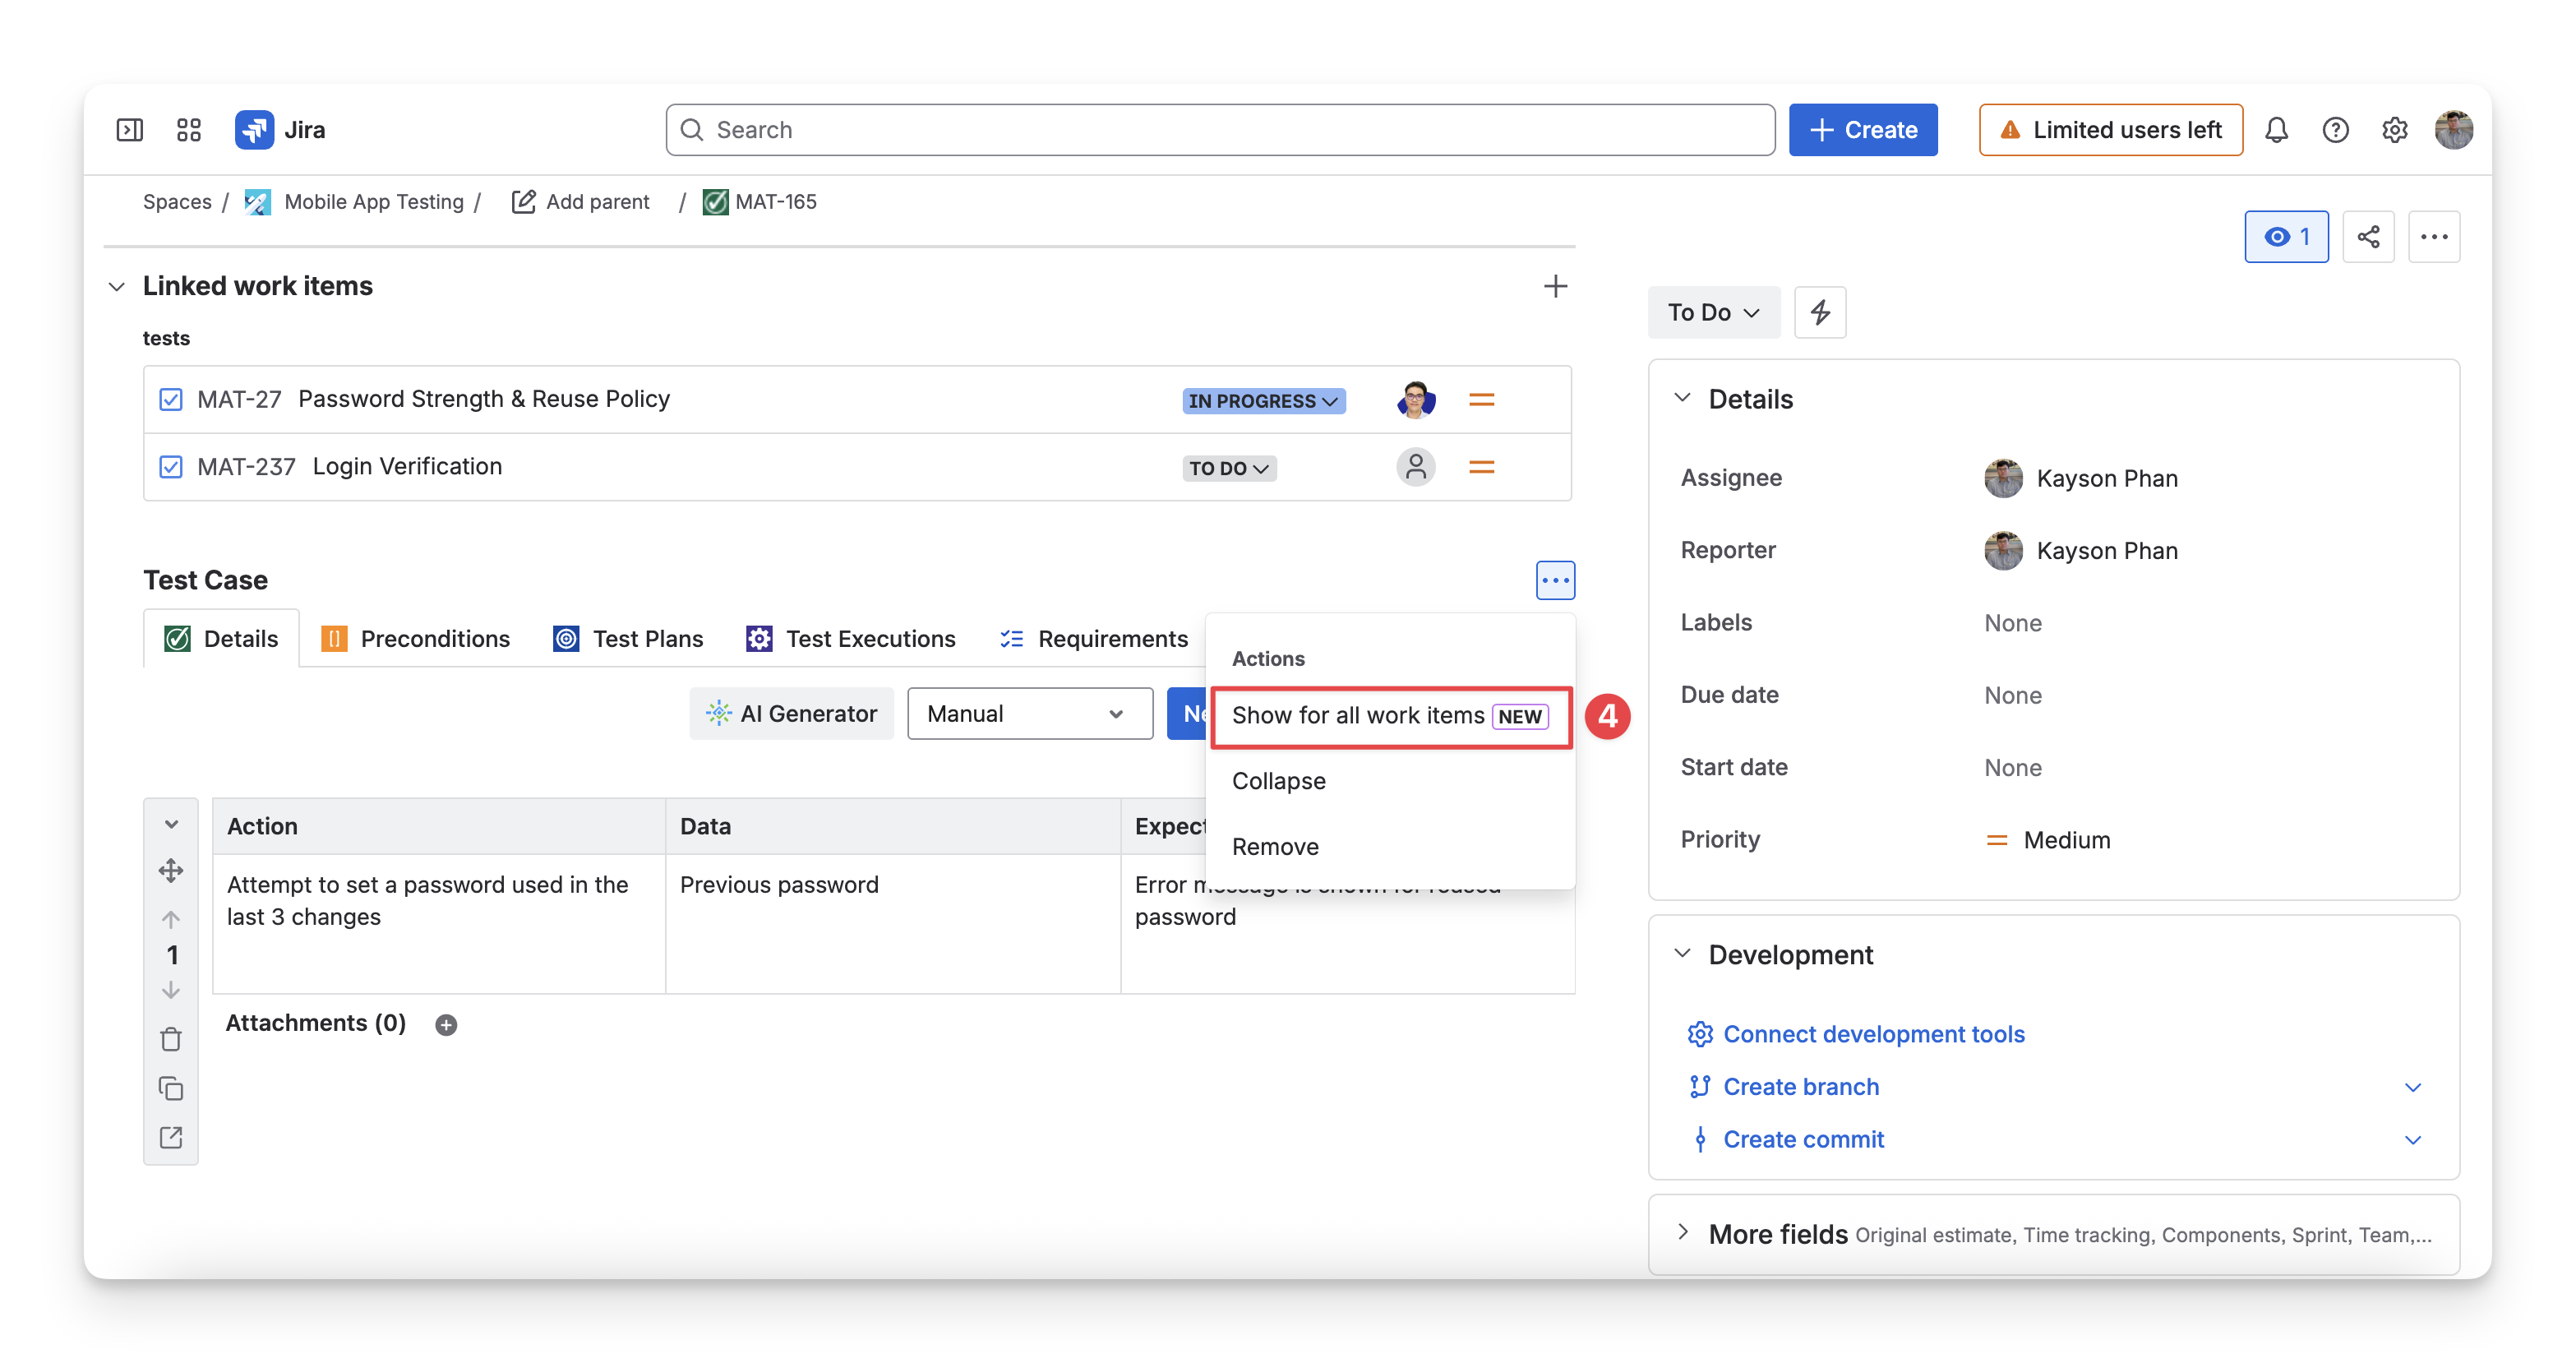
You can display the widget automatically for all work items of the same type by clicking the 3-dot menu in the widget UI, then selecting the Show for all work items option.
Explore more about AgileTest Test Cases
Explore more about AgileTest Test Cases
Should you need any assistance or further AgileTest inquiries, contact our 24/7 Support Desk!