.png)
Assets in AssetIT are key items tracked via serial numbers or asset tags, serving as central items in AssetIT. All other resources can link to assets, and assets can also be interconnected.
An asset is a broad term that can refer to any main object that needs to be tracked and managed. It could be a laptop, a server, or even a bike. This allows AssetIT to adapt to the unique needs of any industry, whether you're managing IT equipment, vehicles, or specialized machinery.
To visit the Asset List, in the AssetIT sidebar, go to Assets.
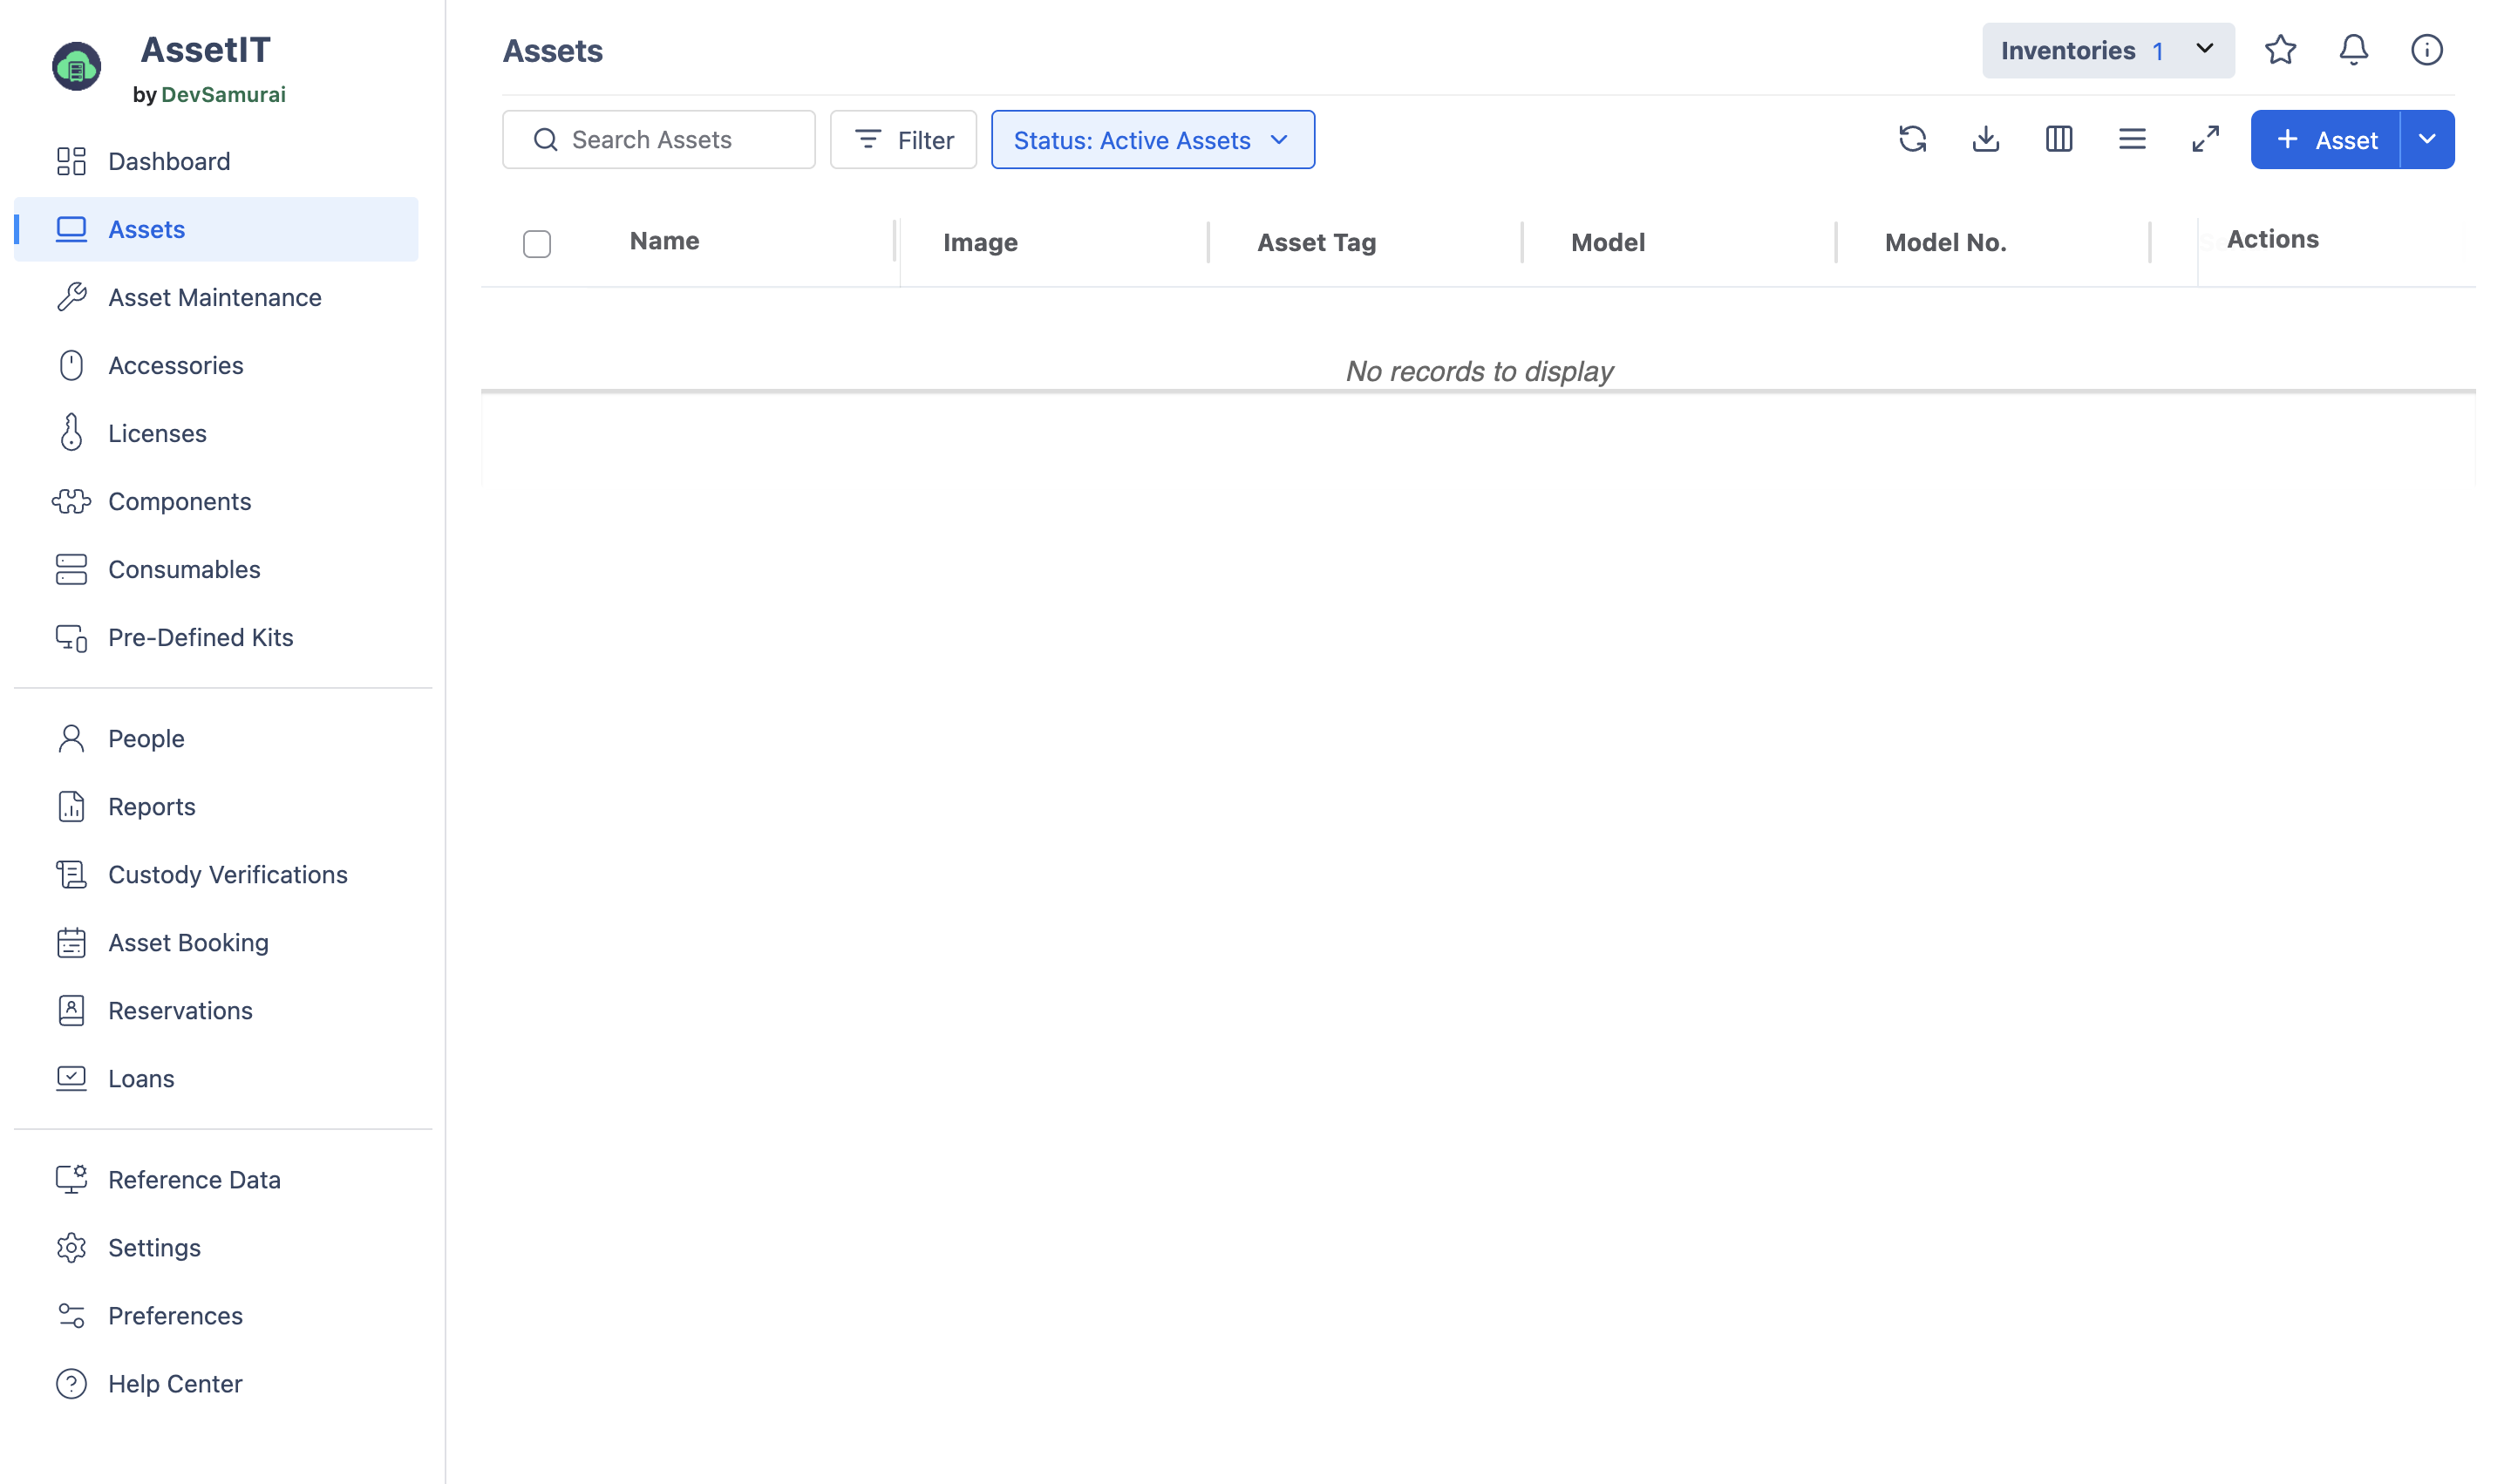
How to Create Your Assets
There are also 02 ways to create new assets: bulk import Assets and manual set up Assets .
1. Bulk Import Assets
-
On the top right of the Assets page, click on the dropdown of


-
You will see a table that instructs you to use the sample CSV file for data preparation.

-
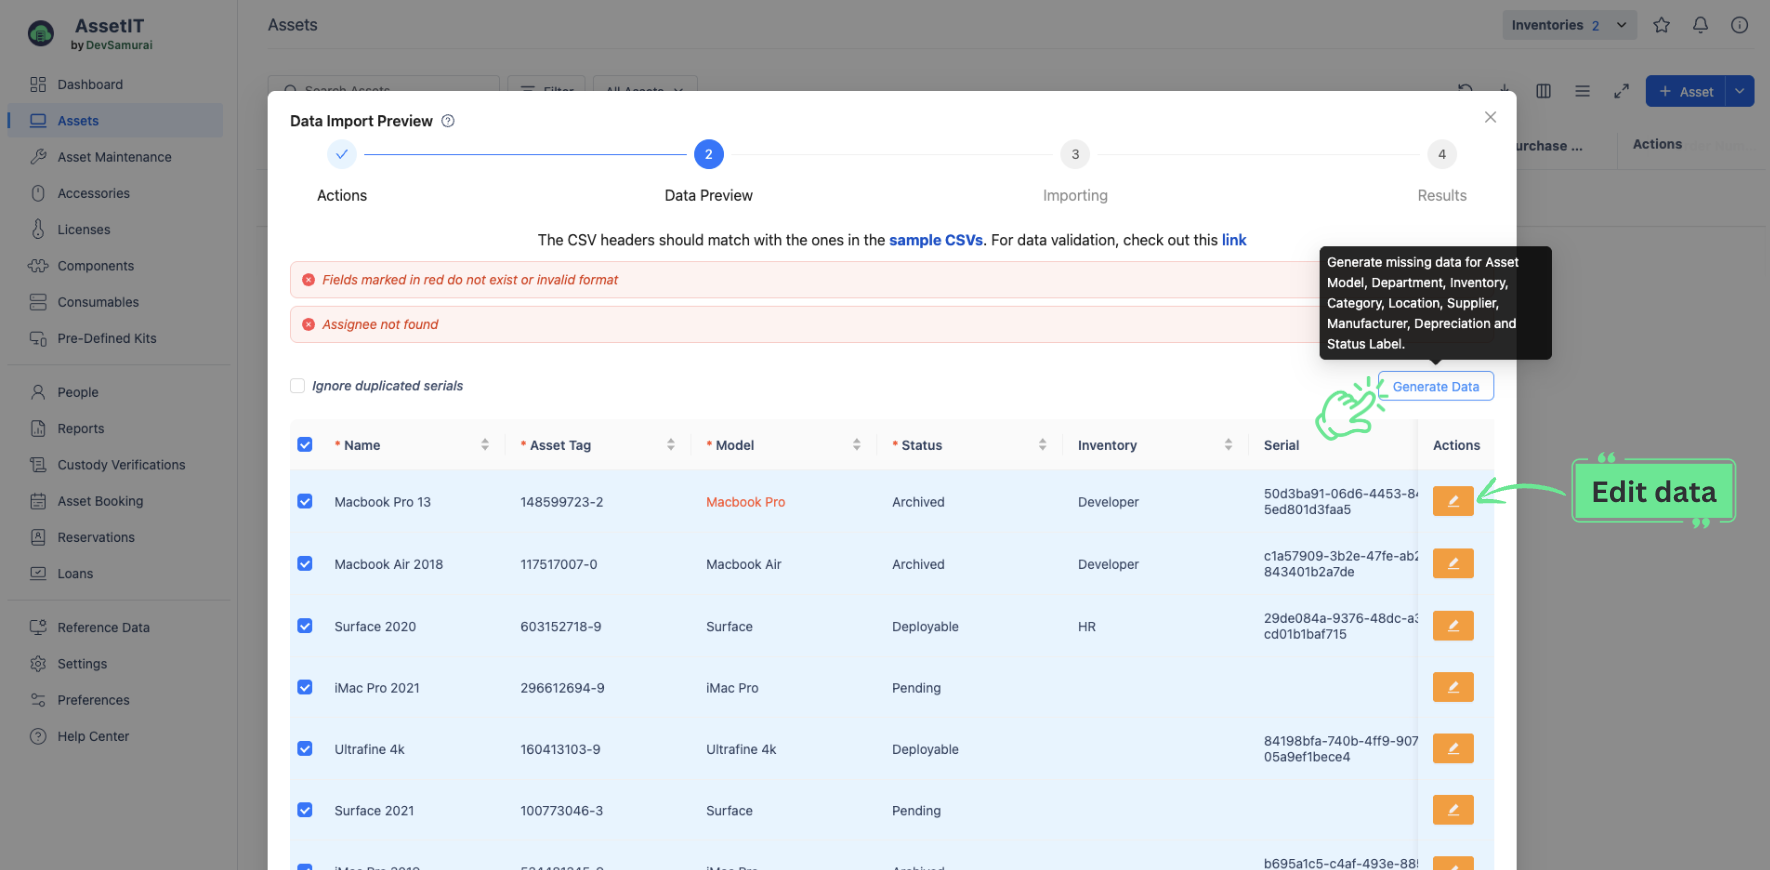
Once you finish preparing your data, import it into the app. You will then be taken to the Data Preview stage.
-
In the Data Preview stage, the app will highlight any fields with errors, allowing you to make adjustments directly.
-
To modify data information, click on the

-
To automatically generate missing data for asset model , Department , Inventory , Category , Location , Supplier , Manufacturer , and Status Label , click on the

-
You can also download the most recently modified data into a CSV file for further customization by clicking the ![]()
-
Click on Submit to finish importing your asset models.
-
You should now see a list of your assets on the Assets page.
2. Manual Set Up Assets
You can manually create each asset individually. Here's how:
-
In the Assets section, click on

-
You will be directed to the Create New Asset page. Begin by filling out the mandatory fields, and complete additional fields as needed.
-
Click on Submit to finish. You should now see your new asset in the Assets list.
FAQs:
Need help? Submit your concerns at our Support Desk. Our support team will be in touch right away!