
PlanCore lets you record time against events and custom tasks, for example, meetings or workshops, without linking the entry to a Jira issue.
You can add time from the Timelogs calendar or list, or track a custom task with the timer.
Log time in Calendar View
For an event already on the calendar
-
Open Timelogs from the left sidebar and stay in Calendar View.
-
Find the scheduled event on the appropriate date.
-
Enter the time you actually spent in its timelog field, then select Log time to save the entry.
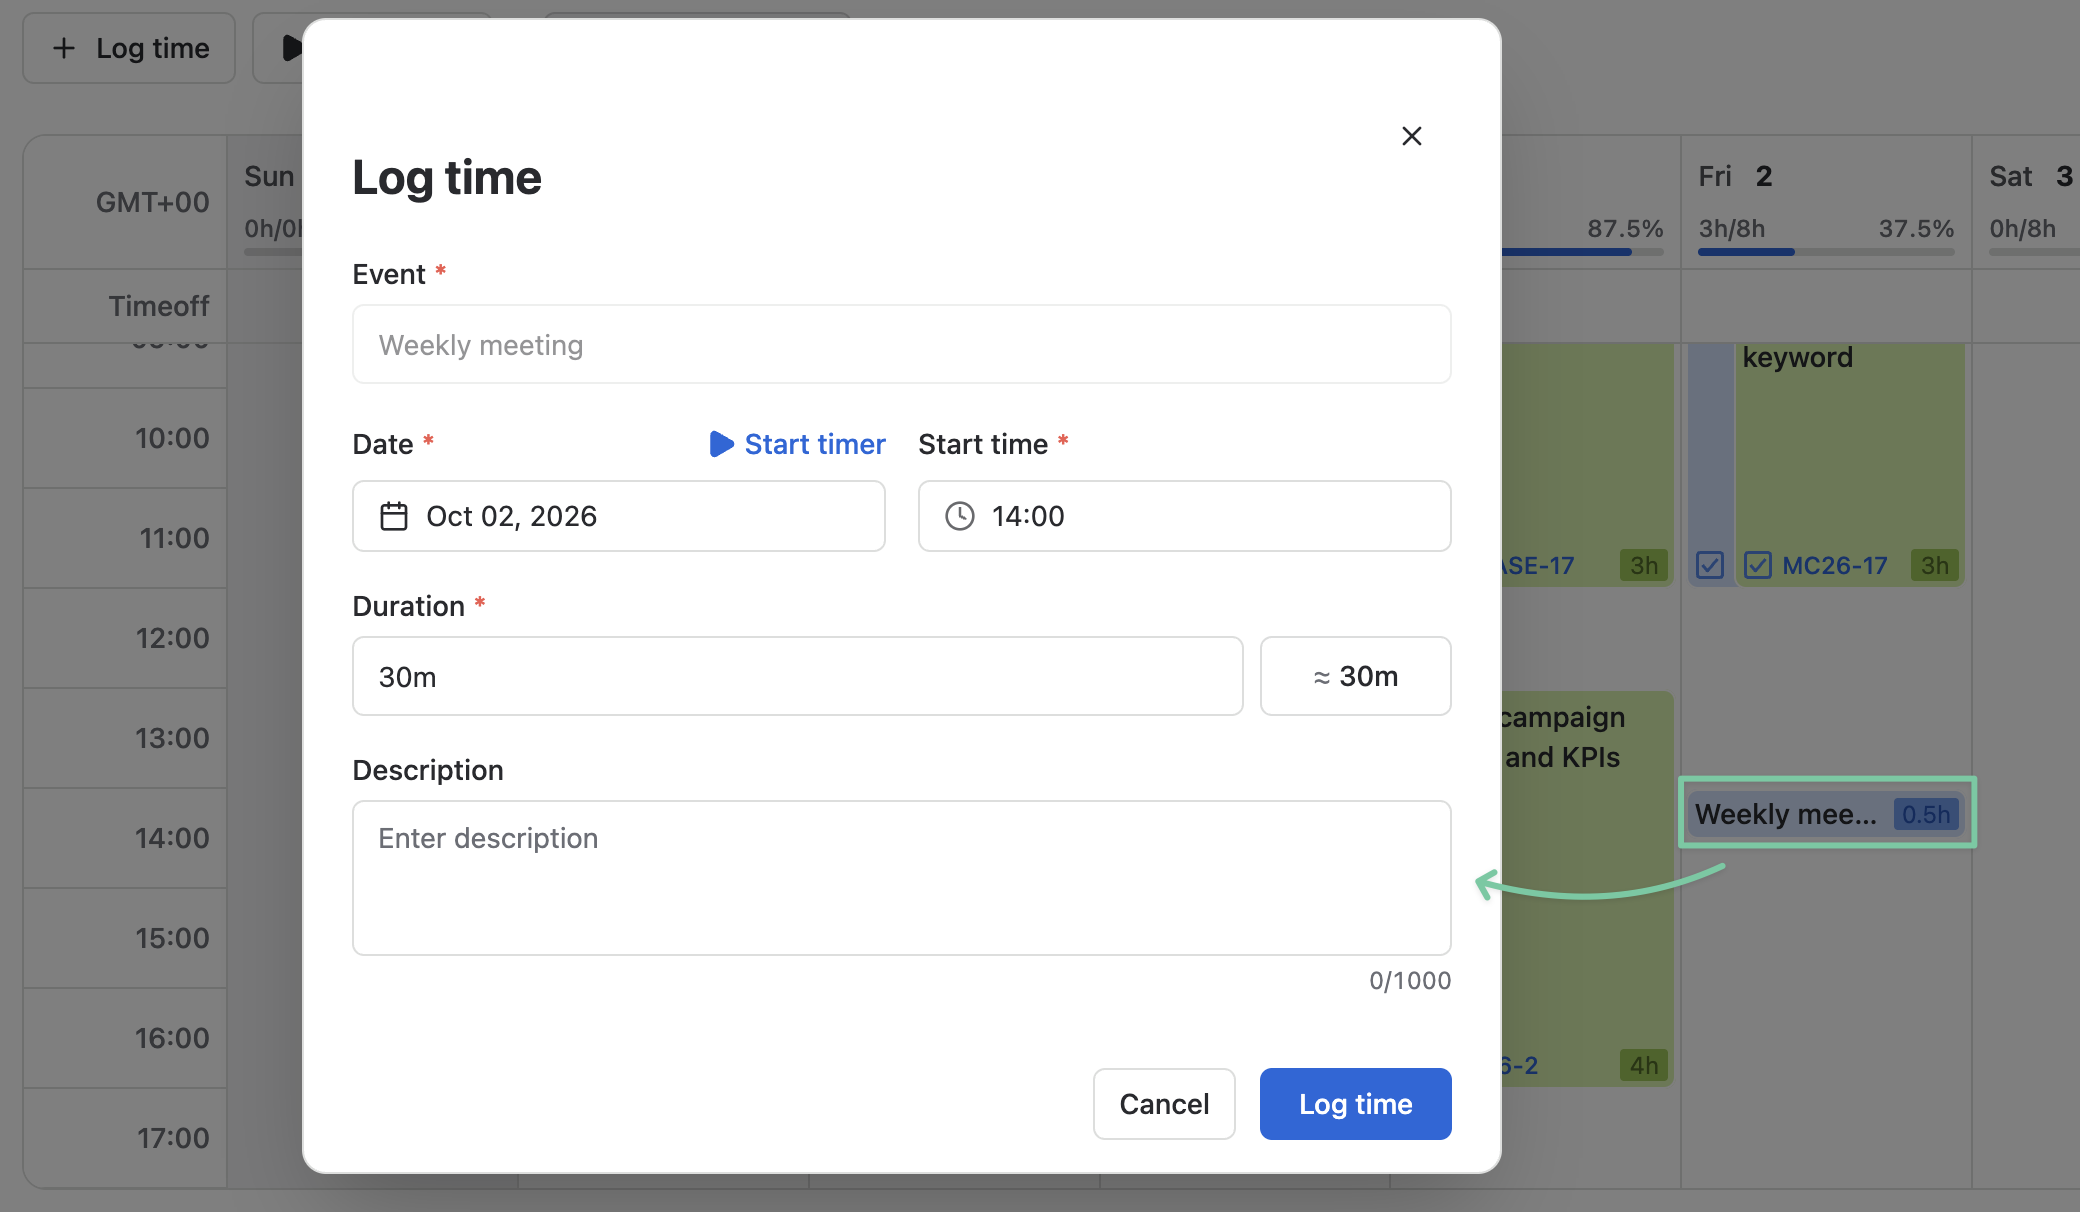
For an event or custom task not shown on the calendar
-
Click + Log time, or hover over a date column and use its add control to open the entry dialog.
You can also log time for new events or custom tasks at a specific time in the day by clicking the corresponding cell in the calendar.
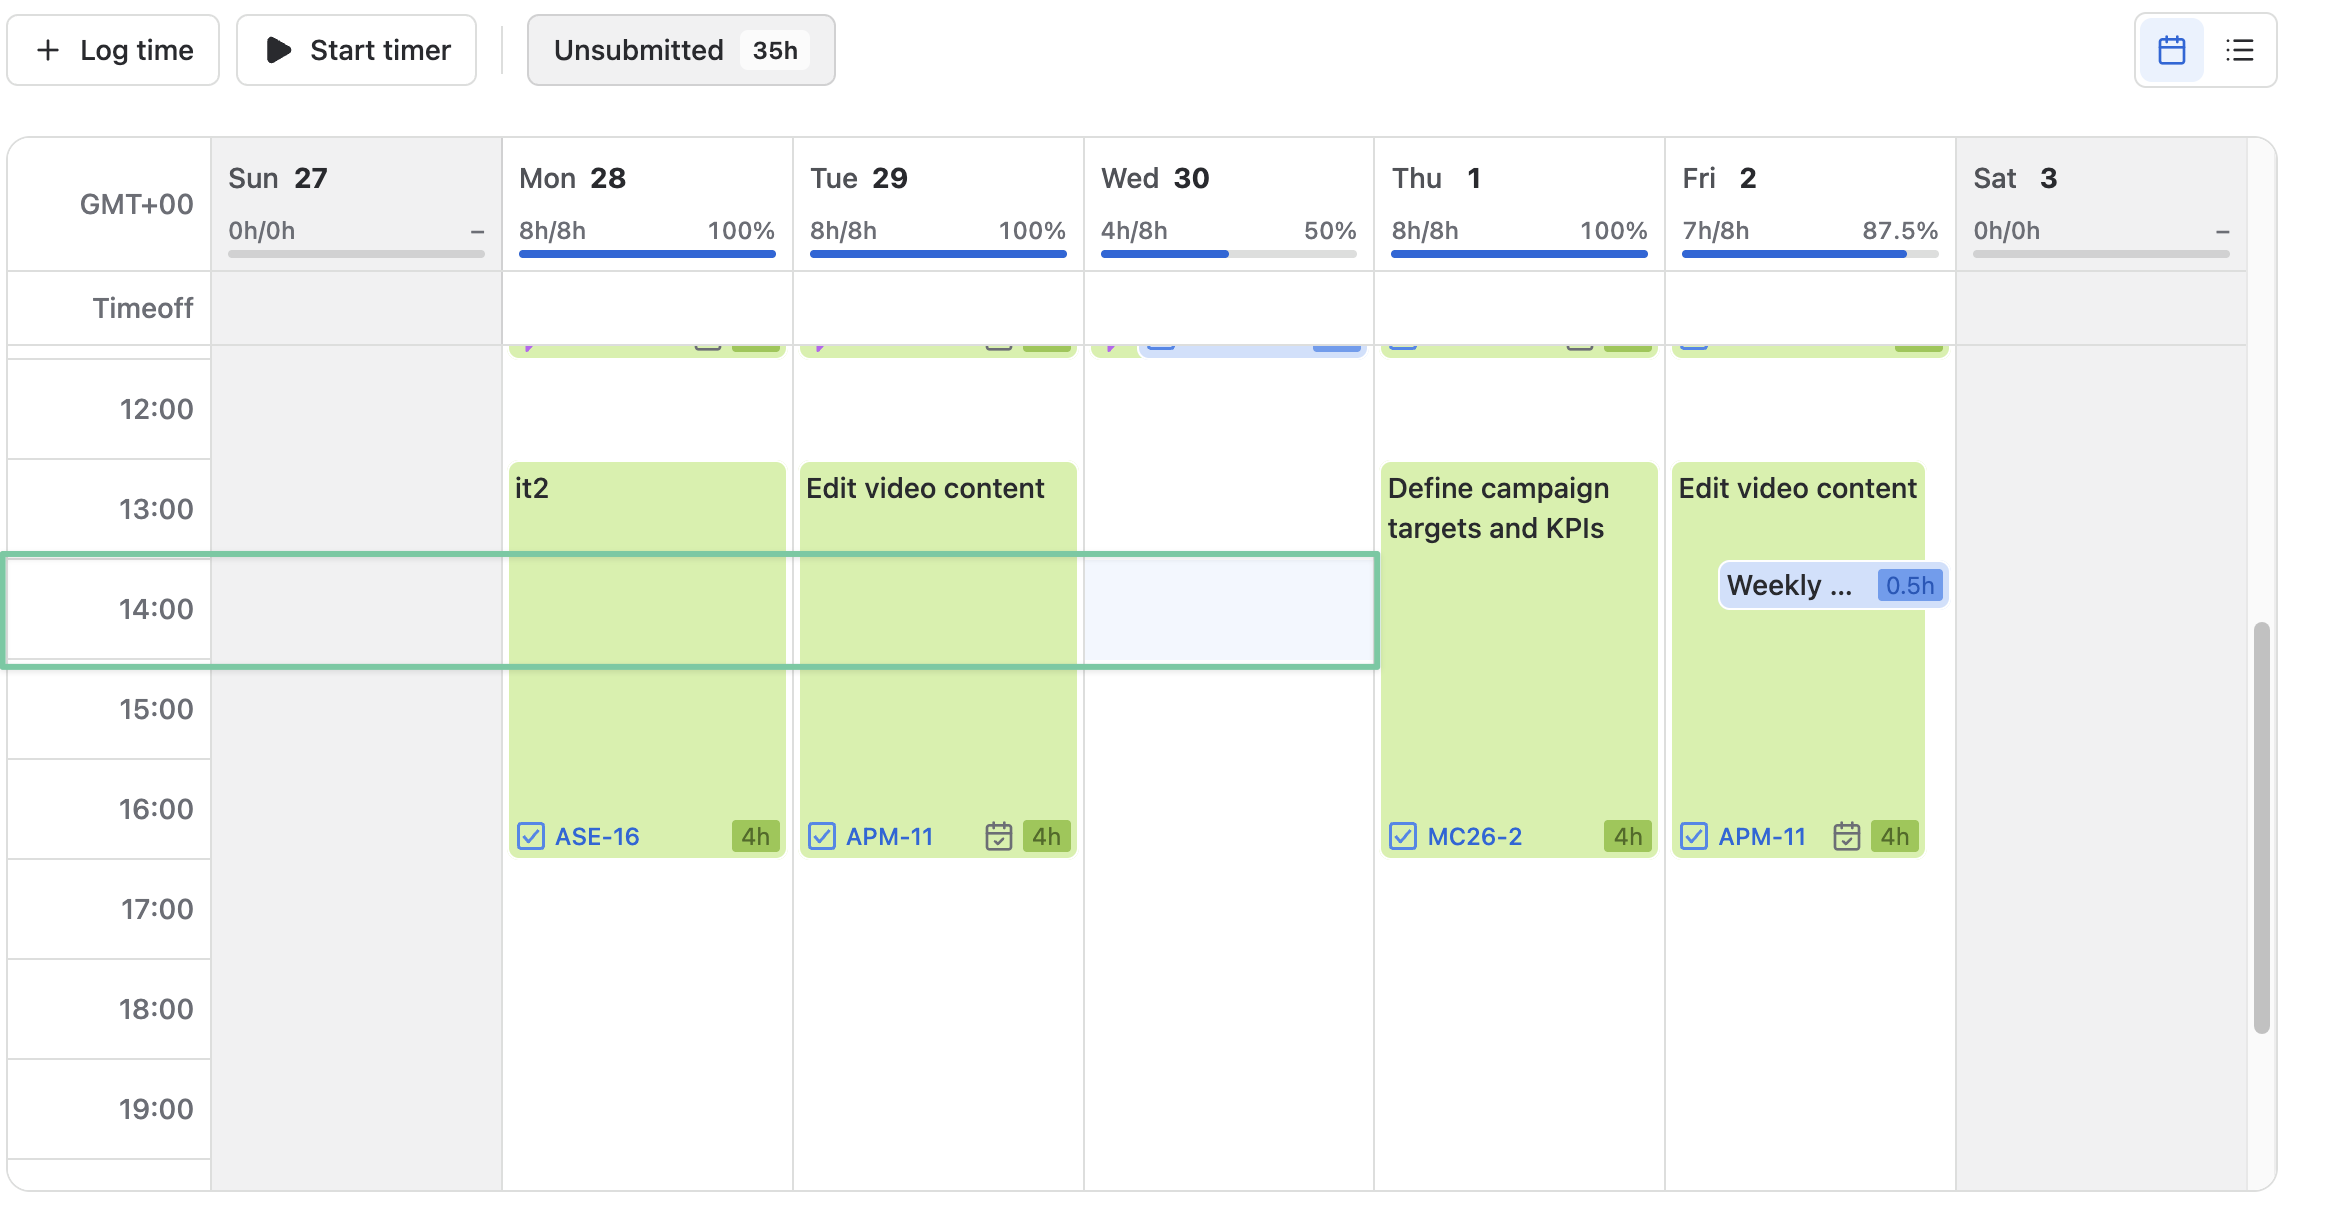
-
Choose the activity type: select Event and find an existing event in the dropdown, or select Other and give the custom task a name.
-
Provide the time spent, work date, and any useful notes.
-
Save the entry. The logged activity will then appear on the board.
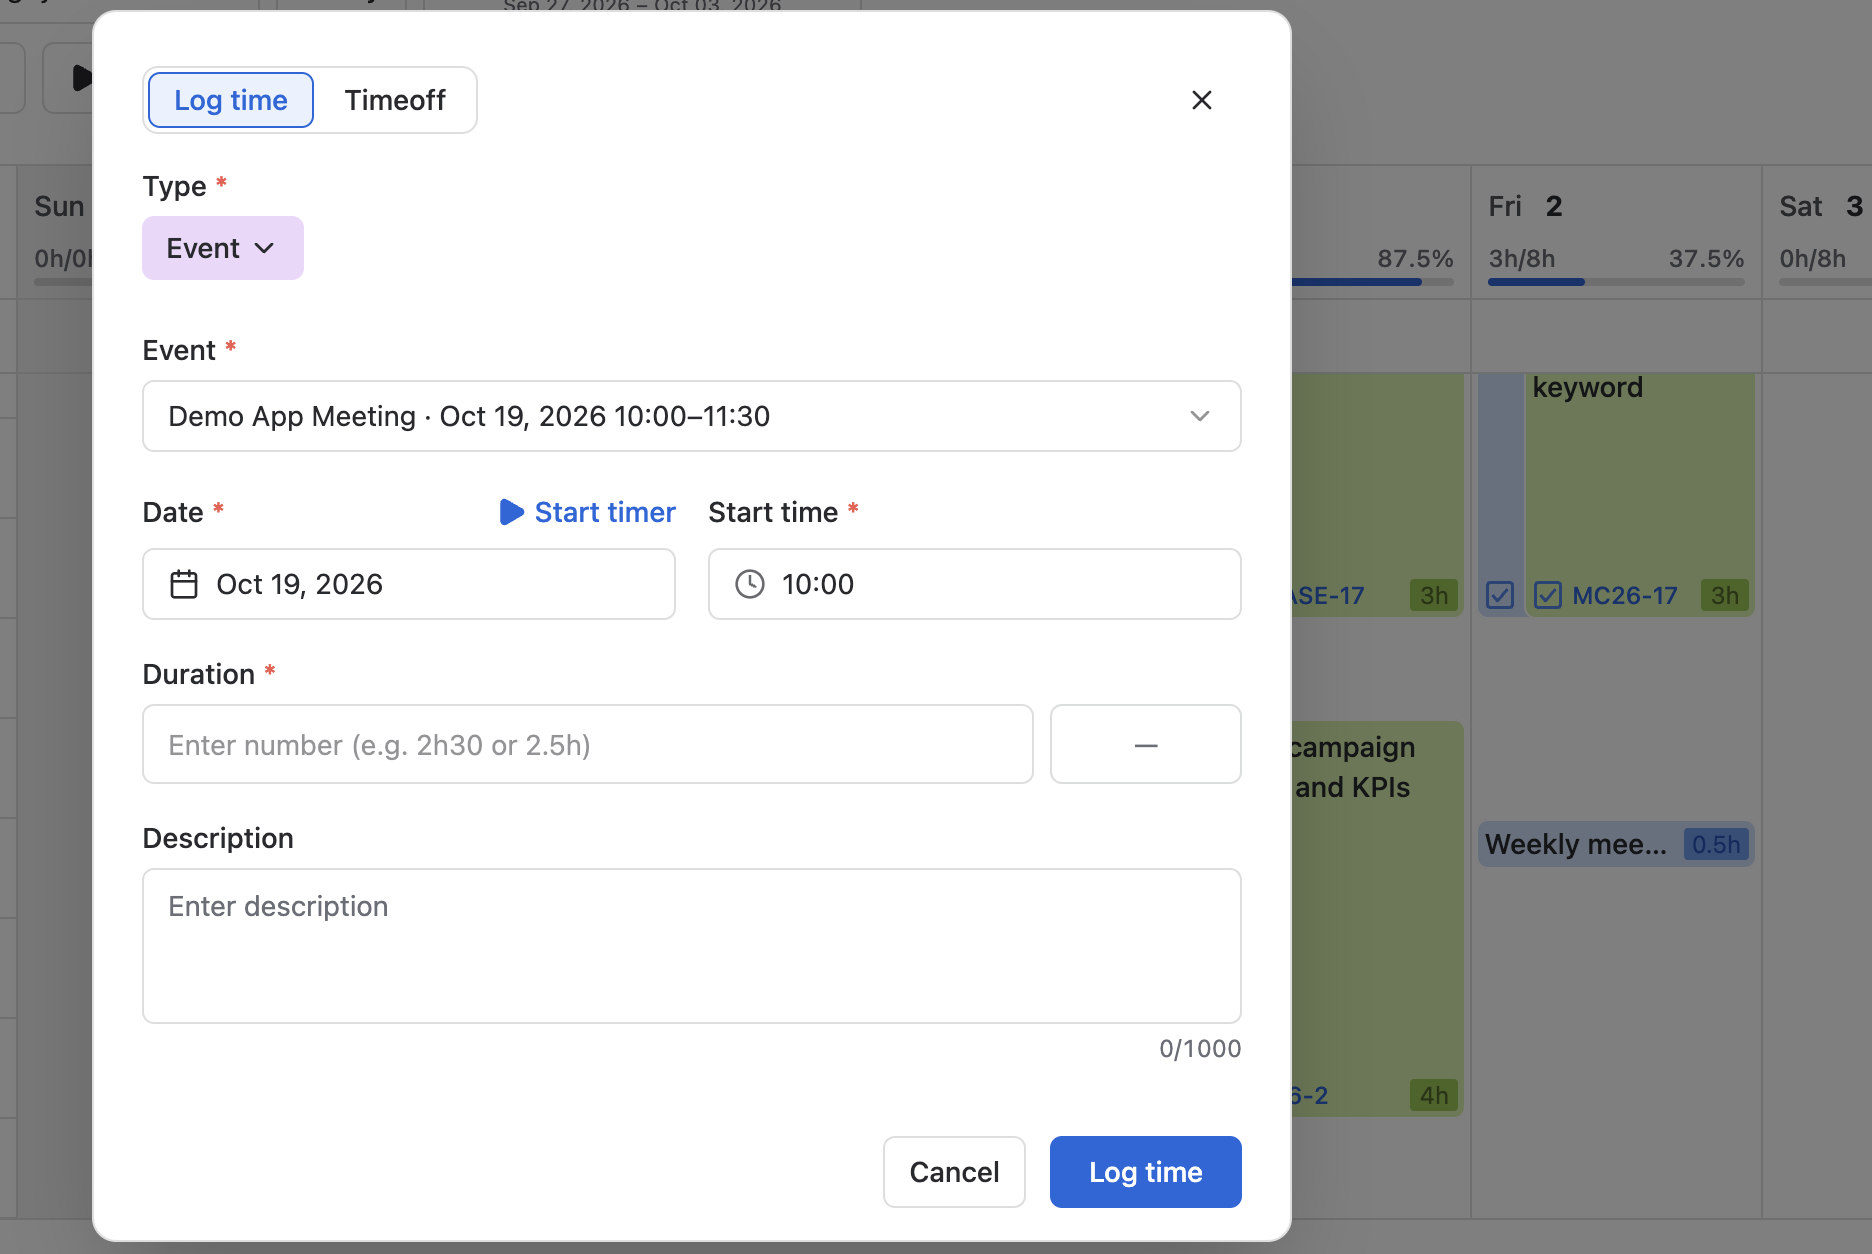
Log time in List View
For an existing scheduled event
-
Go to Timelogs and switch to List View.
-
Find the event and hover over its empty date cell. Select the + control to open the time-entry form.
-
Enter the duration, date, and relevant notes, then save the entry.
For another event or a custom task
-
In List View, select + Log time in the header.
-
Choose Event to look up an existing event, or Other to name a custom task.
-
Add the time spent, date, and optional notes, then save.
Track a custom task with the timer
-
From the Timelogs calendar or list, select the timer control in the upper-right corner.
-
In the dialog, choose Other and enter the task name.
-
Start the timer. When the work is done, select Finish.
-
Confirm that you want to save the recorded time for the current day.
Tip: To change or remove an event or custom-task timelog later, use the same edit and delete controls available for other timelog entries.