.png)
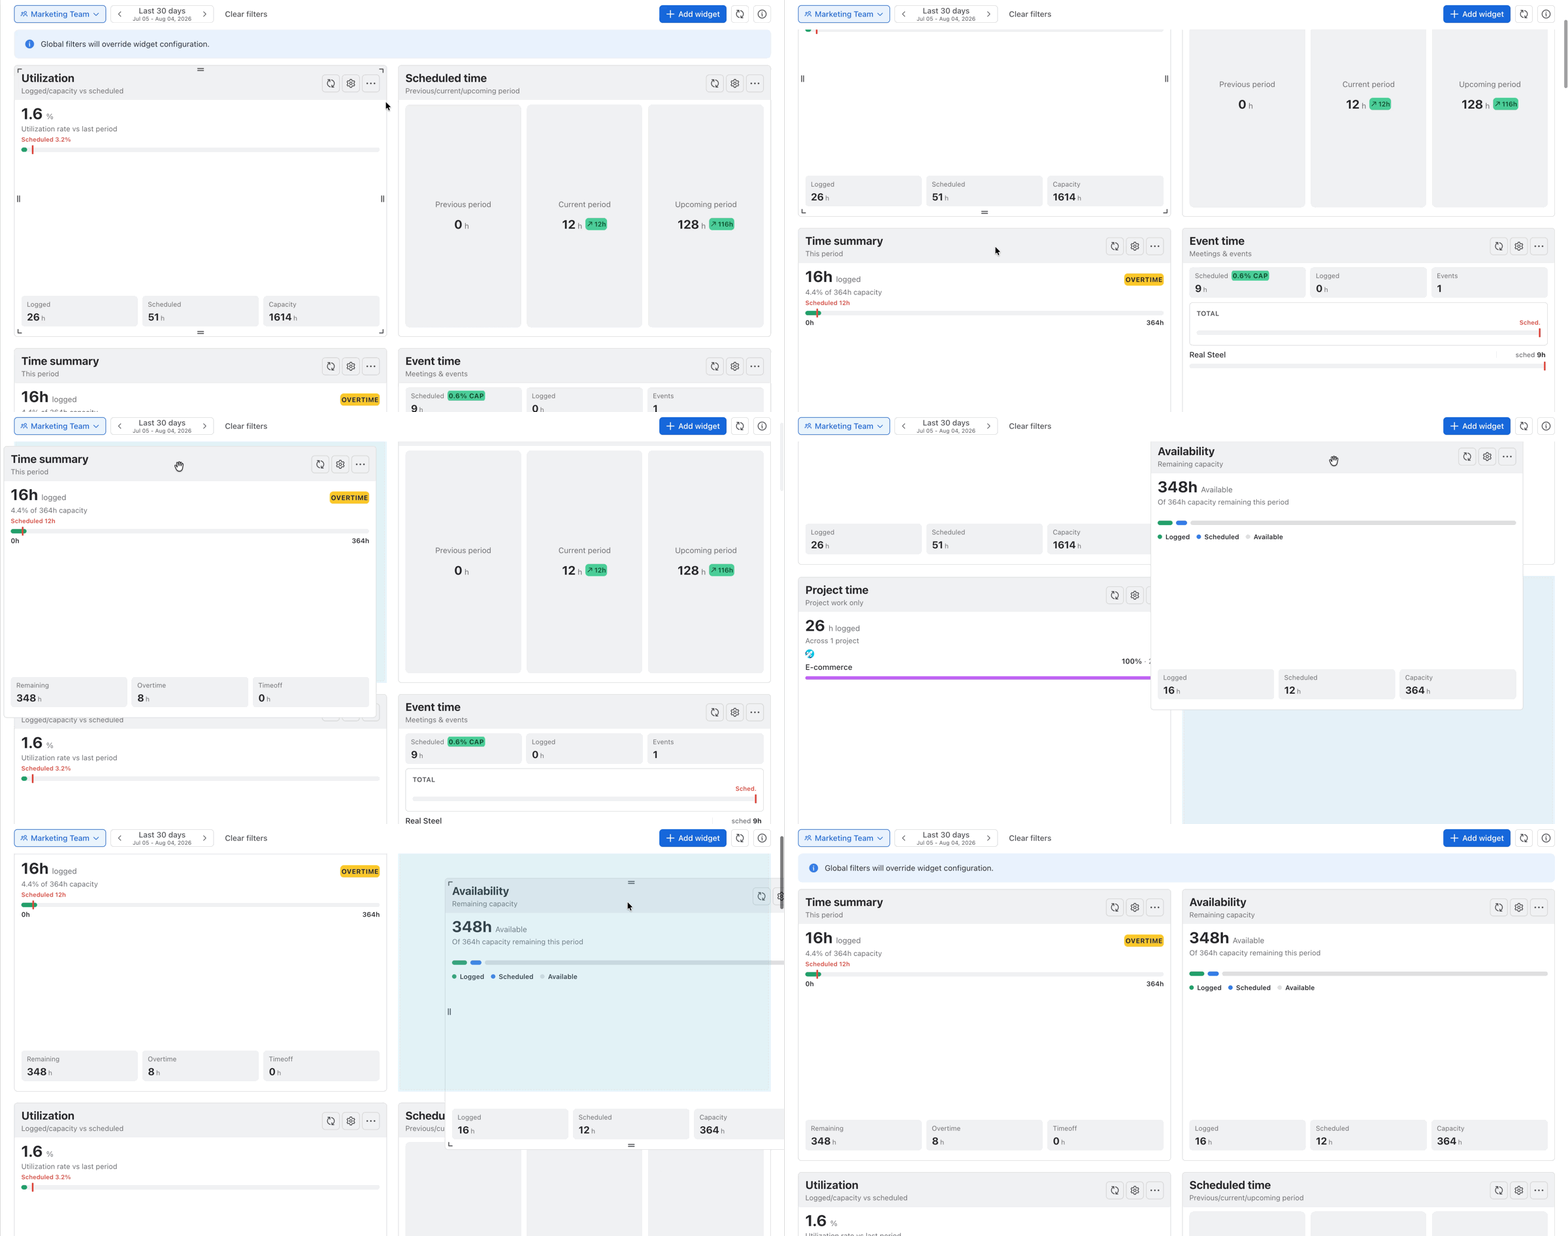
You can add widgets for different purposes, configure the data shown in each one, and arrange them into a layout that supports how you review work.
Adding a widget
To add a widget:
-
Click
-
Search for a widget by name or browse the available categories.
-
Select the widget you want to add.
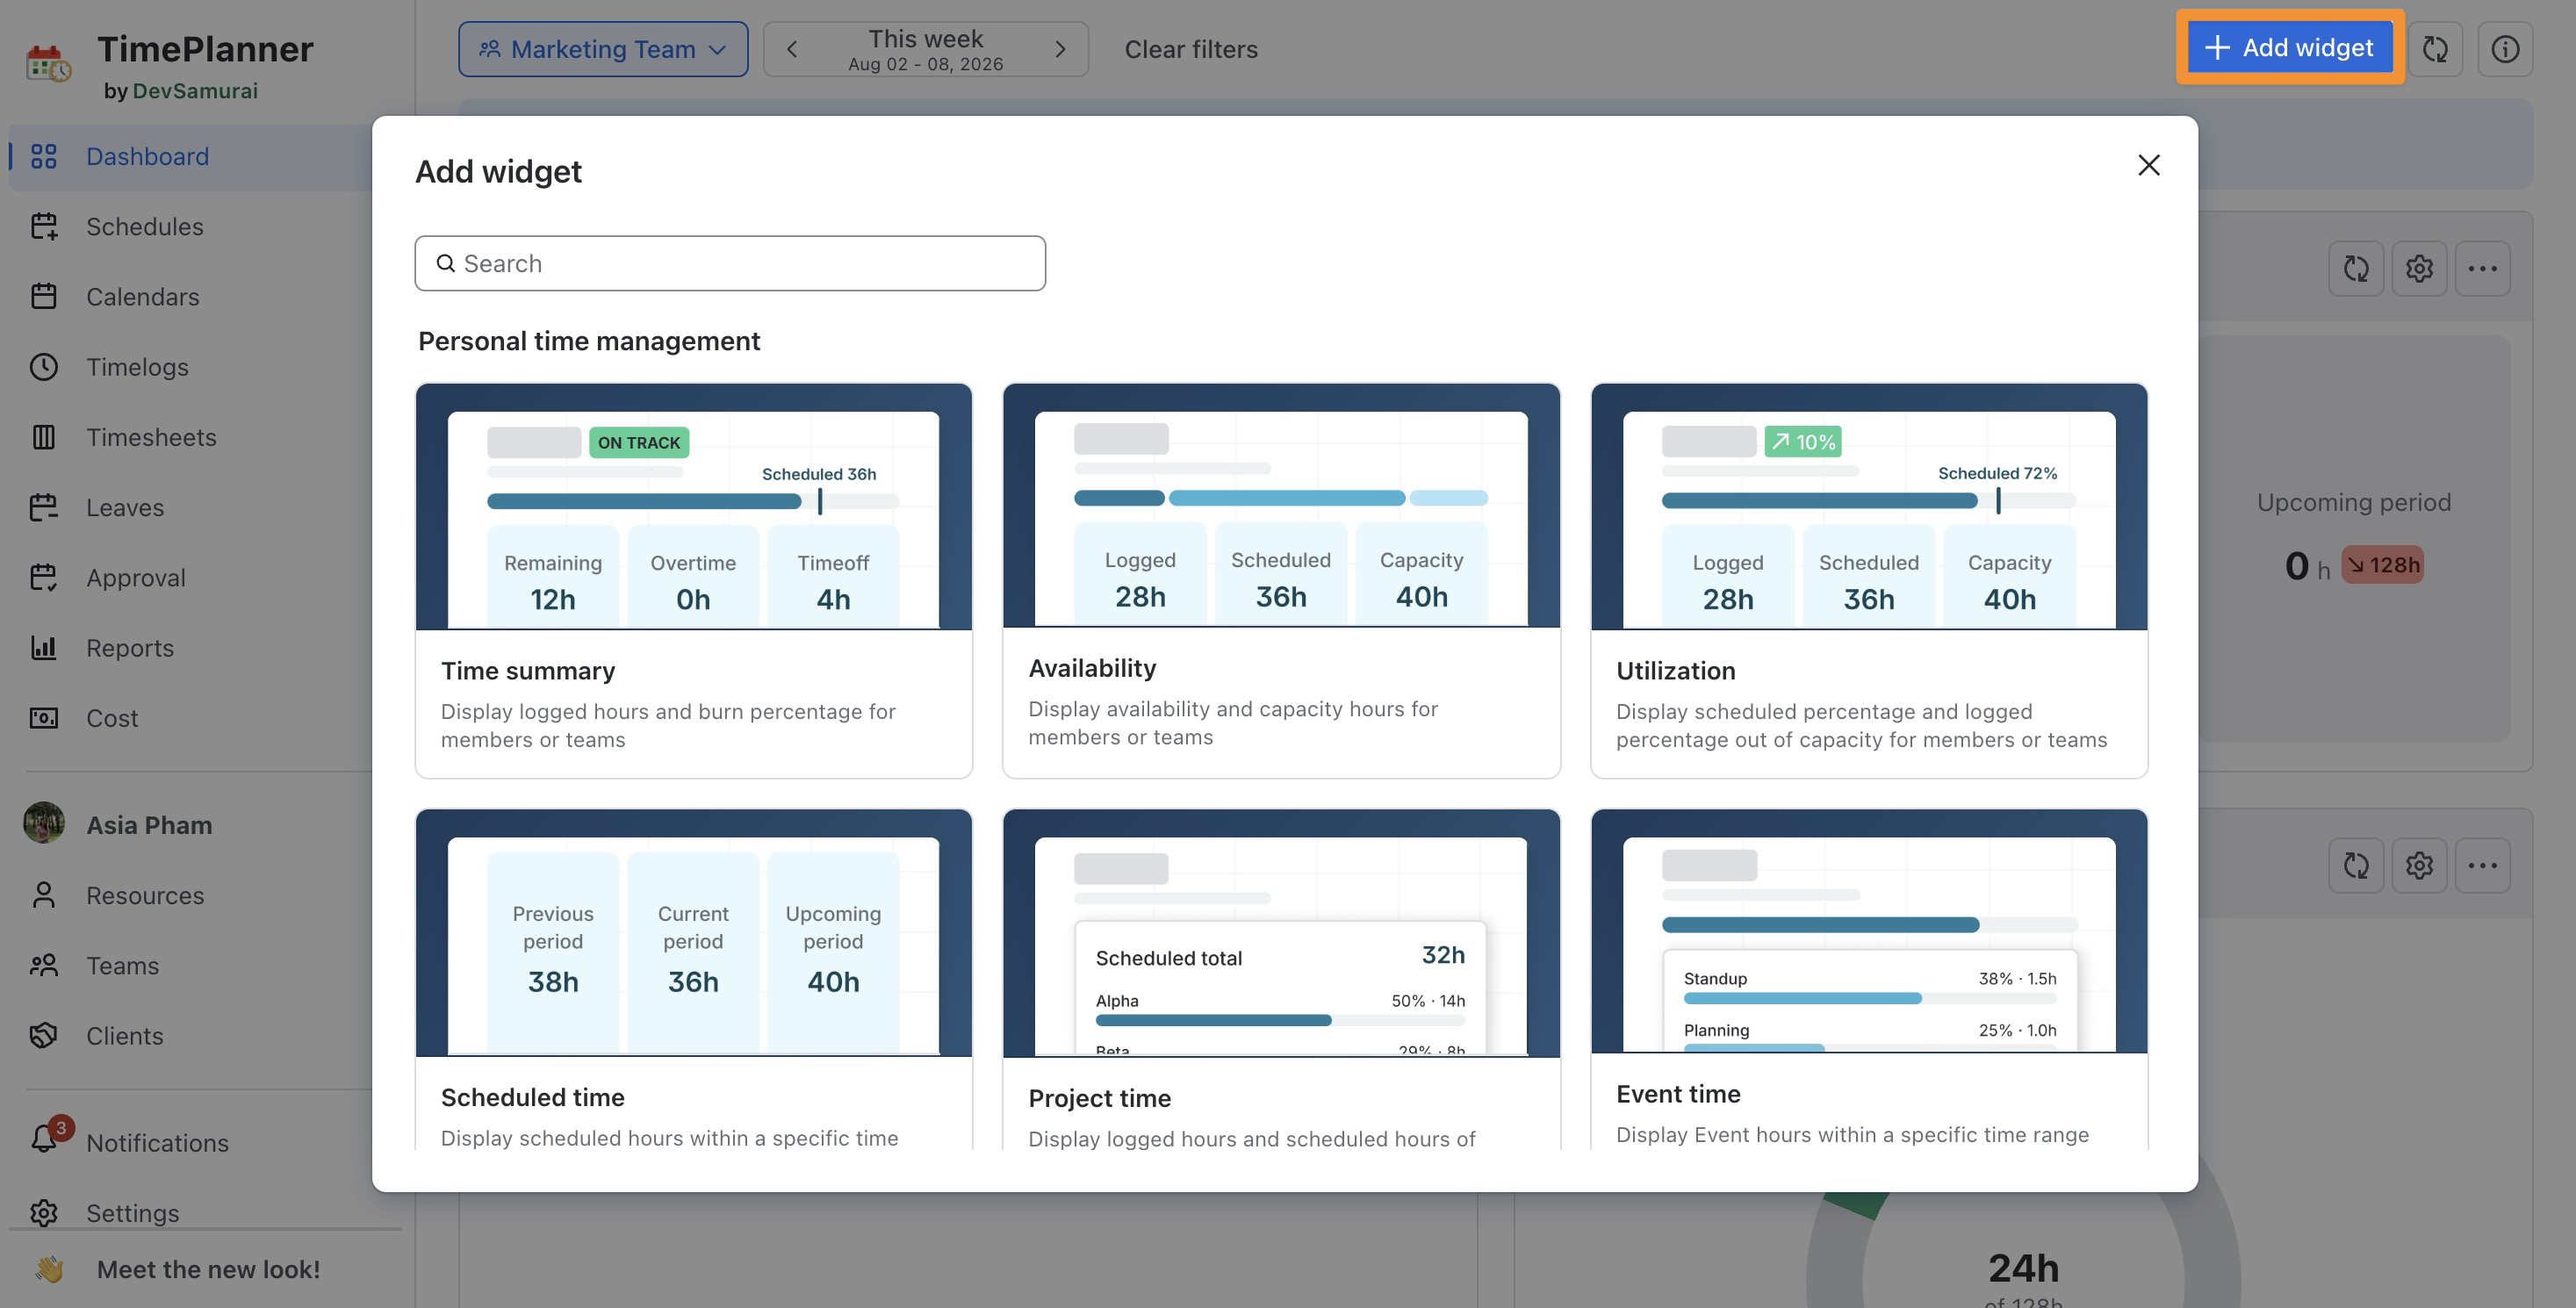
The widget will appear in the Dashboard workspace.
Managing individual widgets
Every widget carries its own set of controls in the top corner, so you can act on one card without touching the rest of the dashboard.
-
-
-

-
-

-
Configuring a widget
Once a widget has been added to the dashboard, you can update what it displays from its configuration panel.
-
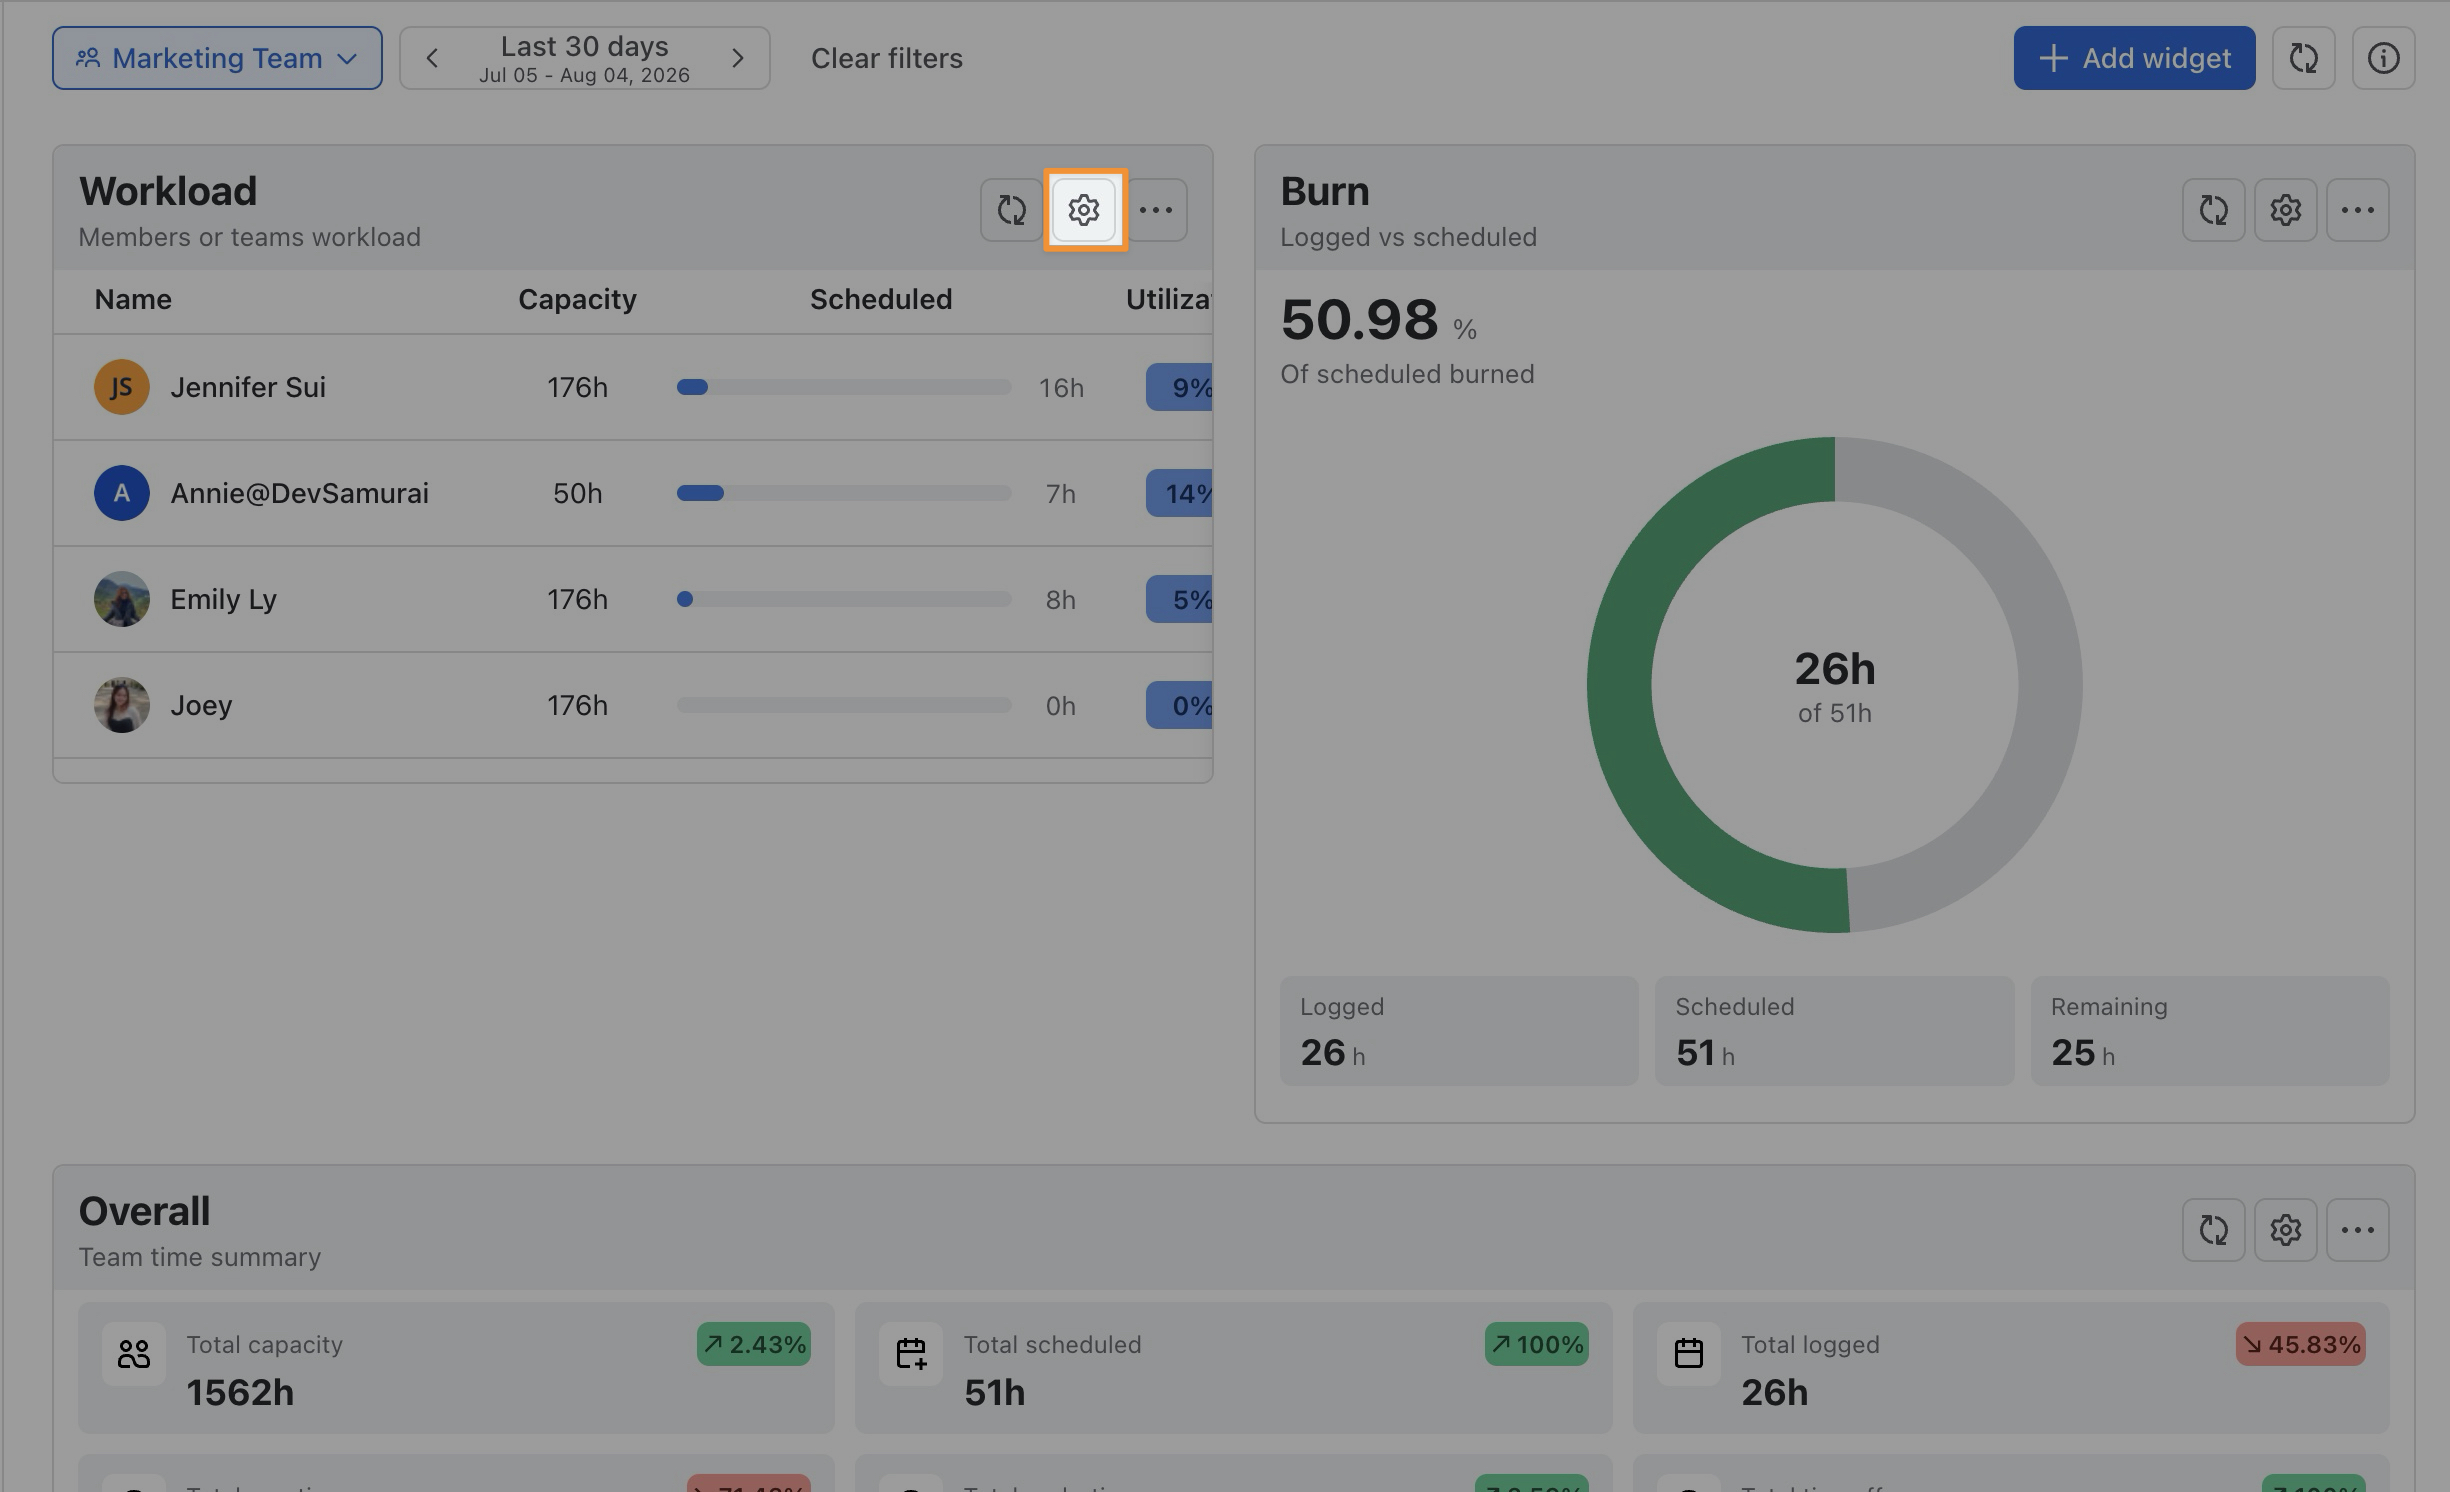
Locate the widget you want to update.
-
Select

-
Update the available configuration fields. The fields shown depend on the selected widget template.
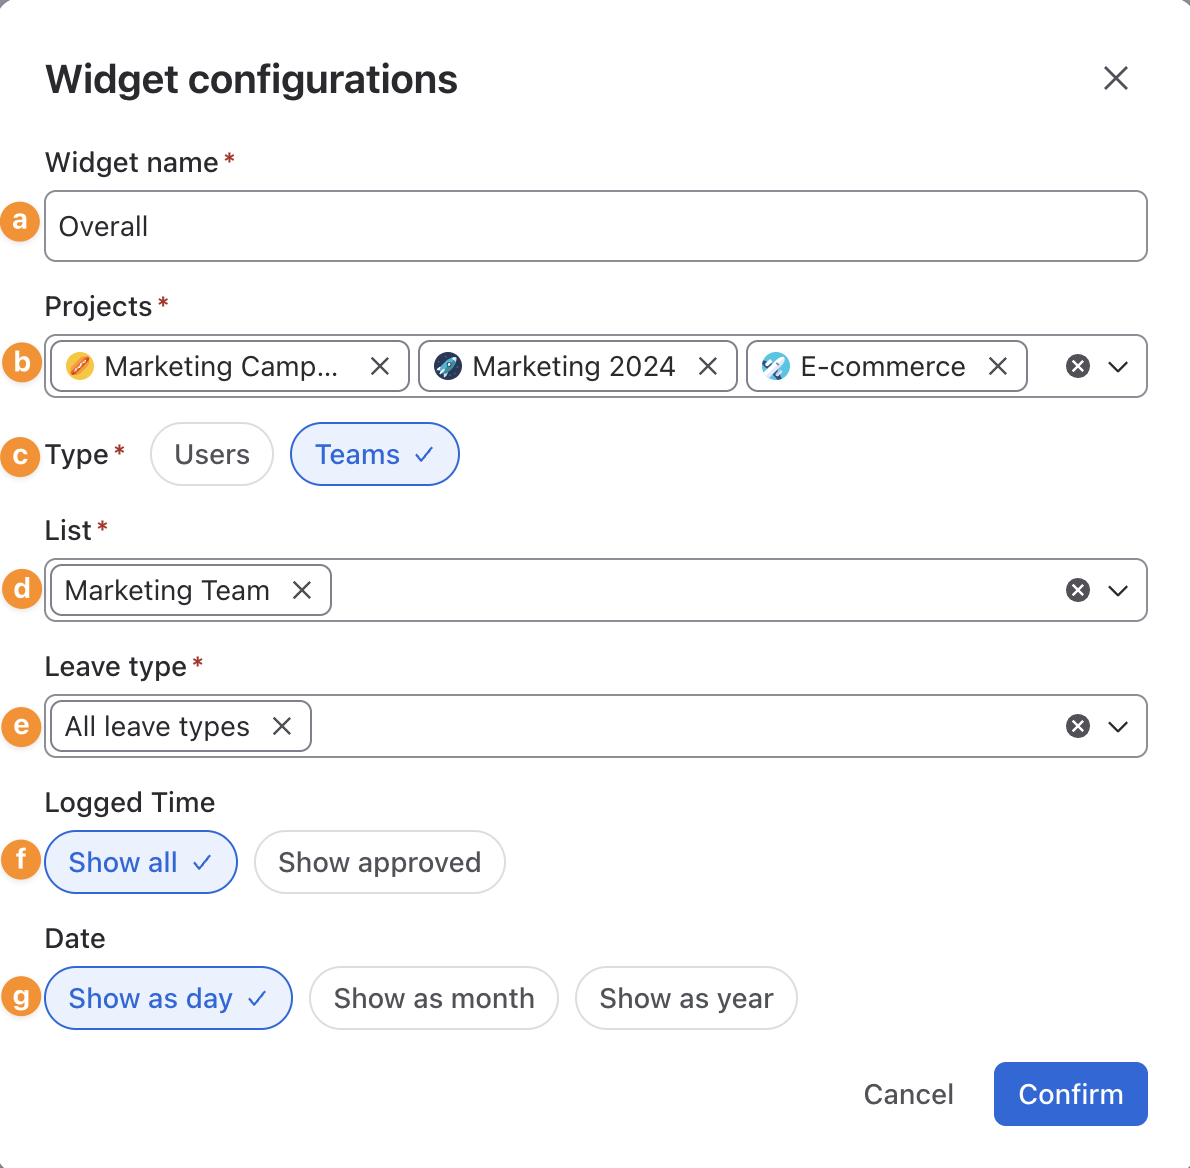
a. Widget name: Enter a clear name that reflects the widget’s purpose.
b. Projects: Select one or more projects whose data should appear in the widget.
c. Type: Choose whether the widget reports on Users or Teams.
d. List: Select the specific members or team to include. The available options depend on the selected Type.
e. Leave type: Include all leave types or select specific leave types.
f. Logged time: Choose which time entries should be counted: Show all, Show approved, Show pending, or Show rejected.
g. Date display: Choose how time-based data is grouped: Show as day, Show as month, or Show as year.
-
Select Confirm to apply the changes or Select Cancel to close the panel without saving.
Global Dashboard filters take priority over filters configured inside individual widgets. When a global filter is applied, the corresponding widget-level filter is temporarily overridden.
Refreshing widget data
Click the Refresh icon on a widget to reload its data without refreshing the rest of the Dashboard.
This is useful when you have recently updated schedules, worklogs, leave requests, or capacity settings and want to see the latest results in a specific widget.
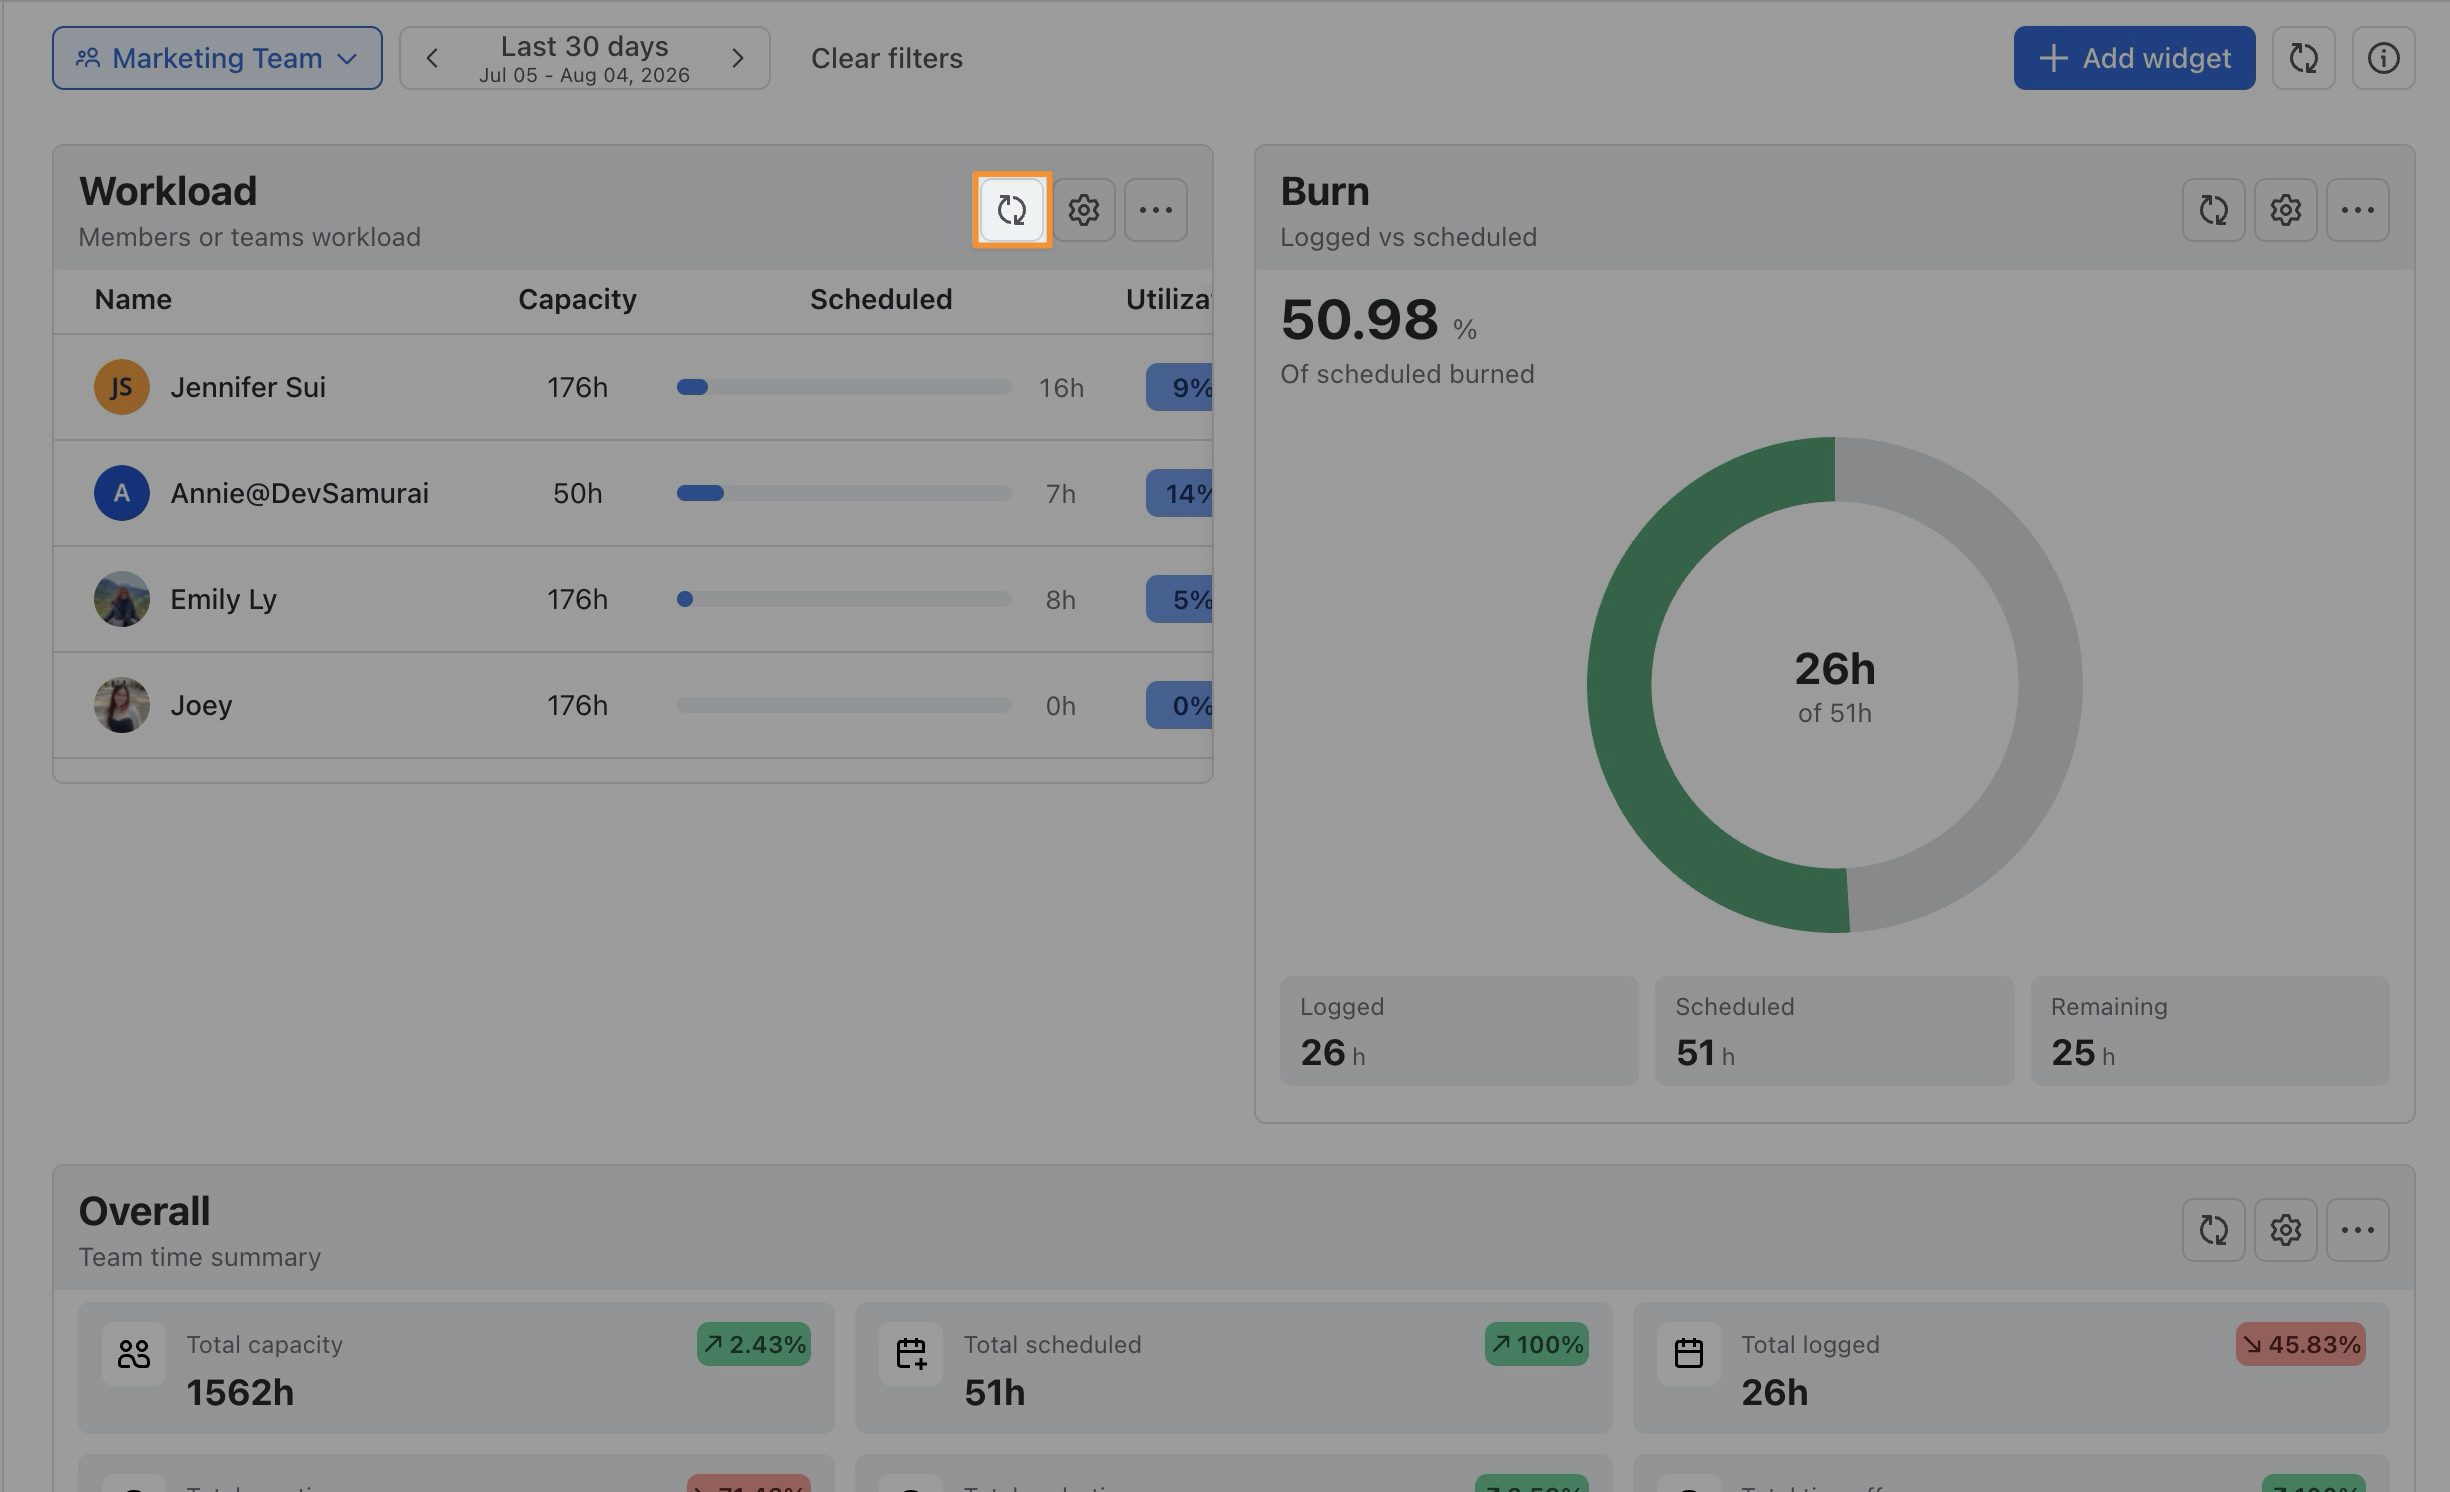
To refresh every widget at once, use the Dashboard Refresh button at the top of the page.
Exporting a widget
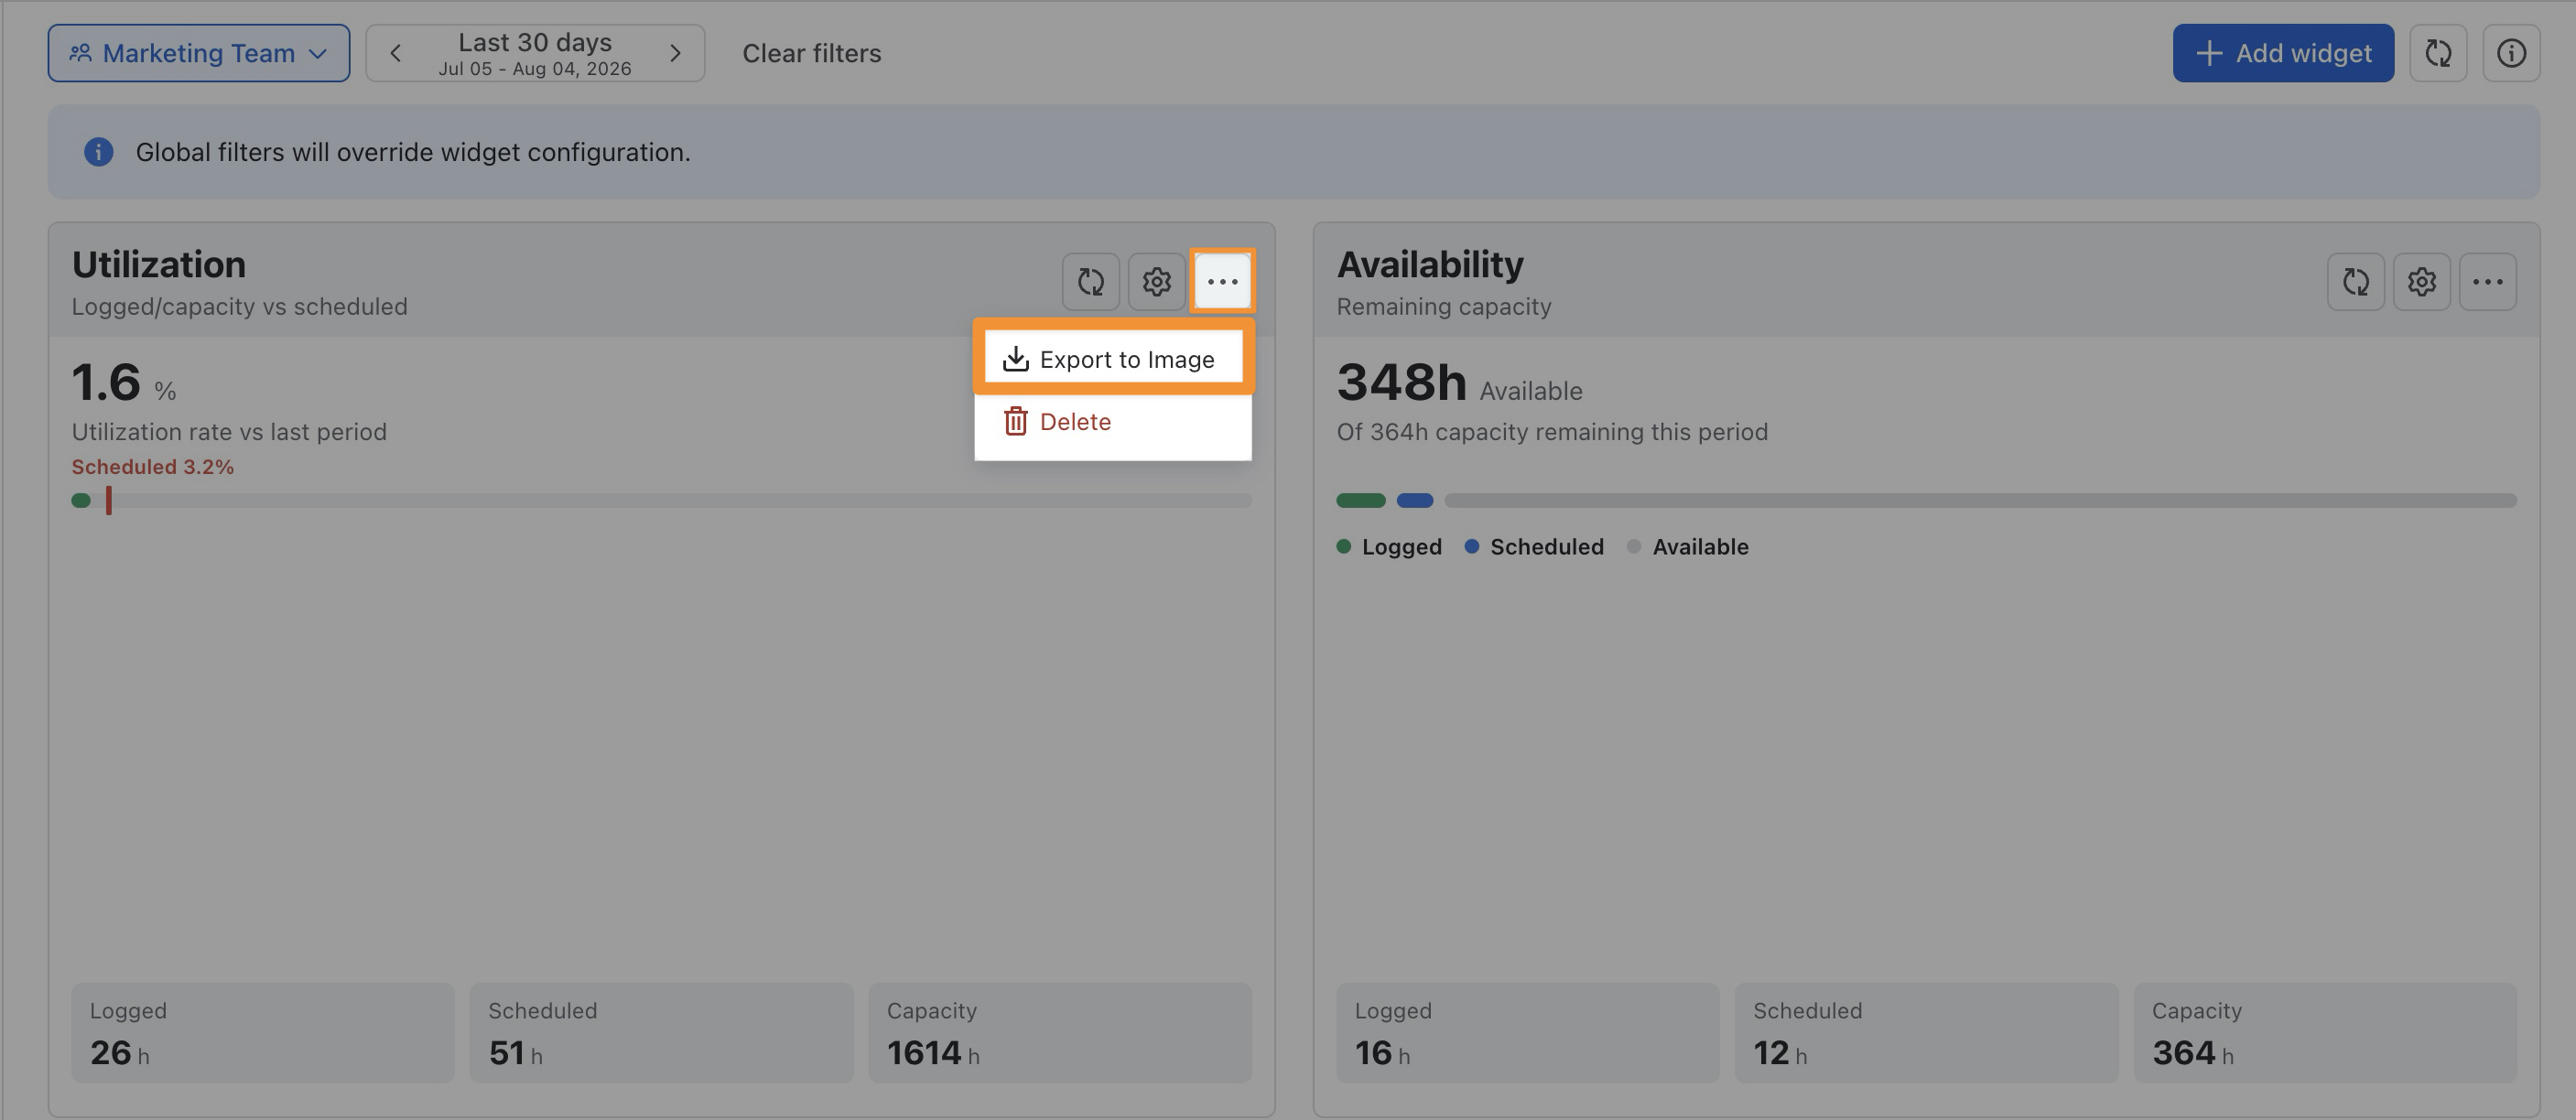
You can export an individual widget as an image for use in reports, presentations, or team updates.
To export a widget:
-
Click the three-dot menu (•••) in the widget.
-
Select Export to Image.
-
Save the generated image to your device.
The exported image reflects the data and filters currently shown in the widget.
Deleting a widget
To remove a widget from the Dashboard:
-
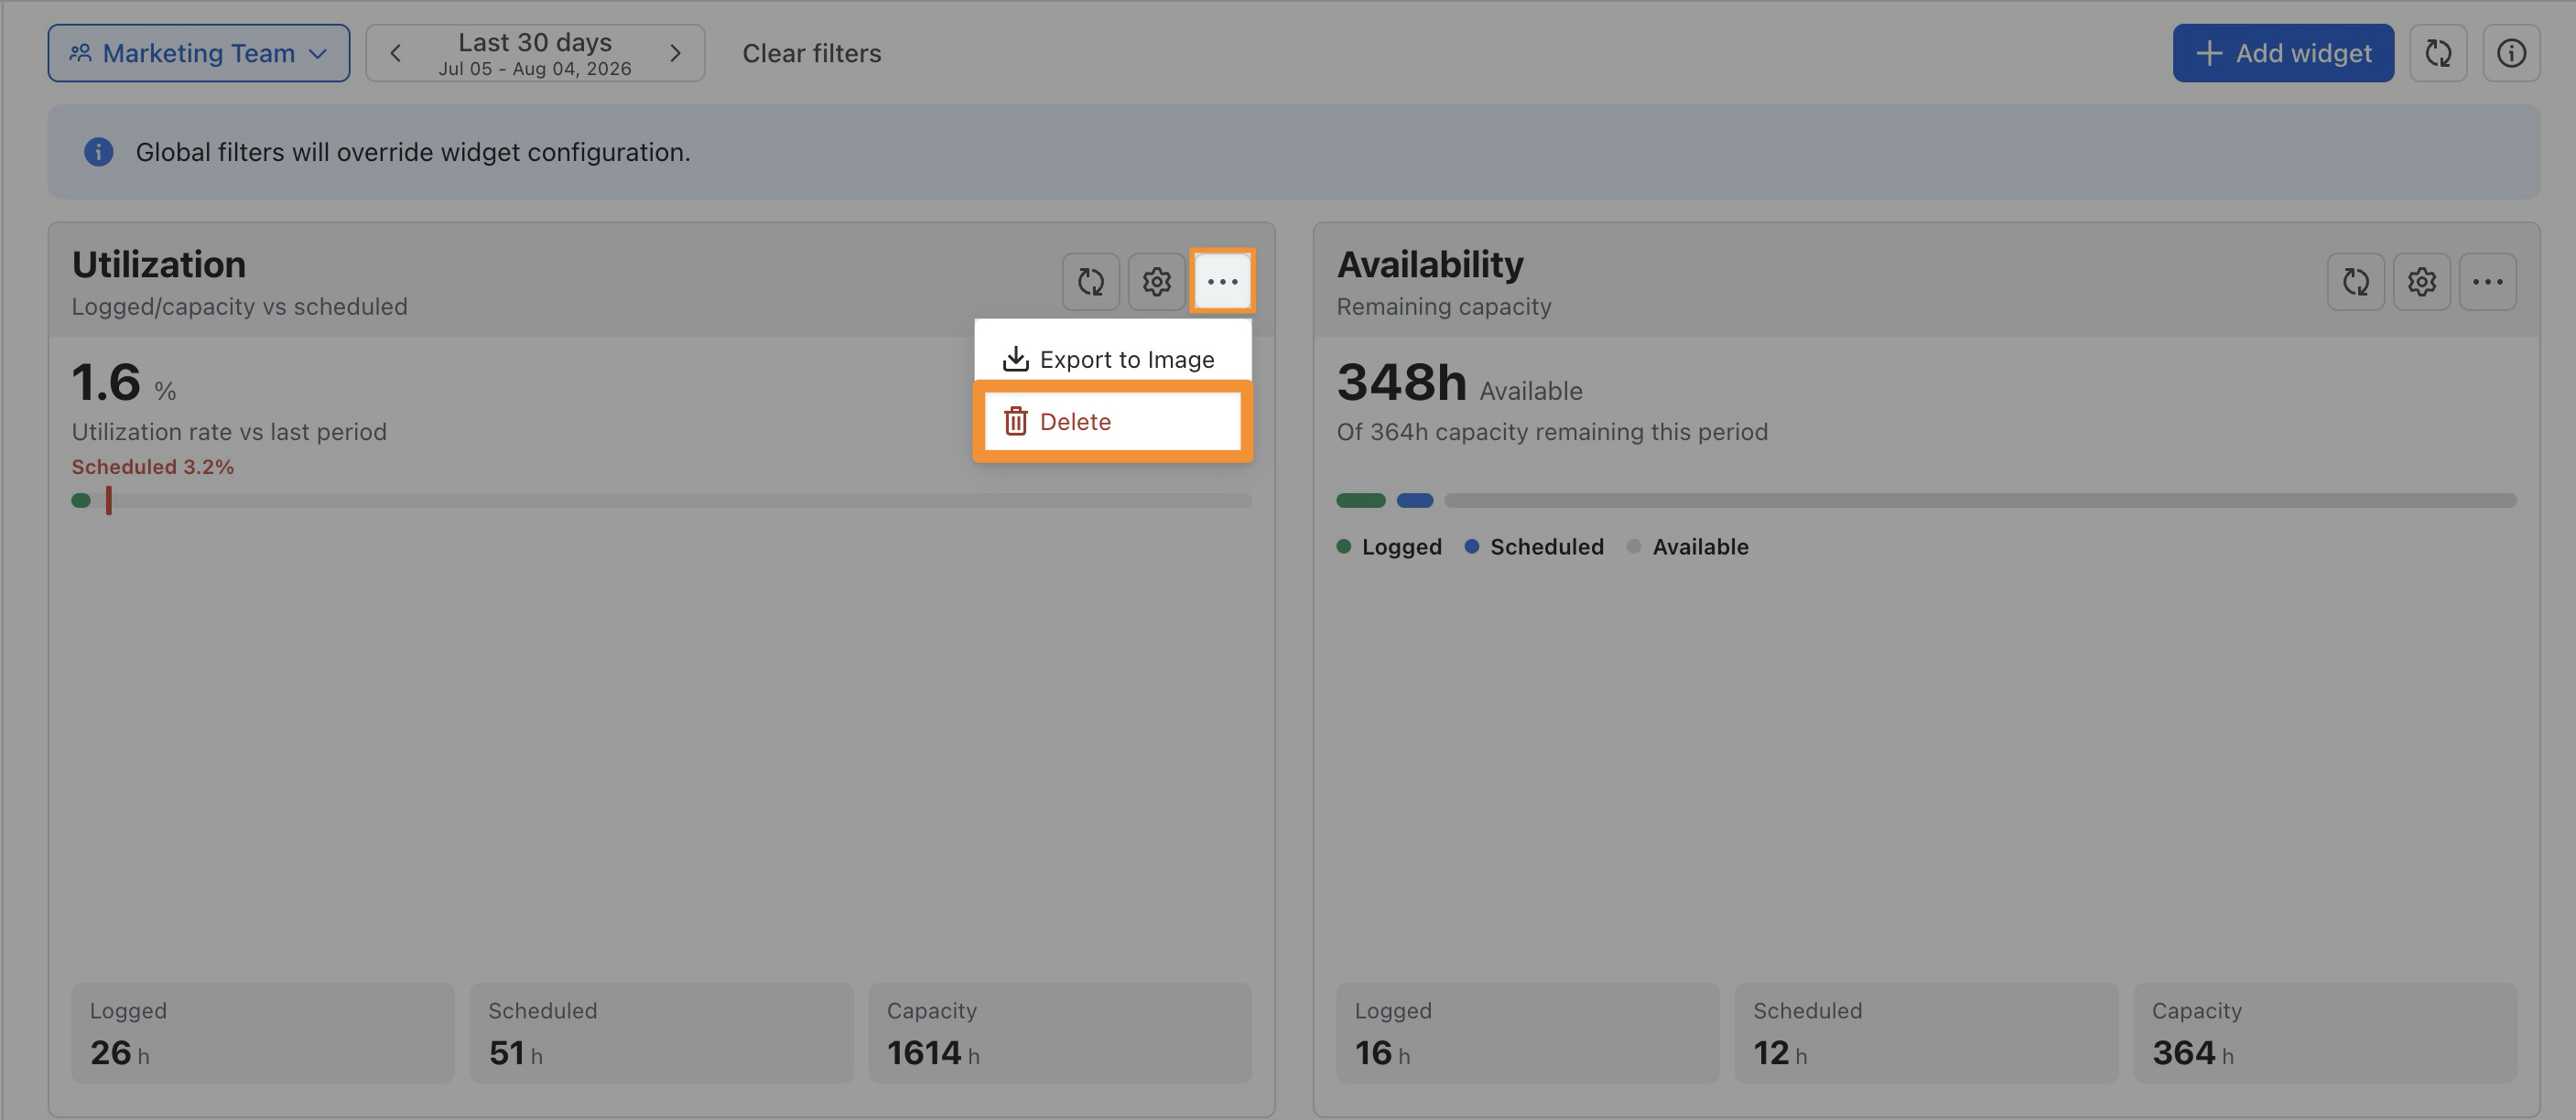
Click the three-dot menu (•••).
-
Select Delete.
Deleting a widget removes it only from your Dashboard. The related project, member, schedule, and time data remain unchanged.
Resizing a widget
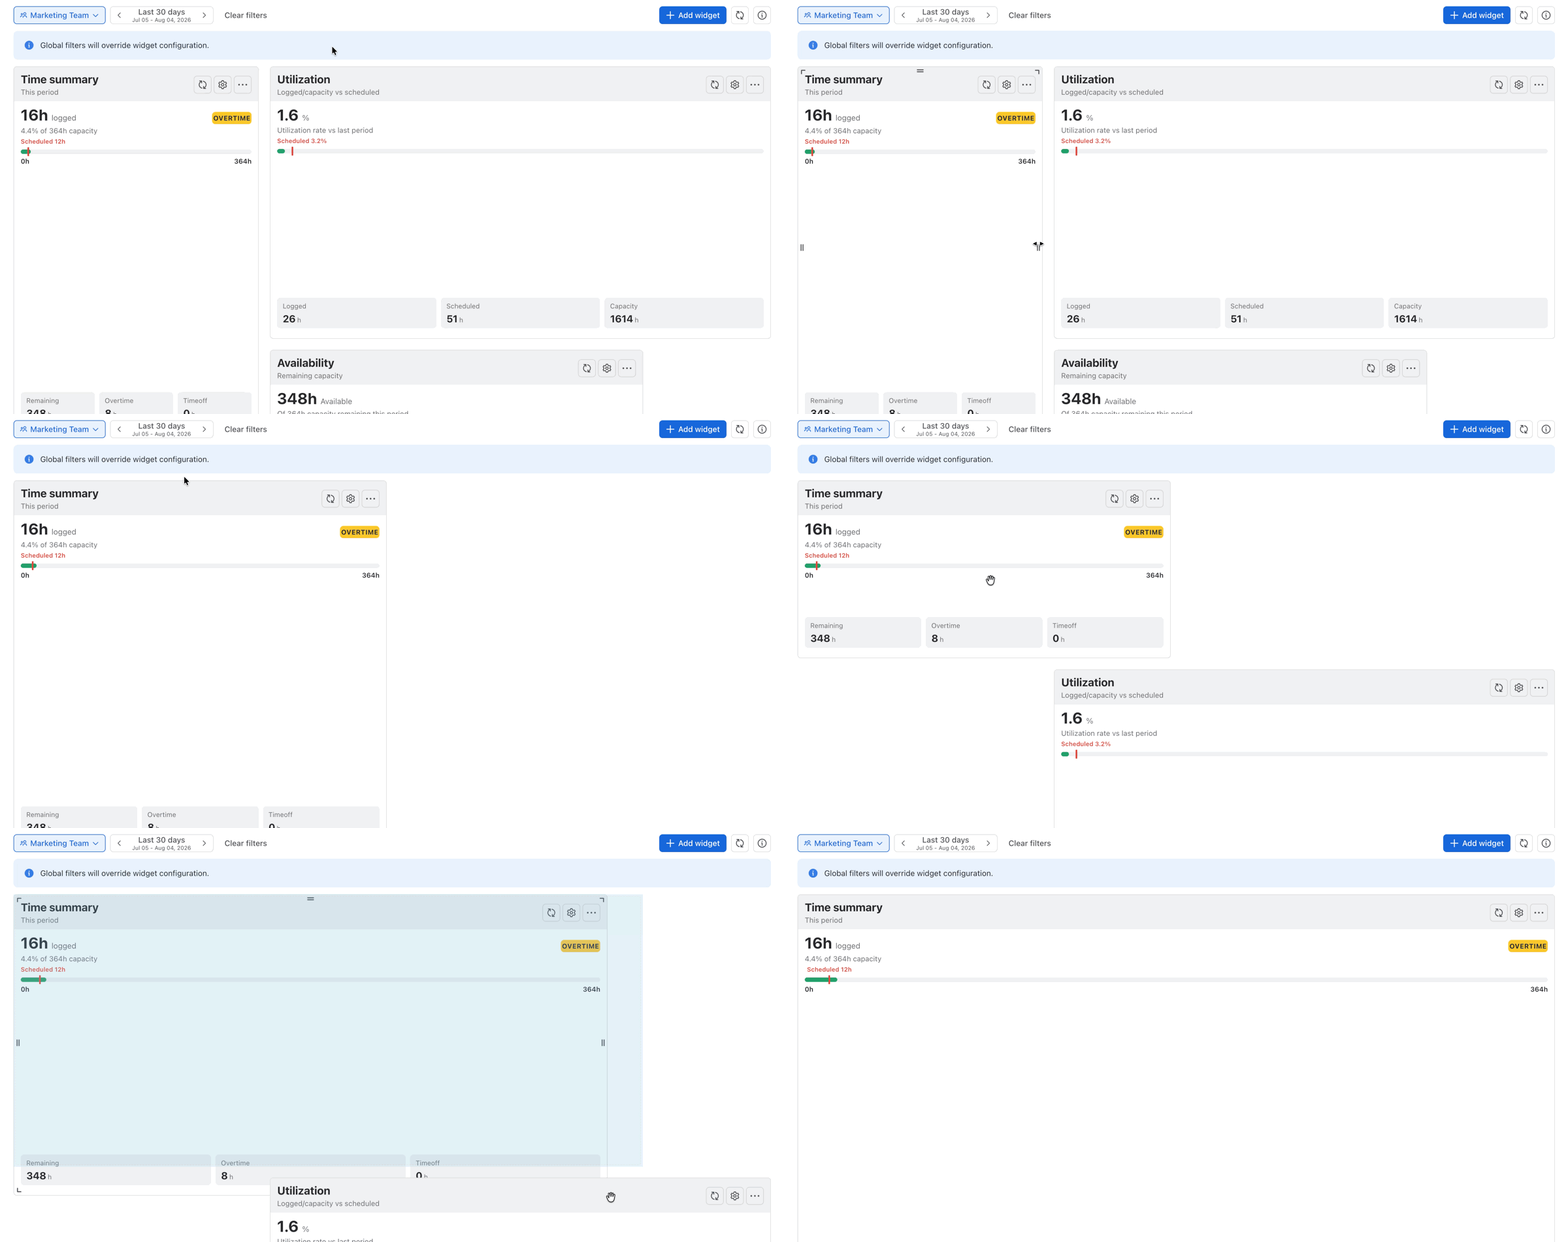
Click and drag a widget's edge to make it larger or smaller, so important cards get the room they deserve, and everything fits together neatly.
Rearranging widgets
Drag a widget to a different position to change the order in which information appears. Arrange the most important widgets near the top of the Dashboard so they are visible as soon as the page opens.