.png)
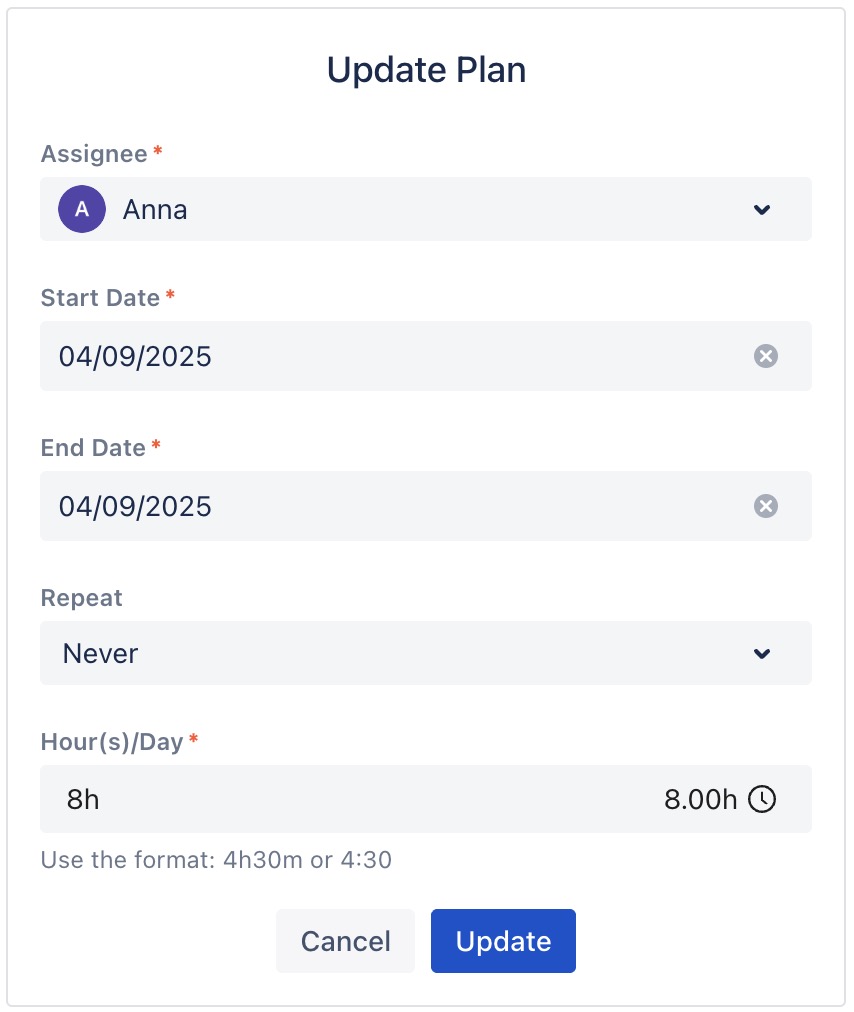
Here’s what you can update:
-
Update the assignee
-
Update the color
-
Update the Hour/day
-
Update the date range
-
Update the status
-
Update the repeat task
-
Remove the plan
Using the Planning Detail Panel
The Planning Detail Panel provides a space to display additional information about a specific task. This panel is designed to manage and update plans directly from the Schedule Board or Calendar Board.
To update a plan via the Planning Detail Panel, follow these steps:
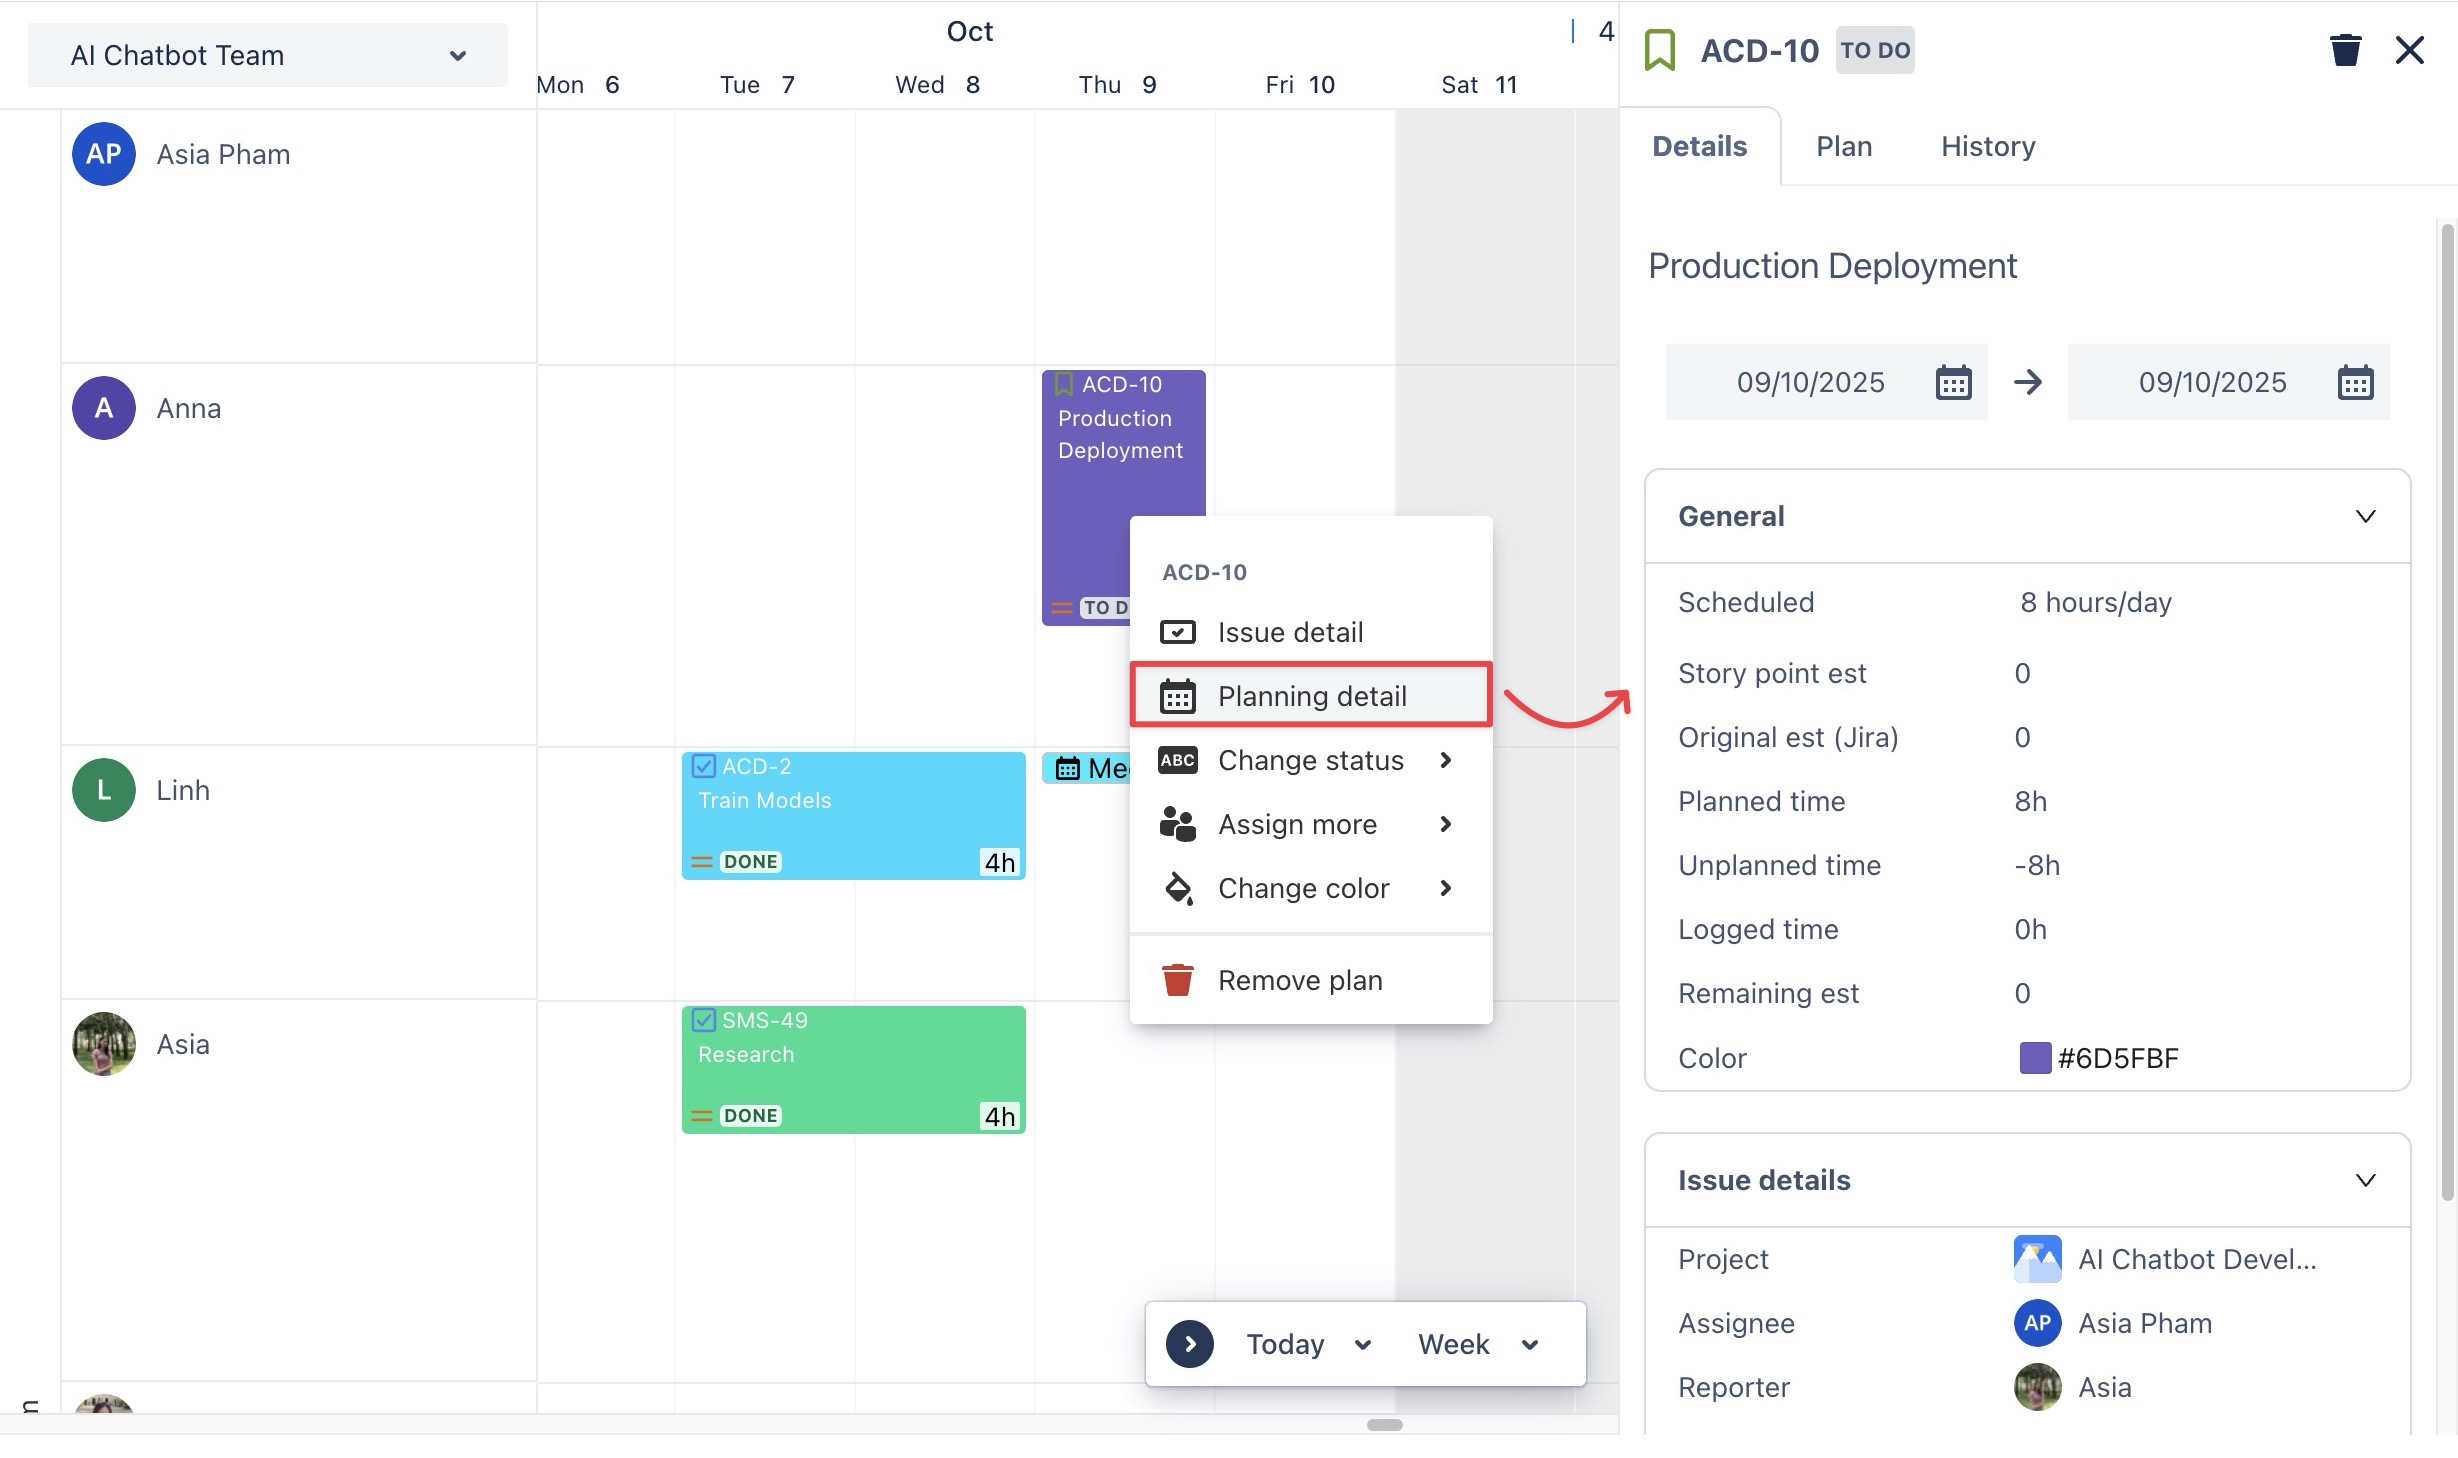
STEP 1 Open the Planning Detail Panel
-
Go to the

-
Open the Planning Detail panel in one of two ways:
-
Right-click on the task card and select
-
Simply click directly on the task card to open the Planning Detail panel.
You can also open the Planning Detail Panel from the Calendar Board.
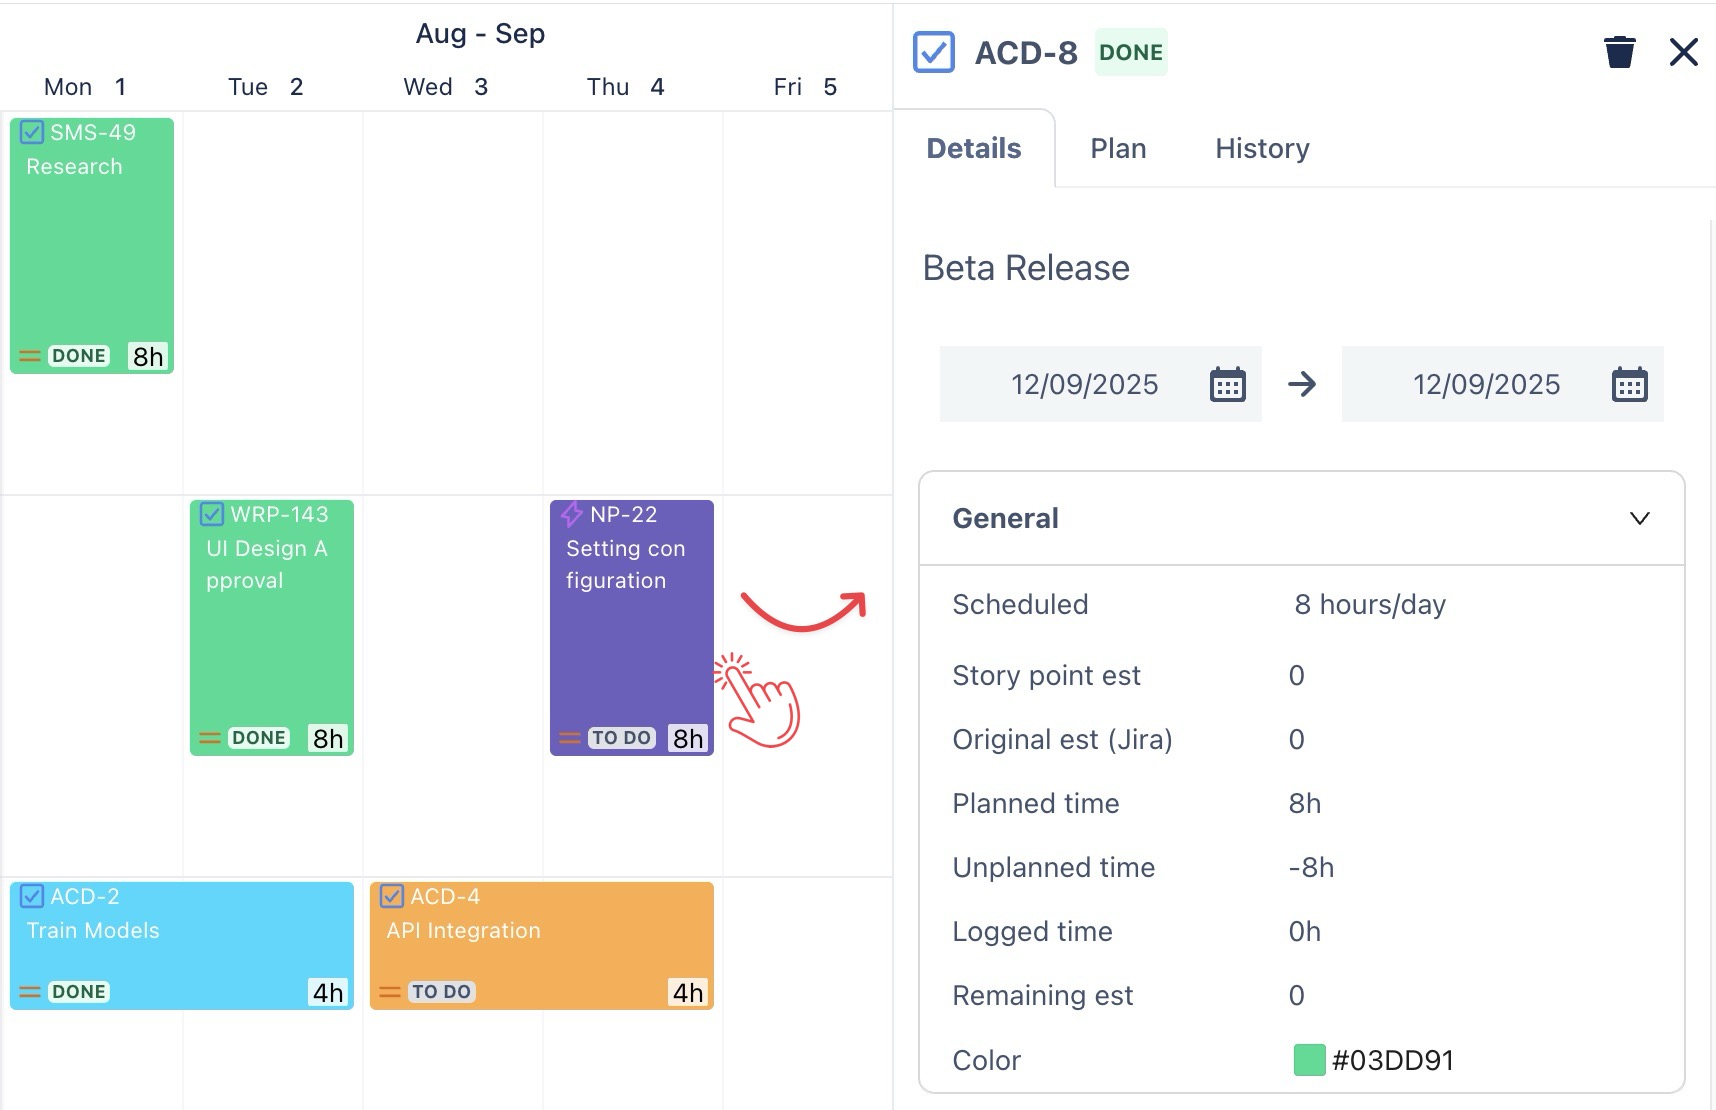
STEP 2 Update the task details through the following tabs:
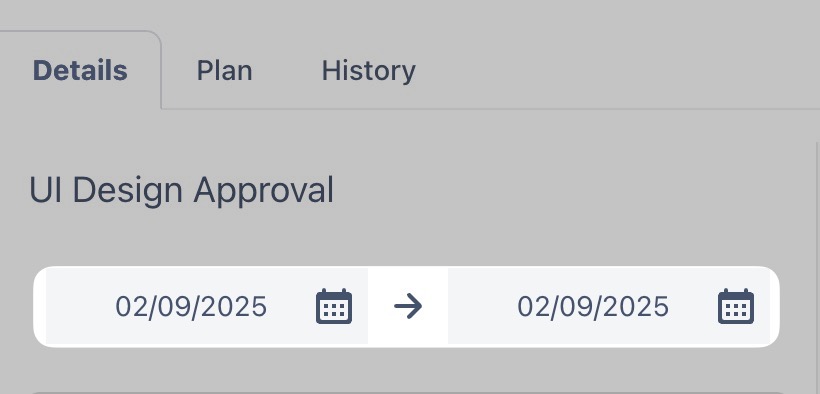
DETAILS TAB
With the Details tab, you can:
|
Action |
Description |
|
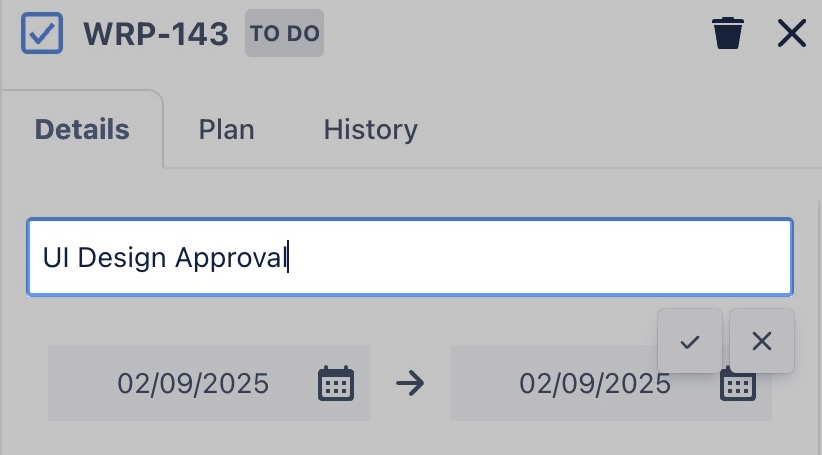
Edit the summary of the task You can edit the task summary by clicking on it directly and typing your changes. |
|
|
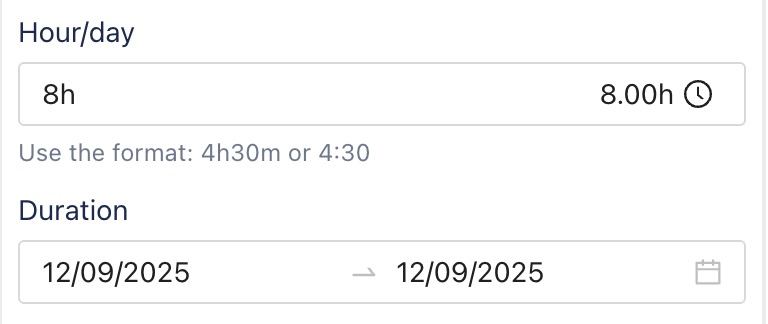
Update Date Range Click to select the start and end dates for the task duration. |
|
|
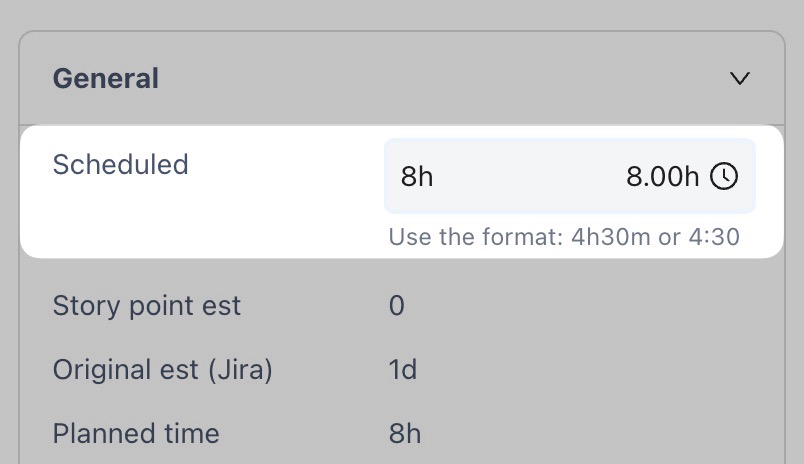
Update scheduled hour Set the number of hours planned per day for the task. |
|
|
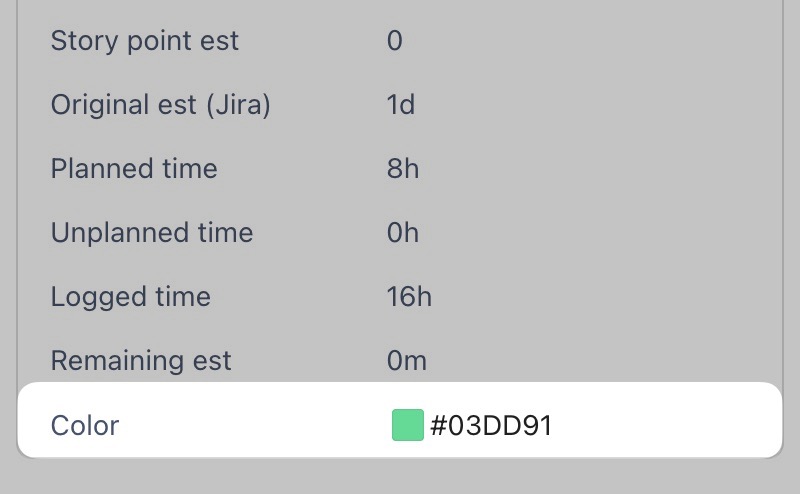
Change the task color Click on the current color or color code, then choose a new color from the basic palette, custom picker, or predefined options. |
|
|
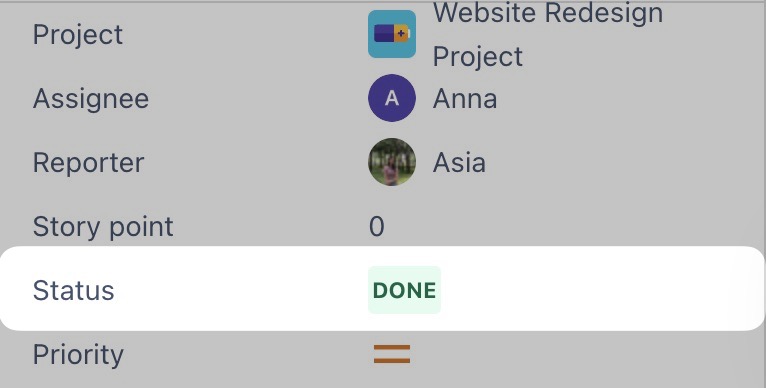
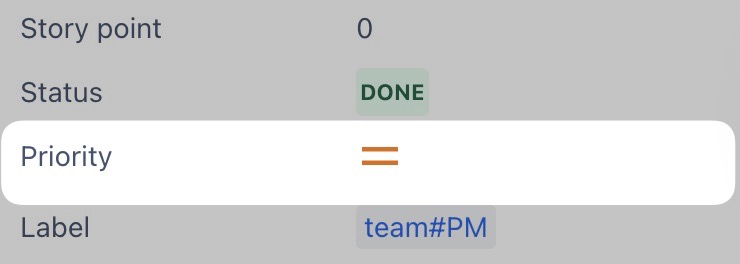
Update the status Click on the current status and select a new one from the available options. |
|
|
Update the priority Click on the current priority and choose a new level (Highest, High, Medium, Low, or Lowest) from the menu. |
|
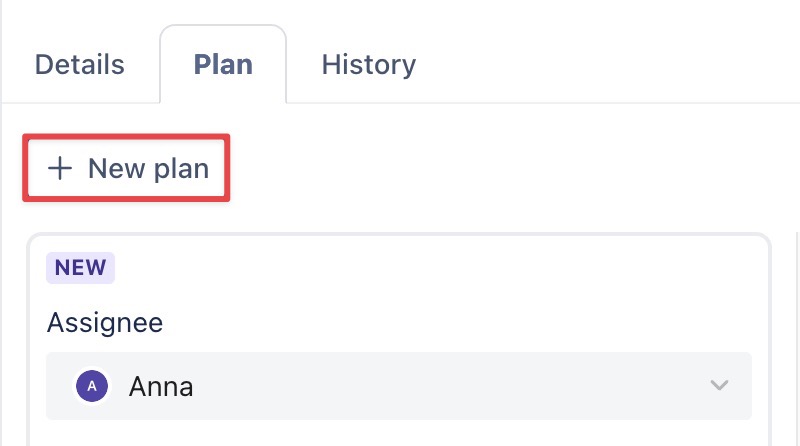
PLAN TAB
With the Plan tab, you can
|
Action |
Description |
|---|---|
|
Add more plans Click (Learn more: Planning a single task for multiple assignees) |
|
|
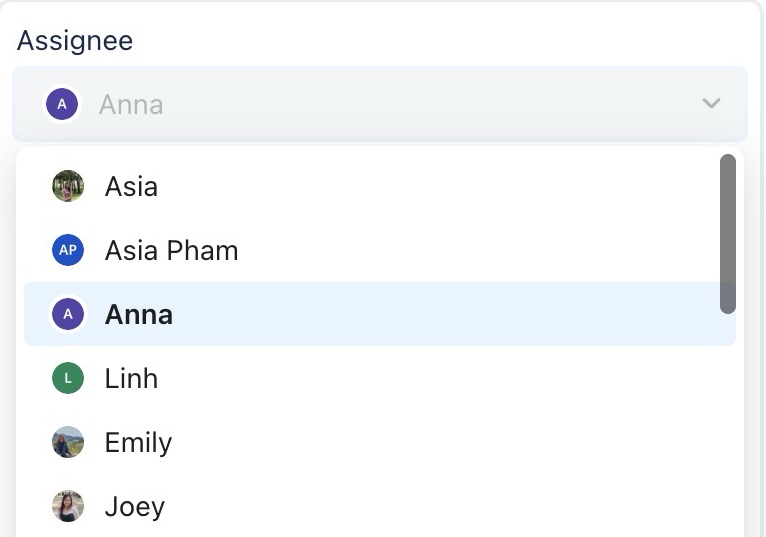
Reassign a plan to another member From the Assignee section, use the dropdown menu to select and assign the task to a different team member. |
|
|
Update the work schedule
|
|
|
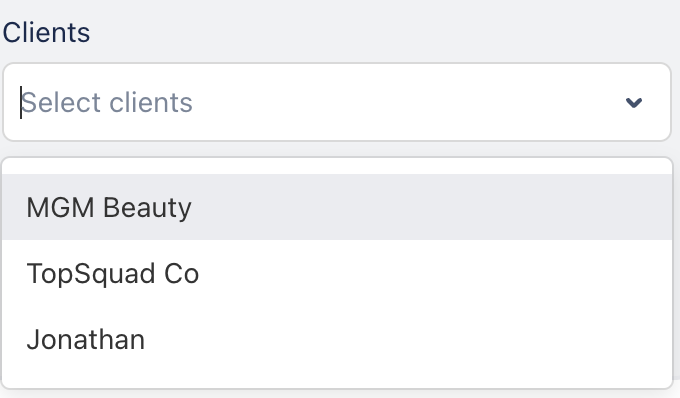
Link a task plan to clients: Use the dropdown to select clients associated with the task. (Learn more about Scheduling for clients) |
|
|
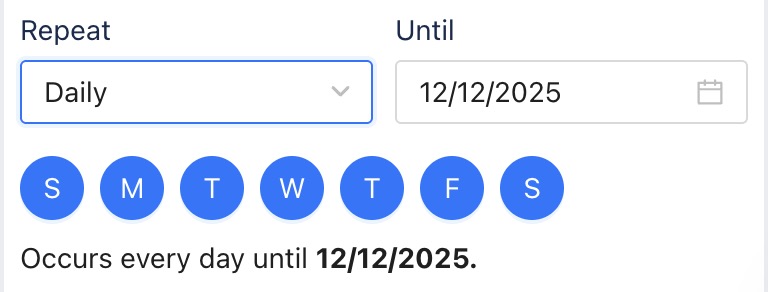
Update the repeat task Set up recurring tasks for ongoing activities that repeat over time, such as daily, weekly, bi-weekly, or monthly. (Learn more: Recurring Tasks feature) |
|
|
Mark task as billable Toggle the task's billable status to track it for invoicing or billing purposes. (Learn more: Cost Planning) To set up billable tasks, users need either:
|

|

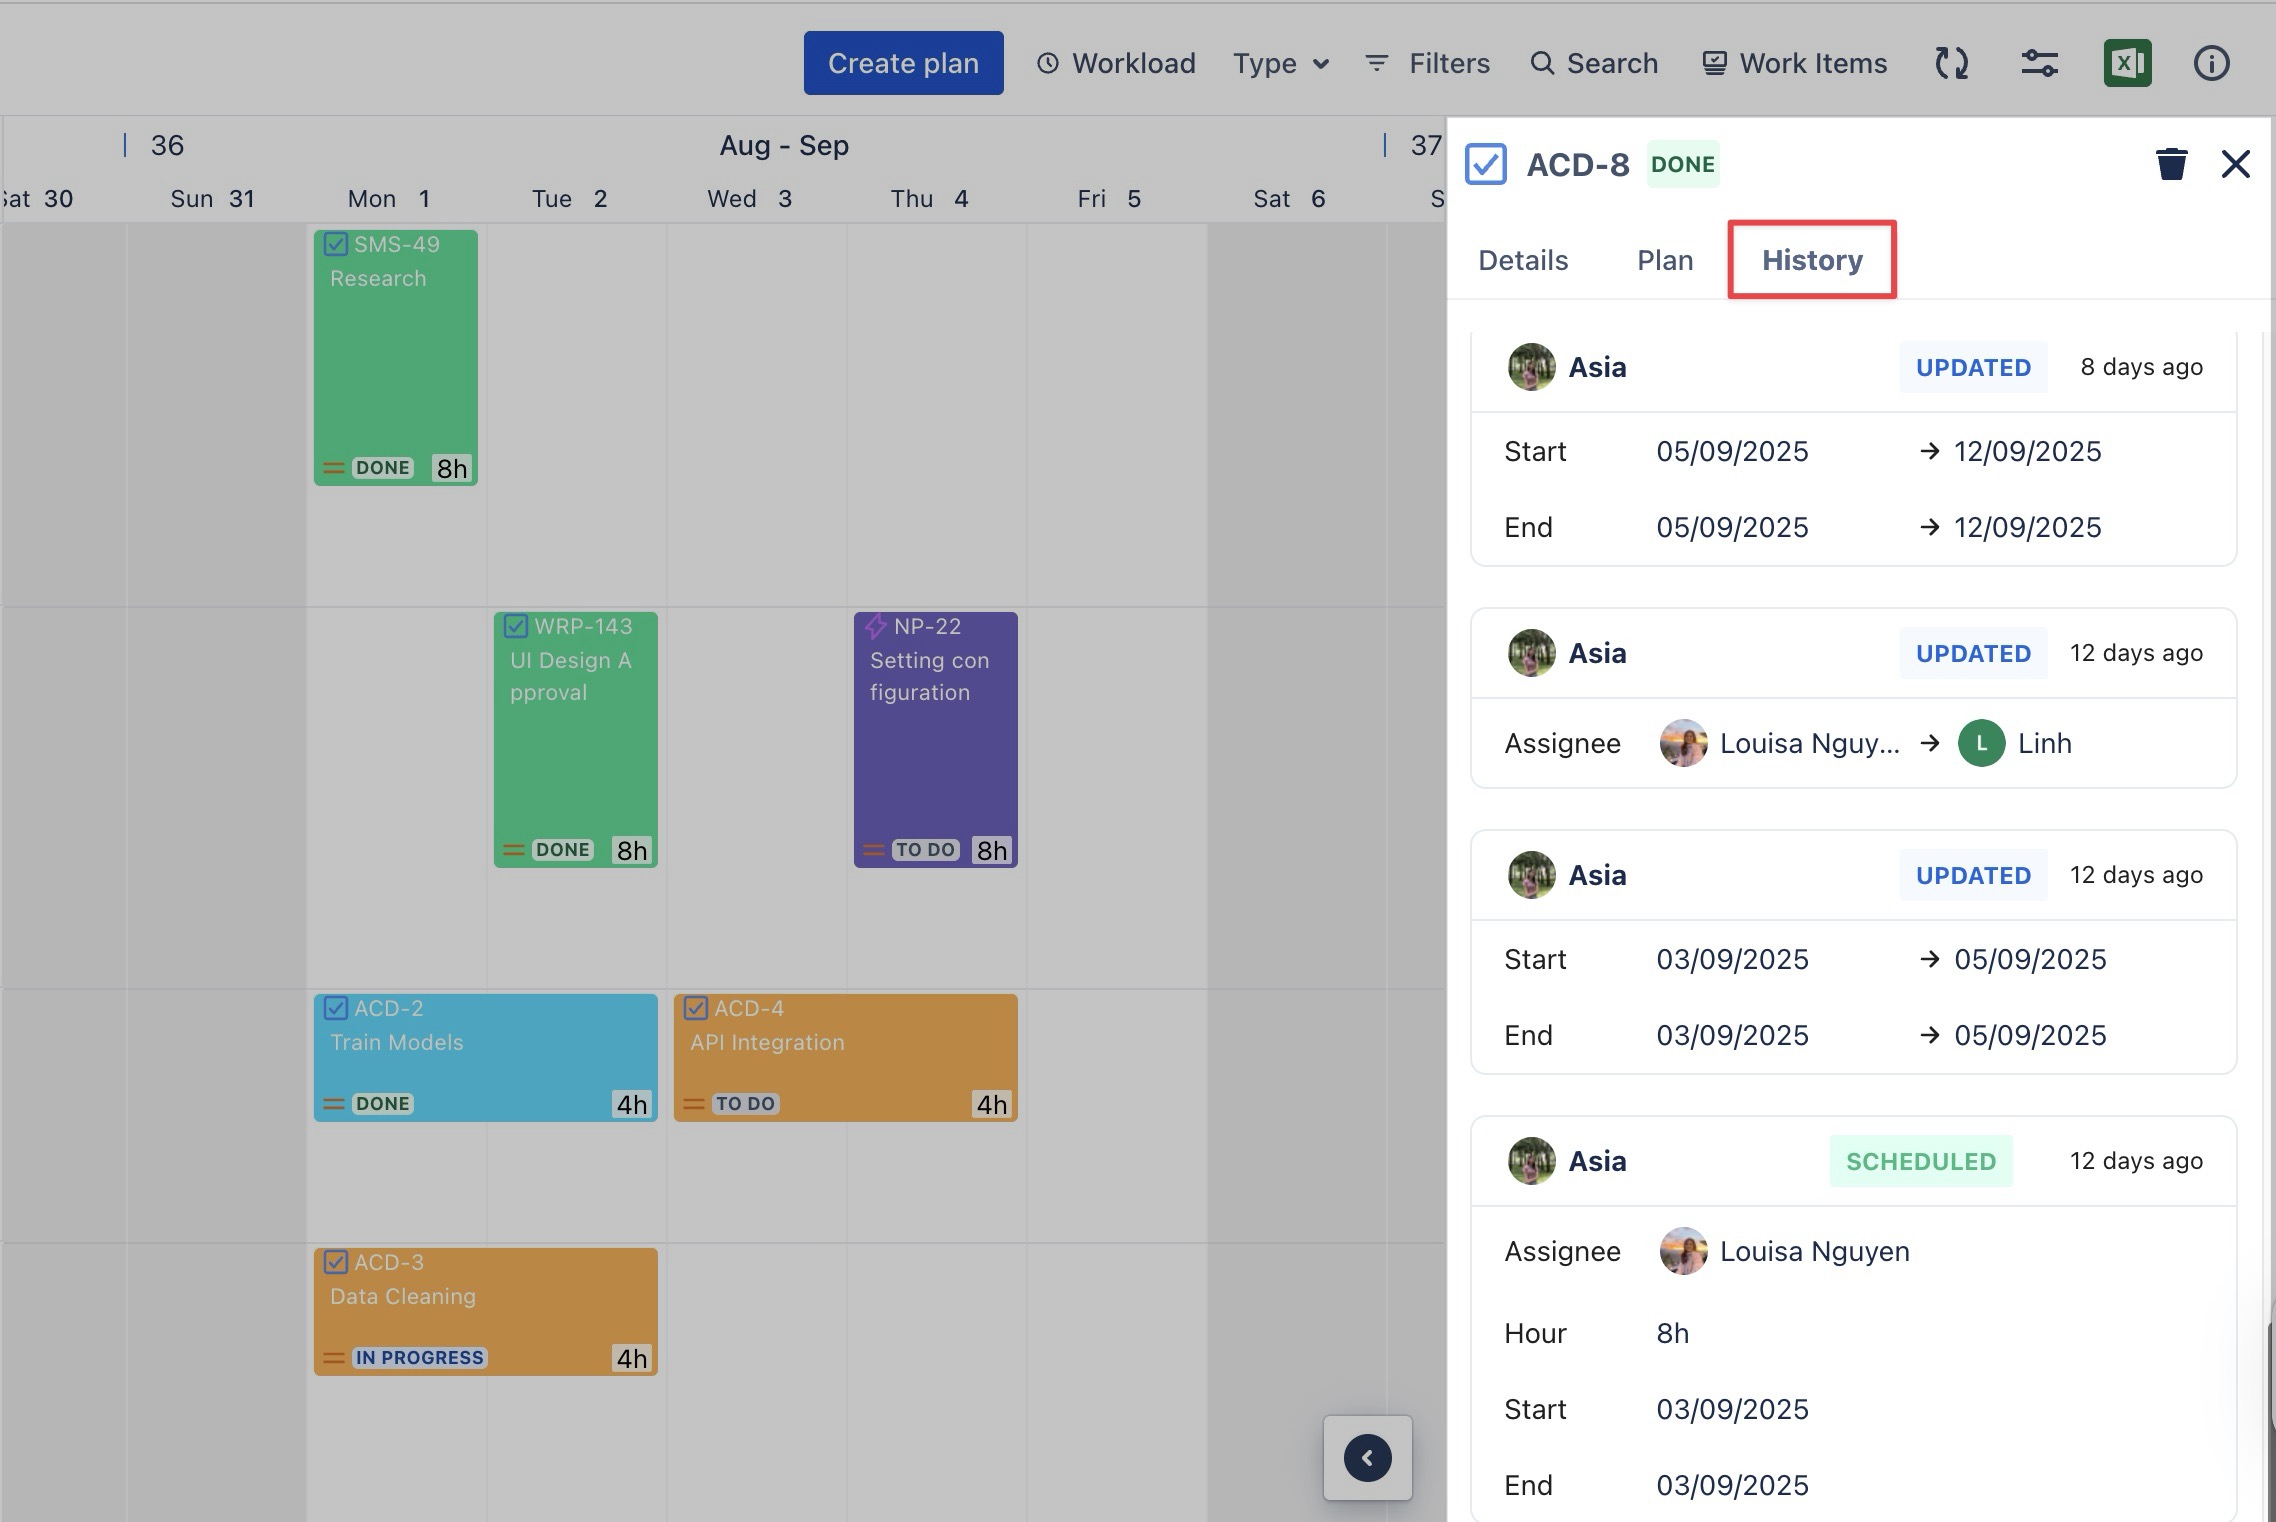
HISTORY TAB
The History provides a record of all changes made to the task plan. You can view updates such as changes to the assignee, duration, status, and other task details, making it easier to track modifications and maintain transparency.
Task Planning History is not available for Jira Field Mapping projects.
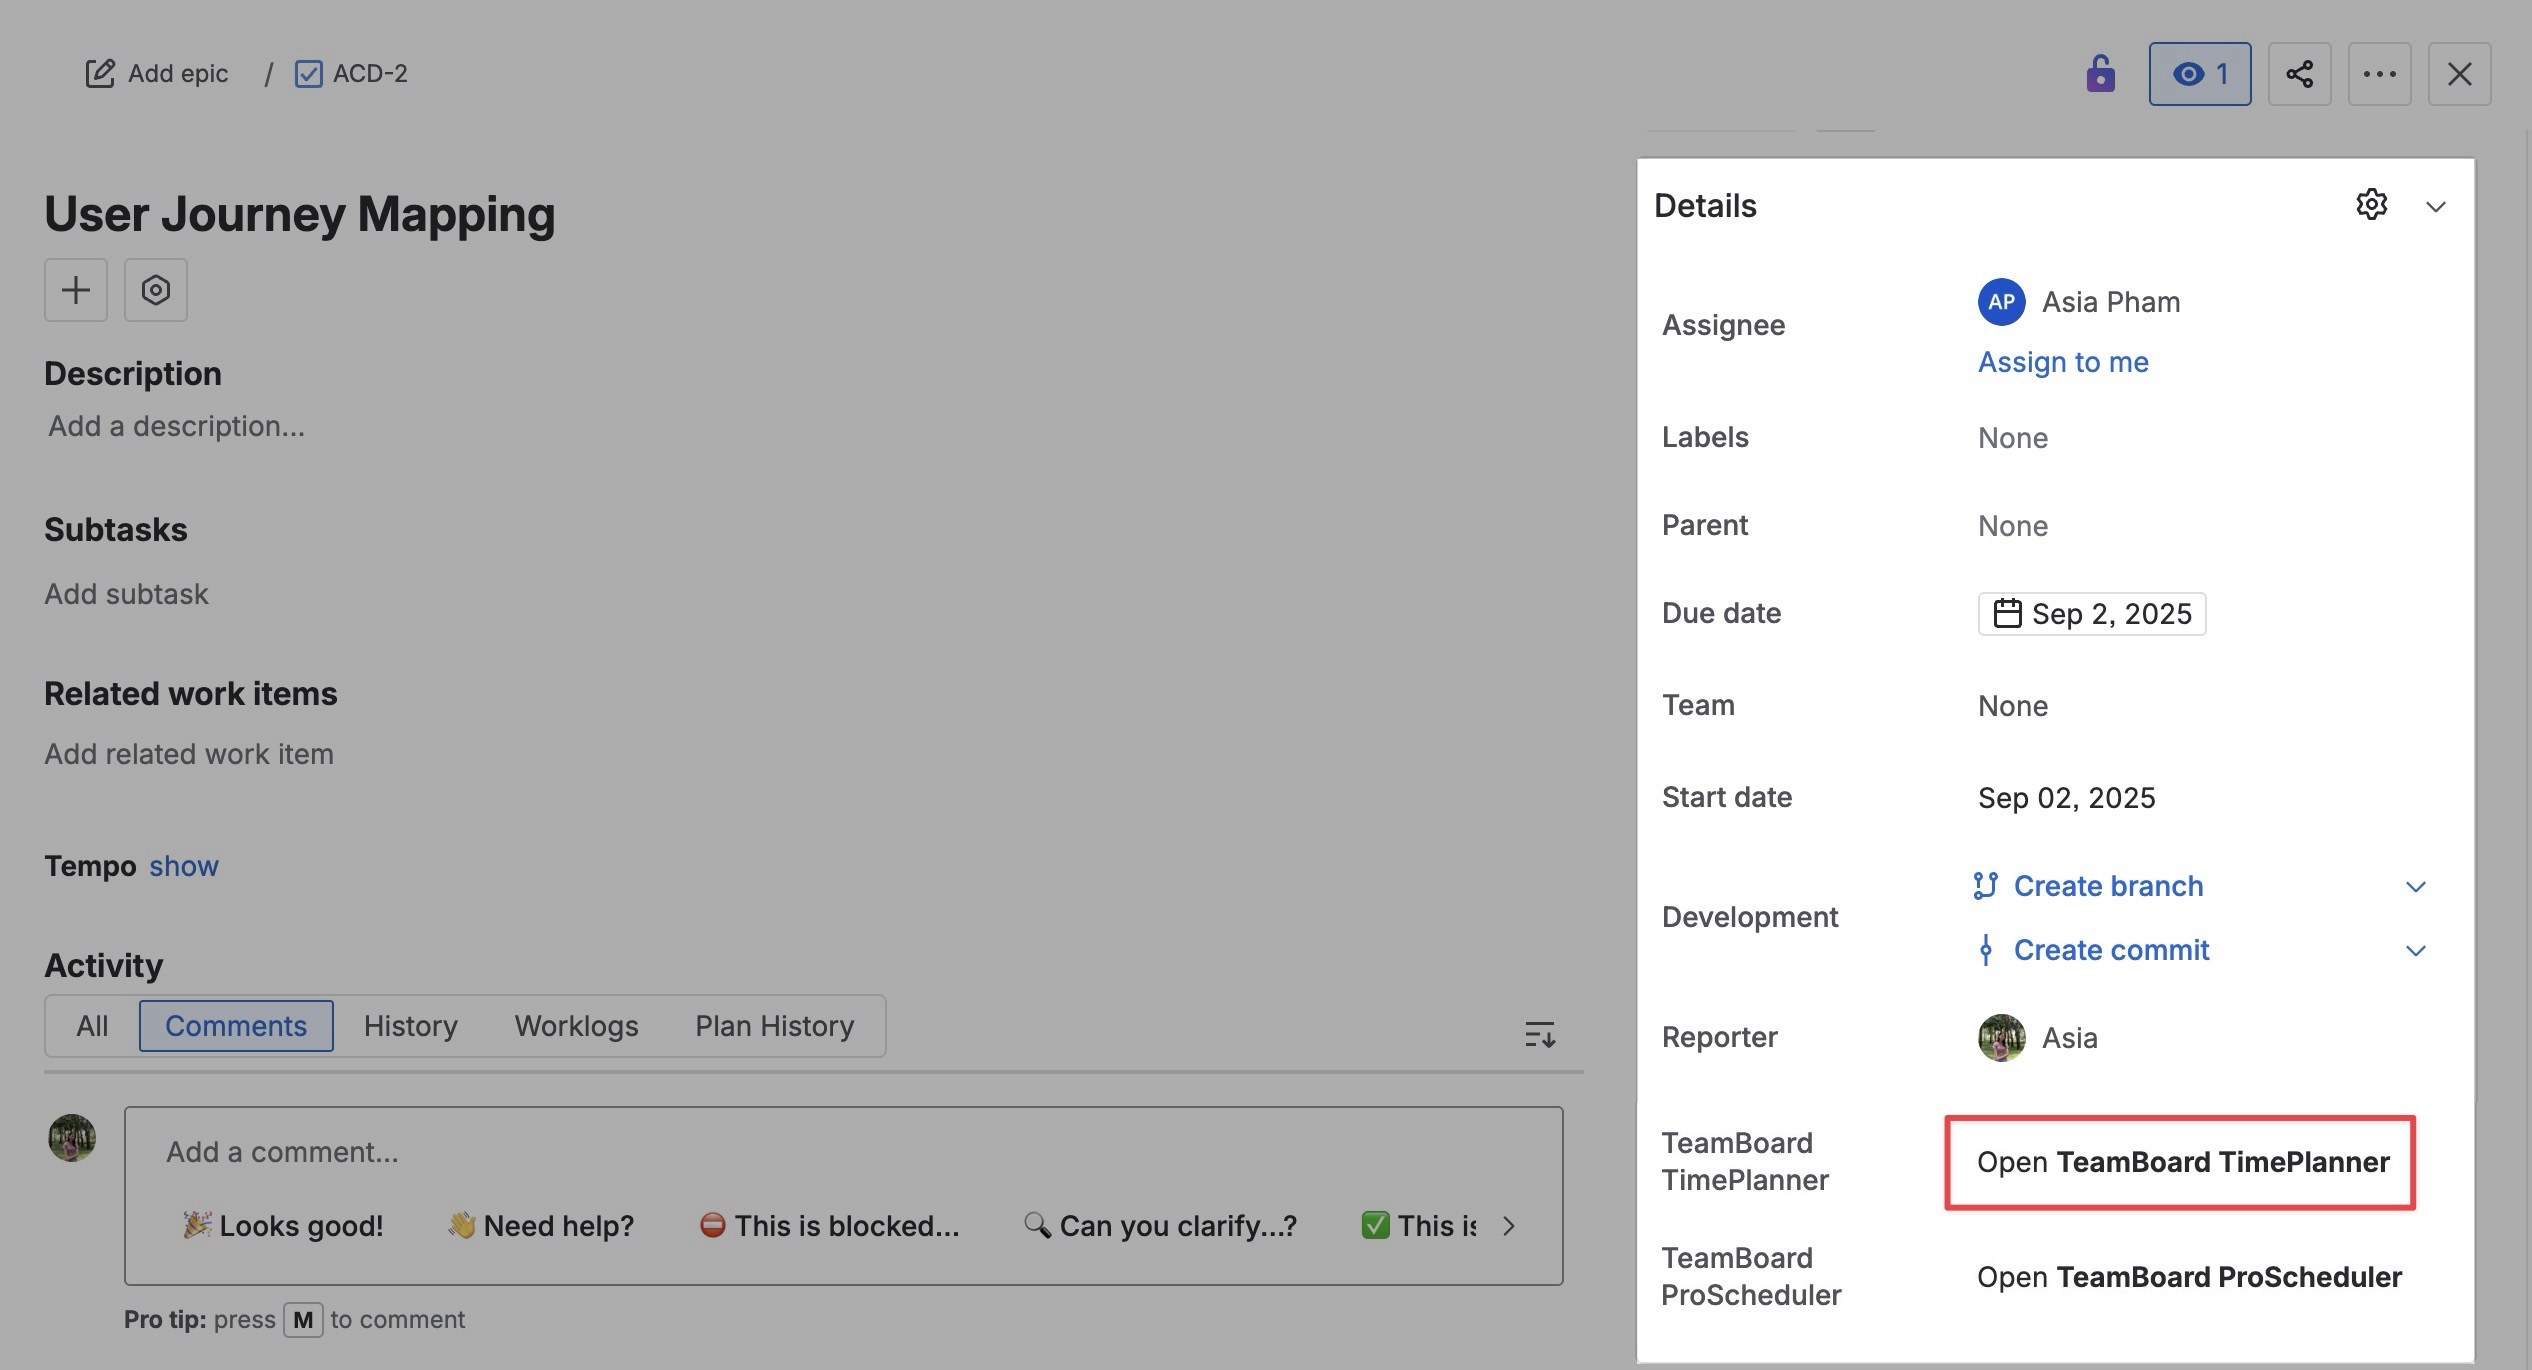
Using the Jira Work Item Detail panel
TeamBoard TimePlanner allows users to plan tasks and update tasks directly within the Work Item Detail panel without needing to switch to the app. Here is how to do it:
-
Open a Jira work item that you want to update the task.
-
In the right-hand panel, click Open TeamBoard TimePlanner. This opens the planning section for the selected task.
-
In the planning section, click

-
Update the task details as needed, then click

Once you update the task plan, the changes are automatically reflected in TeamBoard TimePlanner.
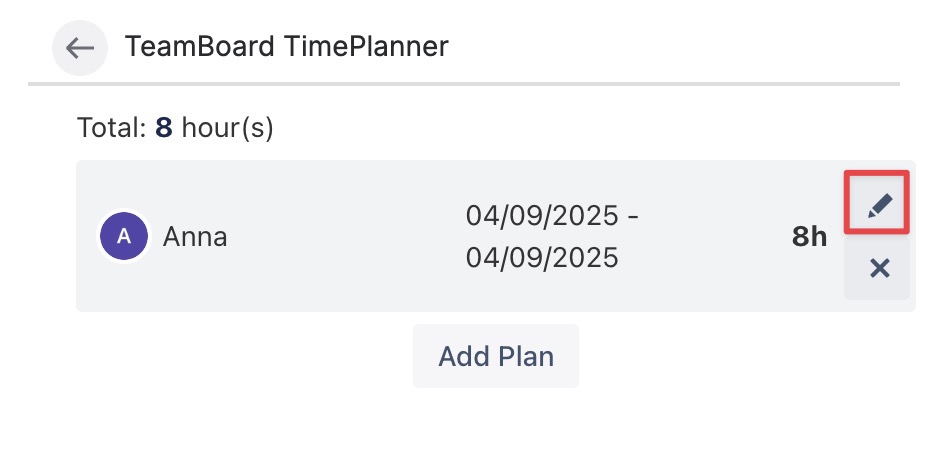
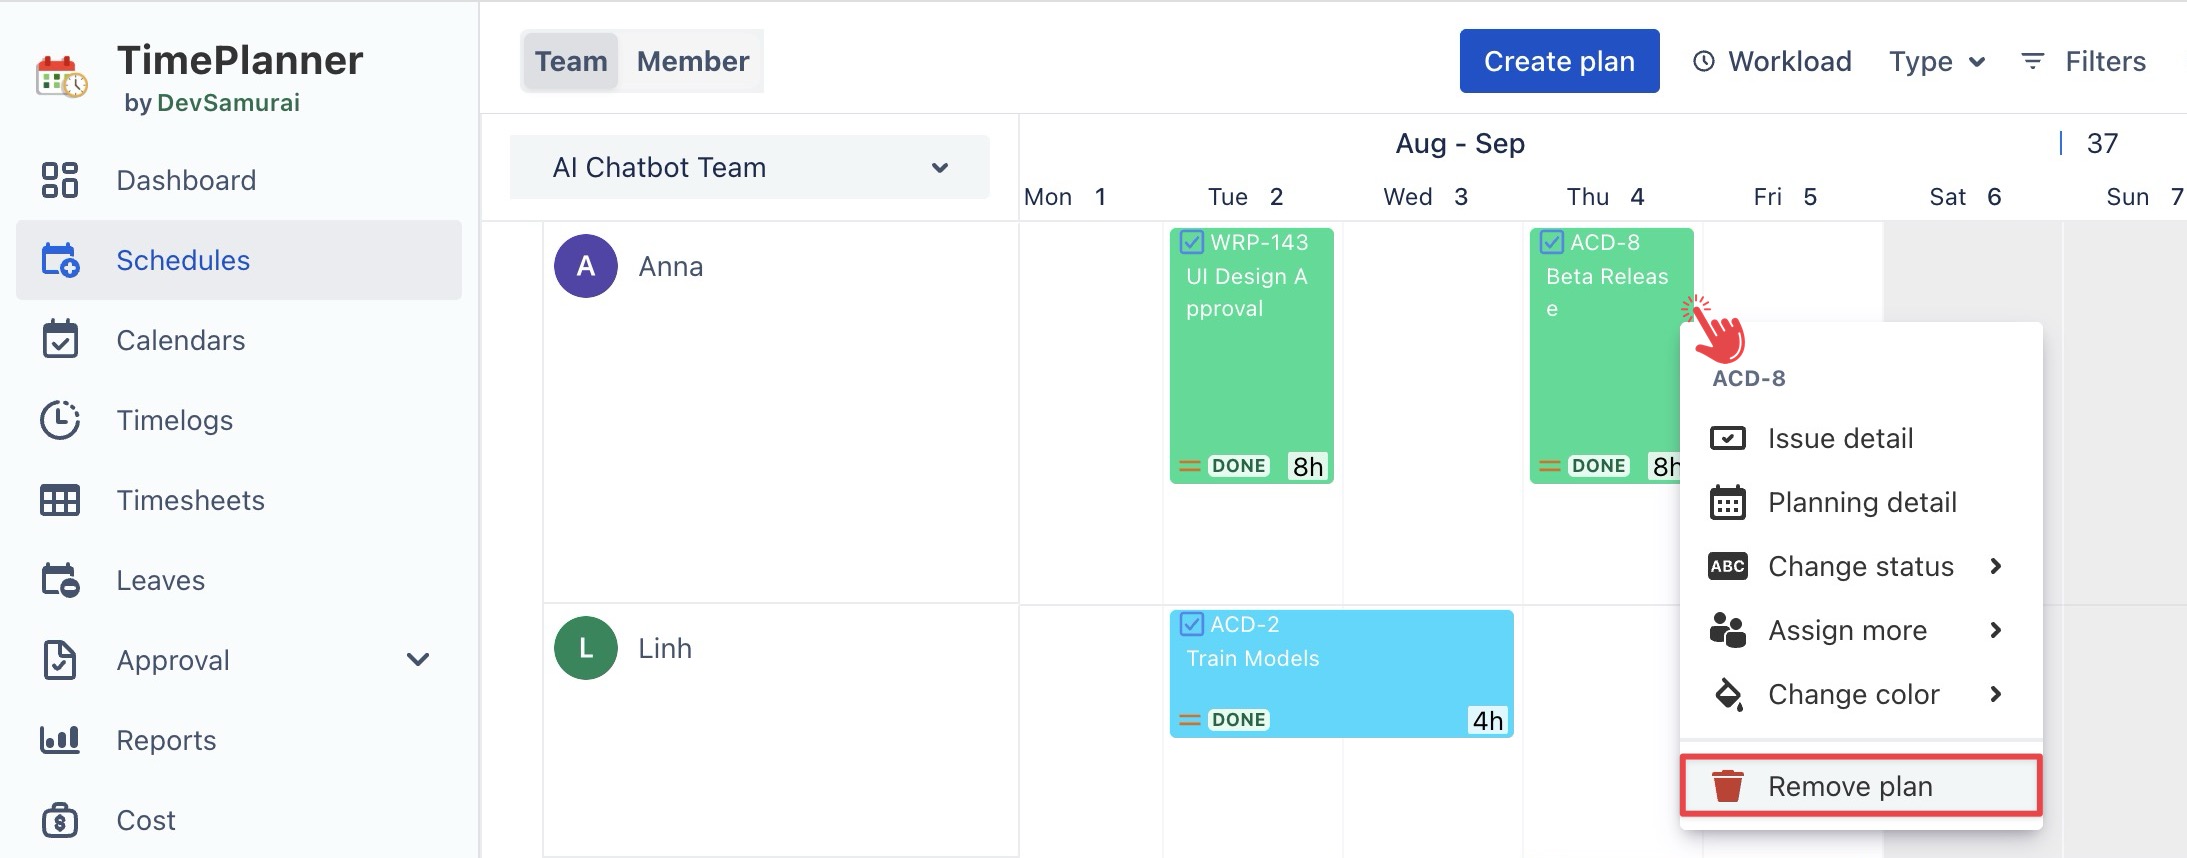
Using the Task card
You can quickly update a task from the Schedule Board or Calendar Board by right-clicking on a task card. This opens the context menu, where you can:
![]()

![]()
![]()

Dragging & Dropping on the board
You can easily update a task’s schedule or assignee by dragging and dropping the task card on the Schedule Board. This intuitive drag-and-drop functionality helps you quickly make updates and keep your project on track.
Here’s how you can use this feature:
-
Adjust start and end dates: Drag the task card left or right to adjust the start and end dates.
-
Reassign to another member: Drag and drop the task card onto another team member’s row to reassign it.
-
Change Scheduled Hours: Drag the task card up or down to adjust the scheduled hours per day.
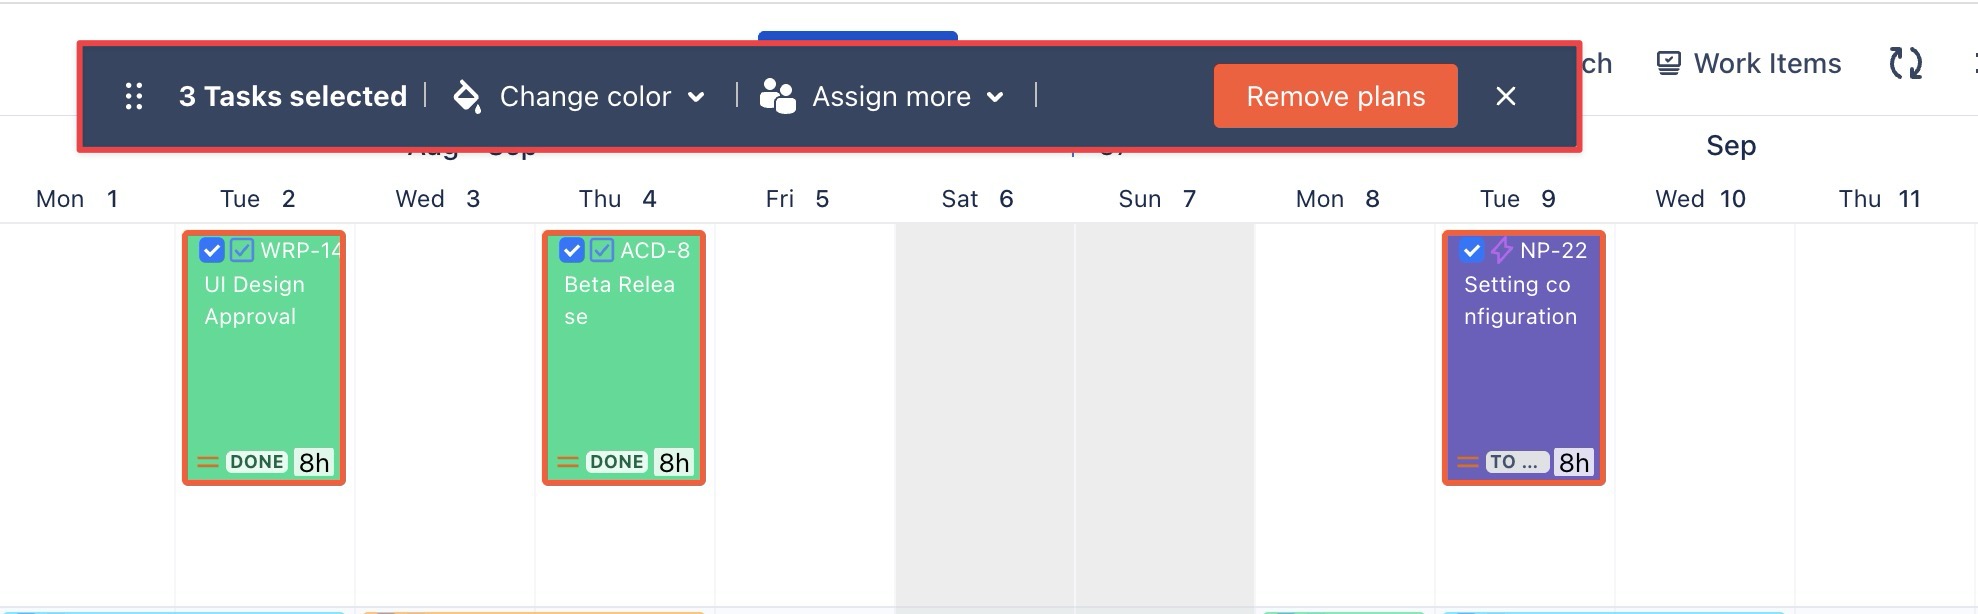
Performing bulk task editing
Bulk action on the Schedule board allows users to make changes to multiple tasks at once.
Users can select multiple tasks by checking the box on each task card → When tasks are selected, a bulk action toolbar appears on the board. (The toolbar can be flexibly moved to different positions on the board.)
From here, users can update:
-
Change the task card color
-
Assign tasks for additional members.
-
Remove plans.
Bulk editing does not apply to Recurring tasks or projects with Jira Field Mapping
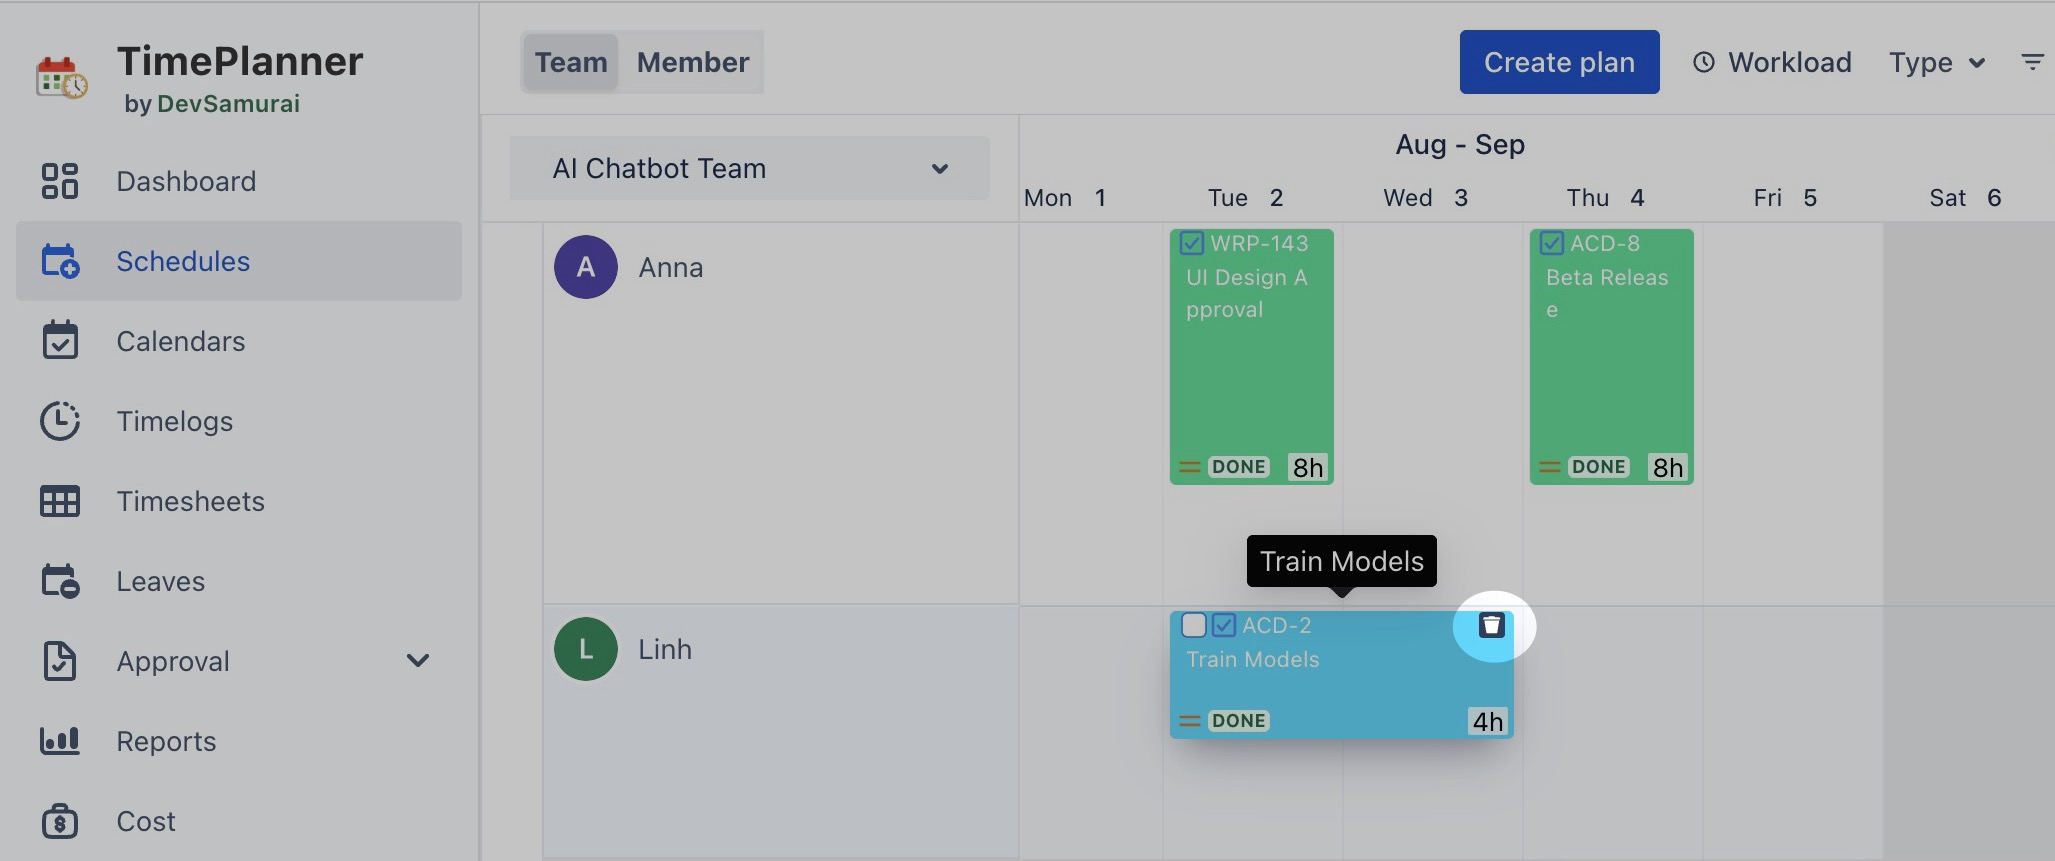
Removing plans
When you remove a plan from the Schedule Board, it only removes the task from the board view — it does not delete the Jira issue.
You can remove a plan in three ways:
Option 1
-
Go to the Schedule Board.
-
Hover over the task card you want to remove.
-
Click

Option 2
-
Go to the Schedule Board.
-
Right-click on the task card you want to remove.
-
From the context menu, click

You can also unplan tasks from the Calendar Board.
Option 3
-
Right-click on the task card and select
Or, simply click directly on the task card to open the Planning Detail panel.
-
In the top-right corner, click

You can also open the Planning Detail Panel from the Calendar Board.