.png)
The Team Leaves report is designed to provide a clear overview of team members’ planned and recorded leave over a specific period. It allows users to track leave-type distribution and schedules, understand the team’s availability, and review time off in a detailed format.
STEP 1 Set Filters
Apply filters to define what data should be included in the report:

-
Members or Teams: Choose the individuals or teams whose data you want to view the report.
-
Time Range: Specify the reporting period. Two options are available:
-
Dynamic Range: Select a rolling date range, such as 'This week' or 'This month'. The report will update automatically as time progresses.
-
Fixed Range: Select a custom start and end date to lock the report to a specific period.
-
Leave type: Decide which leave type you want to include into the report for both the charts and table.
STEP 2 Chart Toggle
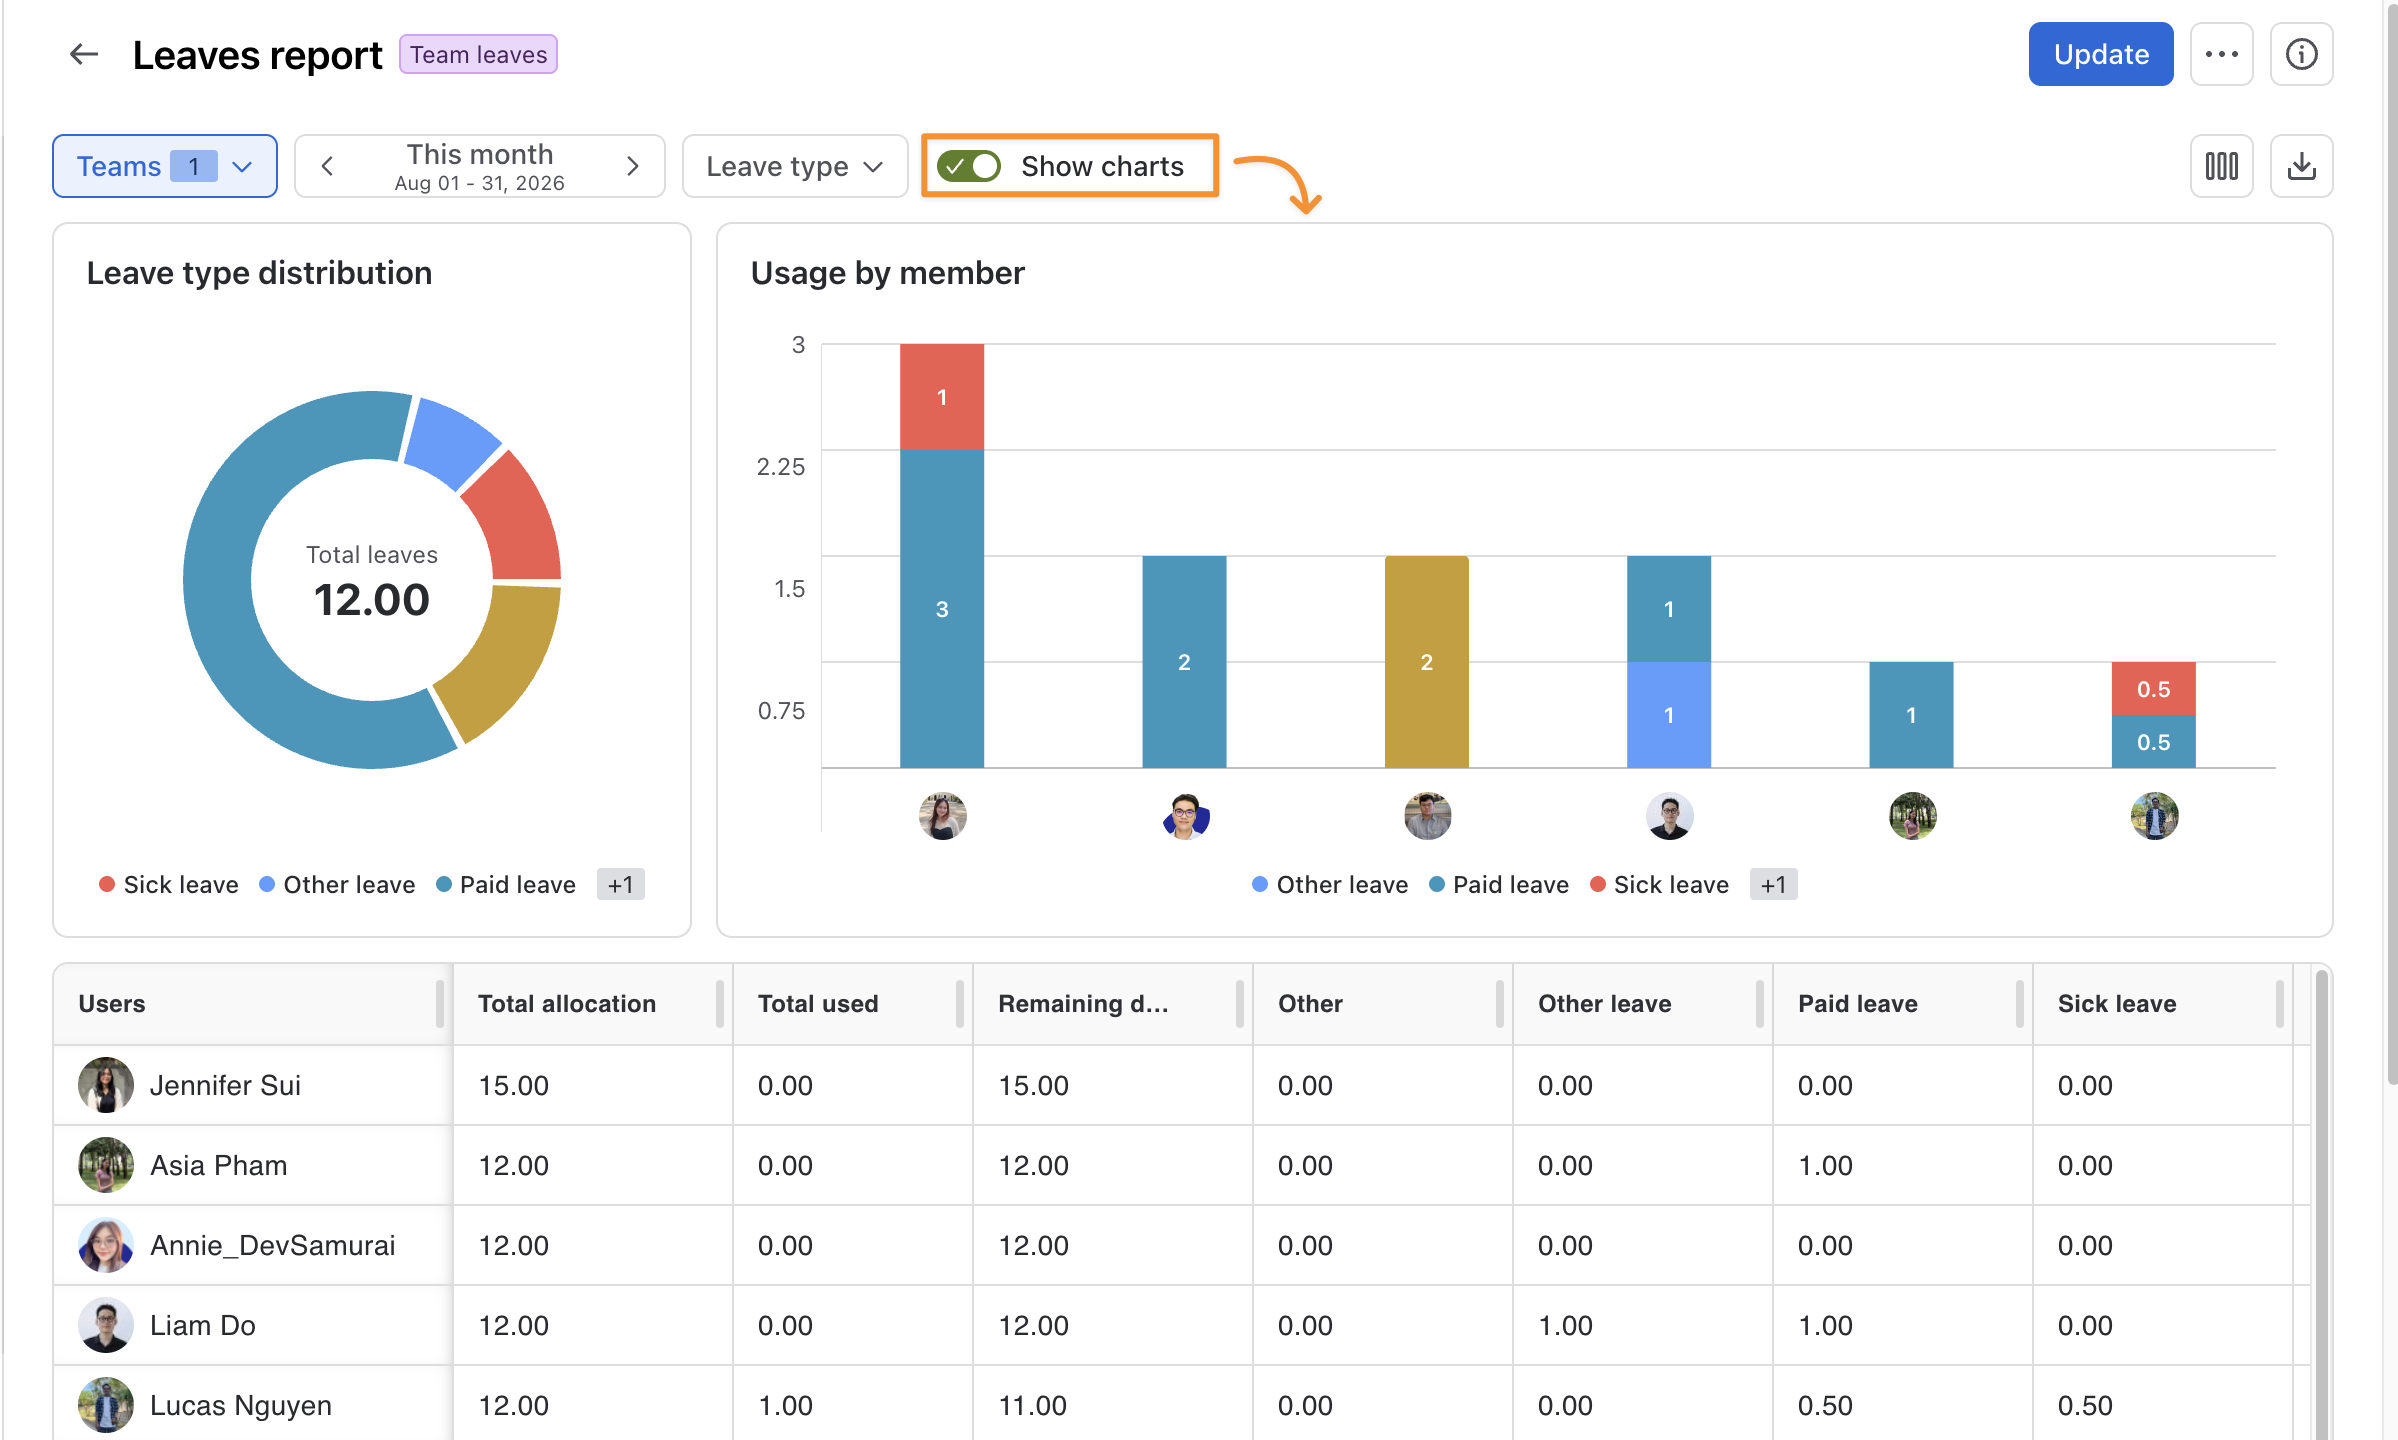
To display visual summaries, enable the Show charts option on the header menu. This chart includes:
-
Leave type distribution: It analyzes which leave types have been used by your members or team.
-
Usage by member: It analyzes how many paid time-offs and which leave types used by each member.
STEP 3 Customize Fields
You can customize fields in the table by selecting 
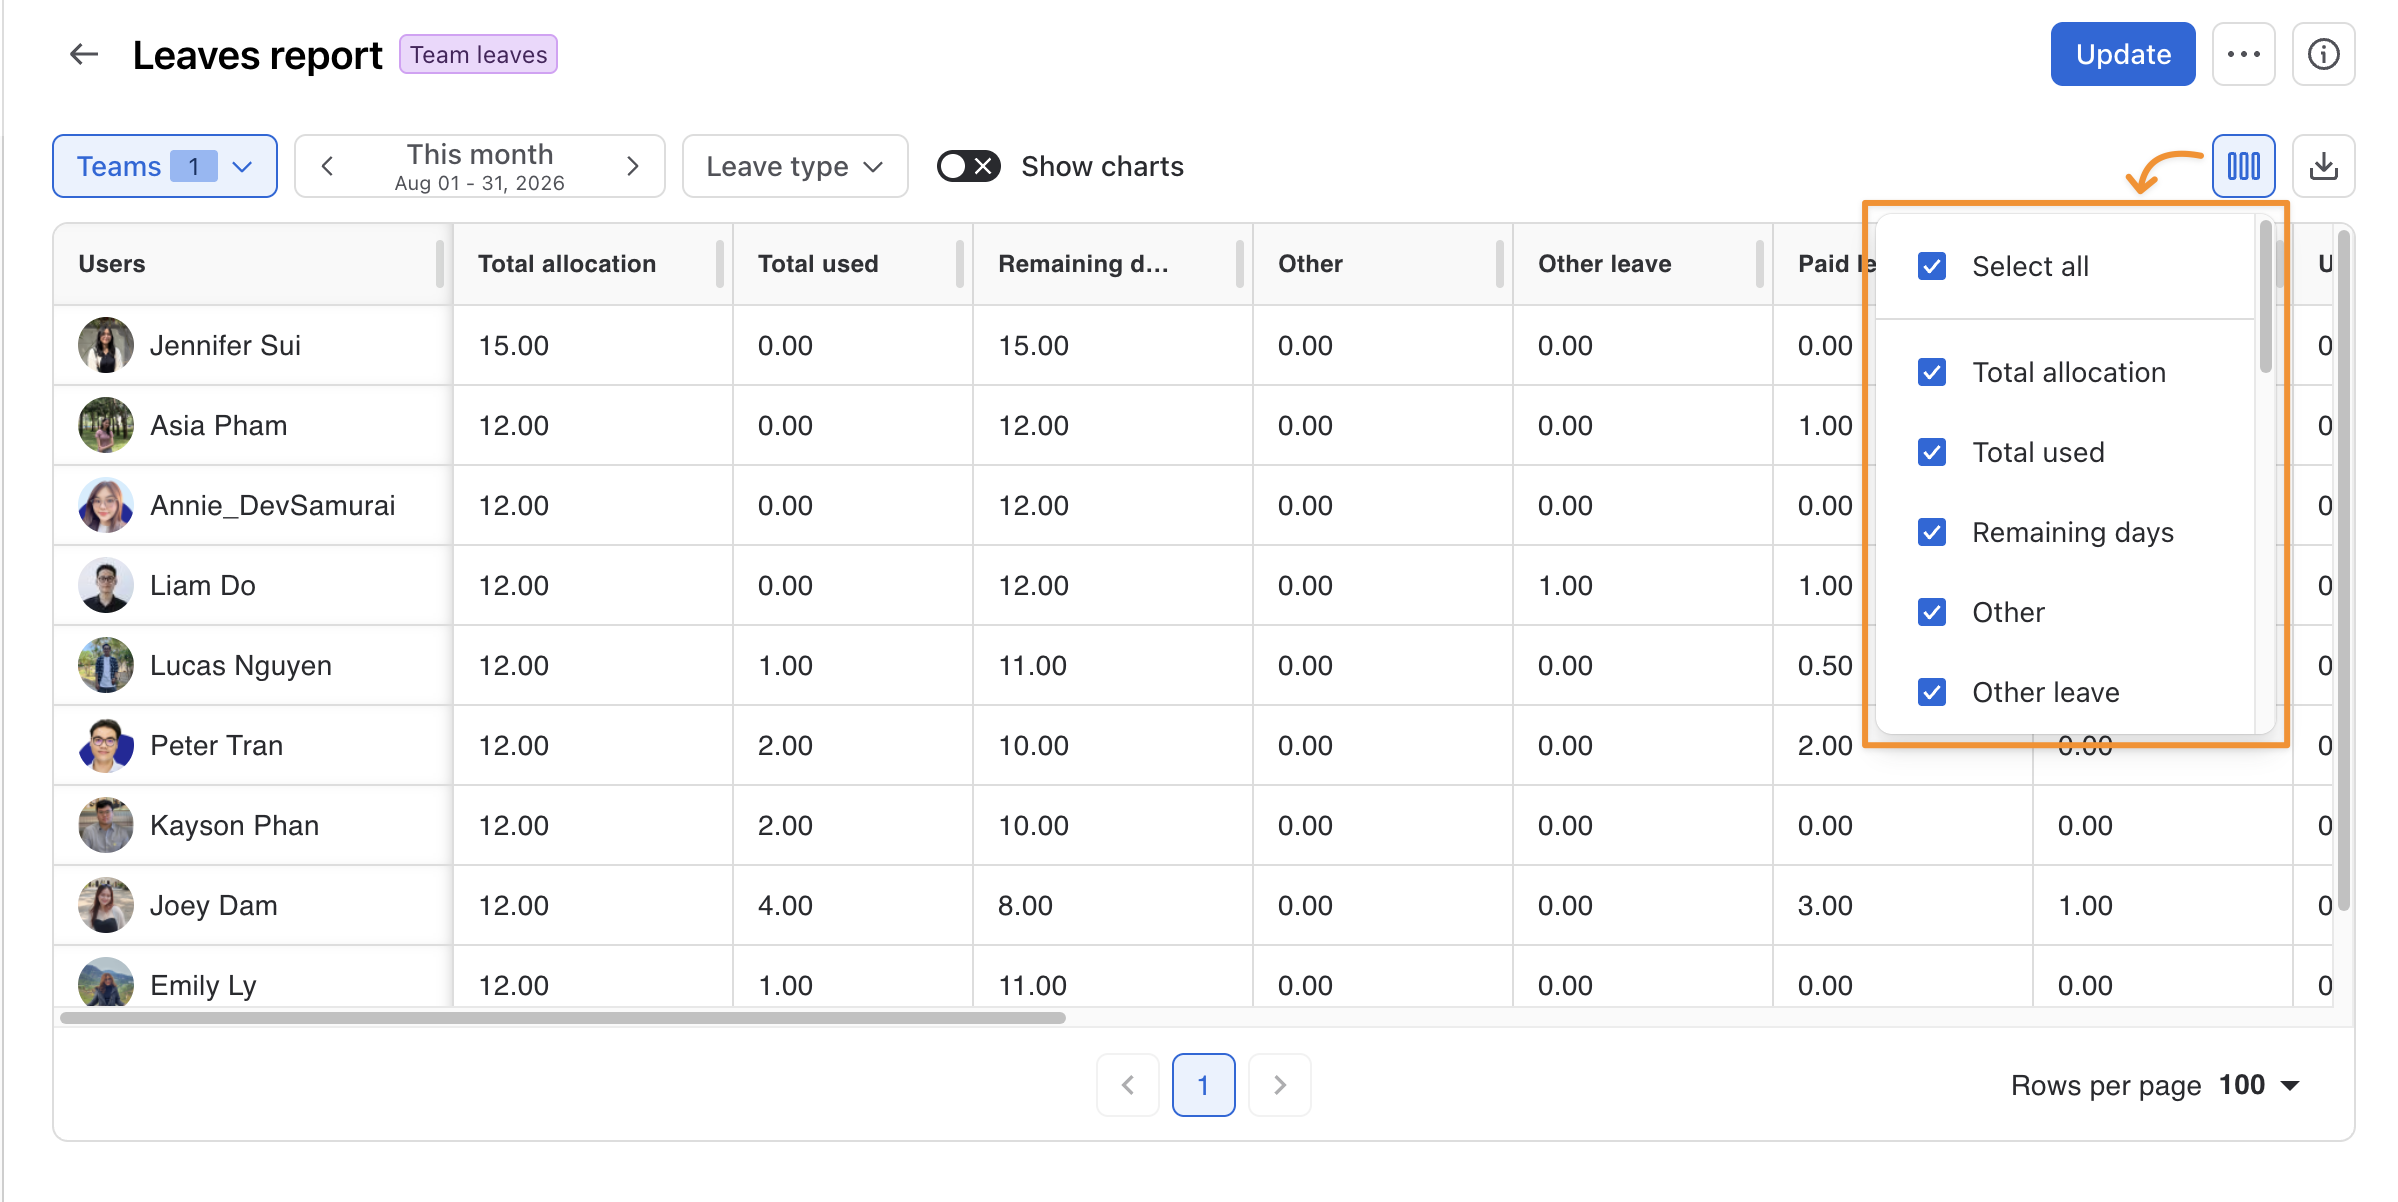
By default, the report will include all default leave types and custom leave types that you created.
STEP 4 Save the Report
Once you have applied filters and customized the report, you can save it for future use.
-
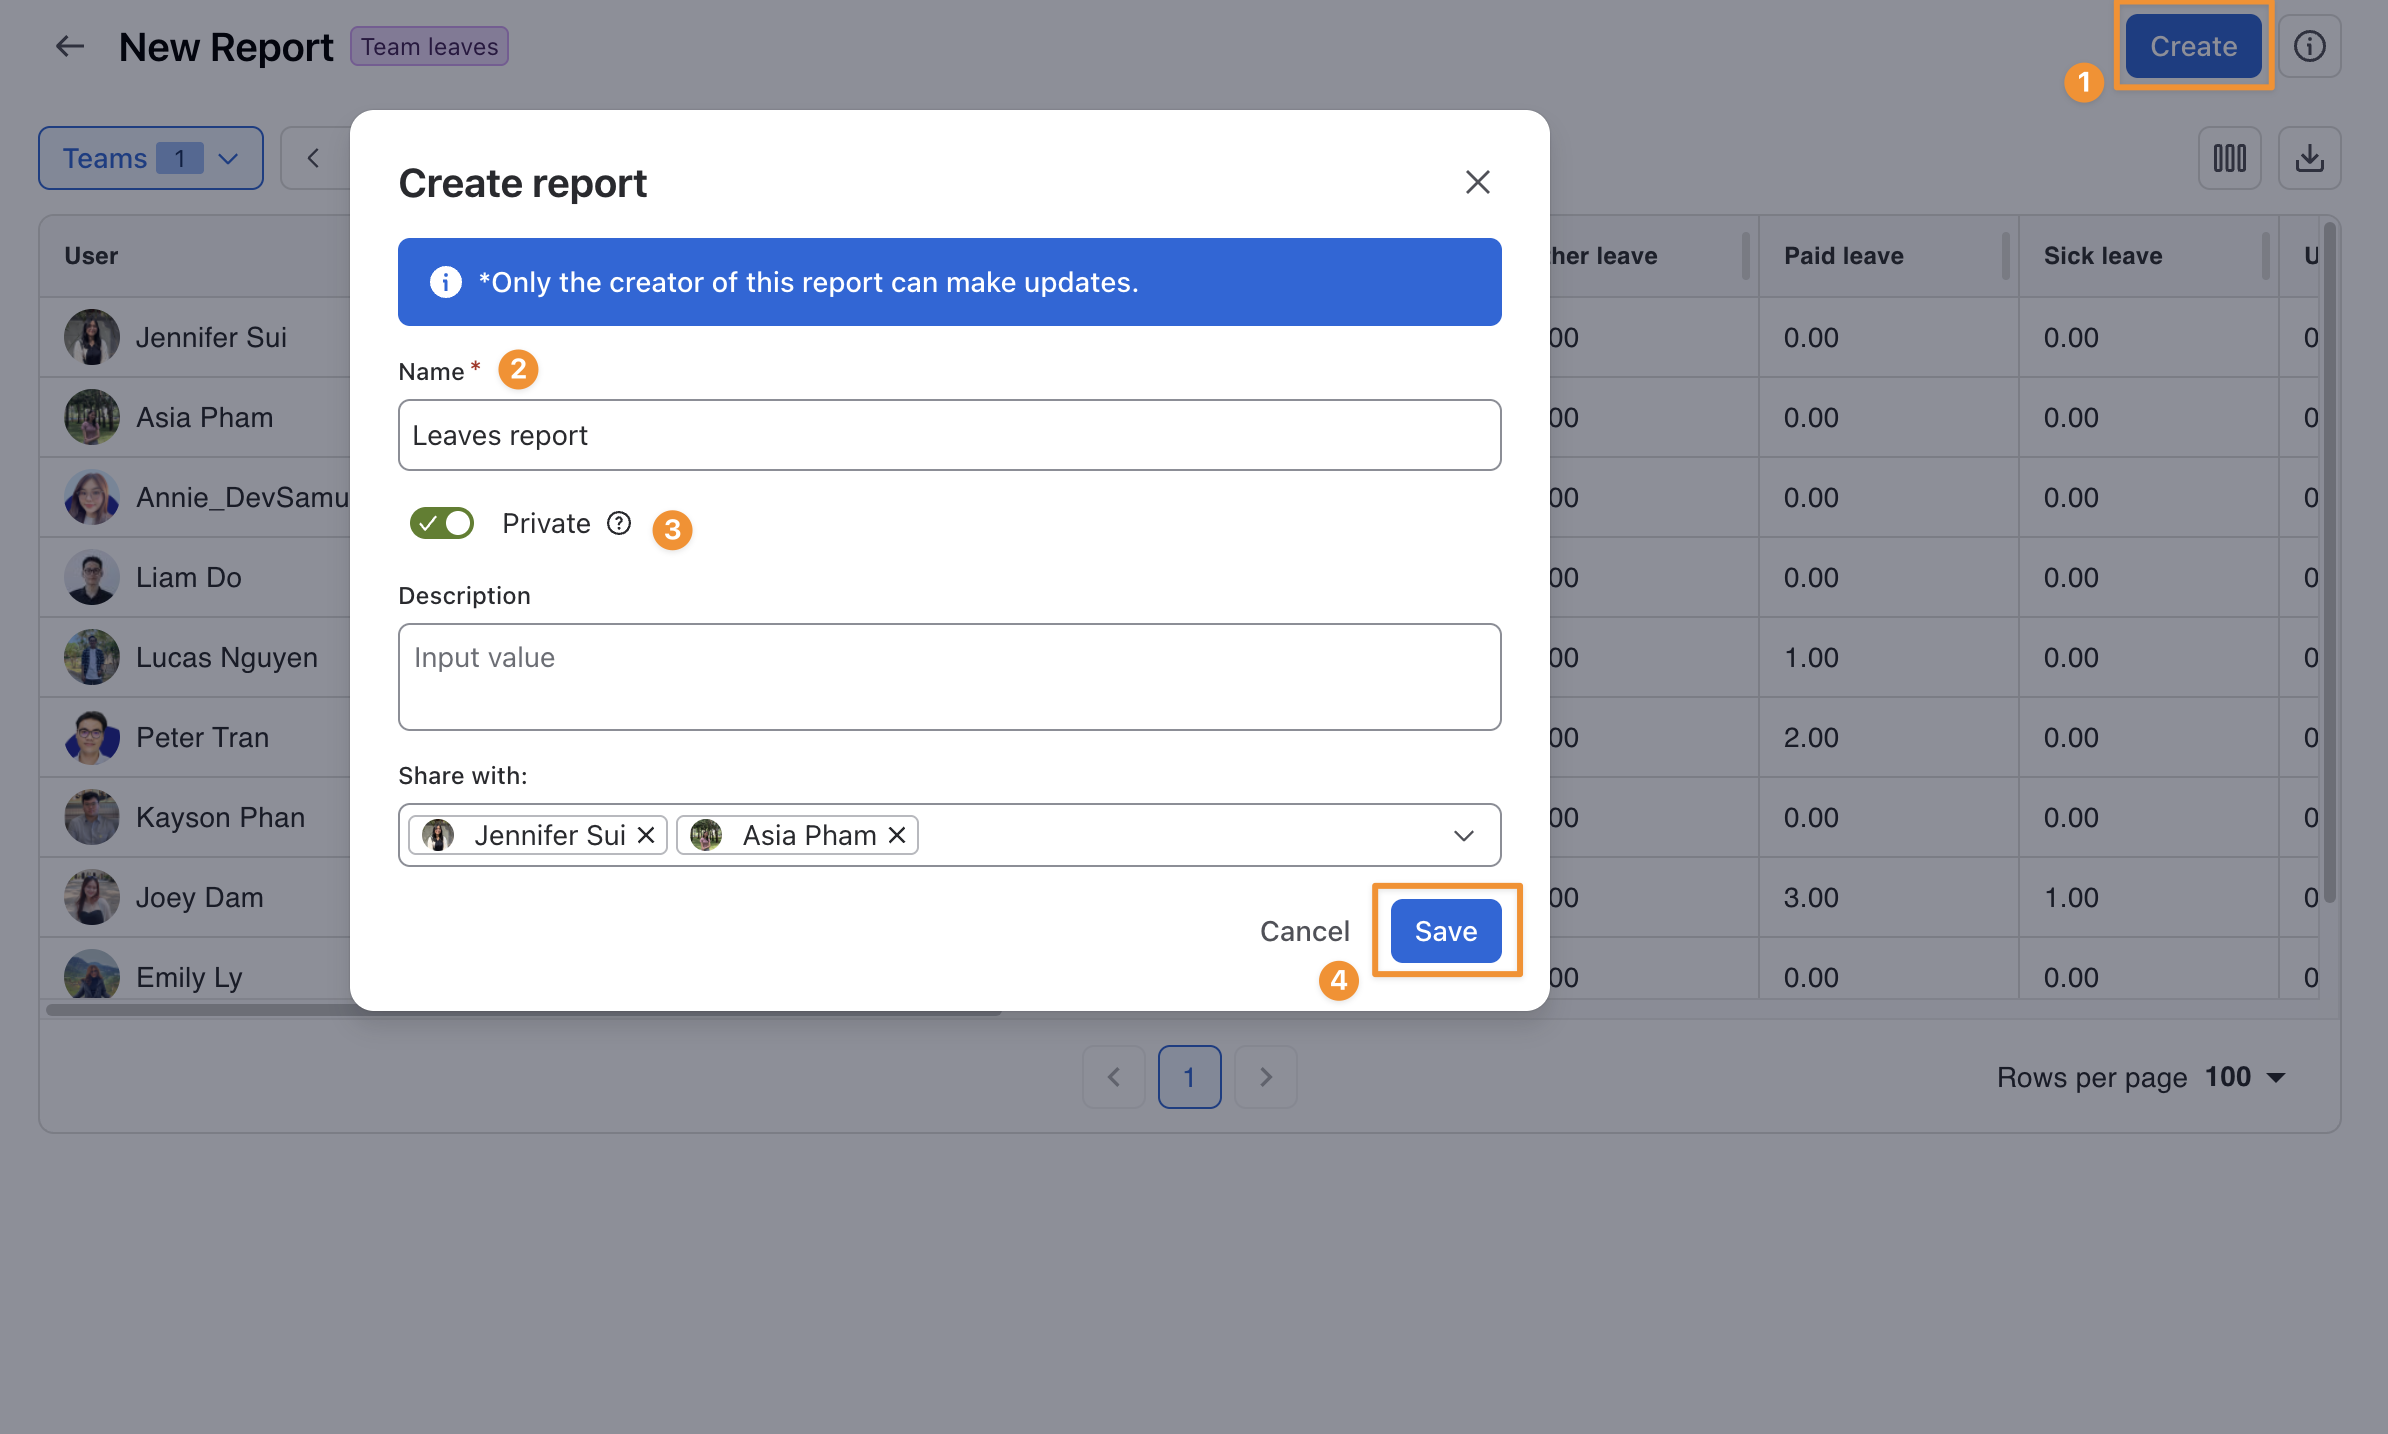
Click the Create button in the top-right corner of the page.
-
In the Create Report pop-up:
-
Name: Enter a name for the report (required).
-
Description: Optionally, add details about the report’s purpose or content.
-
-
Choose the visibility setting:
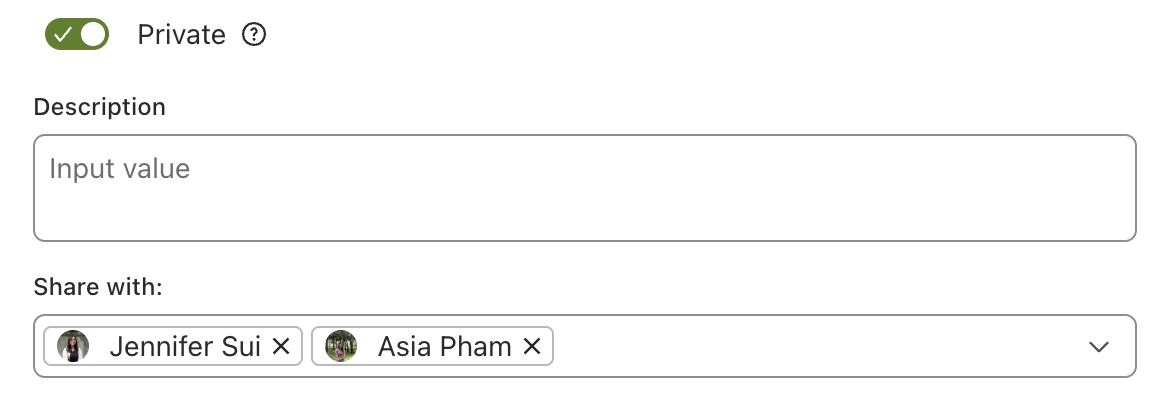
Private Report (toggle ON):
-
Only the members you share the report with can view it. However, only the report owner can edit or delete it.
-
Under Share with, select the members you want to give view-only access to.
-
Public Report (toggle OFF): The report is visible to all users in the workspace. Only the report owner can edit or delete it.

-
Click

STEP 5 Export the Report
Reports can be exported for use outside TimePlanner: Click the 
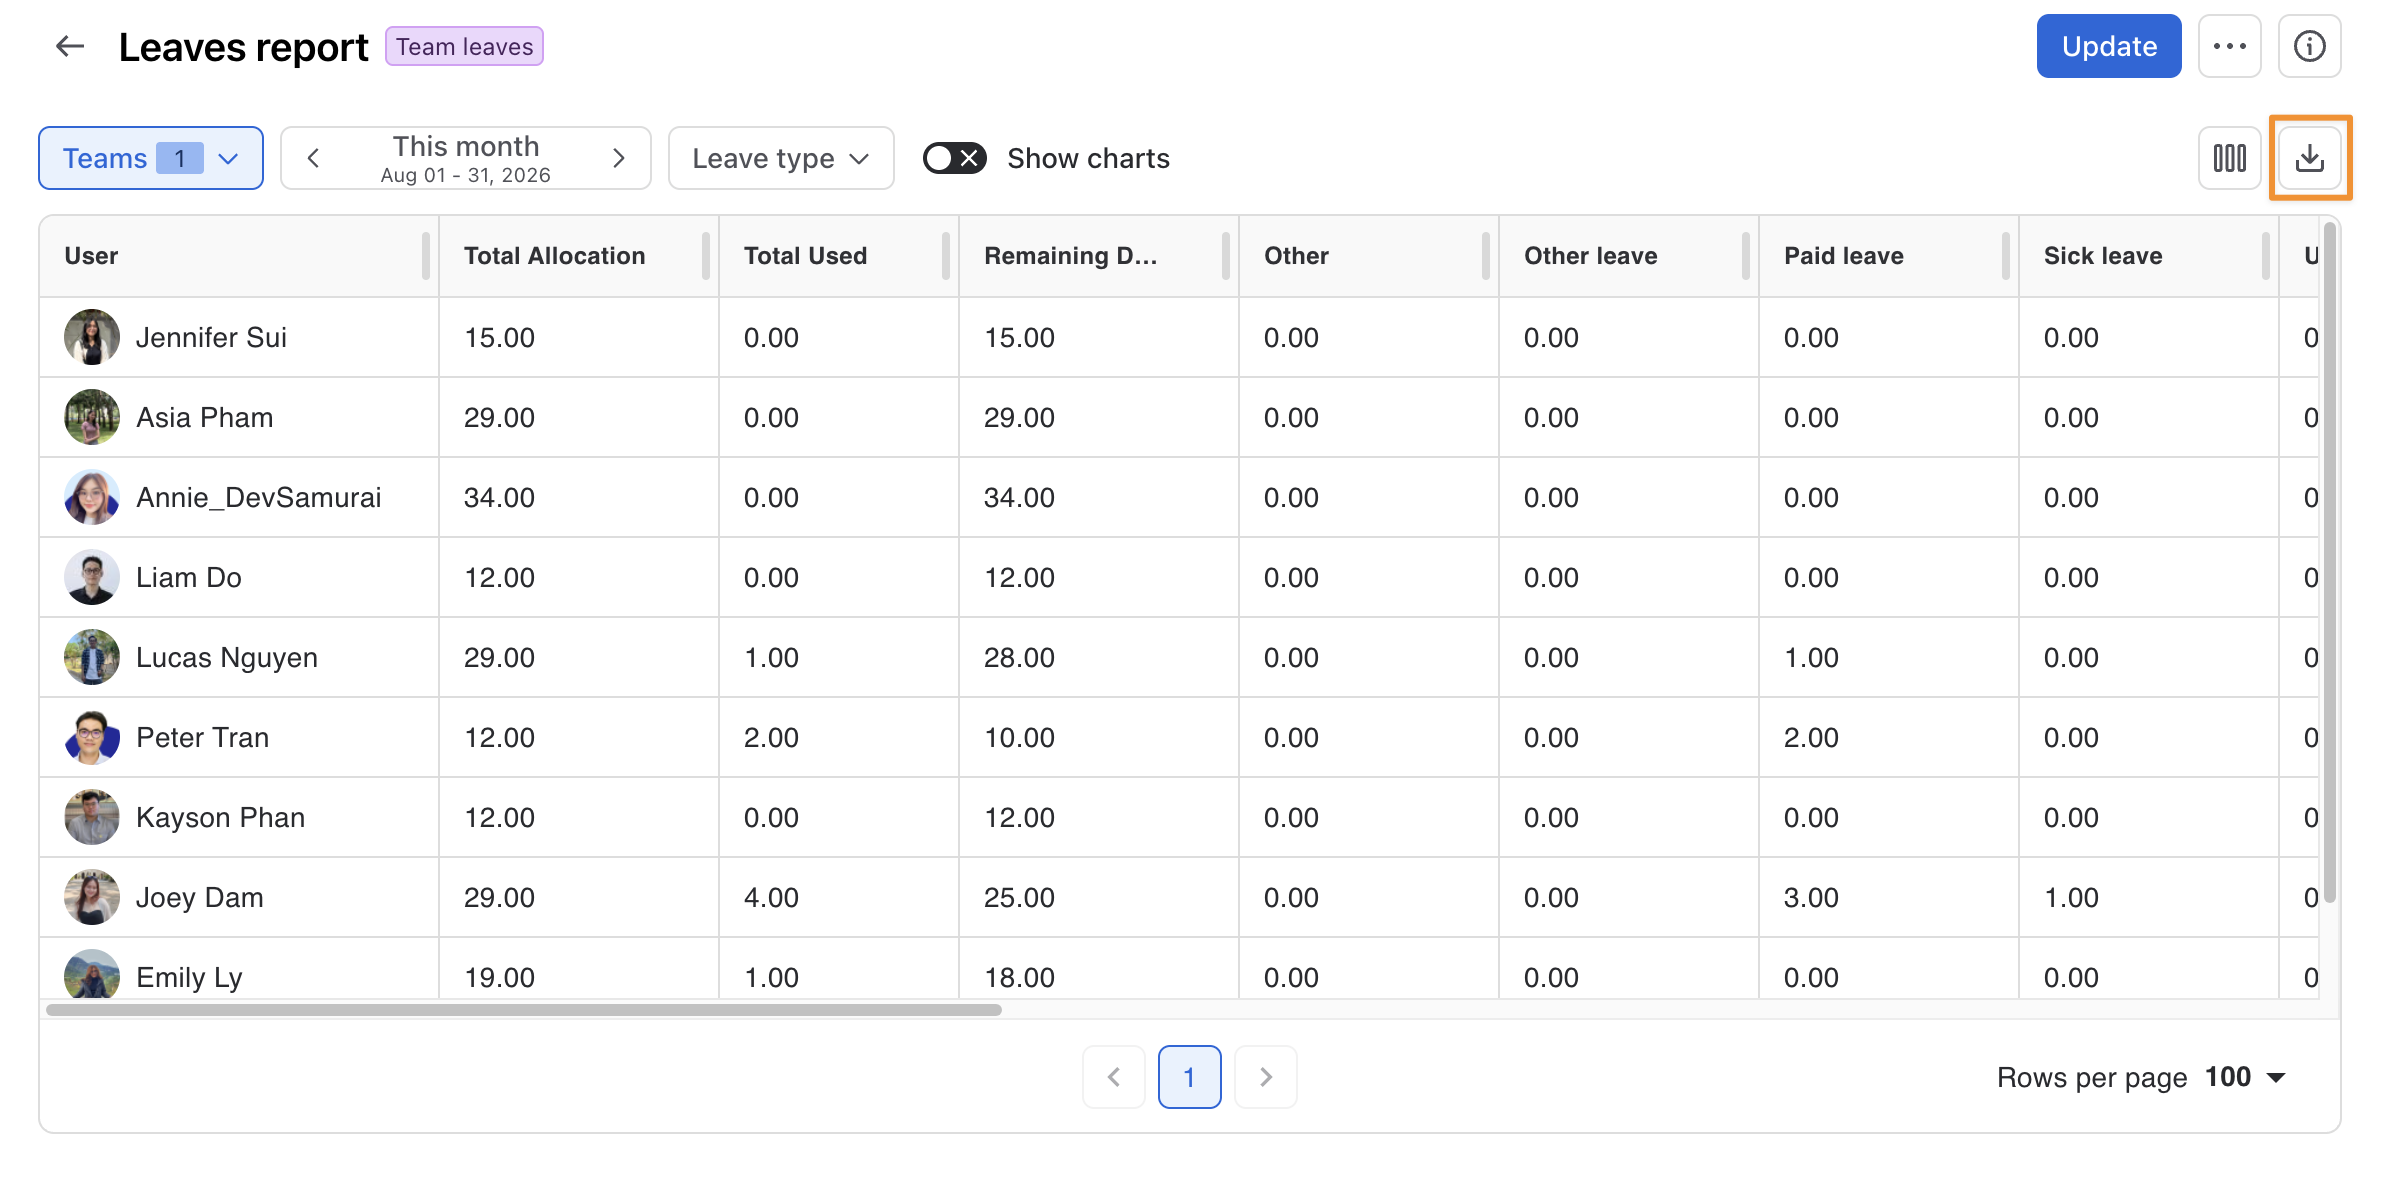
→ The report will be downloaded as an Excel (.xlsx) file.